[13 August 2023]
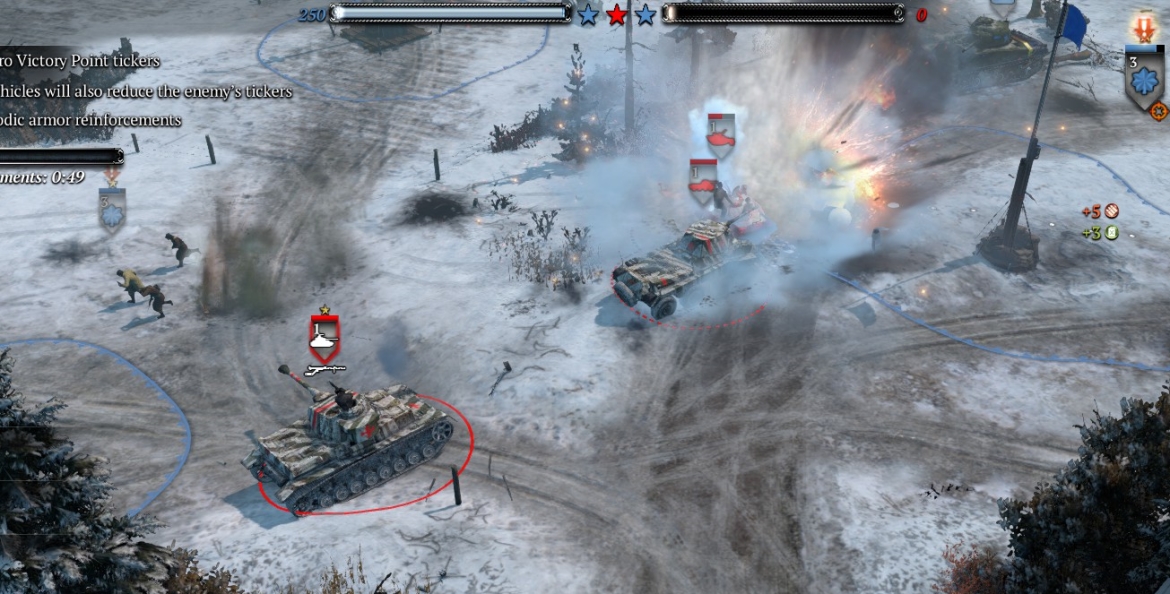
Even on level 1 difficulty, the “Armored Assault” mission is sometimes ridiculously unbalanced. You start with a single RE squad, an unvetted AT gun, and two thin-skinned M8 or M20 scout cars, and within a few minutes you will be attacked, usually from two or three sides, by 5-7 German vehicles including Pumas, flak-halftracks, mortar halftracks and kubelwagens, with infantry support.
Obviously, you need to keep your AT gun (if you plan to use it) in a place where its flanks are protected and it can see to max range. You also need to get AT capability asap, and if you start with an M20 that means its bazooka-equipped crew will have to take a break from driving, get into cover, and do some vehicle-killing. Your infantry needs to be in cover and your fragile vehicles need to be out of the firing line when German armor shows up. Once you kill that initial bunch of German vehicles, things get easier for a bit, and though more and worse armor will come later, you can avoid too much exposure to that by getting German victory points down quickly.
In addition to normal VP-based scoring, you can reduce German victory points by killing their vehicles (10 points per kill).
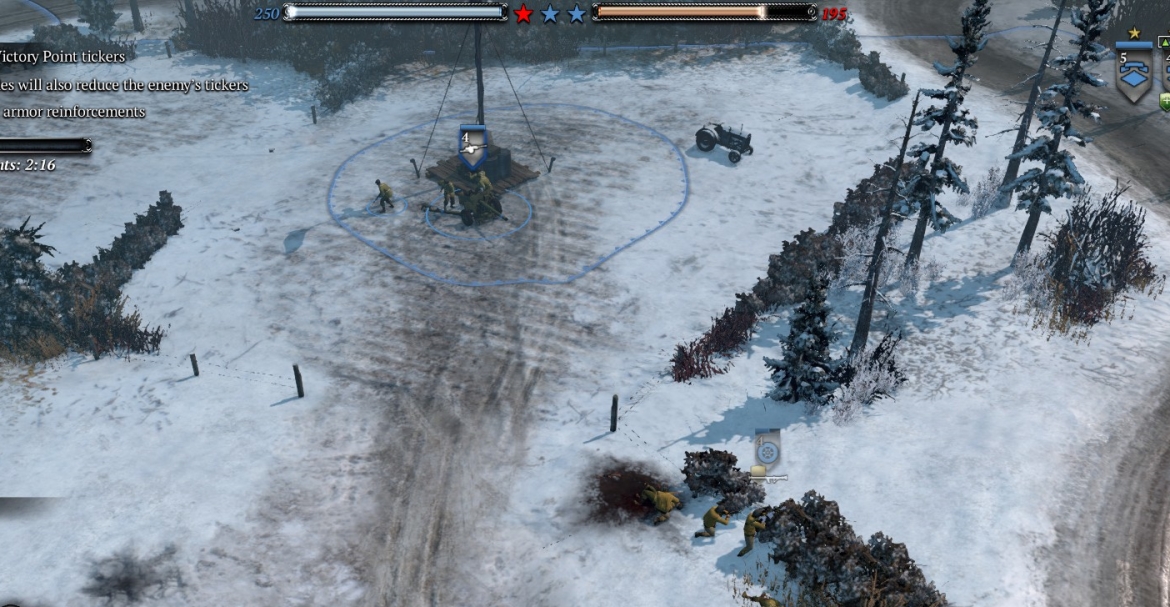
Every six minutes or so, in addition to your normal manpower choices, you get a couple of free “armored vehicles”—usually M8s, M20s, flak halftracks, and/or Stuarts (i.e., pretty useless drains of pop points, given what you’re facing).
Note that the Germans, even on low difficulty levels, will eventually bring 7.5cm infantry support guns, Walking Stukas, StuG-IIIs, Panzer IVs, and heavier armor. Moreover, their infantry are always plentiful and well equipped with schrecks. Some maps give the Germans further advantages by not providing good cover your forces can use at/near VPs.

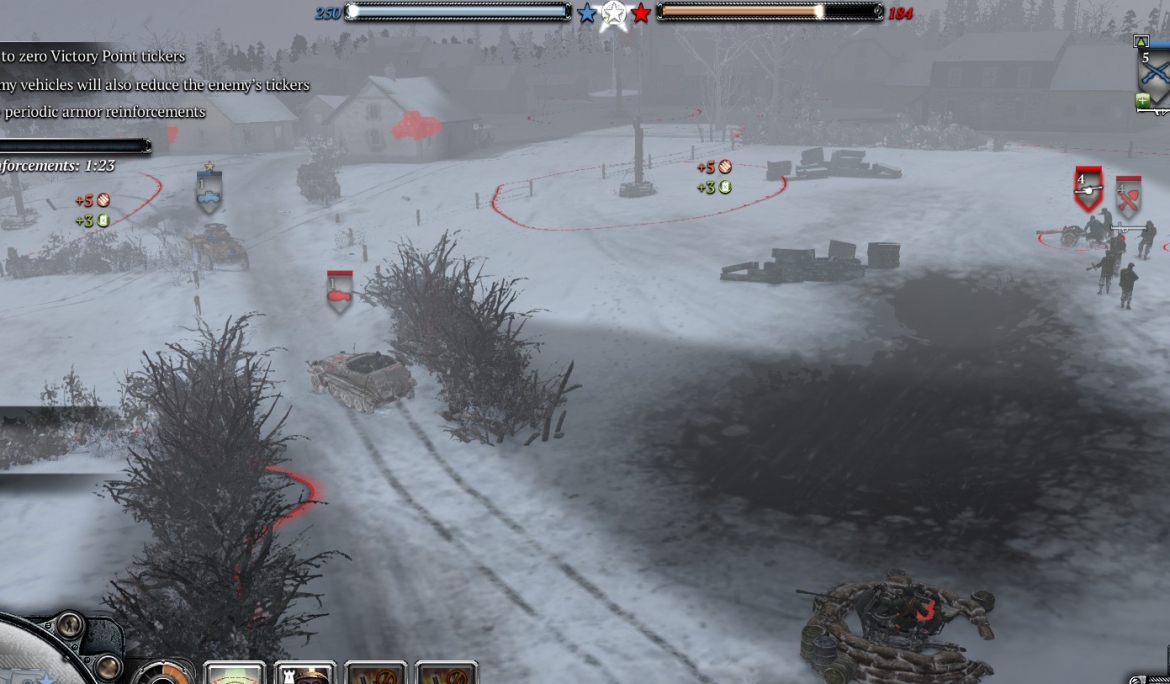
Generally you want to use your starting units, including vehicles, to try to cap at least two and maybe (but not if a VP is close to the German base) all three VPs immediately, to start the German point drain. Then build up forces at/near two VPs (or just one, if it effectively stands in the way of another), bearing in mind that you will need both strong anti-infantry and anti-vehicle power, plus mobility to avoid or counter indirect fire, and, until you get all that, you can’t be very ambitious in your map-control.
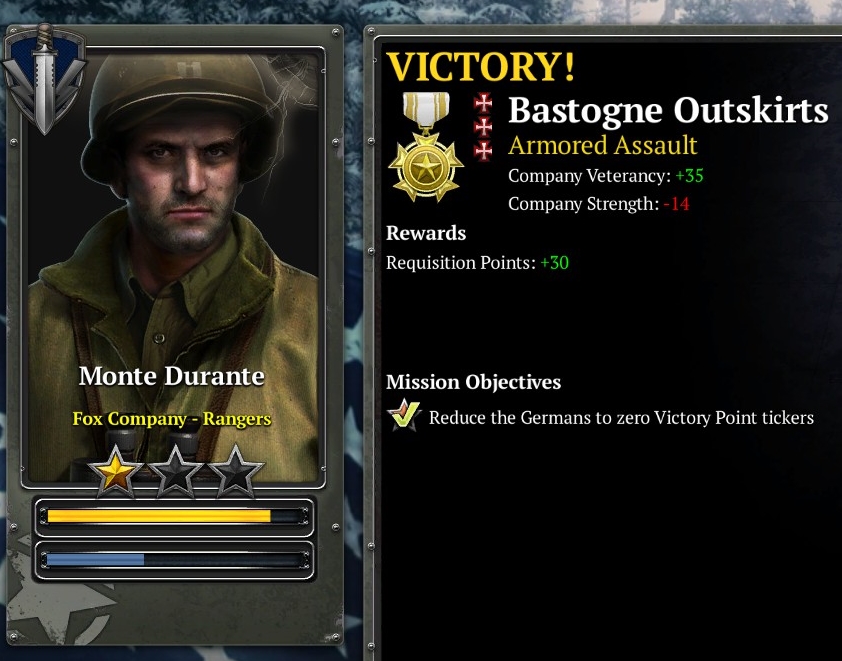
The gold medal condition is score-based but vague—probably you need an ending score above 230-35. I know 236 works, and 250 is not very difficult on a level 1 map. Just do your best to keep hold of at least two VPs, and keep any periods of German VP-dominance brief. On higher levels of difficulty, keeping control of two VPs is not impossible, but it often means your weak American infantry will have to stand on VPs to cap or decap them while being blasted by German armored vehicles. There will be (American) blood.
Bazookas/schrecks/raketenwerfers are more nimble than AT guns, and are especially useful when you can put them in buildings, although obviously they are still vulnerable to indirect fire, as well as long-range tank or raketenwerfer fire. At lower difficulty levels, you may be able to win quickly without more AT assets than the initial ones—again, if you can keep them from being attacked by German vehicles at close range or without cover. It is always prudent to get more AT power if you can, though. And, if you’re facing a low difficulty mission and you’re fielding a strong company that can easily secure VPs, let the mission run longer so you can build veterancy.
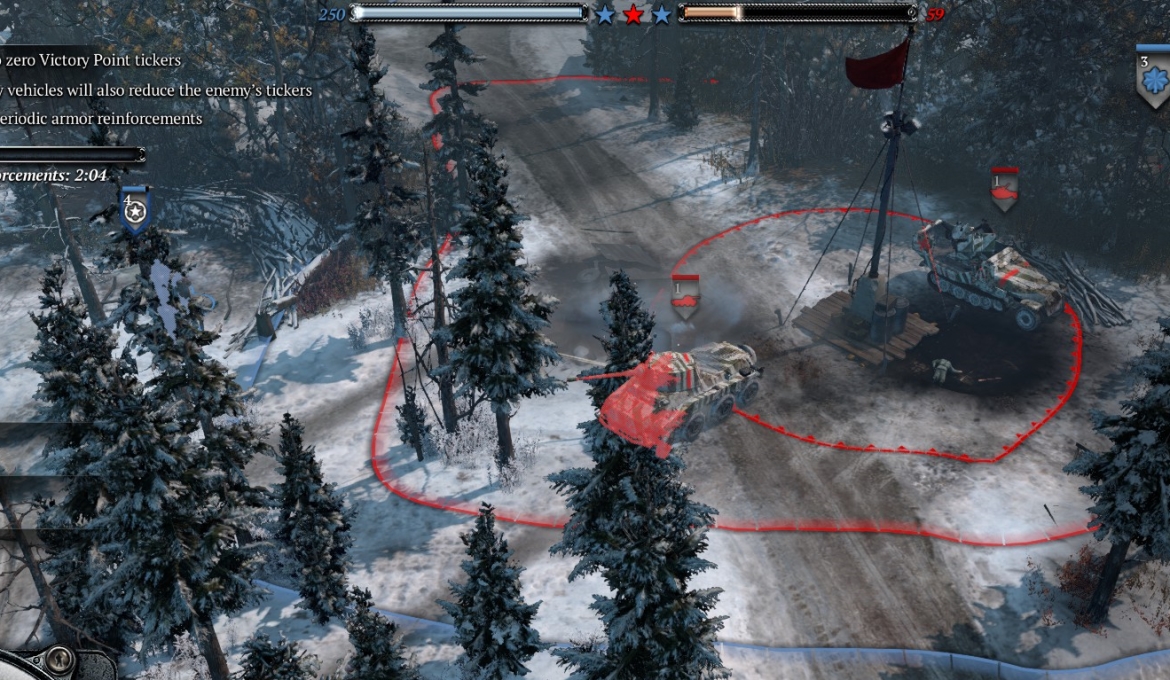
Note that there is a Pak-43 placed near one of the VPs, and obviously it can help if you crew it—and can defend the crew from German infantry. What tends to happen when you crew the Pak-43 is that German vehicles give it a wide berth, and any point in the immediate vicinity comes under attack less often and only by infantry. On some maps, though, it doesn’t make sense to concentrate your defense near that Pak-43, so you may want to just capture it in order to destroy it.
It is always better to do this mission on level 1 or 2 difficulty if possible. Above those levels, especially on one of the more open maps such as Lierneux or Bastogne Outskirts, it is one of the hardest AA missions—IRL it would be considered an absurd suicide mission. On level 4 or 5, on any map, consider starting the campaign over, or editing the campaign file to reduce the difficulty level.

♠♠♠