[reviewed/revised 17 Oct 2021]
You bring three corps of up to 20 units each, as shown in the picture below. Note that in the second phase of the battle, most of the “right” corps and some of the “reserves” corps appear together in the center at the “reserves” corps position on the map. In the third phase, the remainder of the right and reserves corps appears at the “right” corps position across the river.
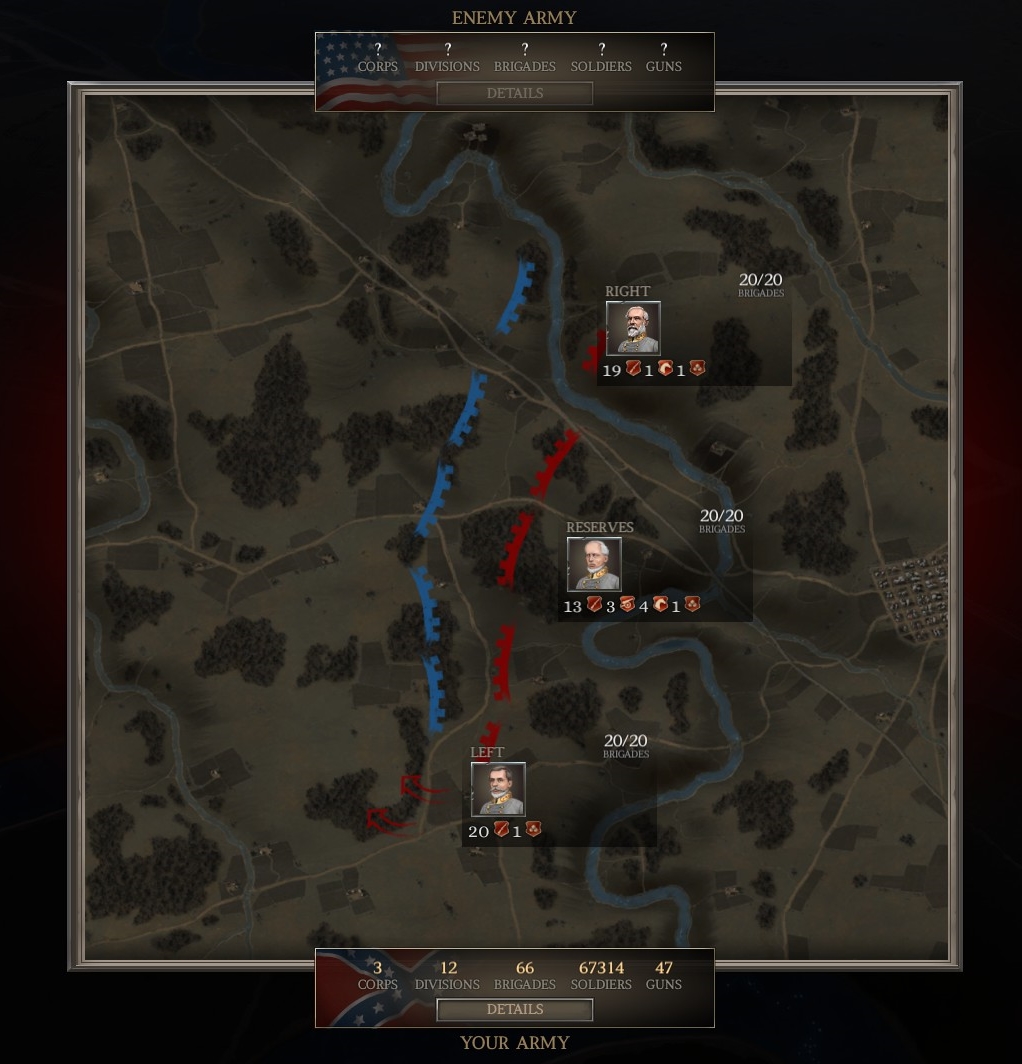
Your left and right corps should be virtually all infantry. Your reserve corps, which mostly arrives late in the battle in an inconvenient position, can be all cavalry—to get to the battle faster—or an infantry/cav mix. You won’t need artillery much in this battle, as you’ll mostly be maneuvering.
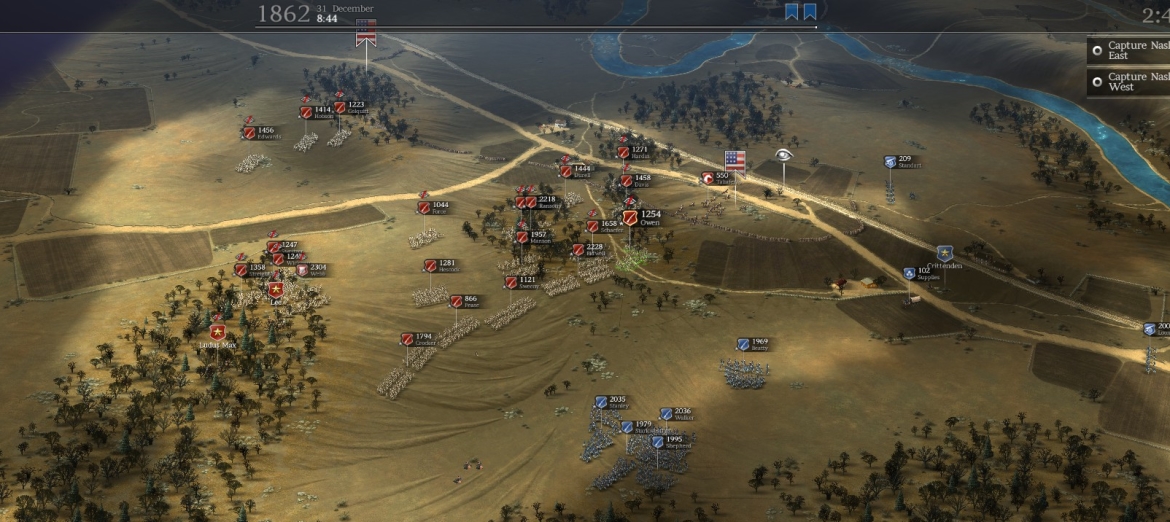
Your main goal is to take two Union flag positions (Nashville Turnpike East and Nashville Turnpike West), which are situated well behind the initial Union line. The other flags don’t really matter—you never have to take them.
Before the start of the battle, shift your units in their starting boxes as far to the N and E as they can go. Then at the start simply move them, as stealthily as possible, up the far right side of the map, around to the N of the “Center” flag position (pictured below), and across the map to the NW of that flag. The aim here is to simply to get the CSA force closer to its ultimate destination (north of this initial map’s edge) without the delays and casualties that come from fighting offensively.
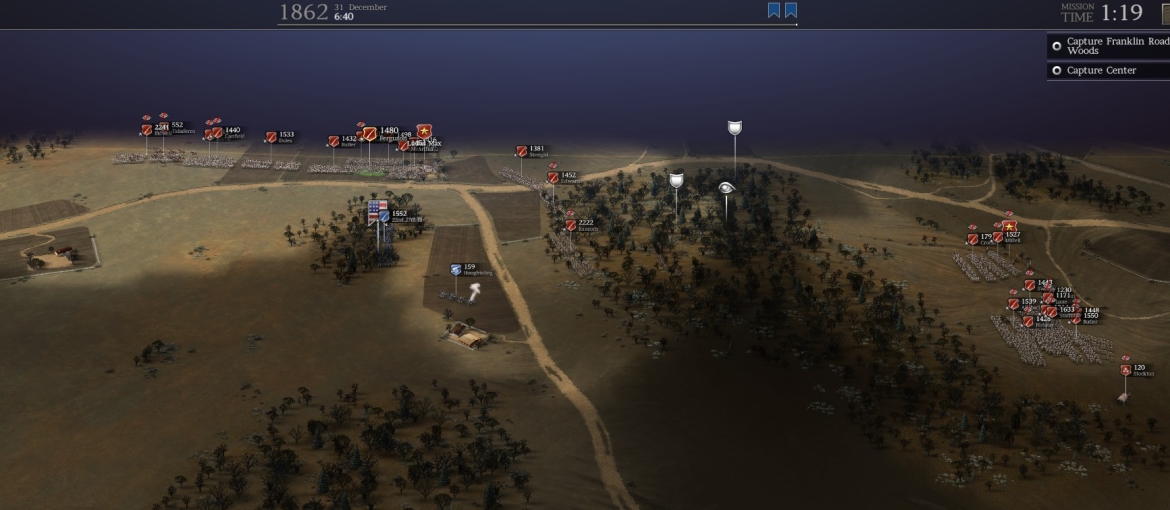
If you must fight Federal units at that flag in order to pass all your units along that road, do so—you can hit them from NW and NE and knock them back fairly easily.
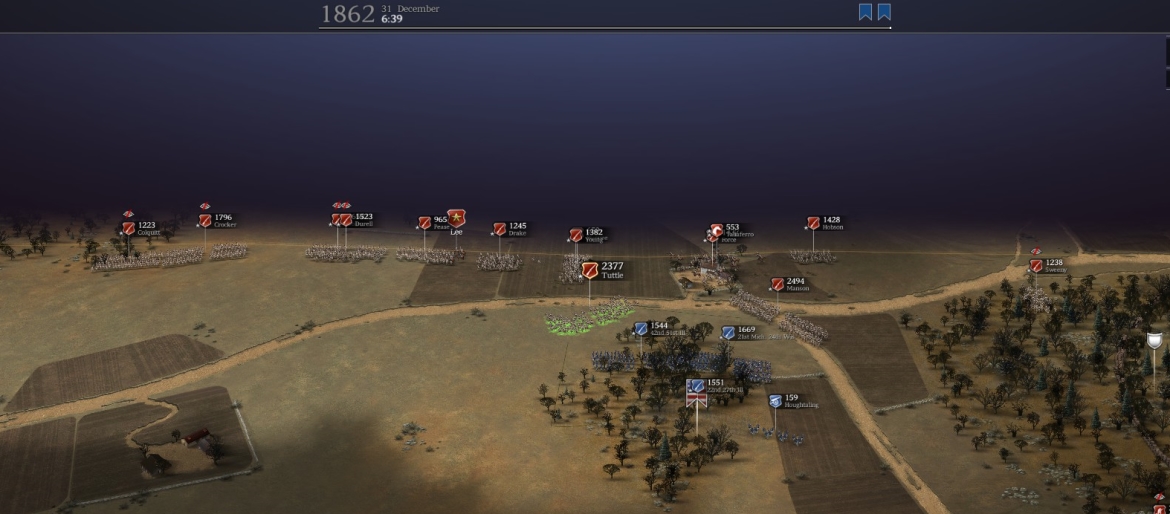
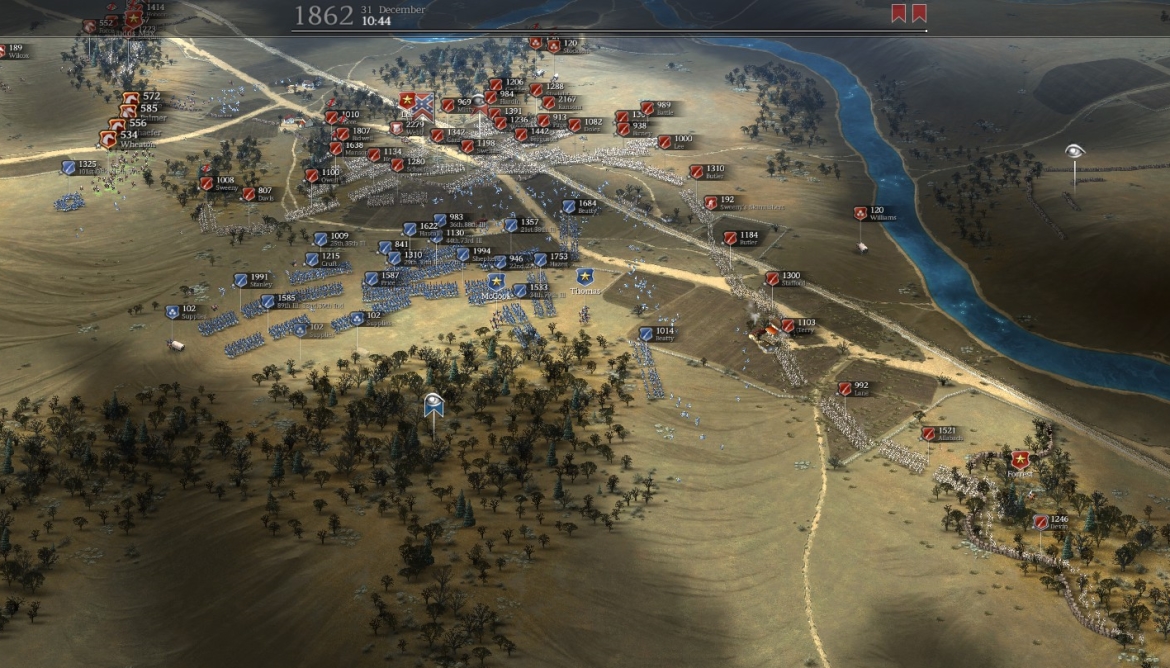
When the second phase begins, the map will open up to the N and you’ll see some of your right/reserve corps units just E of Wilkinson Turnpike Hill. They can stay where they are, forming a strong defensive line against Union attacks from across the turnpike. They are already close to the final destination of the Nashville Turnpike East position anyway—it is just north of the map-edge.
Your main force meanwhile can move to the north edge of the map, avoiding—to the extent possible—the Federal units around Wilkinson Turnpike Hill. They may face Union cavalry attacks from the S as they head N; if so, detach four or five brigades to form a defensive line at the S end of the woods, as shown below.
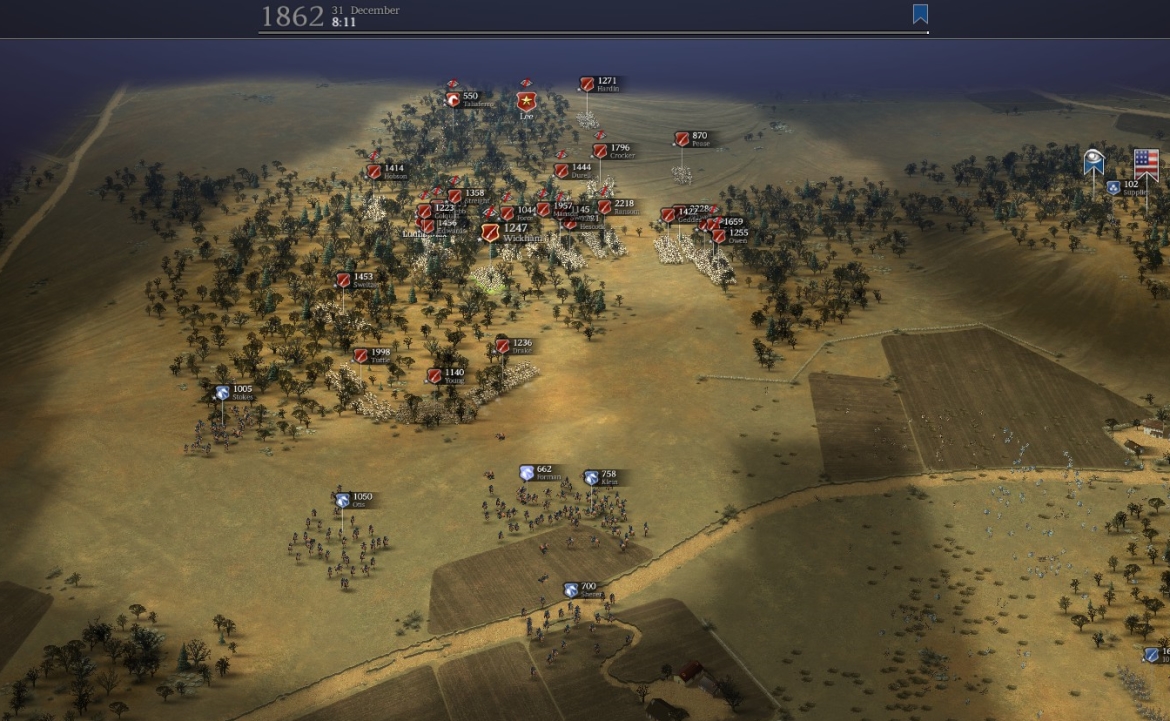
When the third phase begins, and the map opens up to the north again, your main force can simply run further north a short distance to take the two main objectives (Nashville Turnpike East and Nashville Turnpike West), which should be unguarded. Your forces to the E of Wilkinson Turnpike can stay in their defensive positions for now, and extend their right to join the main CSA line later on.
Your remaining, newly revealed forces across the river should cross at the ford N of the Nashville Turnpike East flag, and come down to squeeze the Federal units threatening that flag position. Things can get messy, and you will be forced to set up defensive lines mostly on open ground, but essentially (1) you’ll have impregnable positions at the two Nashville Turnpike flags, (2) you’ll be able to annihilate the small Union force north of those flags, (3) you can use your cavalry swarms to devour all stray Federal units, and (4) merely by staying in your defensive positions at the flags and keeping your lines orderly you’ll cause many casualties to the Federals trapped on open ground south of you.
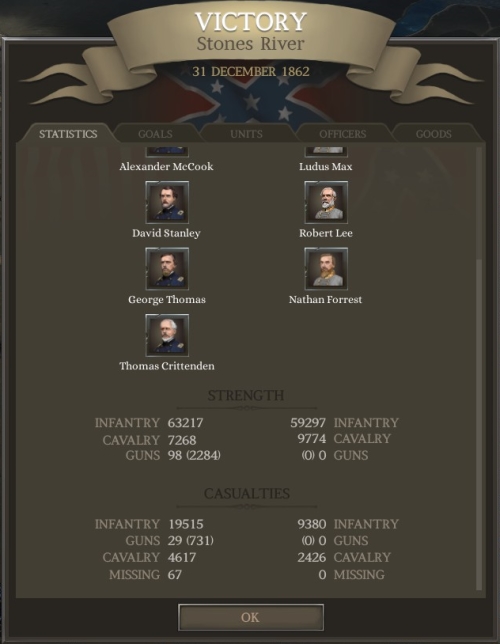
When the timer runs down, the battle will end.
J & P Rebalance Mod (1.27.4.3) BG
The same strategy works. You can bring 24 brigades per corps, and melee cavalry are especially powerful, so bring plenty of them.
♠♠♠