[reviewed/revised 16 Oct 2021]
For Shiloh your limit is 20 brigades, and you’ll have an easier time of it the closer you get to 20—all or almost all standard infantry (no artillery or skirmishers, no more than one melee cav unit) and 900-1,000 men per brigade is enough. Your corps will take the lead and attack the Union right (left side of the map, from your perspective) around Shiloh church. For the attack on the Union left you will also control elements of Bragg’s and Breckinridge’s corps, which have artillery as well as large brigades. I think it’s better to emphasize regular infantry brigades for this offensive, maneuver-intensive battle that doesn’t involve taking serious fortifications.
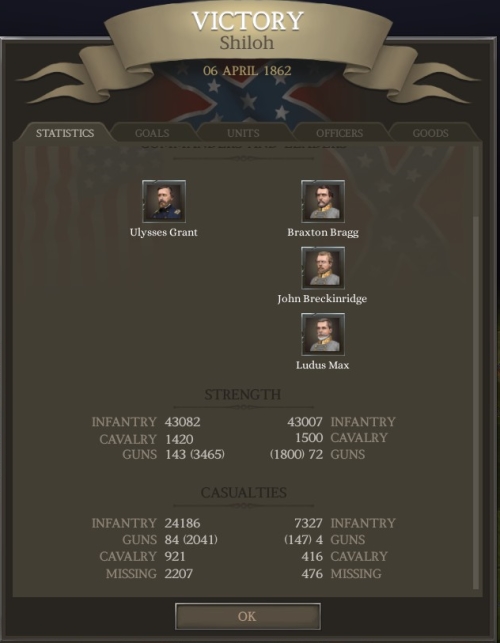
You will aim for a day-one victory, which means going all the way north and taking the fort at Pittsburg Landing, and defending it against Buell’s first divisions that arrive late in the day.
Here’s one way to do it:
In the initial battle phase, on the left side of the map, you’ll start with the first ten of your brigades. Send them straight to the left edge of the map and then up that edge to a position where they are in woods, out of sight from USA units, and ready to march NE along the river/stream at the top the map, to flank the USA’s right.
When the remaining ten brigades arrive at the bottom of the map, have all but three or four head directly to the left map edge and then northward to follow your first units. The remaining three or four can advance, with skirmishers out, up the middle of the map—mainly to draw/distract USA brigades away from the Shiloh church position. Once those decoy units are engaged by Union units, your main force can start ascending the marshy ground along the stream towards the top of the map.
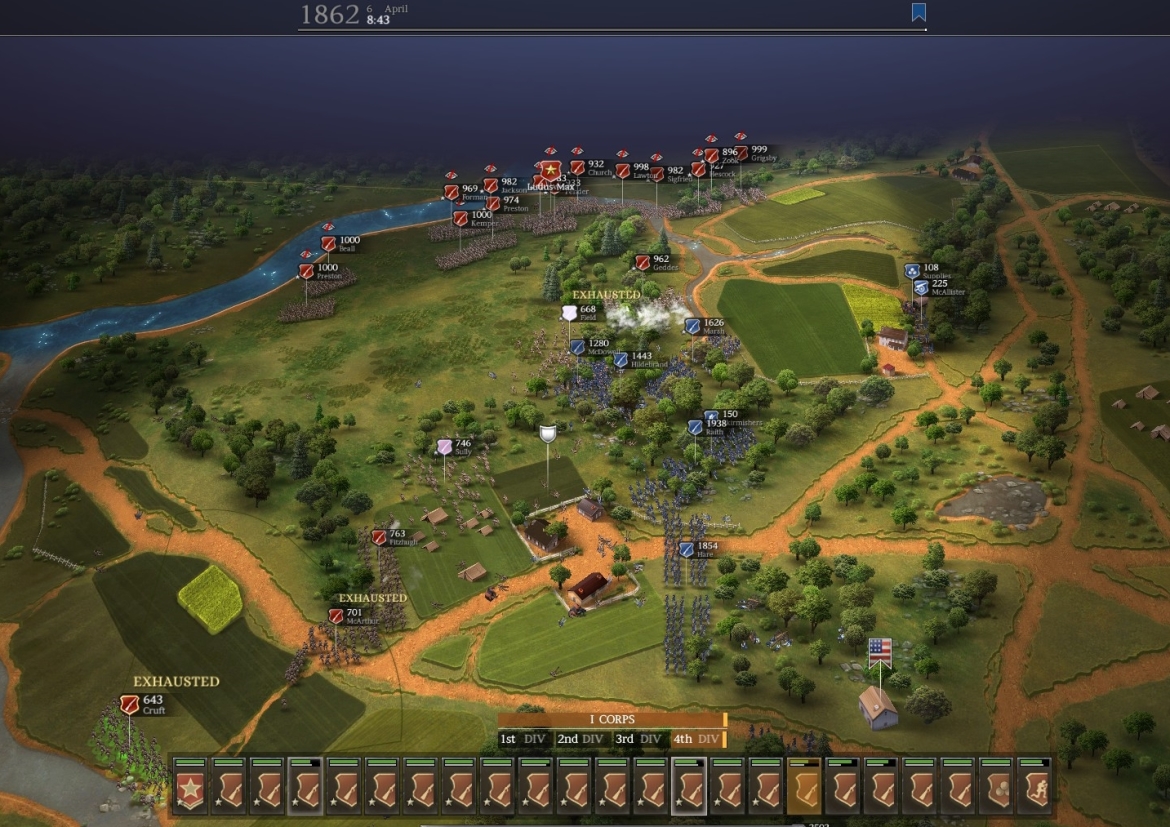
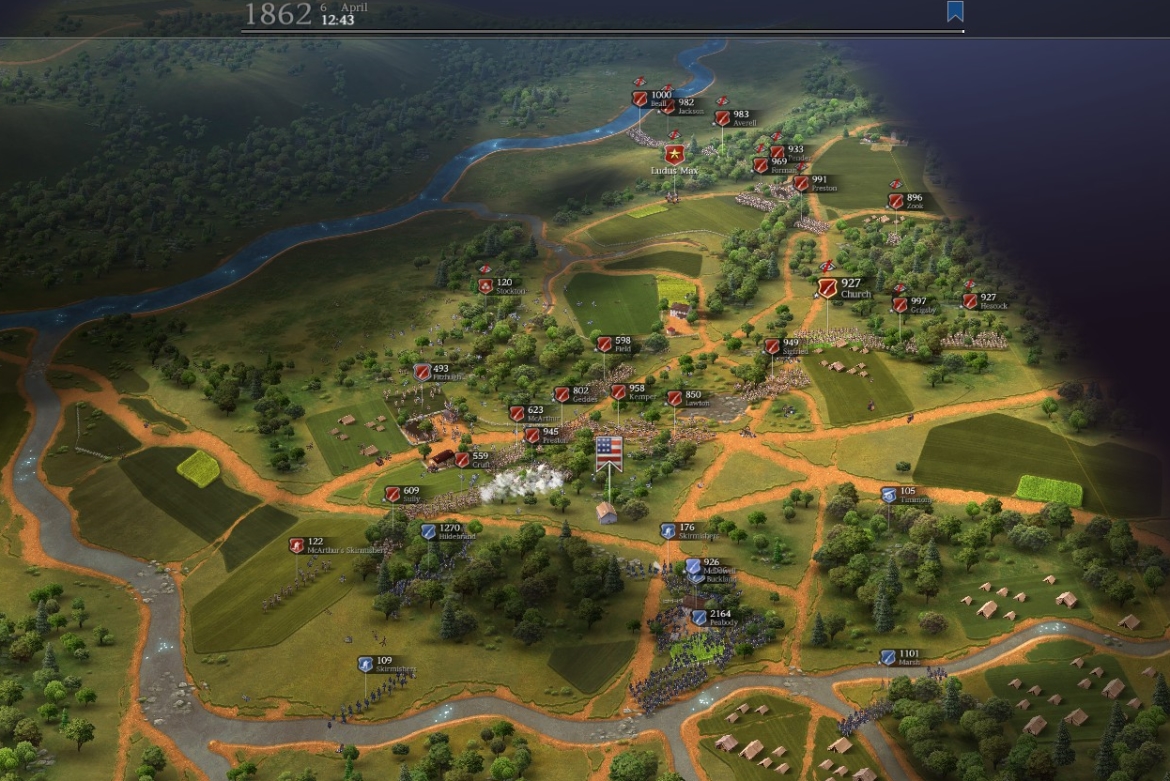
At some point you will need to start sending some of your flanking brigades across/down to face USA brigades around Shiloh Church. The rest can spread out near the top of the map. Altogether they should form a straight or zig-zag line across the map, effectively blocking the Federal units around Shiloh Church from going north. At this point you can play defense, at great cost to the outnumbered Federals, until the map opens up to reveal Pittsburg Landing; then you can just send half of this corps to help secure the landing, while the rest keep the Federals at bay below Shiloh Church.
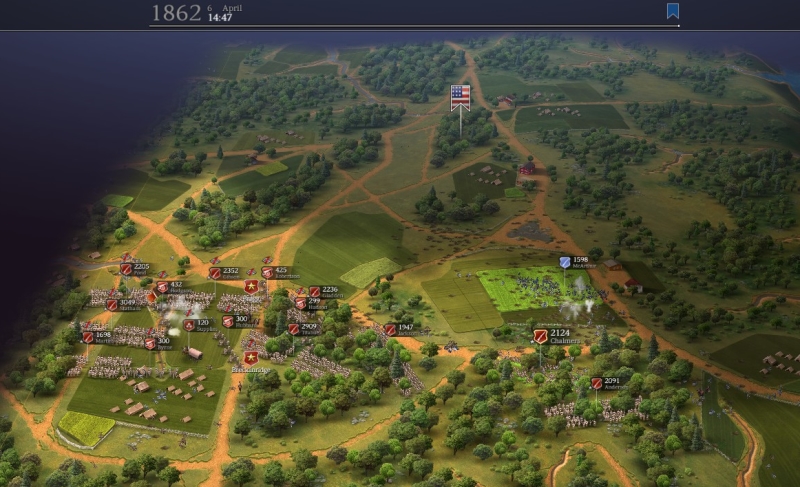
In the second phase, you’ll control Bragg’s and Breckinridge’s units on the right-side map, along the Tennessee River. Send everybody up the left edge of this map, using your large brigades to roll over any Federals in your way. Along the way you’ll take the flag on the left side of this map. Shatter any Federals that rout up to the top of the map, but mainly try to establish a solid front across the top of the woods near (not at) the N edge of the map, from the W edge of the map to around the center. Don’t linger near the very top edge of the map because there are large Federal brigades waiting to pounce (from the Hornet’s Nest position) when the map opens up. Don’t bother about the flag on the right side of the map. None of the flags really matters in this battle except the last one at Pittsburg Landing.

At some point, well before the phase timer runs down, the phase will end and you’ll resume, on the left-side map, your slaughtering of trapped Union brigades around Shiloh Church.
When that phase ends—as it will, soon—you’ll switch back to the right-side map again, which will open up to the north, revealing the Union’s Hornet’s Nest position. Use this phase to bring as many CSA units as possible up the left edge of the map past the Hornet’s Nest position—while defending against Federal attacks from that position. Your late-arriving infantry units should run up the left edge of the map to follow the first group. Your late-arriving artillery batteries should be retreated off the map, though, because they can’t keep up with your infantry and are extremely vulnerable to Federal cav units.
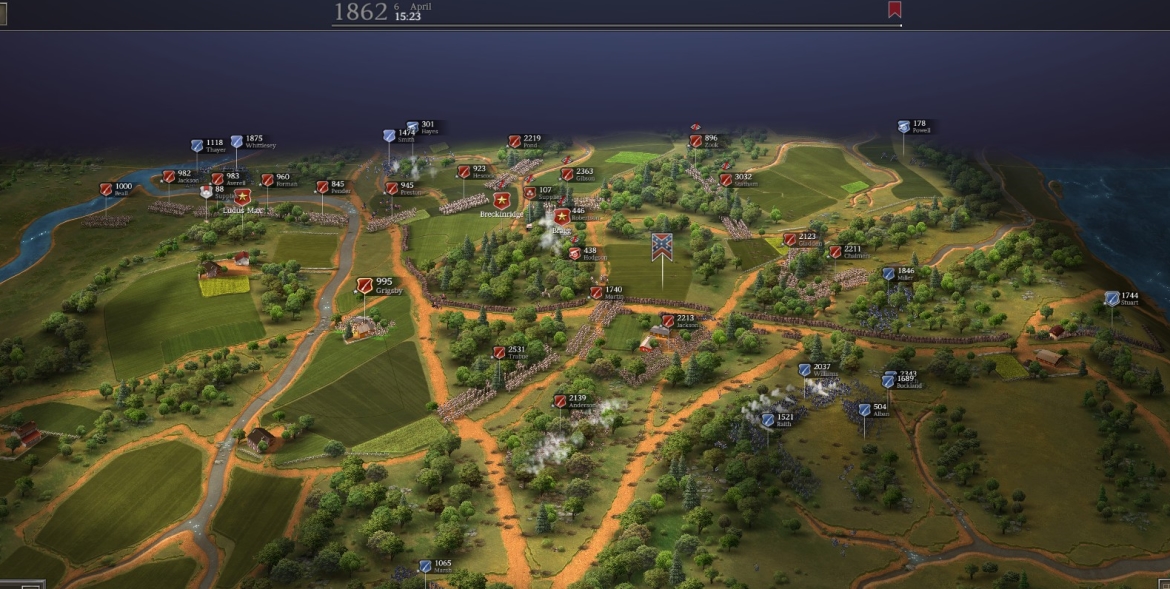
When this phase ends, the map will open all the way up and you’ll see that CSA is in an excellent position, having bypassed/destroyed most of the Union forces so that it now can march easily into Pittsburg Landing.
Take the Landing flag and set up your units to guard against:
- Union reinforcements coming from all across the N edge of the map,
- Union reinforcements that will approach from the Tennessee River (E) side of Pittsburg Landing,
- remaining Union brigades from the Hornet’s Nest area.
Note that when the “finish” button appears, after the timer runs out and you are holding the Landing, you should NOT click on it. Wait a few seconds and the battle should end automatically. If you press that finish button, you will often have to go to a second day, now fighting a reinforced Union.
J & P Rebalance Mod (1.27.4.3) BG
The same strategy works just fine. Note that you will need to take greater care not to fatigue your units; in battles with this mod, they become very weak when tired. Note too that you can bring up to 24 brigades, rather than 20 as in the vanilla game, although many of those will necessarily be green units that, again, are very weak when using this mod.
♠♠♠