[reviewed/revised 17 Oct 2021]
For the Second Battle of Bull Run, you bring two corps of up to 24 brigades, and whatever you have left in a third corps if you have one. (You can do this battle, and win reliably, with much less, e.g., two 20-brigade corps, though it’s nice to have an overwhelming advantage especially if you plan an annihilation victory.)
The first large corps you will assign to the Day 1 “diversion” and it can then defend Stony Ridge on Day 2 and 3. This corps should have at least several strong artillery units, the rest infantry with decent rifles—mainly for cutting down Union brigades as they approach across open ground. It does not need any cavalry.
The second and third corps will reinforce late on Day 2 and can be lower-quality with more melee-type infantry/rifles, but should be as numerous as possible and should include at least half a dozen cavalry units. These reinforcements will enter from the W side of the map late in the day 2 battle, and on that day and day 3 will play a key role in flanking, surrounding, and annihilating the Union forces.
Day 1 is an annoying waste of time. You are supposed to have a skirmish with a small Union force, ostensibly to draw them into the larger battle, but for CSA in this game there is nothing to be gained by getting into this firefight. Just right-click out your starting units so you have none on the map, and start the battle, moving the game speed to fast forward. About 15 seconds later the game will proceed to the next day.
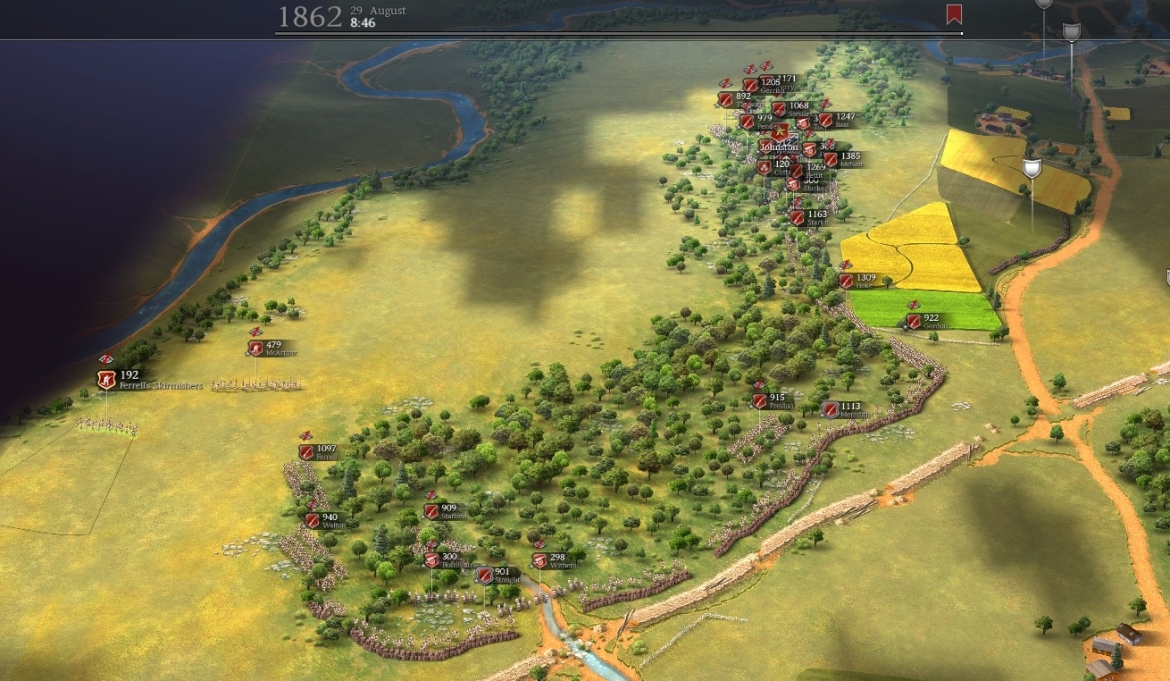
Day 2 is for the defense of Stony Ridge. At the start, bring your units out of the fortifications and other (bad) starting positions at the N edge of the map and pull them back into the woods. Shorten your left flank so you have more of a defense in depth. Also keep enough infantry/artillery at or near your right flank that you can easily repel an attack by 3-6 large Union brigades, which will happen if you make it look feasible for them.
You might have to do a bit of micro depending on where the Federal attacks are concentrated but for the most part you can let them come to you—your line should be more or less impregnable (which was Stonewall Jackson’s basic idea here, of course). If you were to go forward into the (bugged) fortifications, you would be much more spread out, and the Union would easily bunch up and punch through your line—and whatever the battle’s outcome, you would sustain a lot more casualties than you would with the strategy I suggest.
Late in the afternoon, around 1740, you should start getting reinforcements from the W edge of the map. Rush them if necessary to surprise and push away any Union brigades that are pressuring your right flank—but don’t attempt the full encirclement now.

At the outset of Day 3 the game annoyingly repositions ALL your forces (why? why?), so you’ll have to unreposition them first. Your first corps should resume its positions defending Stony Ridge, but along most of the line can now advance to the forward fortifications. The N end of the line will need the most attention/force.
The reinforcing/flanking corps, now repositioned at the far W edge of the map, can either 1) push W to E below Stony Ridge and to the bottom of the map, with the aim of wrapping and annihilating the entire Union force, or 2) reinforce the first corps in the defense of Stony Ridge, or 3) set up a defensive line at a right angle to the Stony Ridge line, to hem in the Federals without going for an all-out assault.

Note that although CSA can easily take all the other flags on the map, it does not have to do that—holding Stony Ridge and causing 20% more casualties than the Yanks is enough for victory.
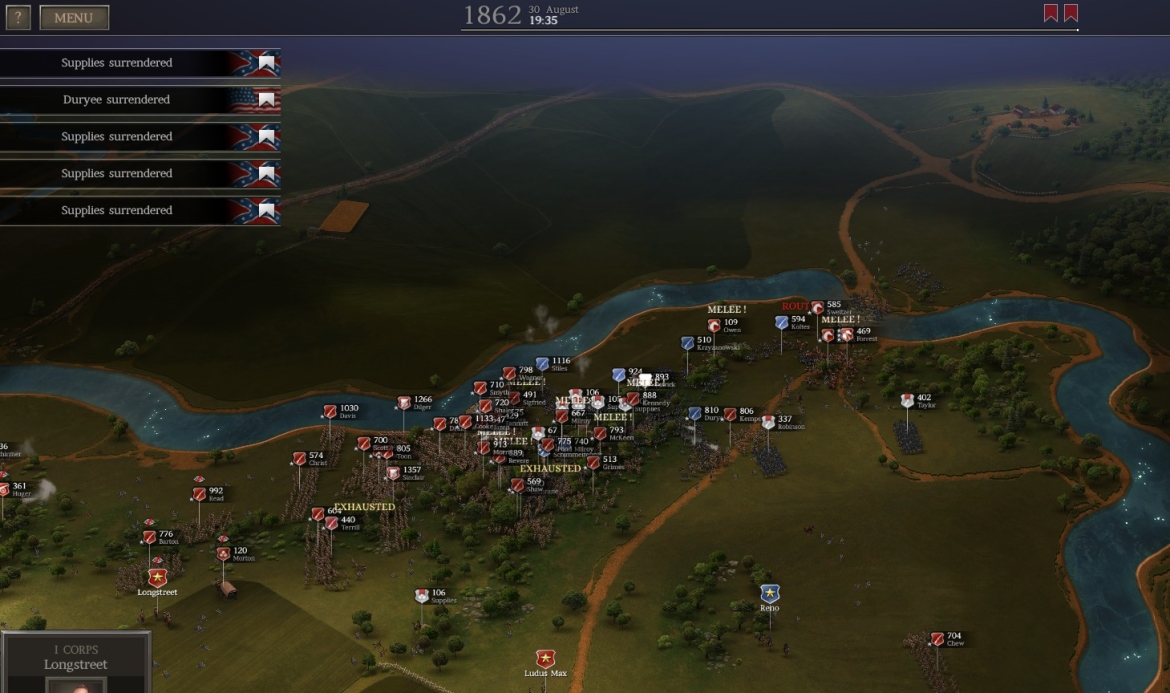
If you choose to counter-attack, and your units are moving quickly enough, you can usually trap the remaining Federals at the top of the map and basically annihilate them and take their many supply trains.

J&P Rebalance Mod (1.27.4.3) BG
The same basic strategies for this battle work when using the mod. Note that melee cav are very strong with the mod, so you’ll want include at least half a dozen big melee cav units with your flanking forces.
♠♠♠