[reviewed/revised 19 Oct 2021]
It can help at Chickamauga if you reduce the Union army size in preceding battles (e.g., Chancellorsville, Gettysburg, Siege of Jackson), so you won’t be heavily outnumbered.
You bring two 24-unit corps, one available on the first day of skirmishes and ford-crossings, the second joining on day 2. Note that on day 2 only the first three divisions (3 x 6 = 18 units) of your second corps arrives. The battle can go to day 3, but there is no need to let that happen.
Your first corps and second corps (day 1/2 divisions) should be virtually all infantry—no more than one or two cav and one or two artillery units.
Day 1
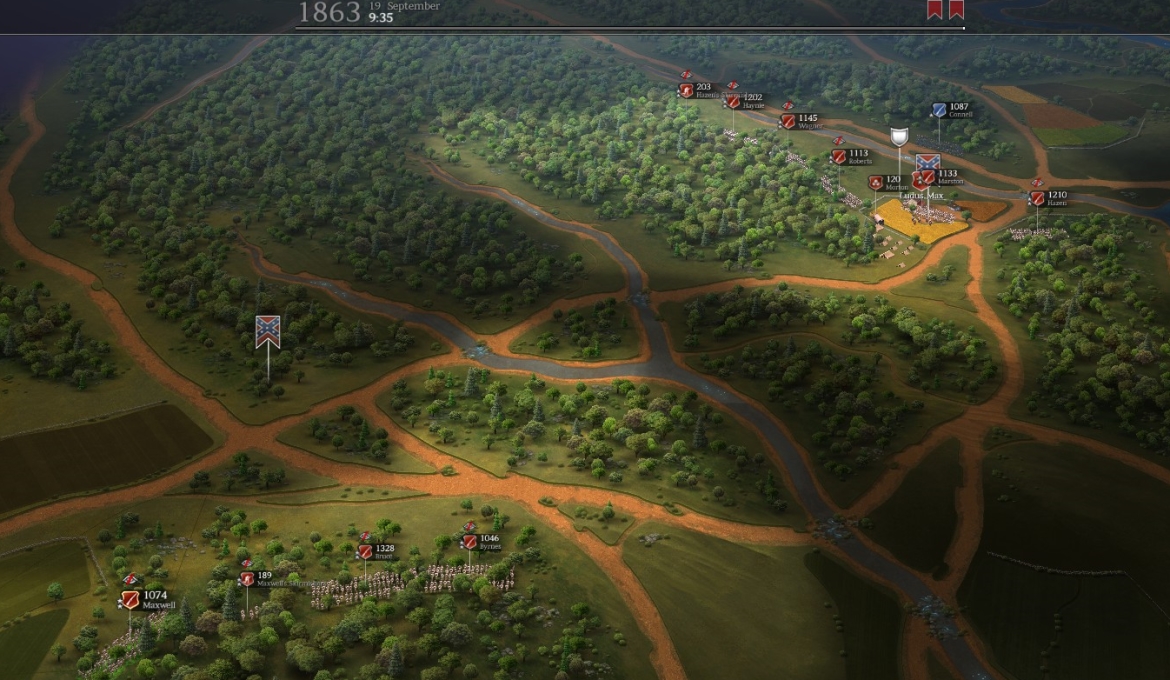
You face the task of taking a bridge (Alexander’s bridge) that is guarded by well-equipped Union brigades. You will have the six units from your first corps’ first division. Bring these northwards through the woods to get closer to the bridge, but keep them out of sight. If you like, pop out a skirmisher unit to scope the defenses. Do not attack.
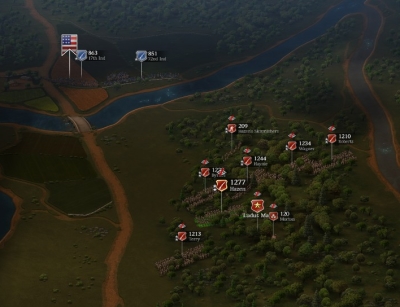
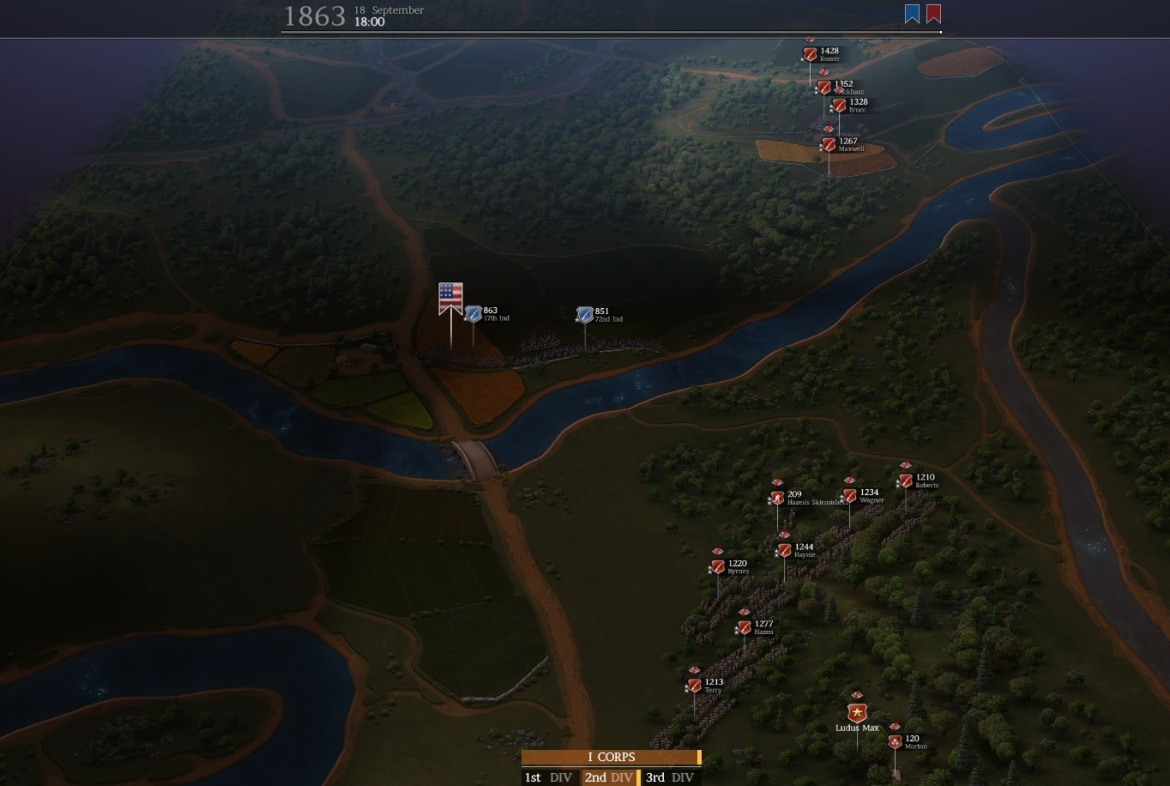
At 1730 four of your second-division brigades will start arriving at the bridge (Reed’s Bridge) at the NE corner of the map. Be ready for this—they may be shot up badly if unattended. Bring them into the woods immediately to the NW of Reed’s Bridge, and, from within the woods, surround the Union fortifications as much as possible to flank the Union defenders, rout them, and push them to the west. Detach skirmishers if needed to rout Federal artillery, but otherwise do not pursue the Union units—try to stay in a solid defense line within the cover of the woods.
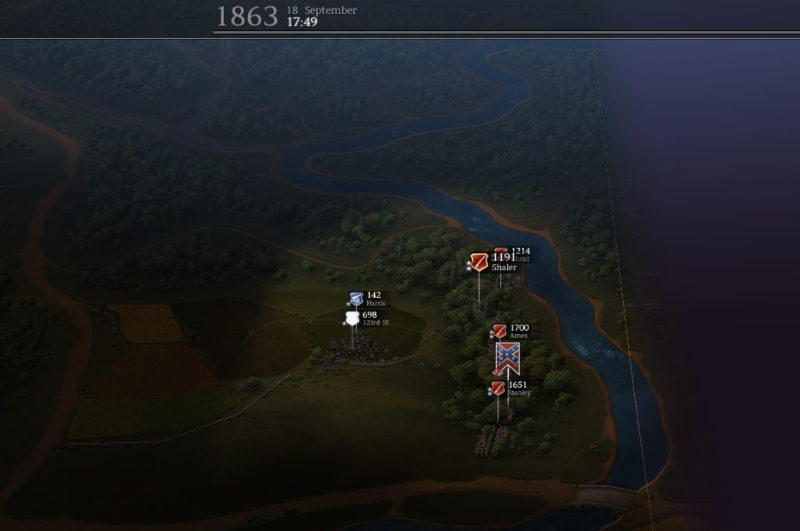
Around this time, four more CSA units will arrive further south, from the center of the eastern edge of the map. Bring them south to the rear of the Alexander’s Bridge defenses and have them rout the Union defenders from behind. Your first division, lurking in the woods to the south of the bridge, should attack across the bridge at the same time the defending units are being hit from the rear.
The Union units will rout to the west. Push them away from the vicinity of the bridge, then form a defensive line in the woods and get out of any positions where you are taking lots of casualties from skirmishers or artillery. Note that Union units on day 1 are often very well equipped with special weapons such as Spencer repeating rifles. CSA can incur thousands of casualties just in these initial skirmishes if it engages for too long.
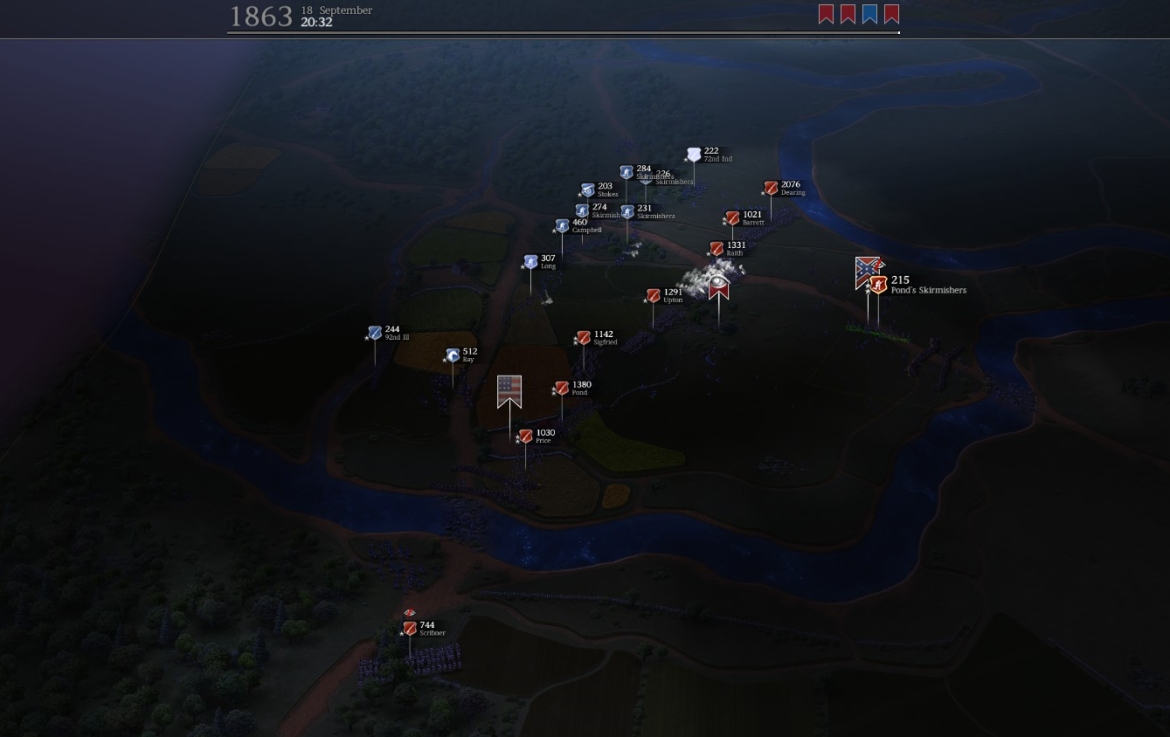
Once Reed’s and Alexander’s bridges have been taken, or when you are more than 2 hours into the battle, you will be tasked with taking two lower river crossings. A half dozen brigades from your first-day corps will arrive, in two separate groups, at the bottom of the map for this purpose. Use them to charge the defenders at the right-side river crossing, set up a defensive perimeter, and then extend to the west to take the defenders at the second crossing from behind. Now just defend against sporadic Union attacks until the timer winds down.
You can replace some of your losses in the camp UI before day 2.
Day 2
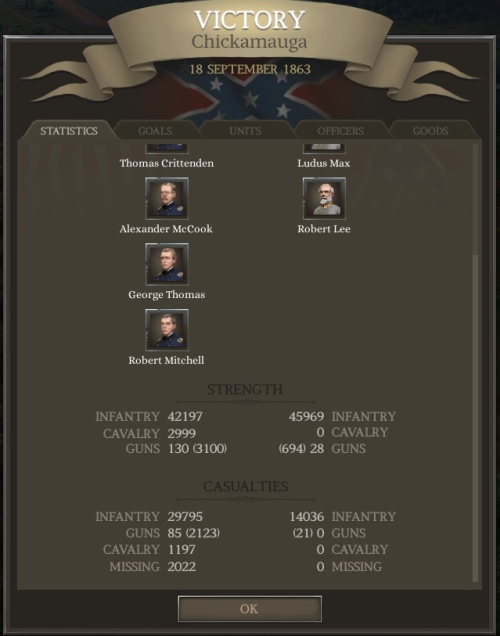
On day two you will start at 0900 with 8 of your first-corps units around two flags at Brotherton Road and Jay’s Mill. Your goal on this day is to hold those two flags against Union attacks and, late in the day after CSA reinforcements arrive, take three out of the four flags along the La Fayette Rd. to the west. If you have achieved the victory conditions by 1830 you win the battle.
Four of the brigades you start with on this day should defend Jay’s Mill. Use woods and buildings for cover, not the fortifications at the flag. In case it wasn’t already obvious, fortifications generally are broken in this game—they are often, in effect, traps in which troops that try to use them will be easily flanked and routed. Keep your Jay’s Mill defenders well supplied. They won’t move much from this position until the very end of the battle. Union attacks will come mainly from the river crossing but also sometimes from the woods to the NW. Ignore seemingly isolated Union supply wagons that veer into view unless you have a cav unit that can snag them quickly.
The rest of your starting units should hunker down in the woods just south of the Brotherton Road flag, basically right at their starting box. The first few groups of reinforcements that come in from the bottom of the map should help strengthen the Jay’s Mill defenses as needed, and otherwise should join the bunch below the Brotherton Road flag.
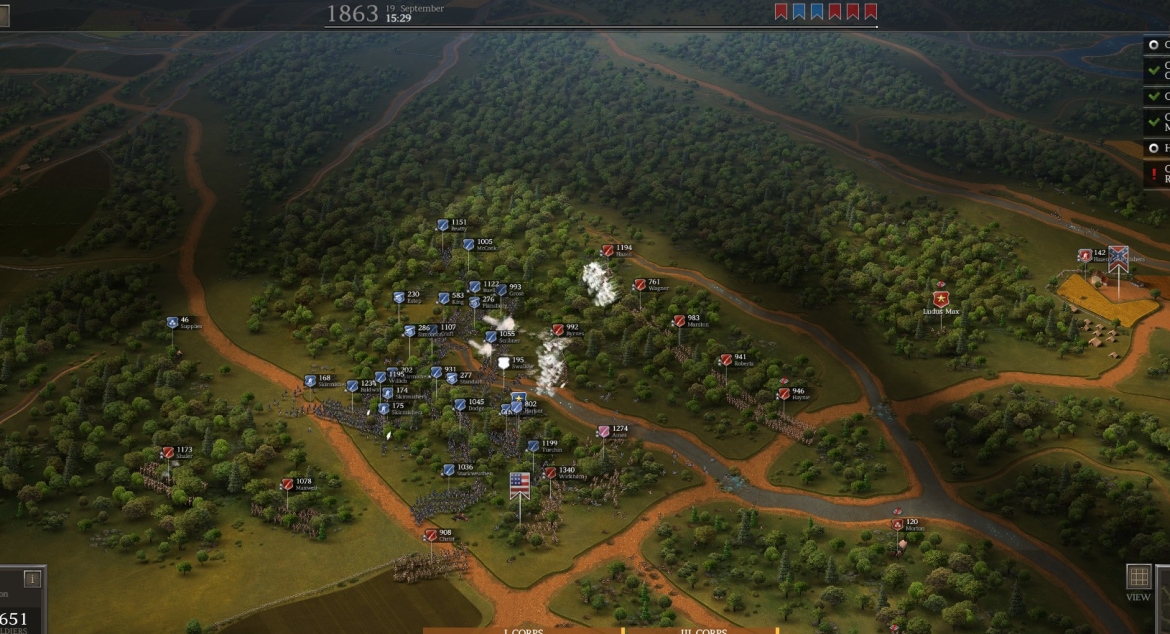
“We May Have a Chance to Break Their Defenses”: At 1200 you will get this message and the map will open up to the W and S, revealing the four Union-held flags along LaFayette Rd. From north down to south, they are Kelly Field, Brotherton Cabin, Viniard Field, and Lee & Gordon Mills. Some of your second corps units will be on the field to the south, and the rest will arrive from the bottom of the map shortly.
Put all the new brigades into position, just out of sight of the Union line, to the E of the Viniard Field flag. When these units are rested and ready, they should sweep in with overwhelming force, take the Viniard Field flag, and set up a perimeter to N, W, and S to guard against counterattacks.
When your units in the Viniard Field area are rested, they can push north to take the Brotherton Cabin flag, and, after resting and reorganizing again, can keep going north to take the Kelly Field flag. They can then move to push Union brigades out of the woods E of the Lafayette Road. Once the latter action starts, the CSA forces that have been hunkered down all day south of the Brotherton Road flag can push north to take that flag—the last one needed for CSA victory. There should be a large, at least corps-size group of Union brigades in the woods just north of the Brotherton Road flag. Push them back from the flag as well as you can, and then stay in good defensive positions, shooting them when they come near. Some of your brigades that have been defending Jay’s Mill may be able to help. Keep enough units near your flags that Union cav can’t sneak in and capture them at the last minute.
You should have been using “your” general as much as possible in the campaign, with the goal of getting him promoted up to Lt. General to join Lee and Johnston at that rank. Your guy’s promotion should happen at or before the Chickamauga battle.

J & P Rebalance Mod (1.27.4.3) BG
The same strategy works when using the mod. Note that you can bring up to 30-units per corps in your two corps. Melee cav and artillery are stronger with the mod so you should have plenty of cav, and at least a few artillery batteries to help in defending the Jay’s Mill and Brotherton Road positions.
♠♠♠