[updated 20 July 2023]
Theater of War Mission Pack: Operation Barbarossa
Mission: Brody Tank War
This first mission in the COH2 Theater of War collection is easily the best of the lot—which unfortunately means it’s all downhill from here.
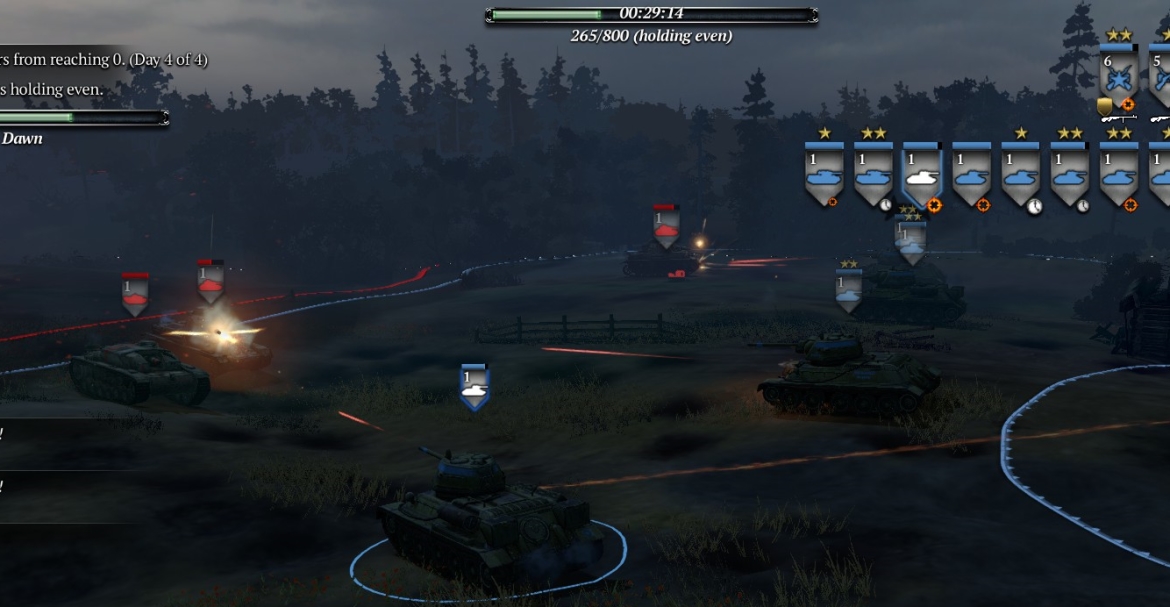
You start with a couple of T-70s and a KV-1, two conscript squads, an engineer squad, and a ZiS-3 field gun. Your task is to control VPs well enough to keep your points from going to zero during the roughly 32-minute mission, which is supposed to simulate four nights and three days of Soviet defense against German combined-arms attacks near the outset of Barbarossa in the summer of 1941.
It’s a 2v2, so you have a CPU ally. The CPU ally is not a total disaster, but, in a foreshadowing of the CPU-ally problems you’ll experience in other missions, it is coded to suicide itself against the (usually impregnable) German base, as soon as it starts to dominate its side of the map. Thus, for much of the second half of the mission, you’ll be more or less on your own. The good news is that you get lots of free tanks and have a pop cap of 200, so you can manage.
You can play this by bringing in armor (T-34s) almost exclusively, or infantry (penals, conscripts, Guards Rifles) almost exclusively. The most straightforward strategy is the armor-focused strategy.
From the Left Base (default)
The two key points you’ll need to defend are the middle VP and the territory point (“NW-TP”) at the NW corner of the map.
At the start, send the KV-1 to the middle VP. Ideally it should keep this middle VP in play, to prevent a full concentration of German units on the NW-TP.
Send one conscript squad to crew the ZiS-3 in the Vehicle Repair facility in the center of the map. Send the other conscript squad to crew the ZiS-3 on the ridge to the SE of the middle VP. The two crewed guns and remaining half-strength conscript squads should then go straight left across the map (avoiding German infantry) to the road that runs up the left side, and proceed N from there to the NW-TP, where they should prepare for attacks from the N/E/NE.
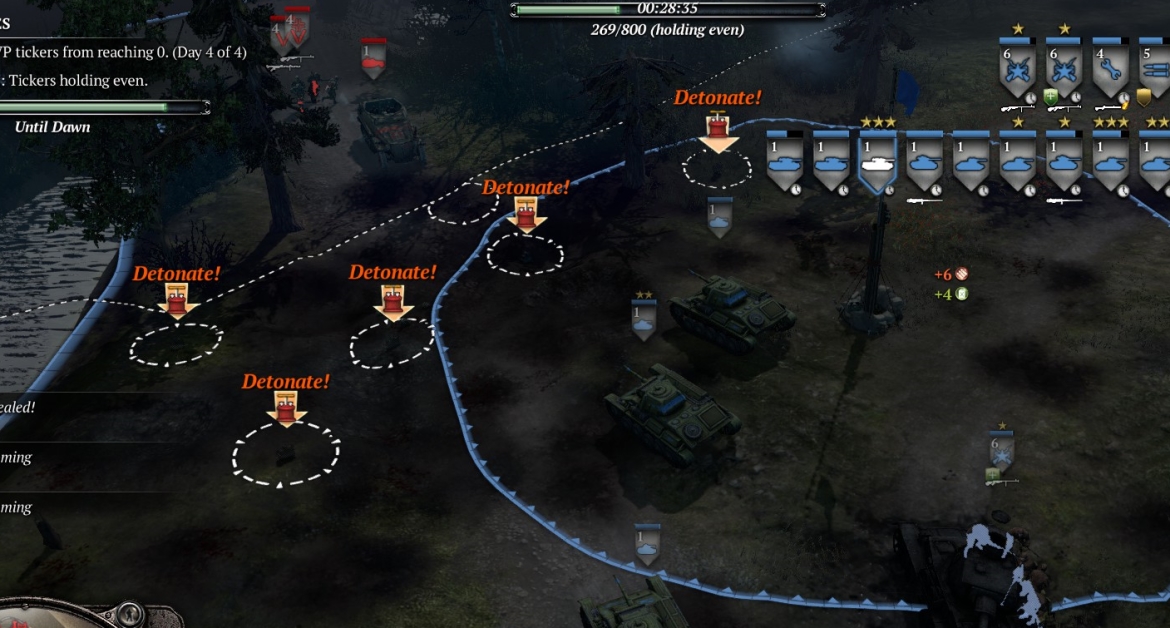
Engineers and starting ZiS-3 to the NW-TP. Engineers should (throughout the mission) plant mines/demo-charges near the edge of the map at the NW-TP to help thwart German attacks (flamer-251s, scout cars, Panzer IVs, StuGs, panzergrens, grens, Paks, especially at night). You should position your three ZiS-3 guns on the knoll to the SW of the NW-TP, so they can hit vehicles coming from off-map to the N or from the fog-of-war to the E/NE.
T-70s go to the area just S of the NW-TP, to kill roving German pios and grens, then should help out at and around the NW-TP.
Bring in a T-34 asap, and send it to help at the middle VP. Next bring in a truck and a penal squad—they go to the NW-TP.
Keep bringing in T-34s whenever you can, and use your penal squad, maybe backed by a T-34 and a T-70, to recap any points on your side.
Send your tanks to the Vehicle Repair Facility when they get more than 50% damage.
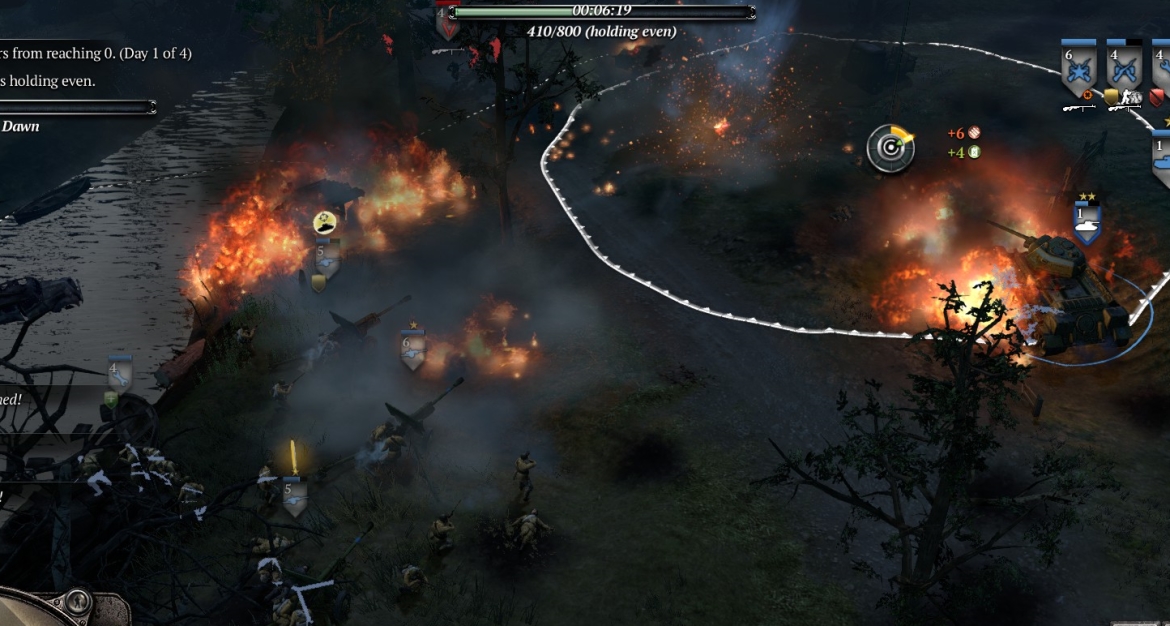
The first night will be difficult, but after dawn breaks, you’ll get some free tanks which will help a lot. Assuming you keep your tanks alive, you’ll soon be able to just line your tanks up across the map to prevent German units getting into your territory. Increasingly you will have to cover the right side for your mostly-dead CPU-ally—and note that a large German force will come in from the middle-right edge of the map most nights, flanking your main defense line if you’re not covering that sector.
This is a very kinetic, even intense mission. I suspect the devs, after finishing this one, concluded that it was too much work—and thus the other missions ended up being scaled down and kinda lame, compared to this one.
A few other notes:
- You will occasionally have to recap the lower left VP, which lies near your base, as the Germans may seize or bomb it to nullify your control.
- Don’t invest manpower in crewed HMGs; recent tweaks by the devs have weakened their ability to suppress, and on this armor-laden map they won’t survive long. Bunker-HMGs are OK.
- Your commander-enabled artillery/CAS will be mostly crap and not worth the munitions points, especially since the Germans tend to move away the very instant you order the strike. The Germans’ artillery, on the other hand, will be very powerful—any of your crewed weapons standing around (ZiS-3s, big artillery emplacements) in seemingly safe positions behind your lines are likely to die this way.
- You can impede the Germans with tank traps, but if the tank traps are within the fog of war, the Germans often simply cheat and teleport their tanks through them. Even when the tank traps are visible to you, they will disappear, enough to allow trapped German tanks through, if there are any tank/artillery fires or mine explosions in the vicinity—another cheat, in other words.
- The Germans tend to hit with mortars and artillery or close-air-support at dusk, and then assault with massed tanks later at night. In the daylight the battle tends to be less intense. Try moving a bit north of the middle VP at dawn and then pulling well back at dusk, poking forward as needed during the night to keep the VP.
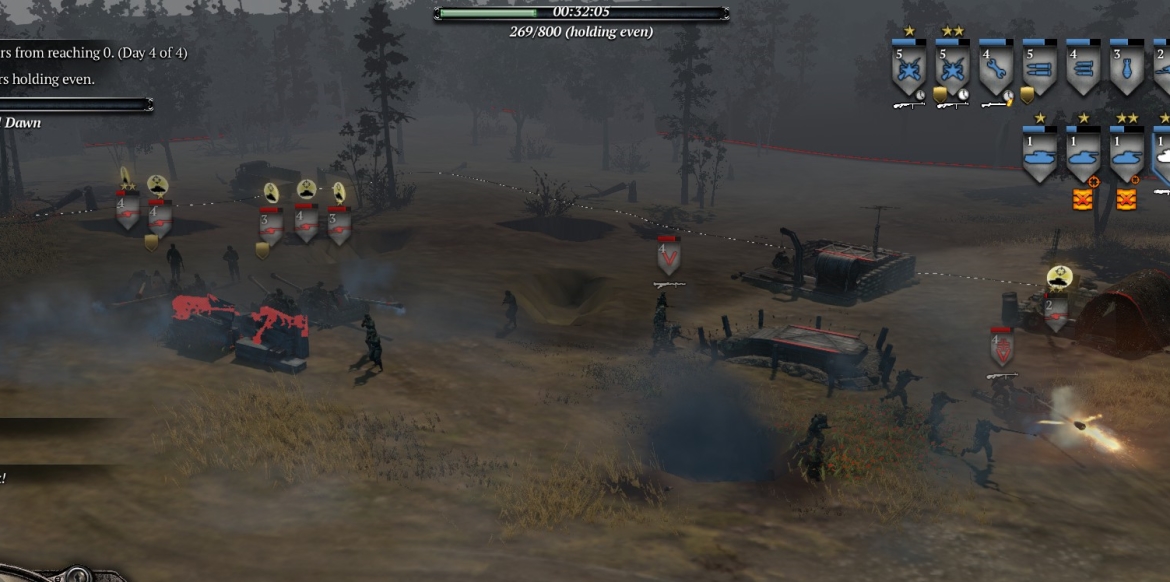
- Do not base-rush the Germans (unless you are very experienced). You can win that way in 20-25 minutes if you bring ~10 tanks, blast a narrow corridor through the minefield, and use your tanks, HMGs, field guns, mortars, and Katyushas, very carefully and methodically—though you still will lose most of your forces in the process. The AT power at the German base includes many Pak-40s and powerful mines. You can lose your entire tank force in seconds. Worse, when you start hitting the German base, CPU-Germany will give itself a gigantic reinforcement with 10-20 fresh Pz4s and StuGs from off-map.
- You can win this battle with any commander, and in fact commanders aren’t worth much on this map, because most commander abilities affect infantry and infantry can’t help much here (unless you’re going all-infantry). Commanders that boost your armor ability (e.g., Lend-Lease which makes Sherman tanks available), let you build bunkers and tank traps, or give you artillery/CAS support can make things easier for you, although you don’t really need them.
- A fun alternative is to do this mission without bringing in more tanks—just infantry (penals/conscripts/engineers/Guards-Rifles with PTRSs). Very challenging, but definitely do-able. If you win this way you get a special achievement for not requesting the free tank reinforcements (“I Need No Help”) though of course you will have achieved the even harder aim of not bringing in any additional armor at all.
From the Right Base
The right base is a long way from the left base, so playing from here means you really must cover the right side of the map. Key points in this case are the middle VP, for which you essentially share responsibility with your left-base CPU-ally; the territory point to its E (NE-TP); and the territory point (TP-road) just to the NW of the lower-right VP. (That lower-right VP will seldom if ever be contested.) Watch out for German units coming at night en masse from off the map, on the road just N of the TP-road. The basic strategy on the right side is the same: grab the uncrewed ZiS-3 guns at the start (otherwise the Germans will use them to kill your starting armor), bring in lots of T-34s until you have a strong defense line, concentrate your defenses wherever the Germans concentrate their attacks, and cycle your damaged tanks through the Vehicle Repair Facility so they stay alive and vet up. On balance, playing from the Right Base seems a bit easier than playing from the Left Base, though you will face the same problem of having to cover for your suicidal CPU ally.
♠♠♠