[updated 7 August 2023]
Theater of War Mission Pack: Victory at Stalingrad
Mission: Bridge Defense
The “Bridge Defense” mission is still winnable on General (Hard) level, but not very reliably. Your partisan force often gets wiped after Wave 13, and the apparent reasons include 1) LMG grenadiers are OP and not adequately suppressed by your HMGs, 2) Panzer IVs are too difficult to kill and too accurate with anti-infantry fire. Nevertheless the following guide works much of the time.
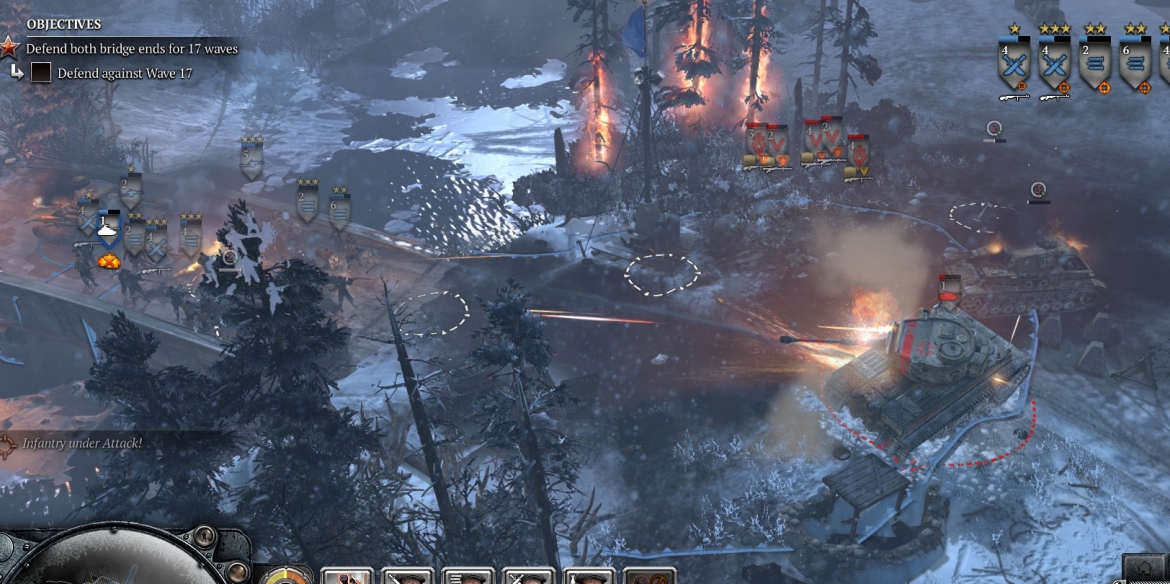
- There are 17 attack “waves” on the bridge.
- The UI indicates the routes from which the attacks will come (and often specifies whether they will include infantry and/or vehicles) before each wave—it is essential that you pay attention to that, but bear in mind that, especially in later waves, incoming forces will sometimes get to the map-edge and then move laterally to approach from a different direction.
- Manpower will be precious in the last few waves when you’re dealing with German armor and flamer-251s and losing lots of units. To build up a supply beforehand, use the start-wave-early capability (and be ready) on early waves. Having a manpower float of >600 points by Wave 11 or so is a good idea.
- HMGs are your major weapons until around wave 11 when German tanks start coming in. Put the HMGs in buildings/bunkers where possible but in mid-late game beware house-collapsing tank fire or veteran enemy infantry throwing flames or grenades. You start out with a captured MG42—once it’s vetted up use its incendiary-round, enhanced piercing capability when expecting German scout cars or 251s; those incendiary rounds also have more power against infantry.
- On the left side of the bridge, use the buildings for sheltering your forces. On the right side, use/build sandbags and the south-facing bunker. When you get the wave in which the Germans come from all three roads on each side of the bridge (somewhere around wave 10), pull your lines back to the bridge itself, maybe leaving one HMG in a building nearby to set up a crossfire.
- Scrounge ammo and weapons from around the map at the start and periodically thereafter. There are two abandoned Pak-40s, I think always one on one side and the other on the other side. You don’t need to man the Paks (and they may not even appear) at least until the Germans start attacking with scout cars in Wave 4 or so.
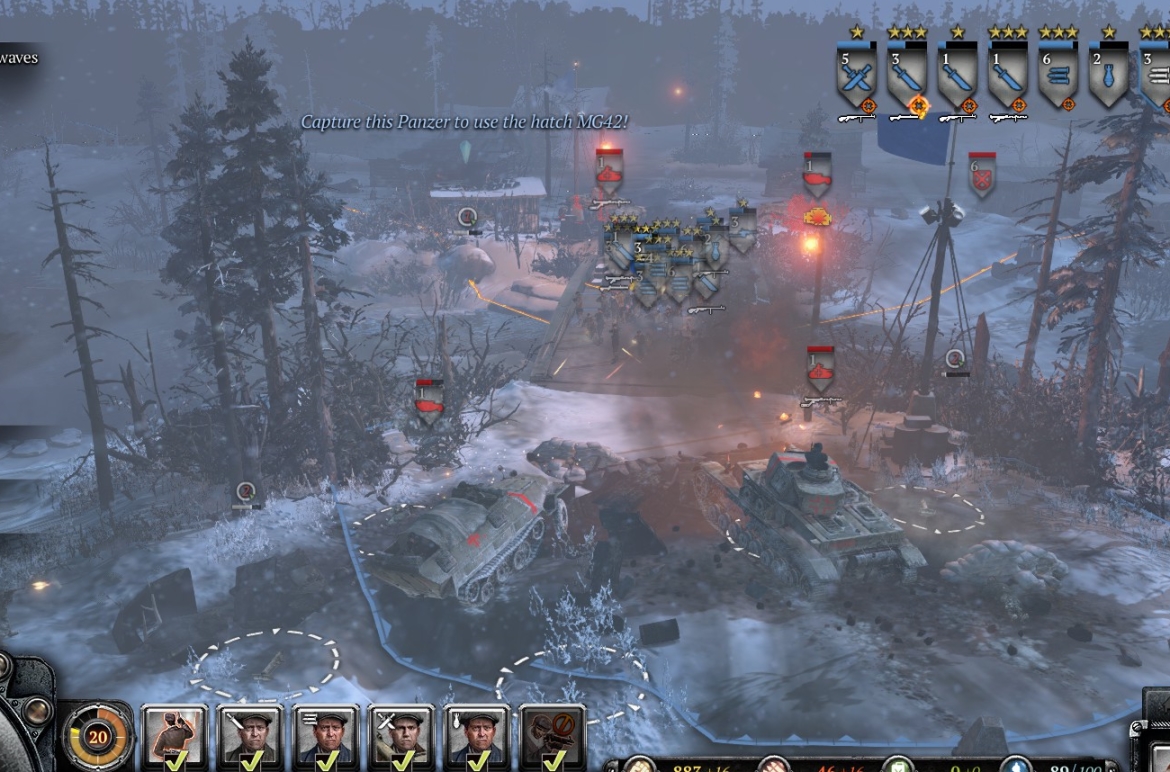
- The abandoned Panzer IV at the left side of the bridge can be repaired (AT partisans become repair-capable when they reach vet-1), and you can repair Panzers and StuGs you de-crew in battle. But a full repair costs a lot in munitions, so you’ll only have enough for one; it also takes a long time to complete. I suggest a StuG as it has a better armor-penetrating main gun—and man it only after you’ve otherwise maxed your pop points.
- If you’re not going to repair a StuG, save up your munitions till the last few waves and use them for mines. You can mine to damage vehicles but also to kill German infantry wherever they are likely to be pinned—the gunfire will set off the mines, wiping the infantry. At some point in the early phase of the mission, place one mine on the ice just above the bridge where vehicles cross—the first StuG usually tries to cross there.
- Don’t bother crewing mortars with your forces, but be sure to kill German mortar crews as soon as you spot them—they are buffed and hard to kill, and because of your relatively static defenses will cost you a lot in casualties if allowed to fire.
- Wave 11 is when the first German tank (StuG) shows up. You should have your two Paks ready on the side where it’s attacking. Watch out for tank fake-out maneuvers that are designed to distract and delay your AT forces, e.g., by getting them to move to one side of a building when the tank is going past the other.
- The last wave will include a Tiger on one side—make sure your AT forces are strong there, that they can hit the Tiger from multiple directions, and that you can recrew your Paks quickly.
- Don’t panic and quit when vehicles or infantry penetrate your line and things get messy. Just turn a nearby HMG onto the melee, and make sure your AT assets are firing at enemy vehicles.
♠♠♠