At long last, the war has come home to the capital of Germany . . . and it’s a mess. It’s another street-by-street fighting scenario, in which your infantry are very vulnerable, but your vehicles are even moreso (schrecks, etc.) and often have great difficulty maneuvering. But at least the ordeal is nearly over.
MOLTKE BRIDGE AND FAR SIDE POINT
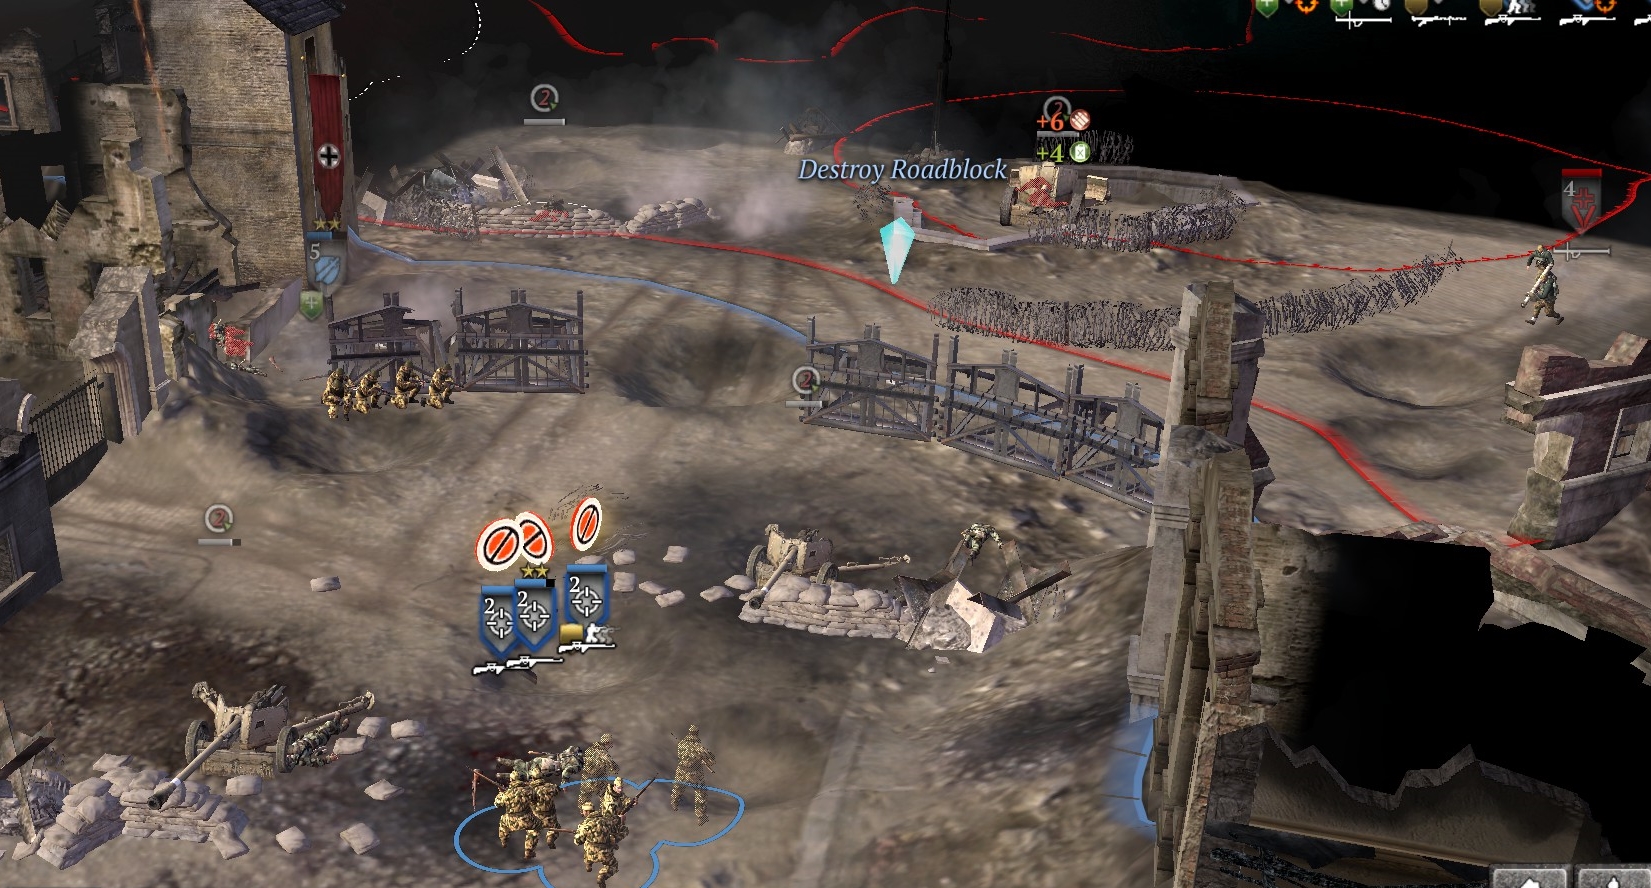
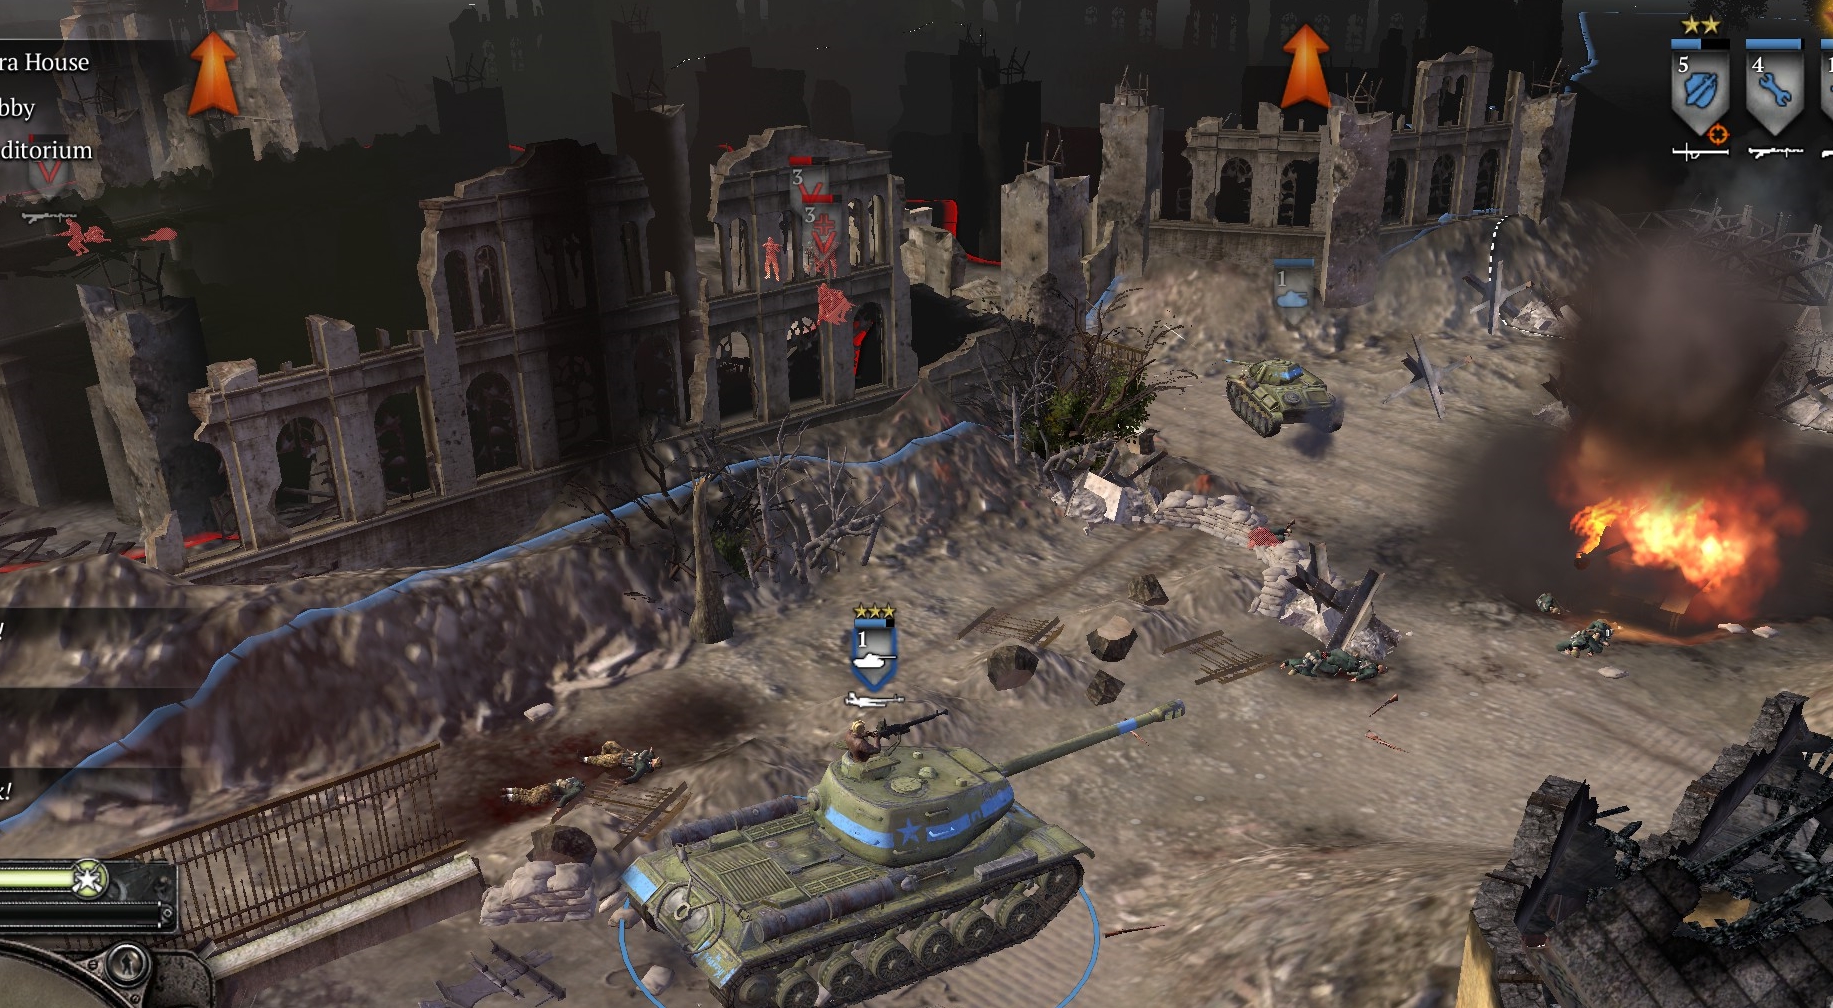
You begin with a small set of infantry squads, mostly conscripts, and an IS-2 heavy tank, not far from your base on the southeast end of the Moltke bridge.
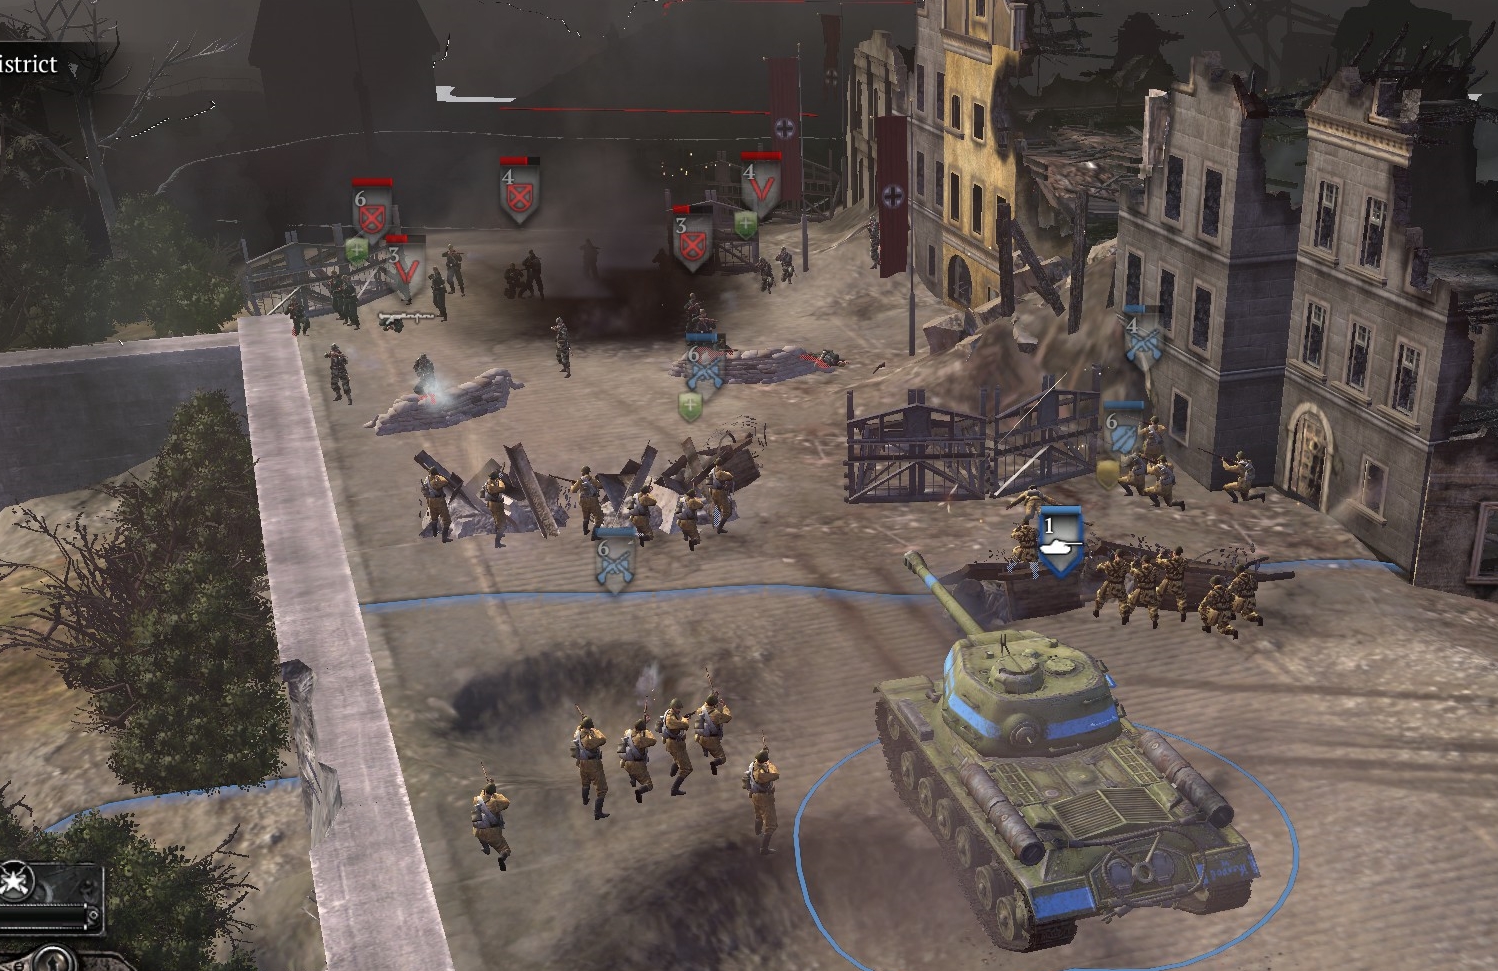
The task here is to press forward until you start to push the German units toward the far end of the bridge. Use your infantry to throw molotovs and grenades, and your IS-2 (attack-ground feature) to blast German infantry and barricades. Bring in at least several squads of snipers—which are not great but are less bad than your other anti-infantry units—and at least another mortar team.
Once you have pushed the Germans across most of the span of the bridge, the UI will warn you that the bridge is wired and about to blow up. You can just retreat your squads to base, and your IS-2 should not be on the bridge at all before it explodes. The charges won’t take down the bridge, but will clear German squads.
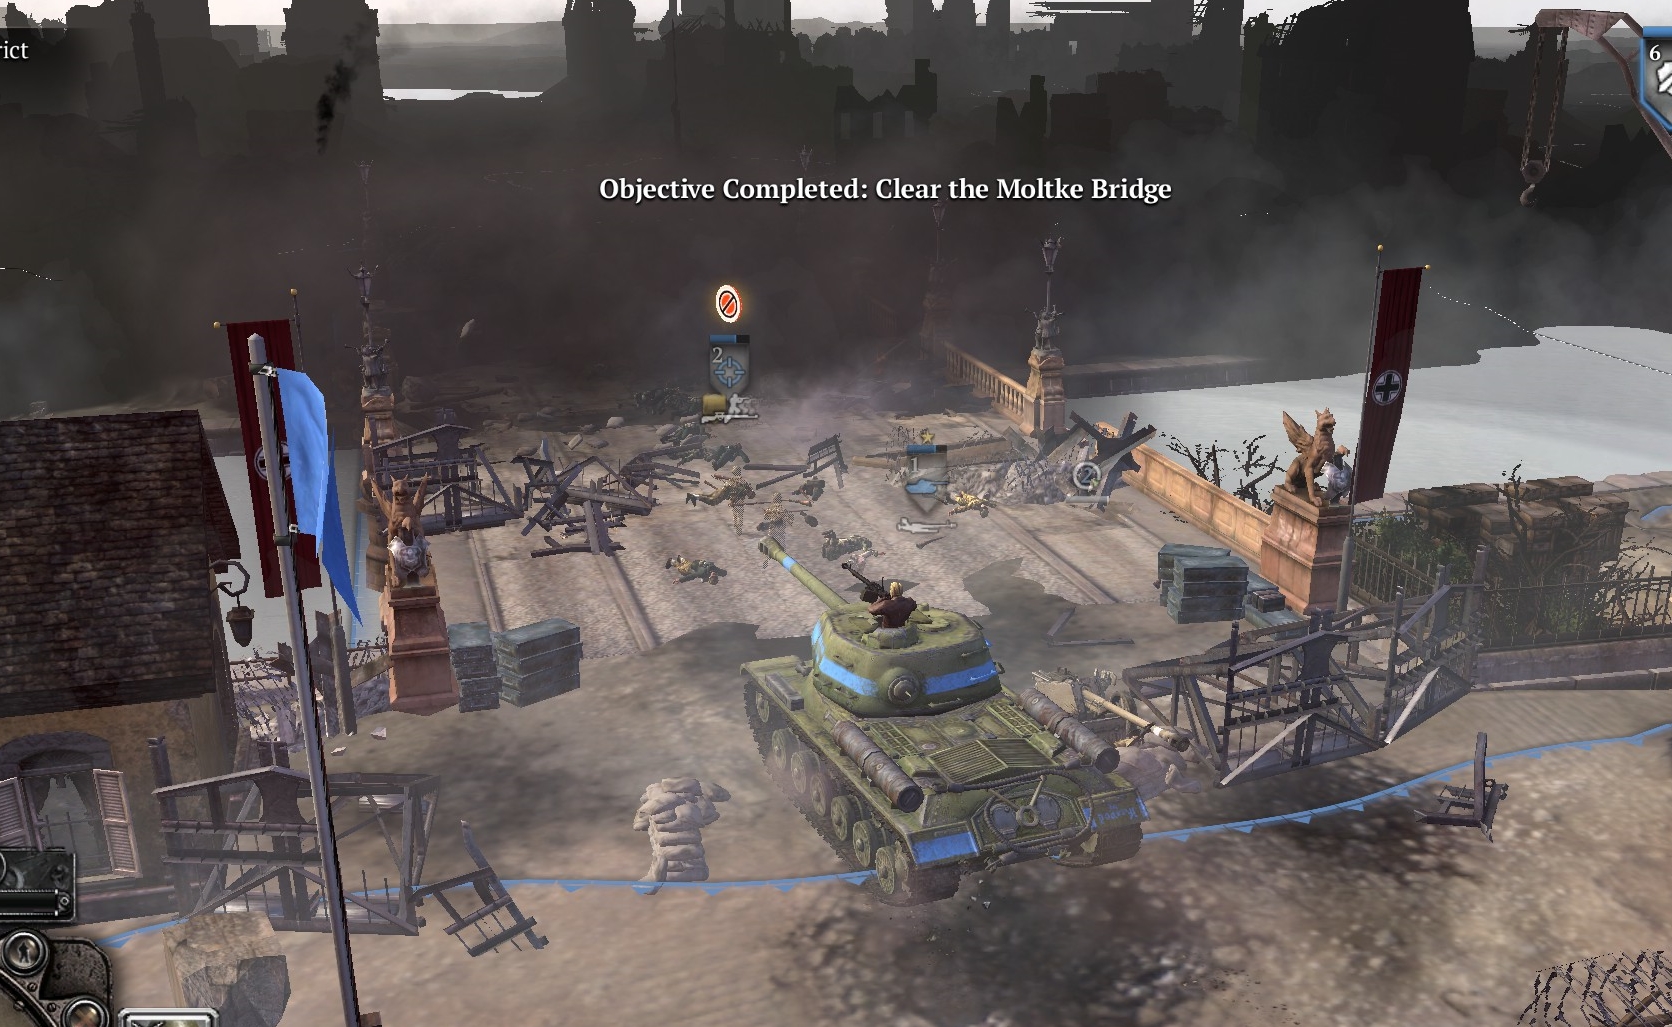
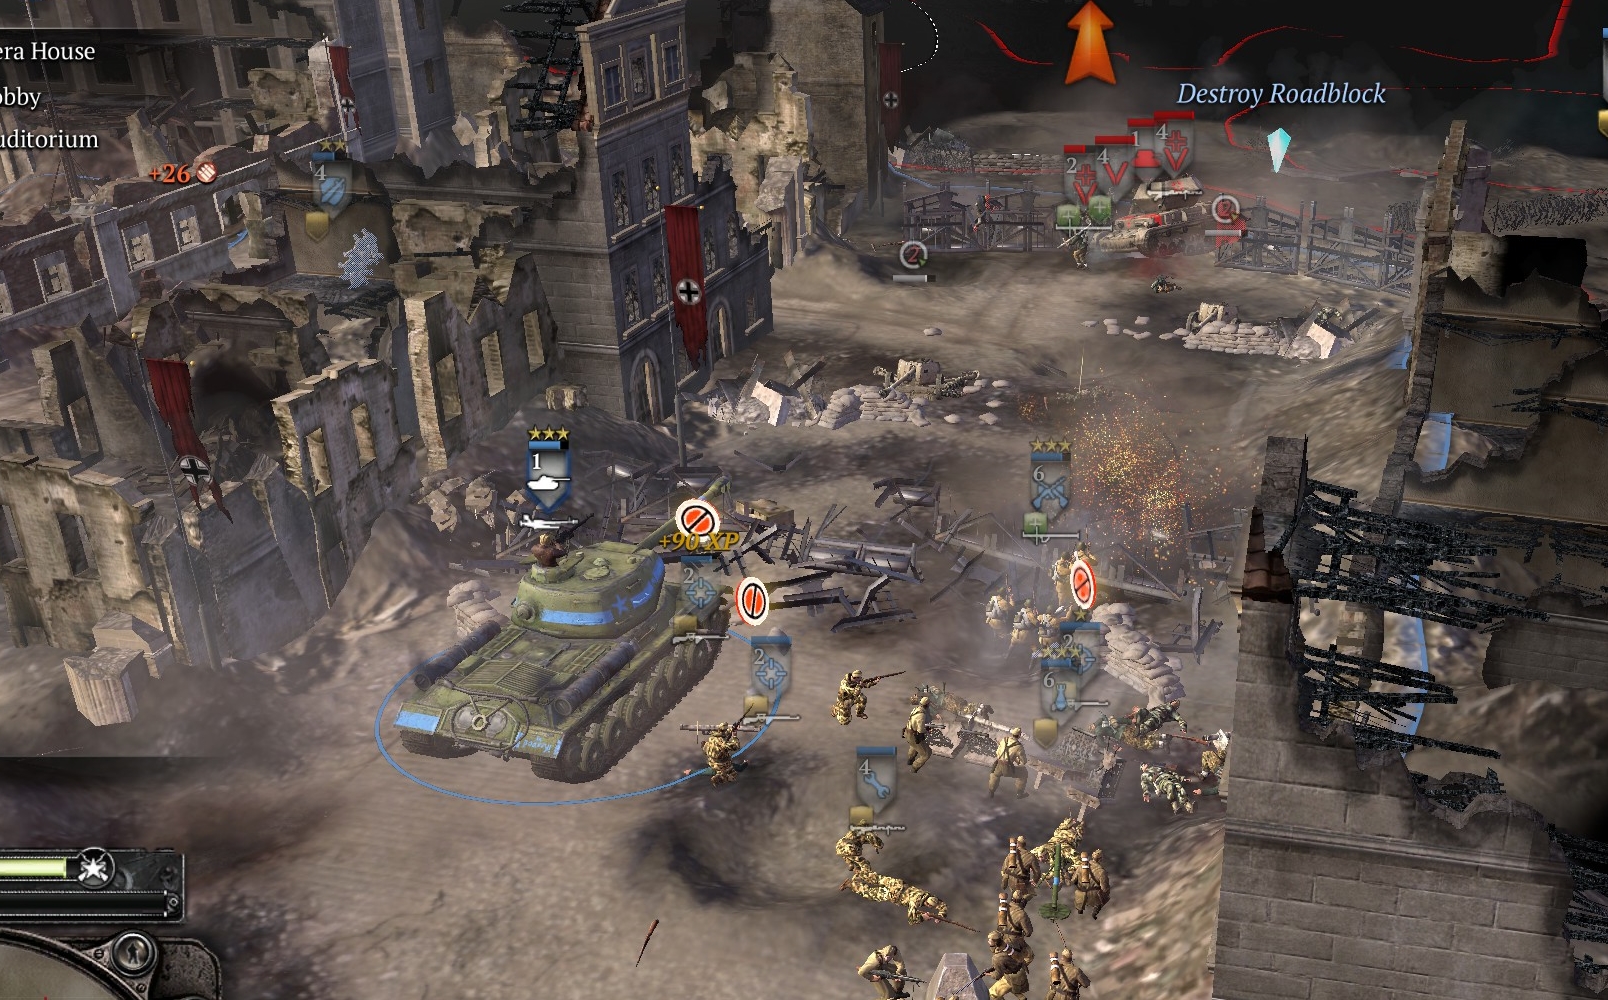
When visibility permits, send your forces, IS-2 in front, back down the bridge to the other side, stopping just before the territory point at a road intersection, maybe 20 meters northwest of the bridge.
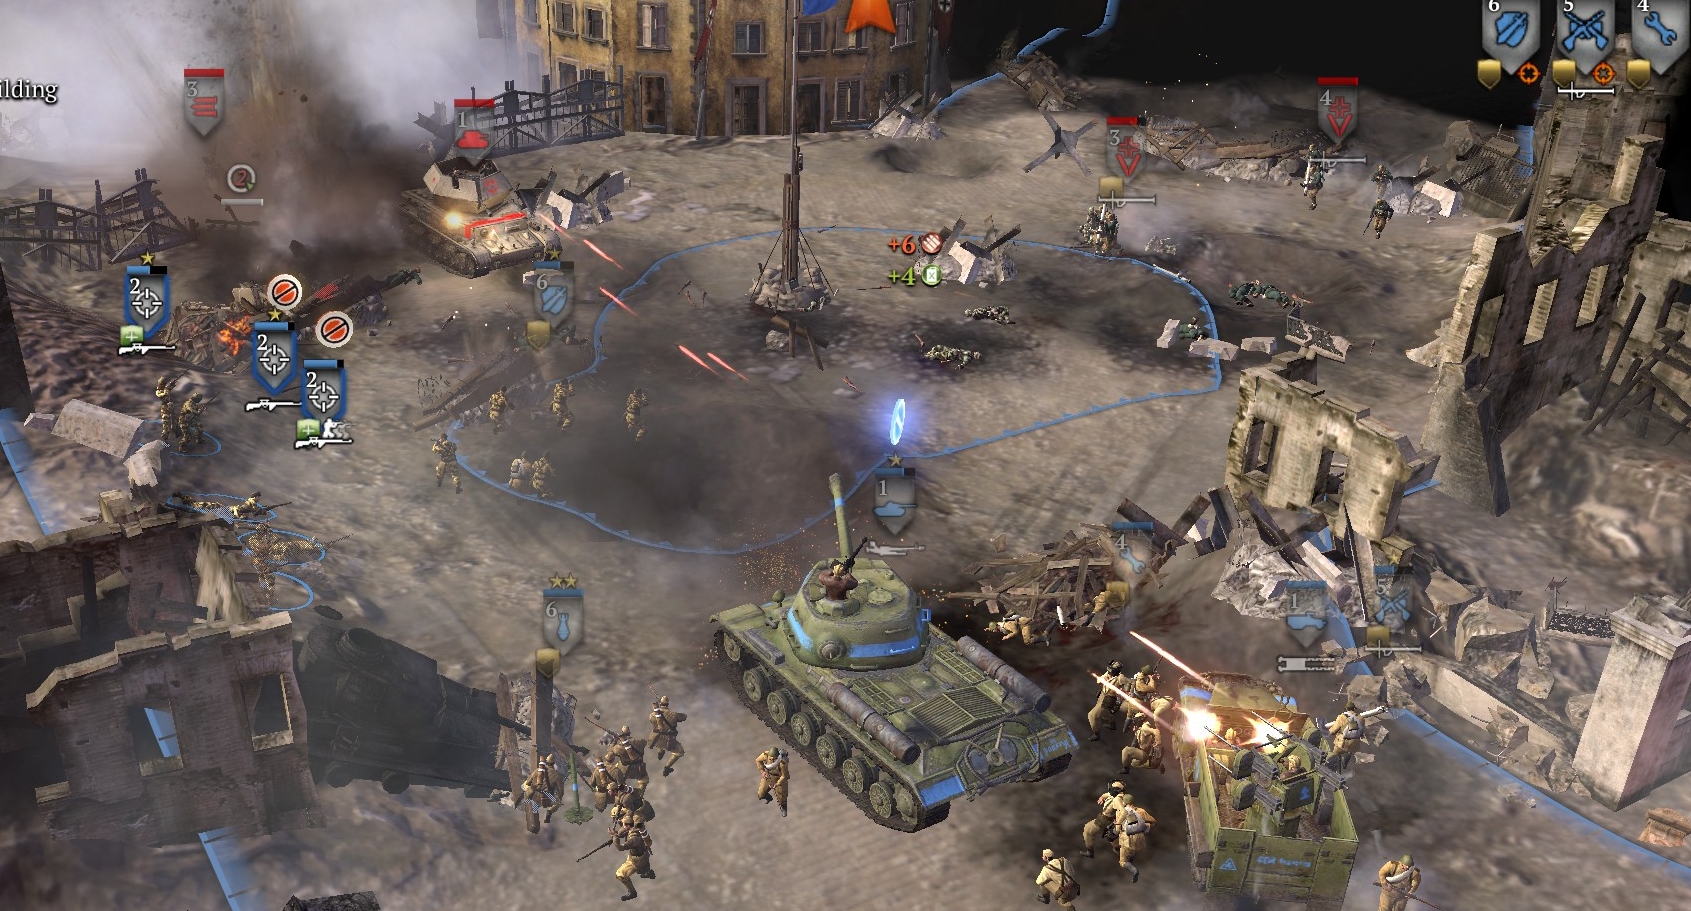
Use all your forces including snipers and mortars to de-crew German heavy weapons here (Pak-40, MG42), kill infantry (especially schreck- and LMG-equipped infantry) and kill the Ostwind that attacks from the NW and Panther that attacks from the NE. Watch out for German infantry (panzergrens and grens, throwing grenades, trying to de-crew your crewed weapons) flanking from the ruins to the right. Cap the point. Scrounge schrecks and LMGs.
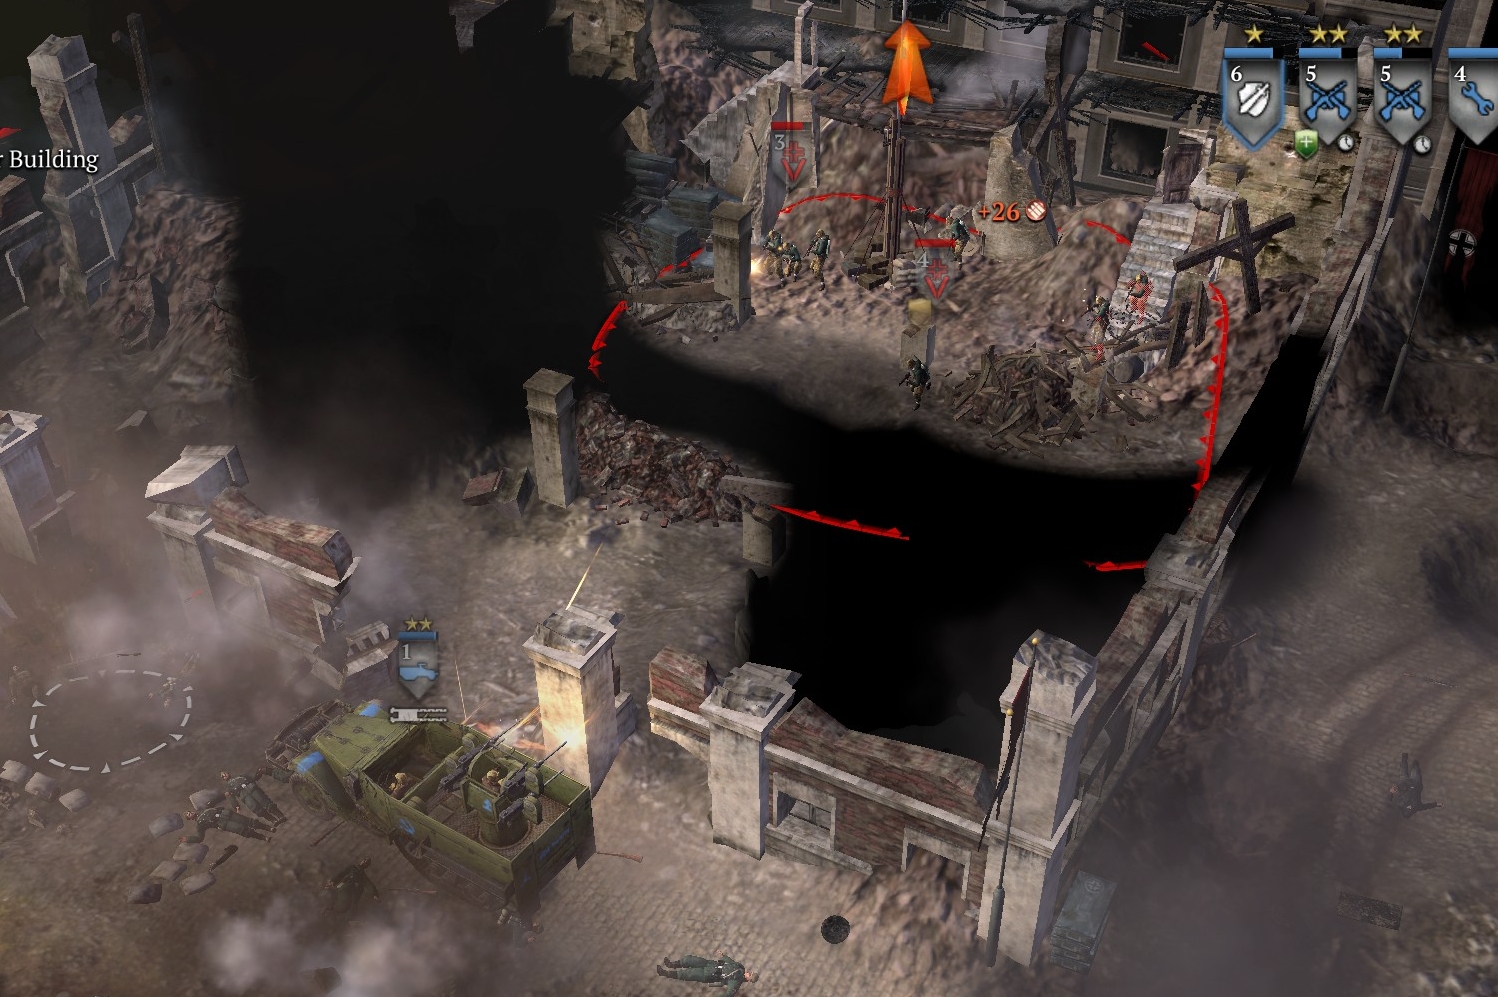
INTERIOR MINISTRY BUILDING
This target, in a ruined state, is a few meters north of the point you just took. The best access, down the road to the NW, requires first wiping the German units at the end of that road. So do that first.
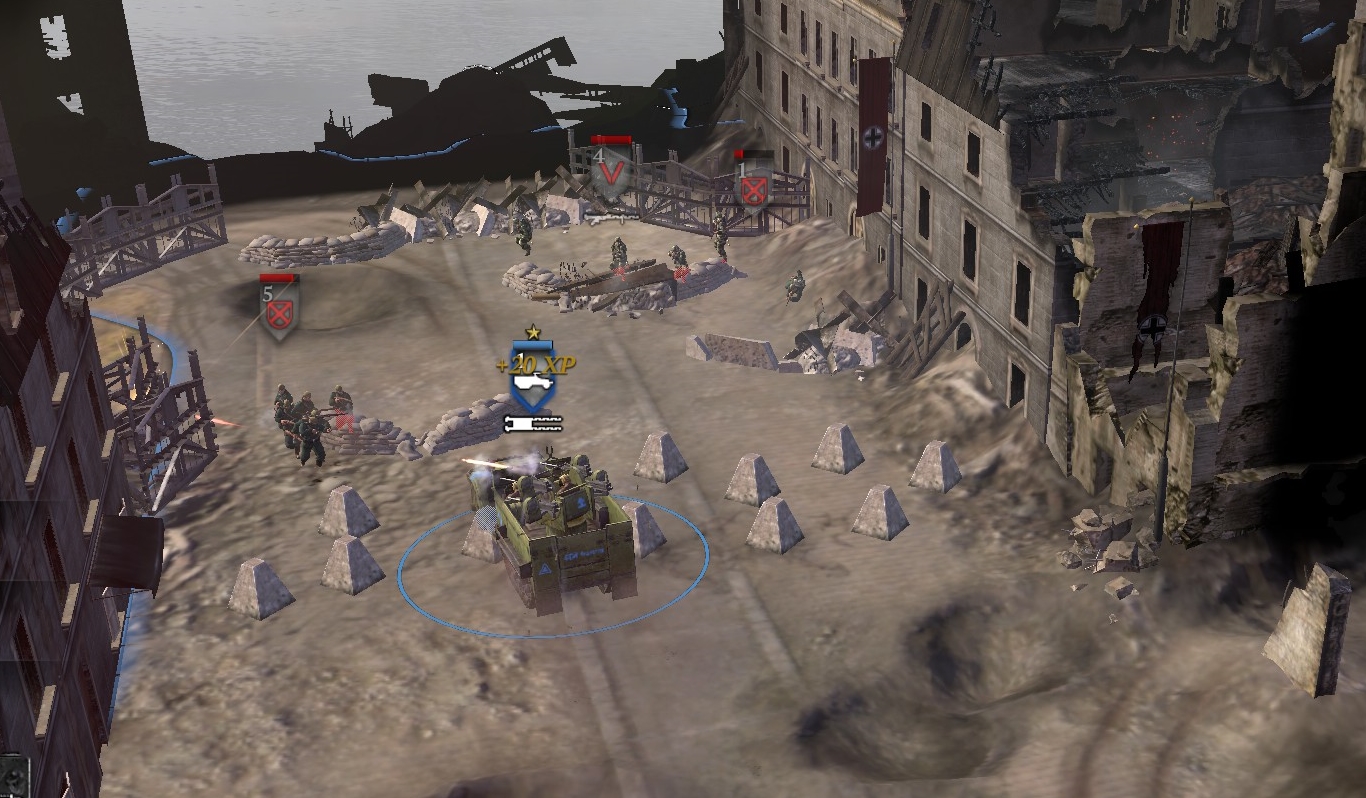
You can just go in with your IS-2 followed by M5 and backed also by snipers, mortars, and shock troops, and fire away. Schreck infantry are the top priority.

When the German squads stop coming out to fight, clear the point with M5 and send your shock troops in to cap the point.
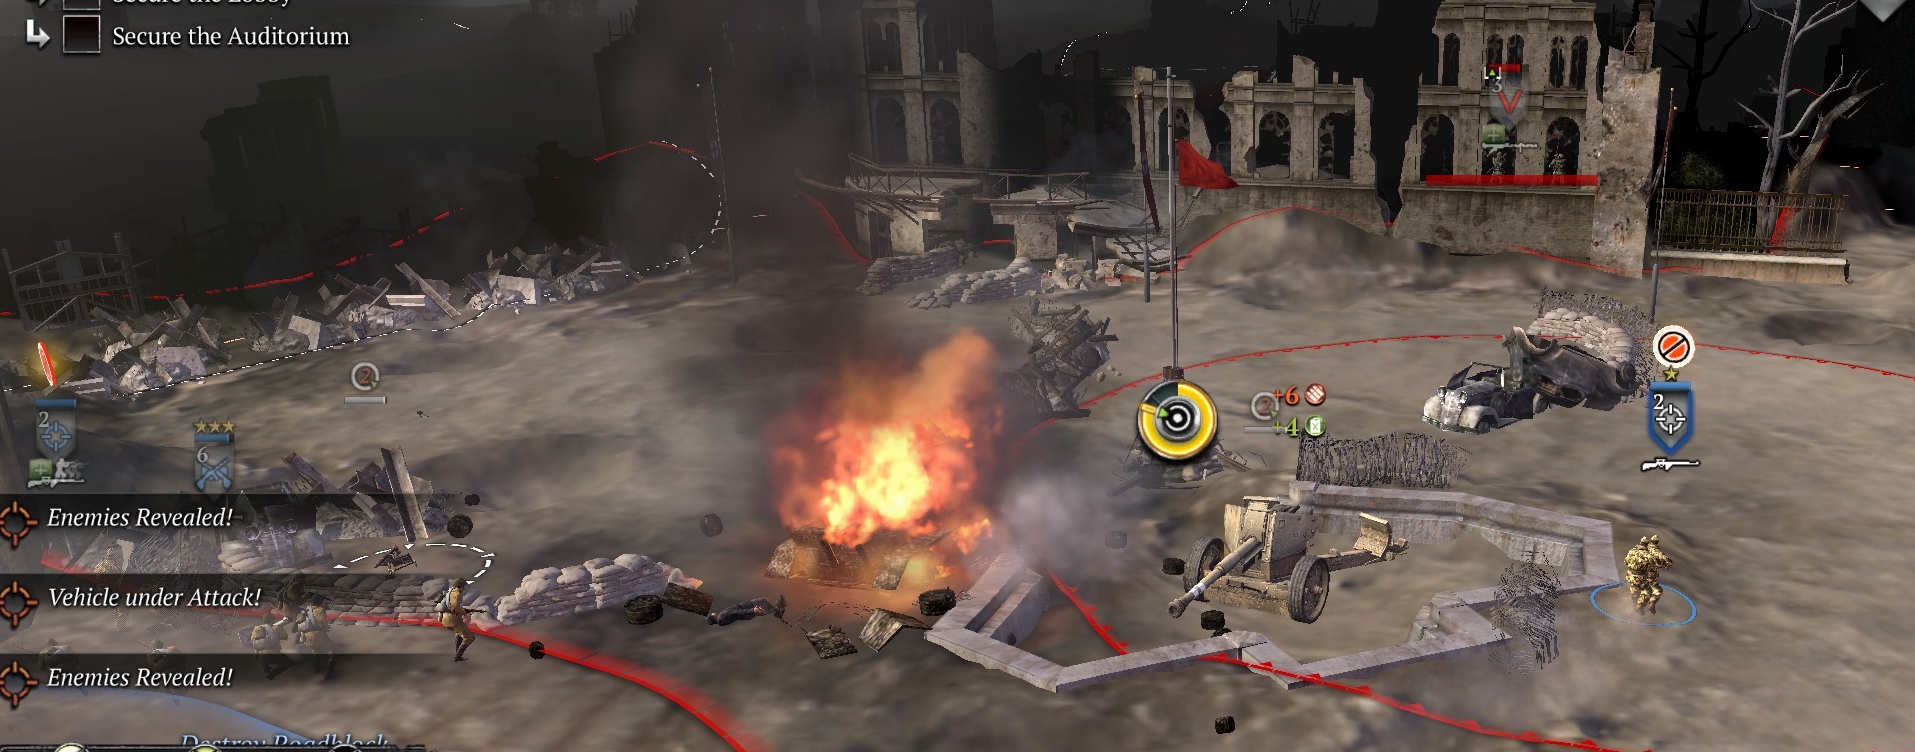
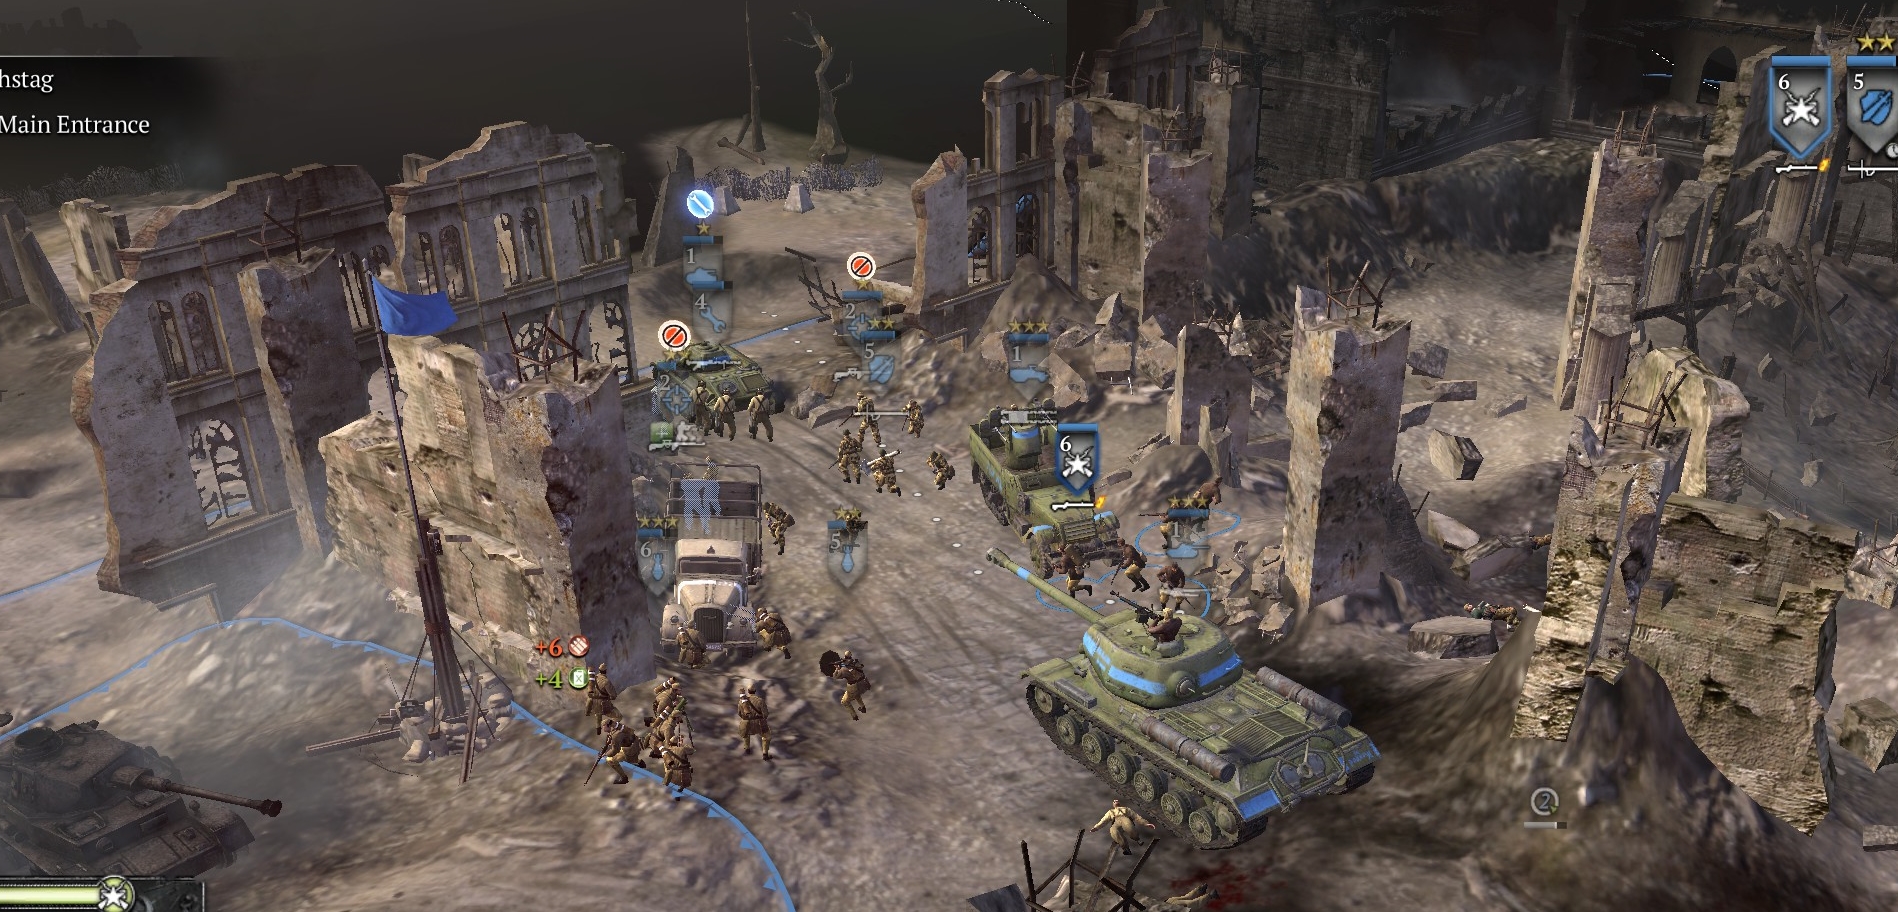
KROLL OPERA HOUSE
After taking the Interior Ministry building point, bring your forces back to your forward base on the NW end of the bridge. Now move up the road to the NE, slowly, IS-2 in front, snipers (“hold fire” mode) and mortars and other infantry close behind, to blast away the barricades, de-crew the Pak-43, Pak-40s, and MG42s, and wipe the Ostwind and schreck infantry squads that are all defending this approach to the Opera House. Watch out for German squads flanking from the area to the south.
Use your IS-2 (attack-ground, aim low) to kill the LMG squad in the window of the Opera House.
Once the area in front of the SW entrance to the Opera House is clear, use your IS-2, mortars, snipers etc. to kill the hull-down StuG on the road to the NE and support infantry. Send the IS-2 into the Opera House from this approach.
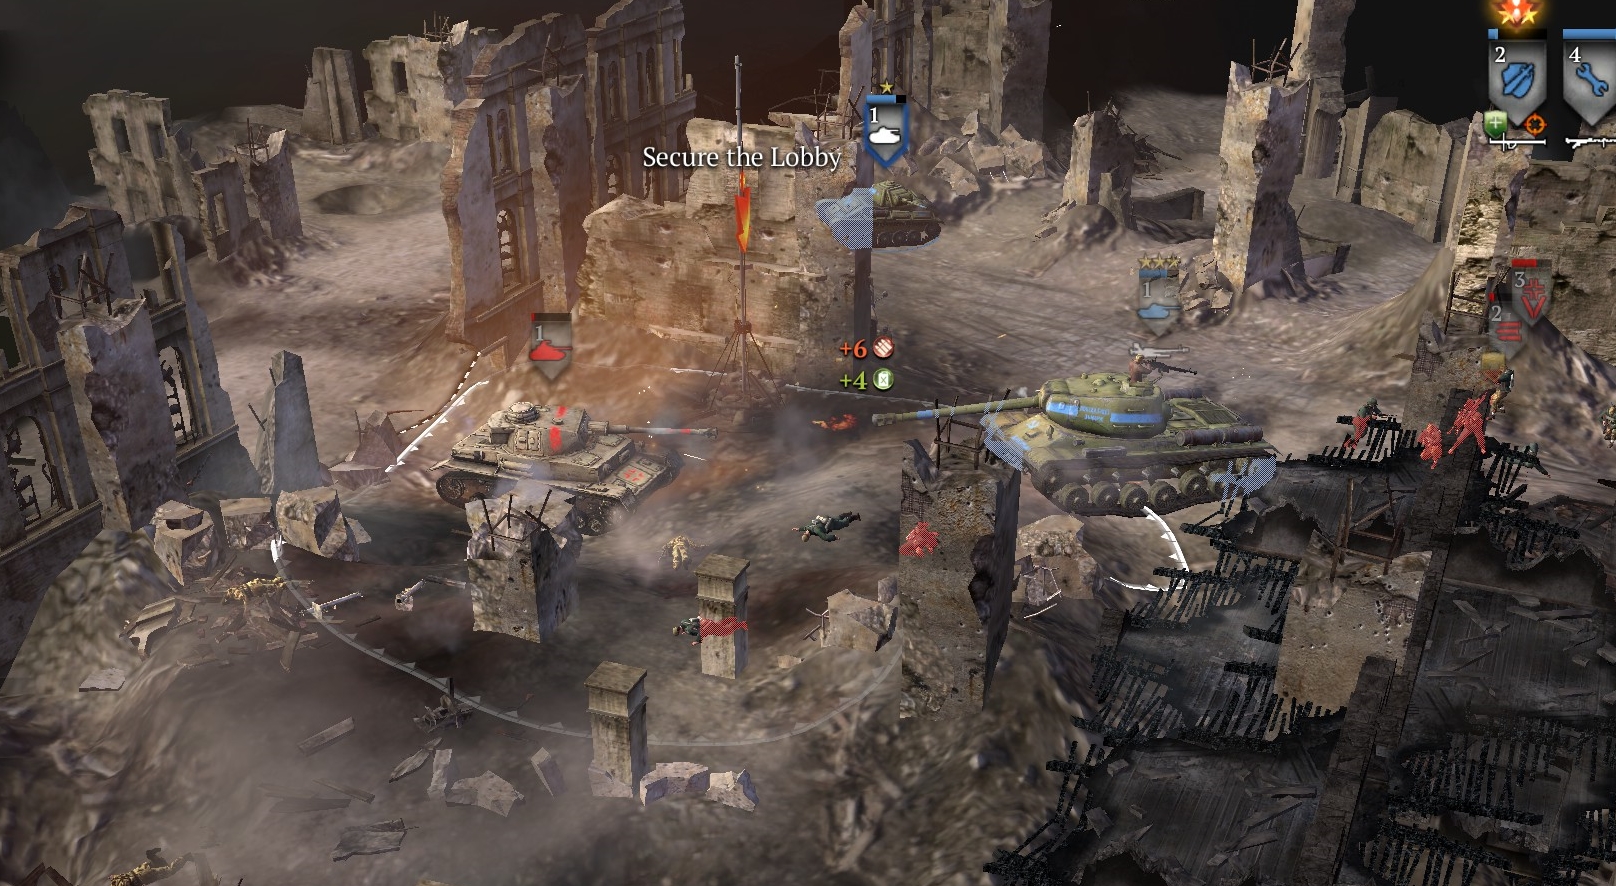
Send shock troops and snipers through the SW entrance to the Opera House, with mortar support. Clear the defenders of the point in the outer part (lobby) of the Opera House. Use your IS-2 to kill the Panzer IV that will appear there.
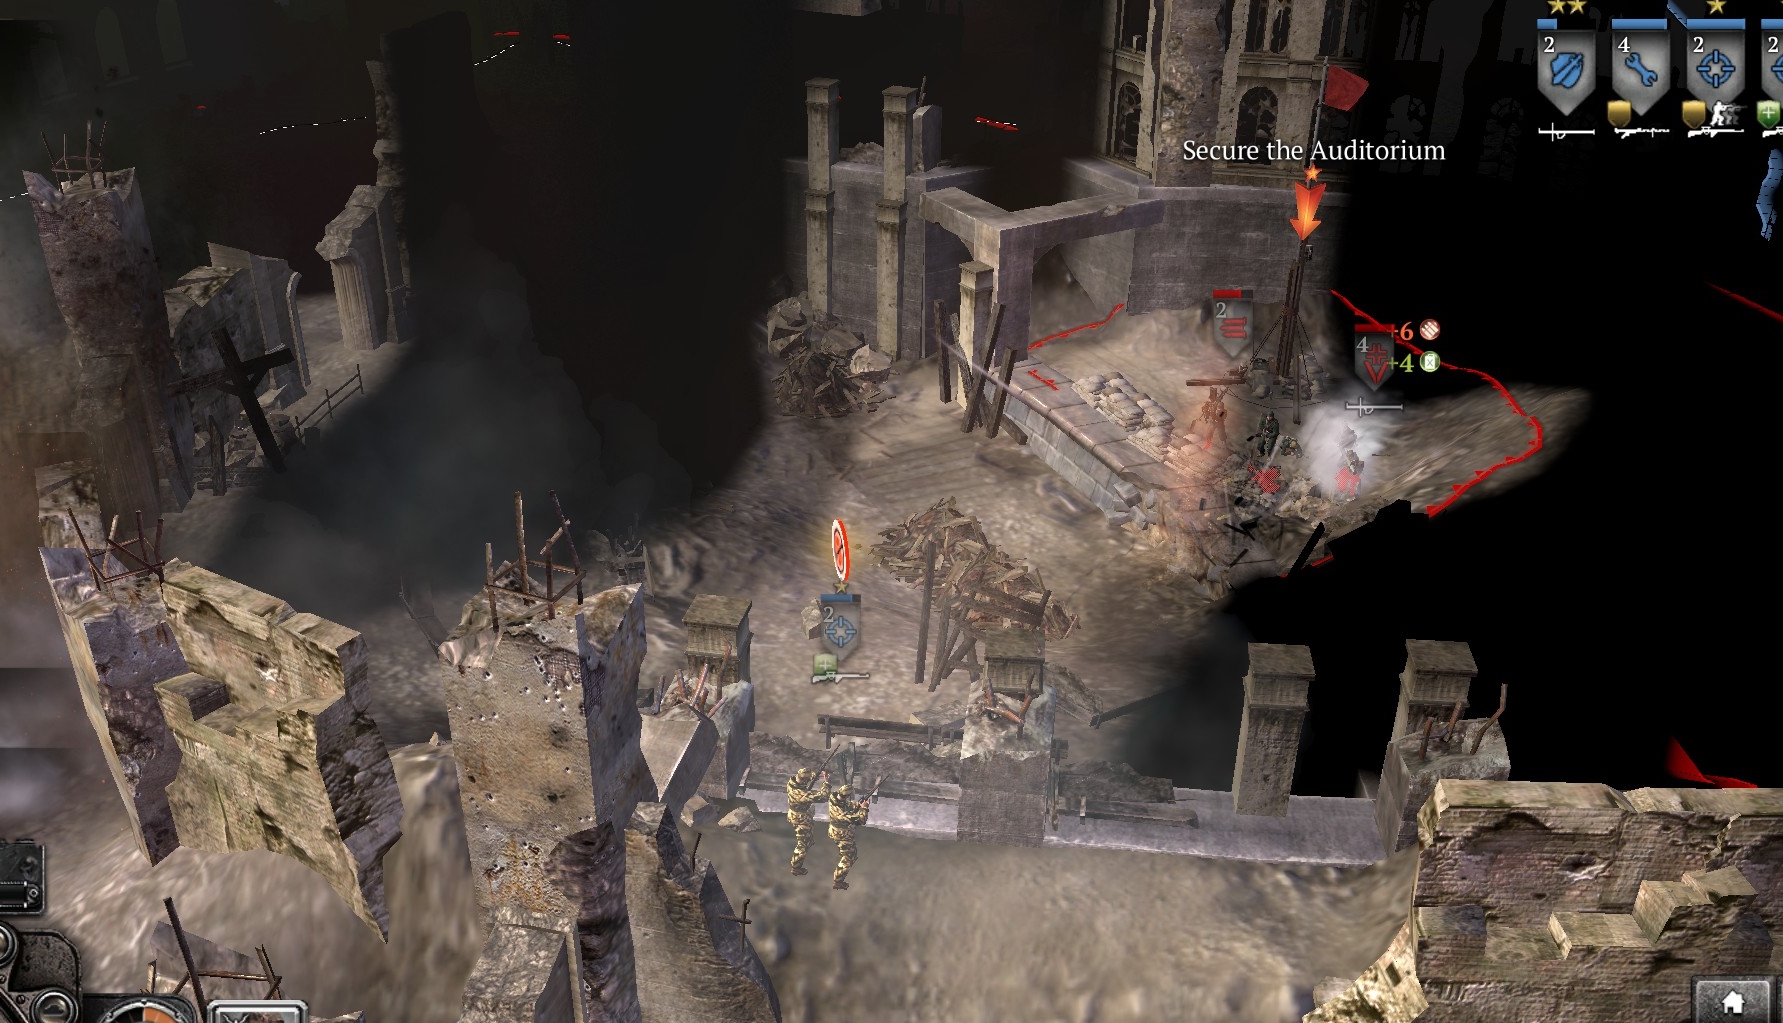
Use the IS-2 and your other infantry to deal with all other threats in the corridor just outside the main auditorium. When all is clear outside the auditorium, go in with snipers (“hold fire” mode), with mortars supporting from just outside, to kill the defenders on the stage (all the world’s a stage, eh?). Use shock troops and upgraded frontoviki or penal squads to go into the point—and deal with two German squads who will enter through the back wall from off-map. Capping the point ends this phase.
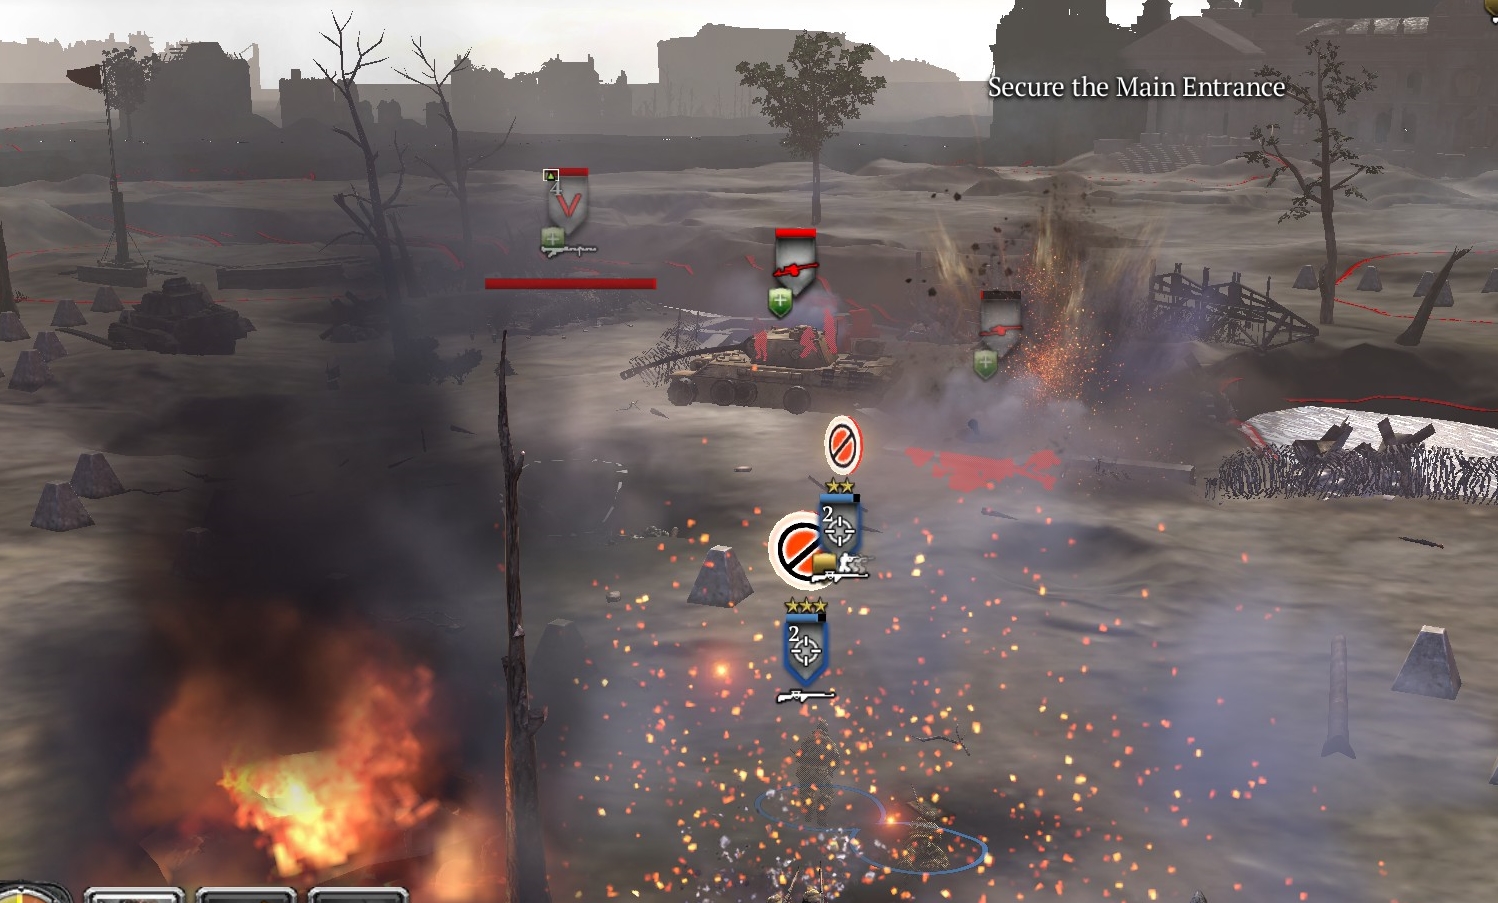
REICHSTAG
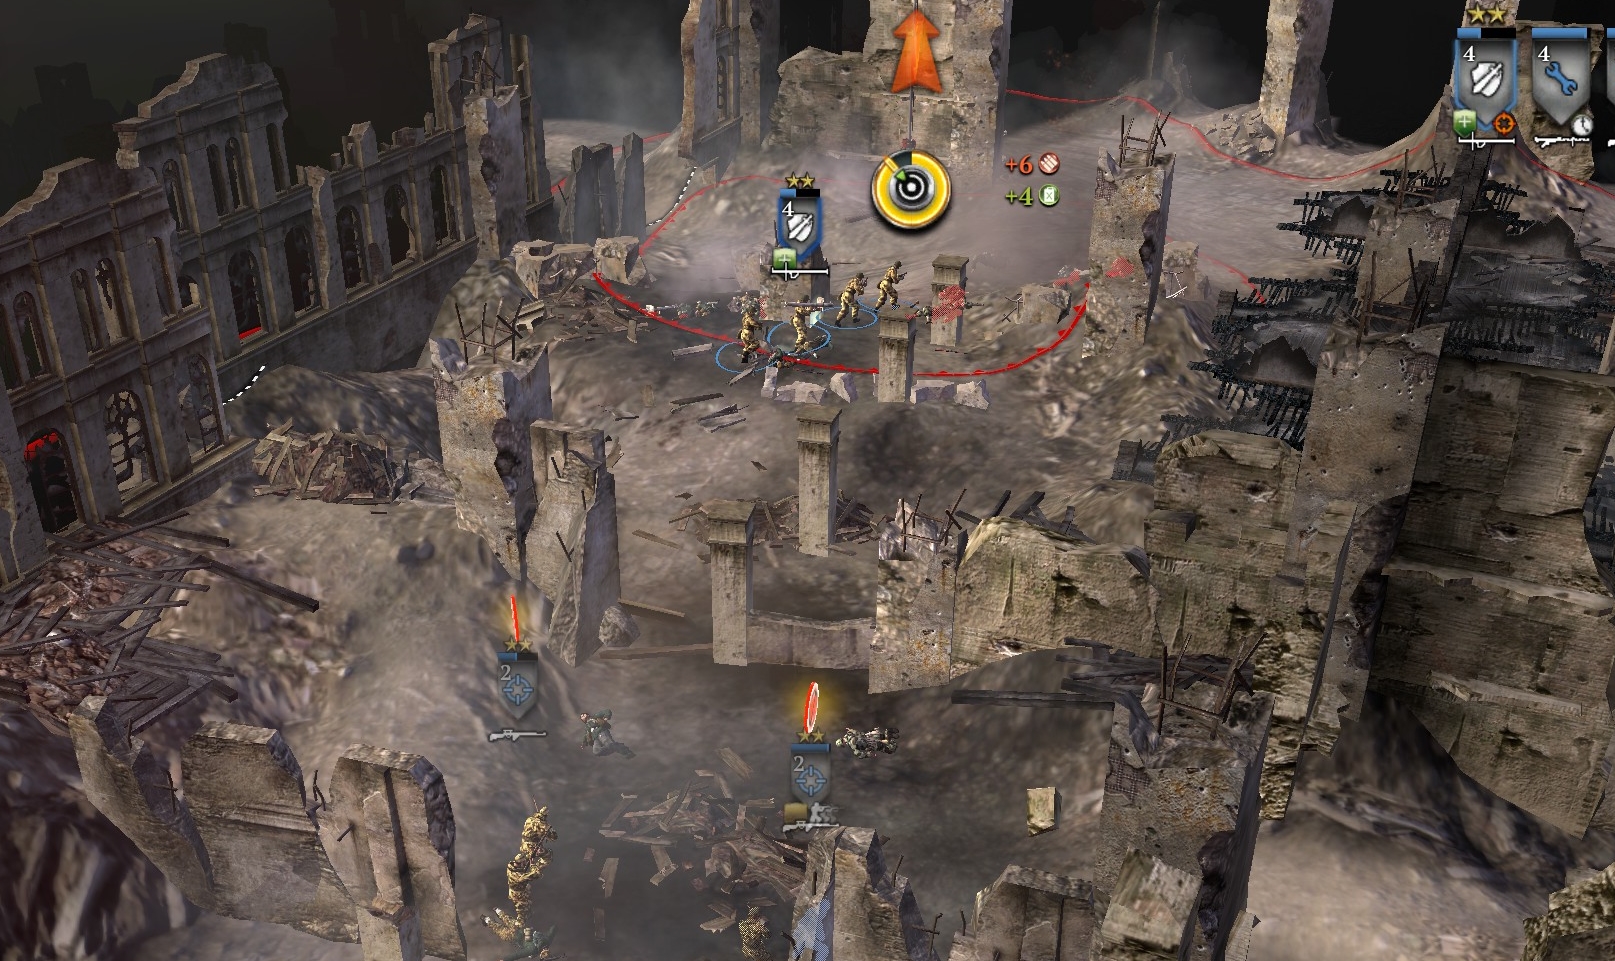
To get to the Reichstag, you have to bring your forces northwestward up that corridor outside the theater, and then out onto more open ground.
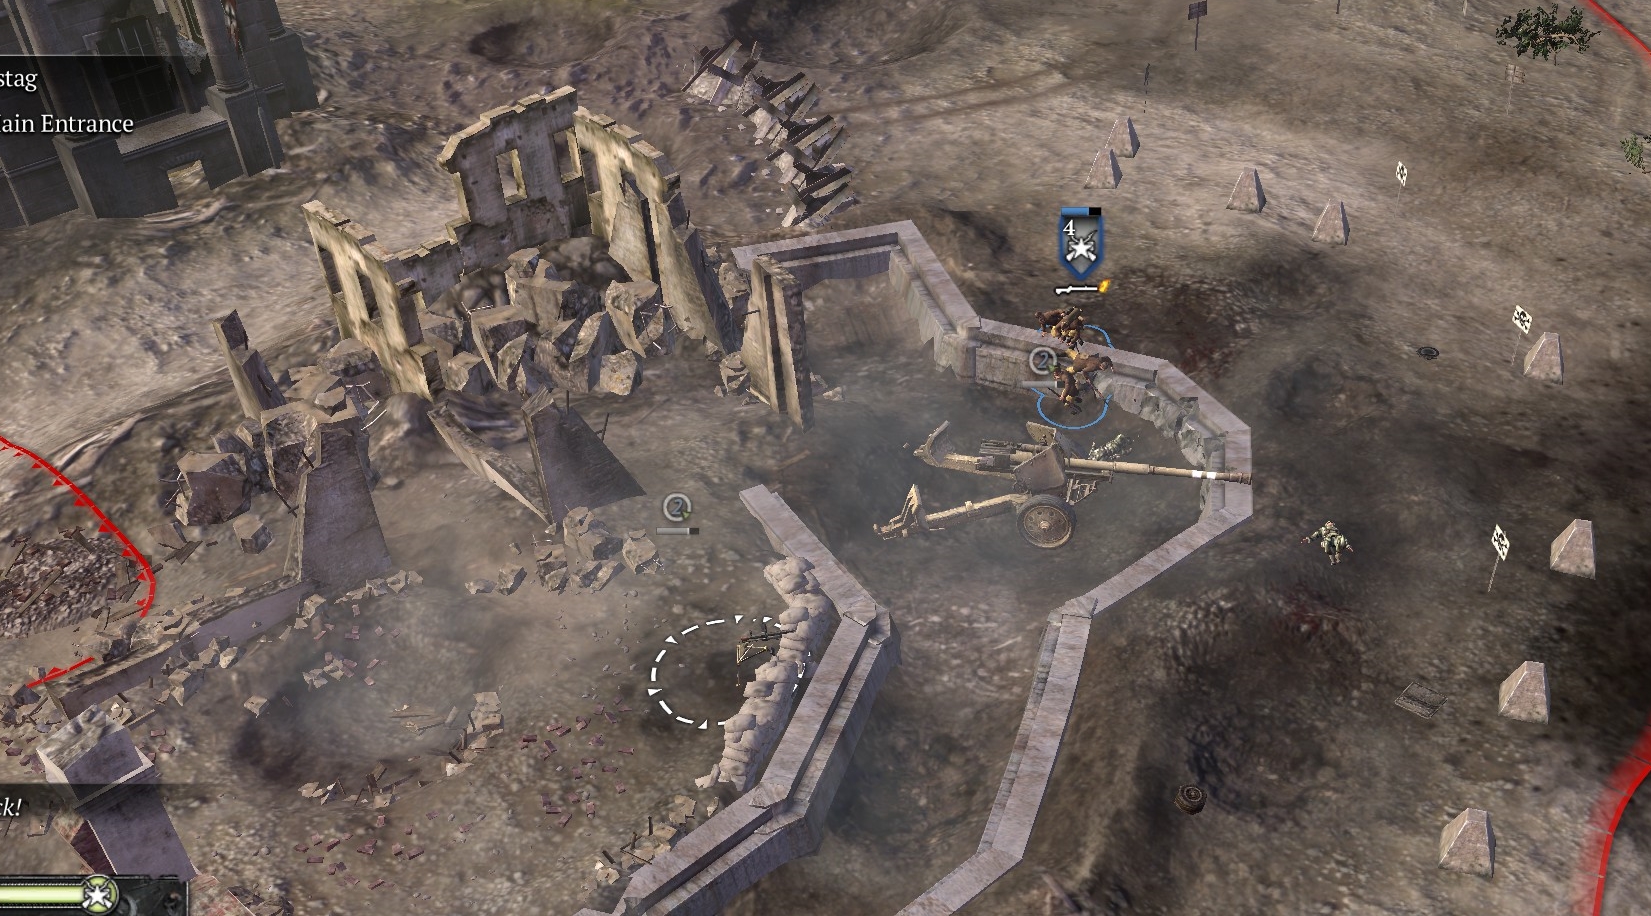
Find cover amid the ruins outside—German armor and infantry defenders in front of you are formidable. There is a Brummbar on your left, and a Pak-43 (and many lesser Paks and bunkered infantry) not far away on the right. Bring in another IS-2.
Clear your left flank as much as possible—there is no rush here—and then move slowly on the right to clear defenses. You will have to combine your tanks and vetted infantry for killing infantry and armor counter-attackers, and use mortars, snipers and call-in artillery to clear static weapons positions in front of you. Pak-43s and hull-down tanks are always top priorities.
Methodically clear the area in front of the Reichstag (just outside the two Pak-43s). It’s mined, so use mortars and tank fire to clear the mines as much as possible.
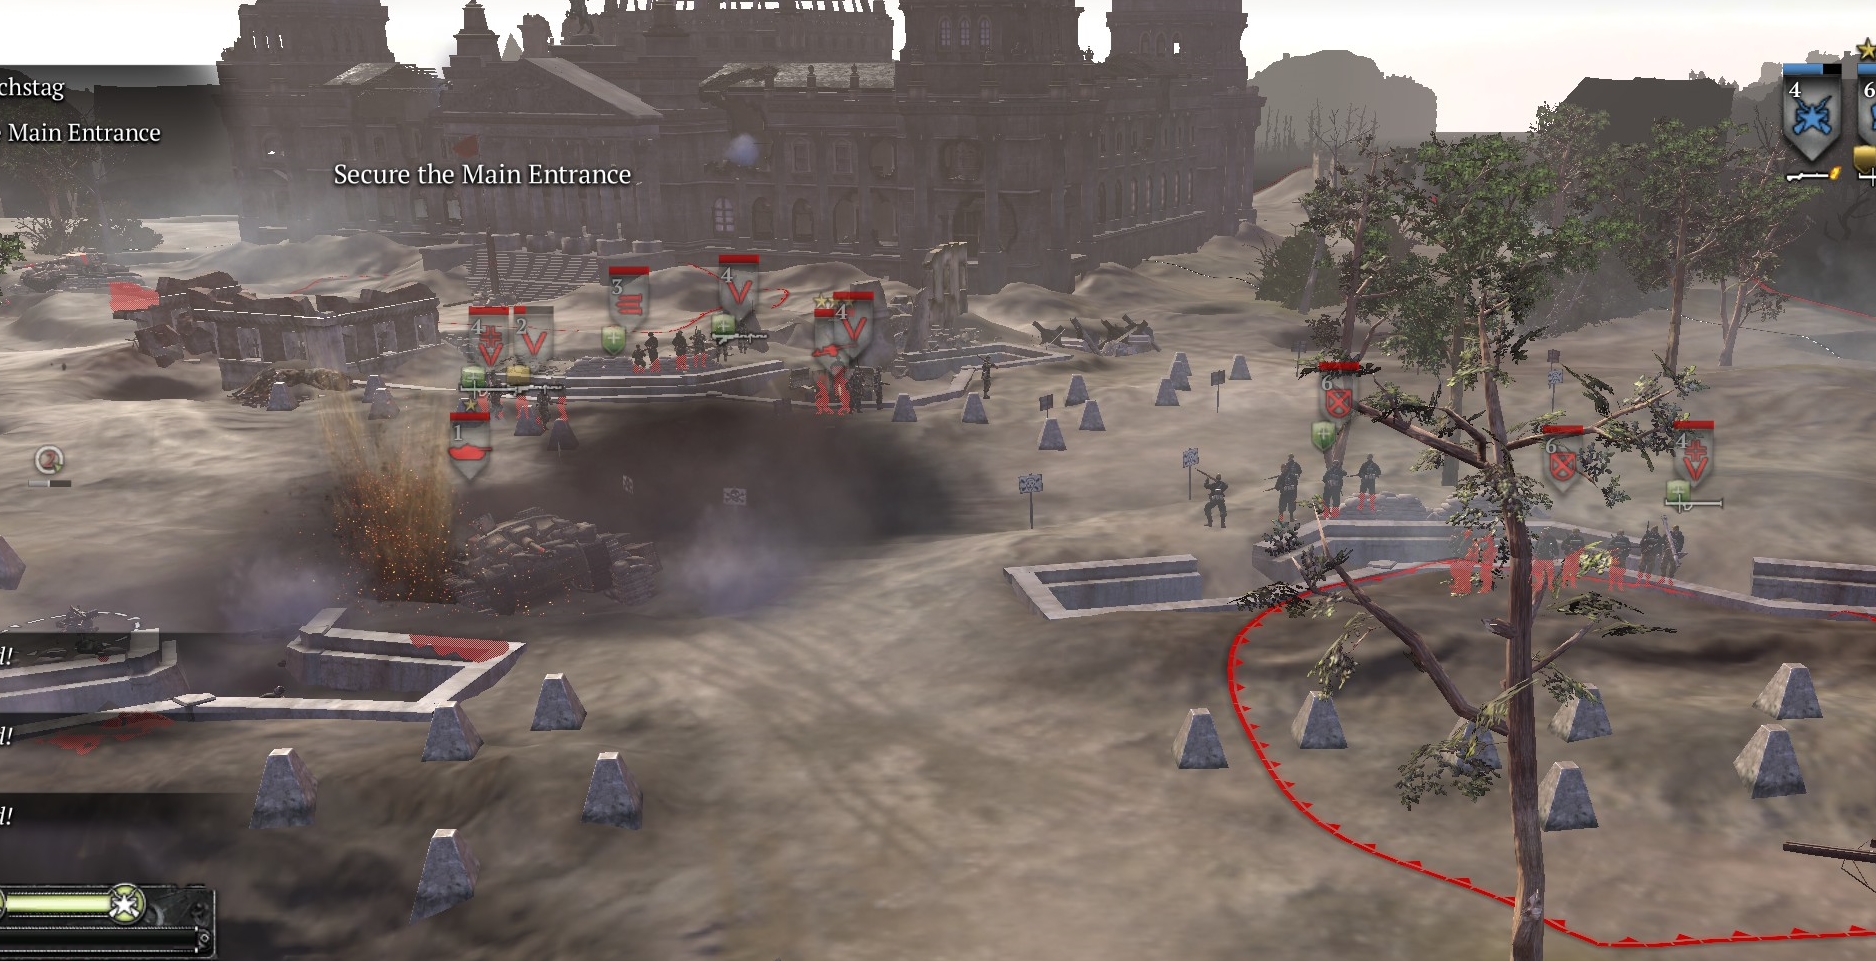
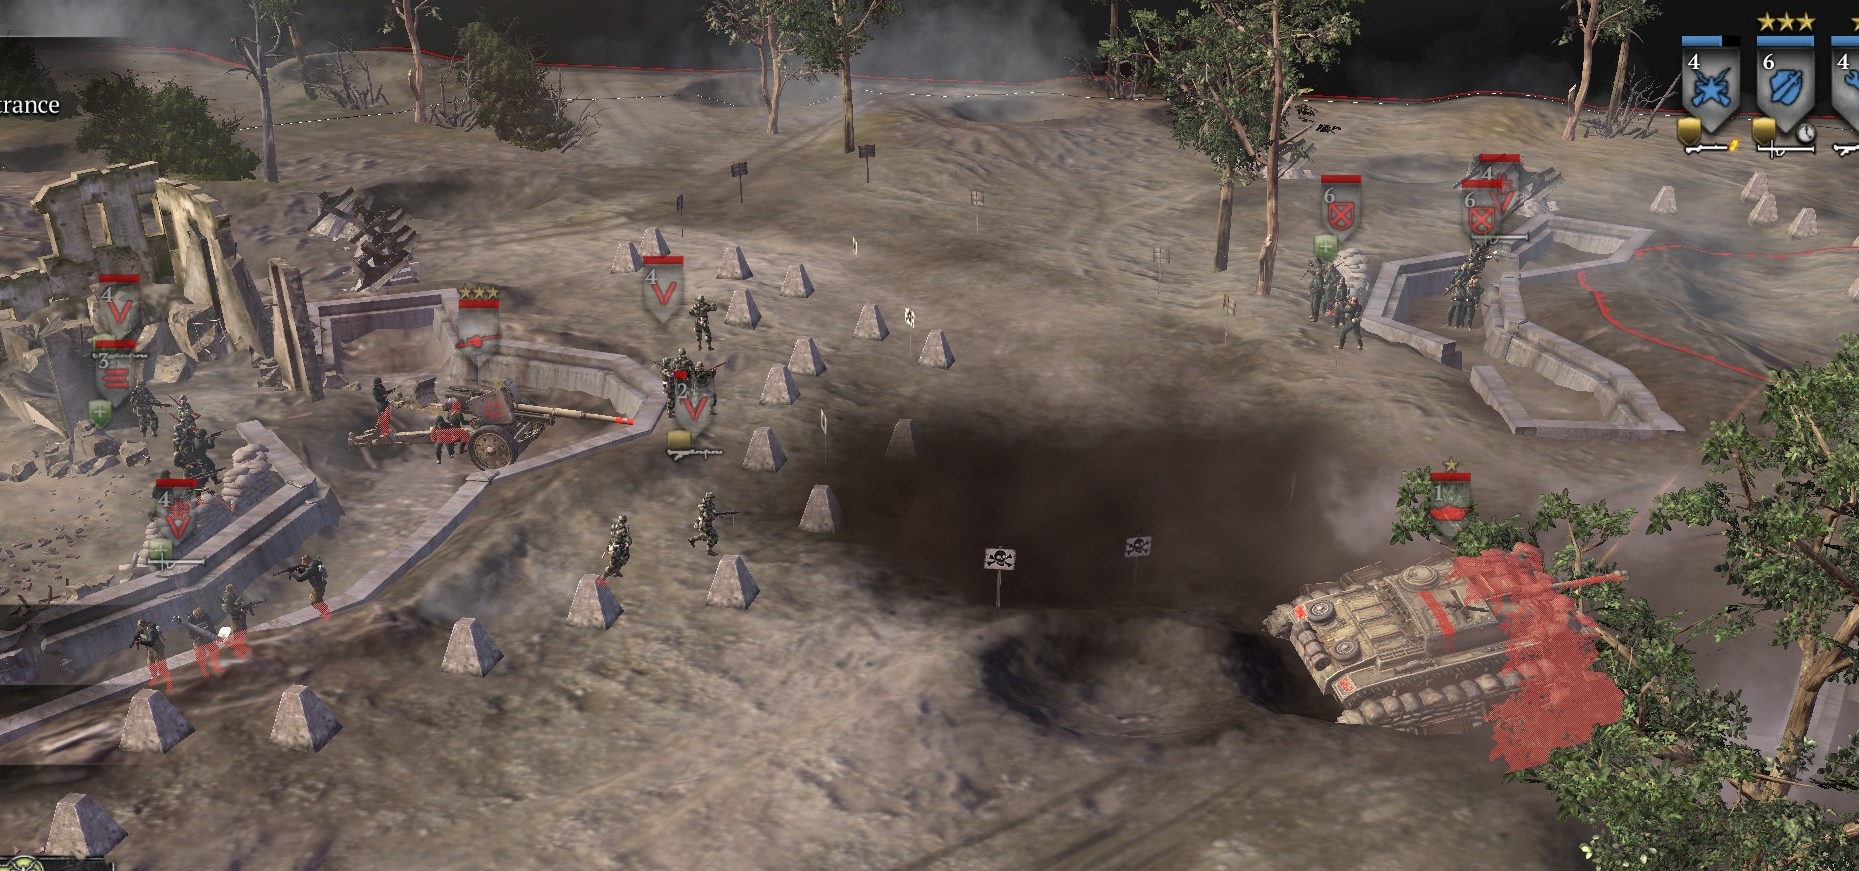
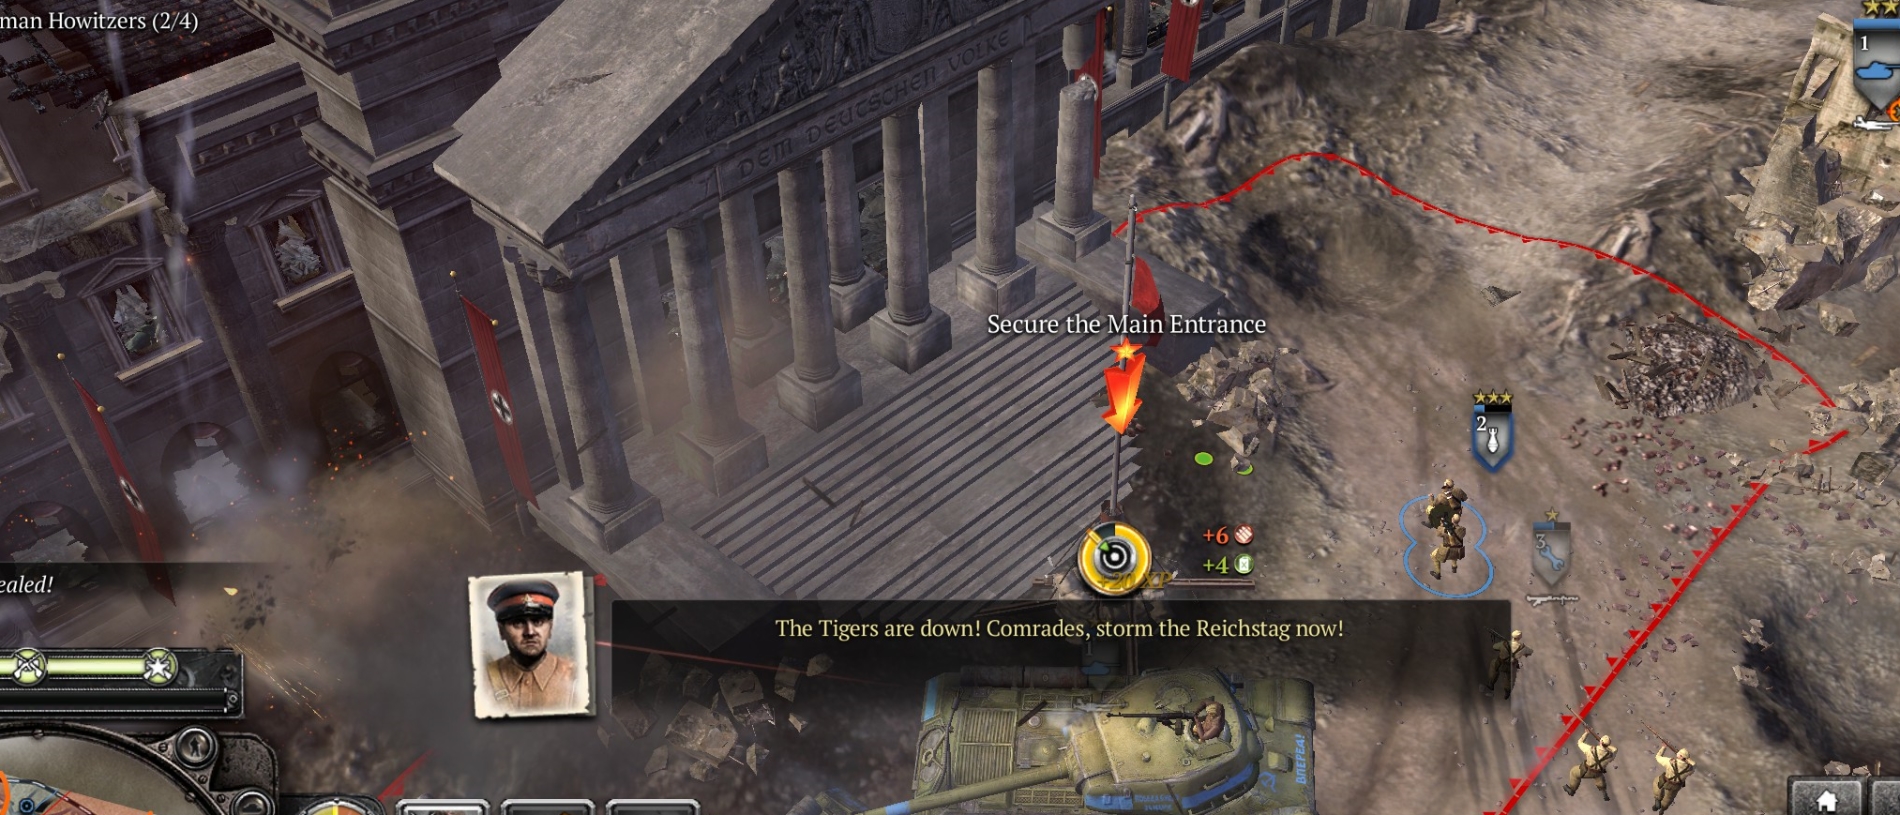
When there are no German infantry nearby except in the Reichstag building, re-crew both Pak-43s. Again, you can take your time.
When you start to cap the point in front of the Reichstag (use a tank), two Tigers will appear, one on either side of the Reichstag building, with a warning from the UI. You should have little trouble with Tigers at this point, especially with two Pak-43s and two IS-2s working for you. When the Tigers are destroyed, the mission and the campaign ends . . . with a brief but stirring cutscene showing Russian troops rushing up the Reichstag steps.
What a war!
***