This mission is meant to evoke the perils of winter, particularly the extreme winter of 1941 that helped stop the Germans from taking Moscow. Unfortunately, even though this is mission number 4, it’s still scripted in a way that makes it hard to enjoy. It’s also broken in some ways, and even an experienced player will frequently have to start over.
FIRST PHASE: GET TO A FIRE
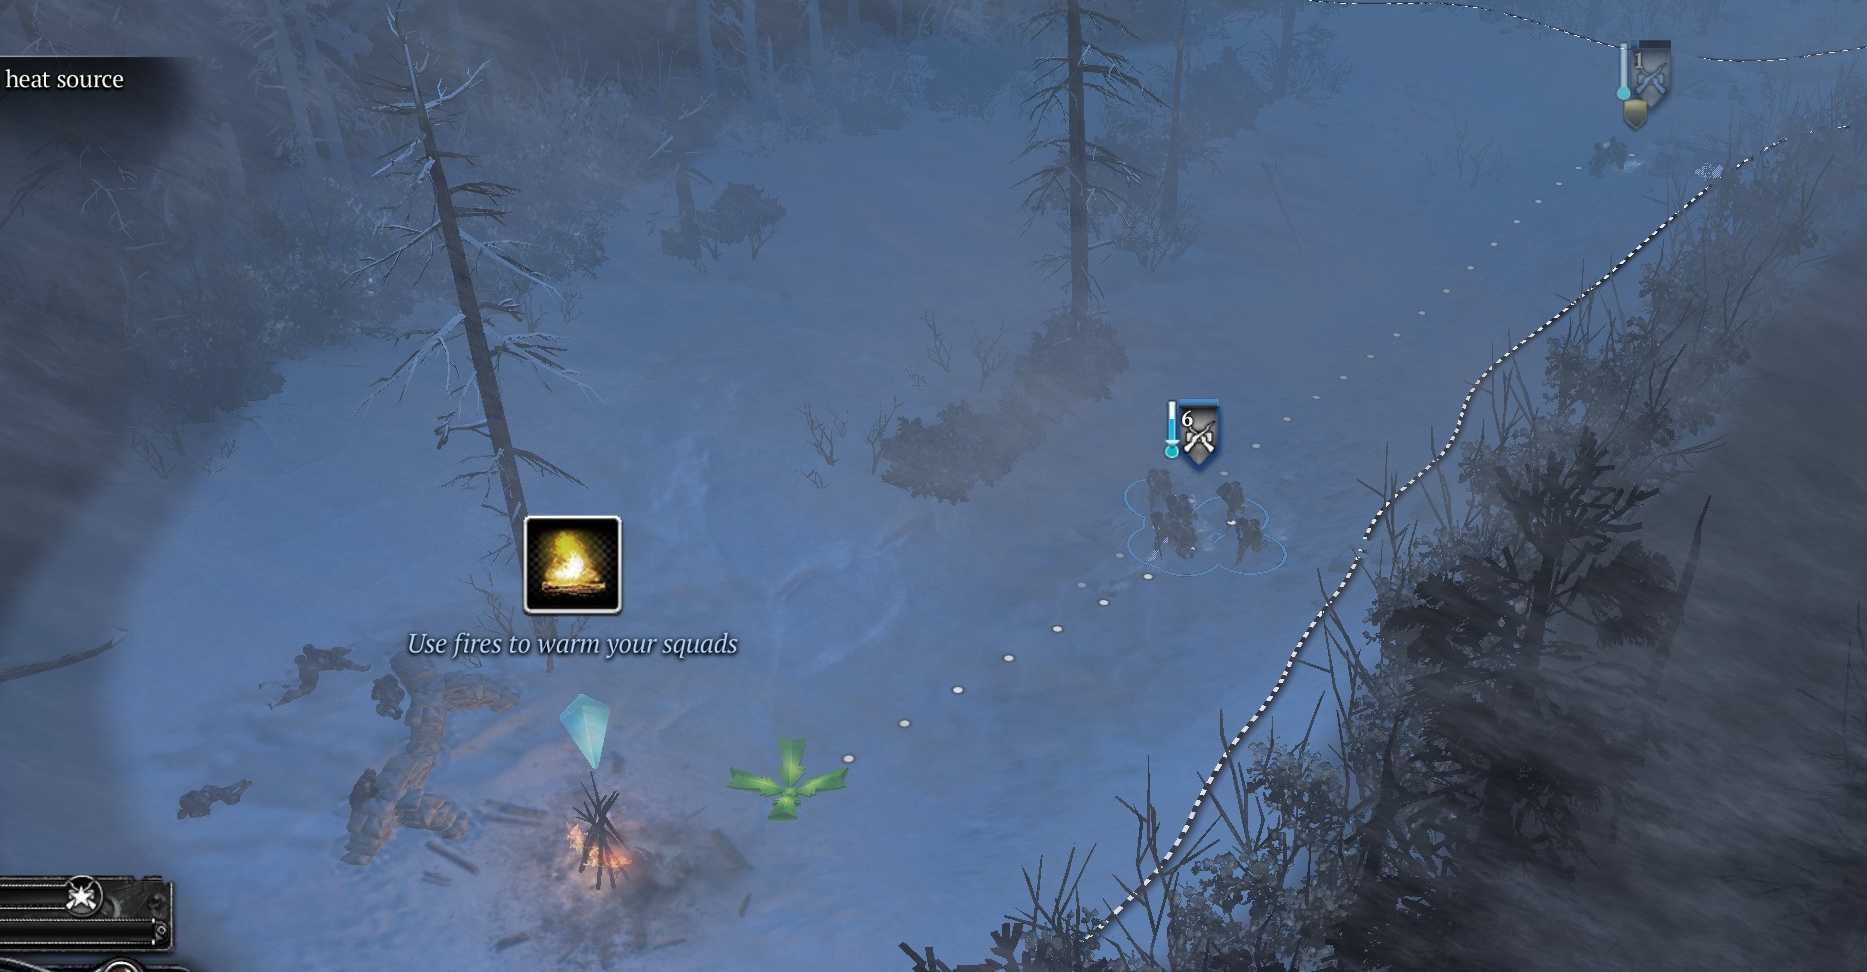
You start with a full frontoviki conscript squad and a half-sized (3/6) one. The half-sized squad has a winking blue skull-and-bones indicator next to it to show that these soldiers are freezing to death. The UI tells you to find a fire with which to warm up. There’s nothing you can do for the frozen half-squad, which you’ll almost immediately lose control of, but make the full squad keep going until it gets to the fire, and let it warm up until the “warming” indicator switches off.
PHASE TWO: LOOK FOR THE SCOUTS
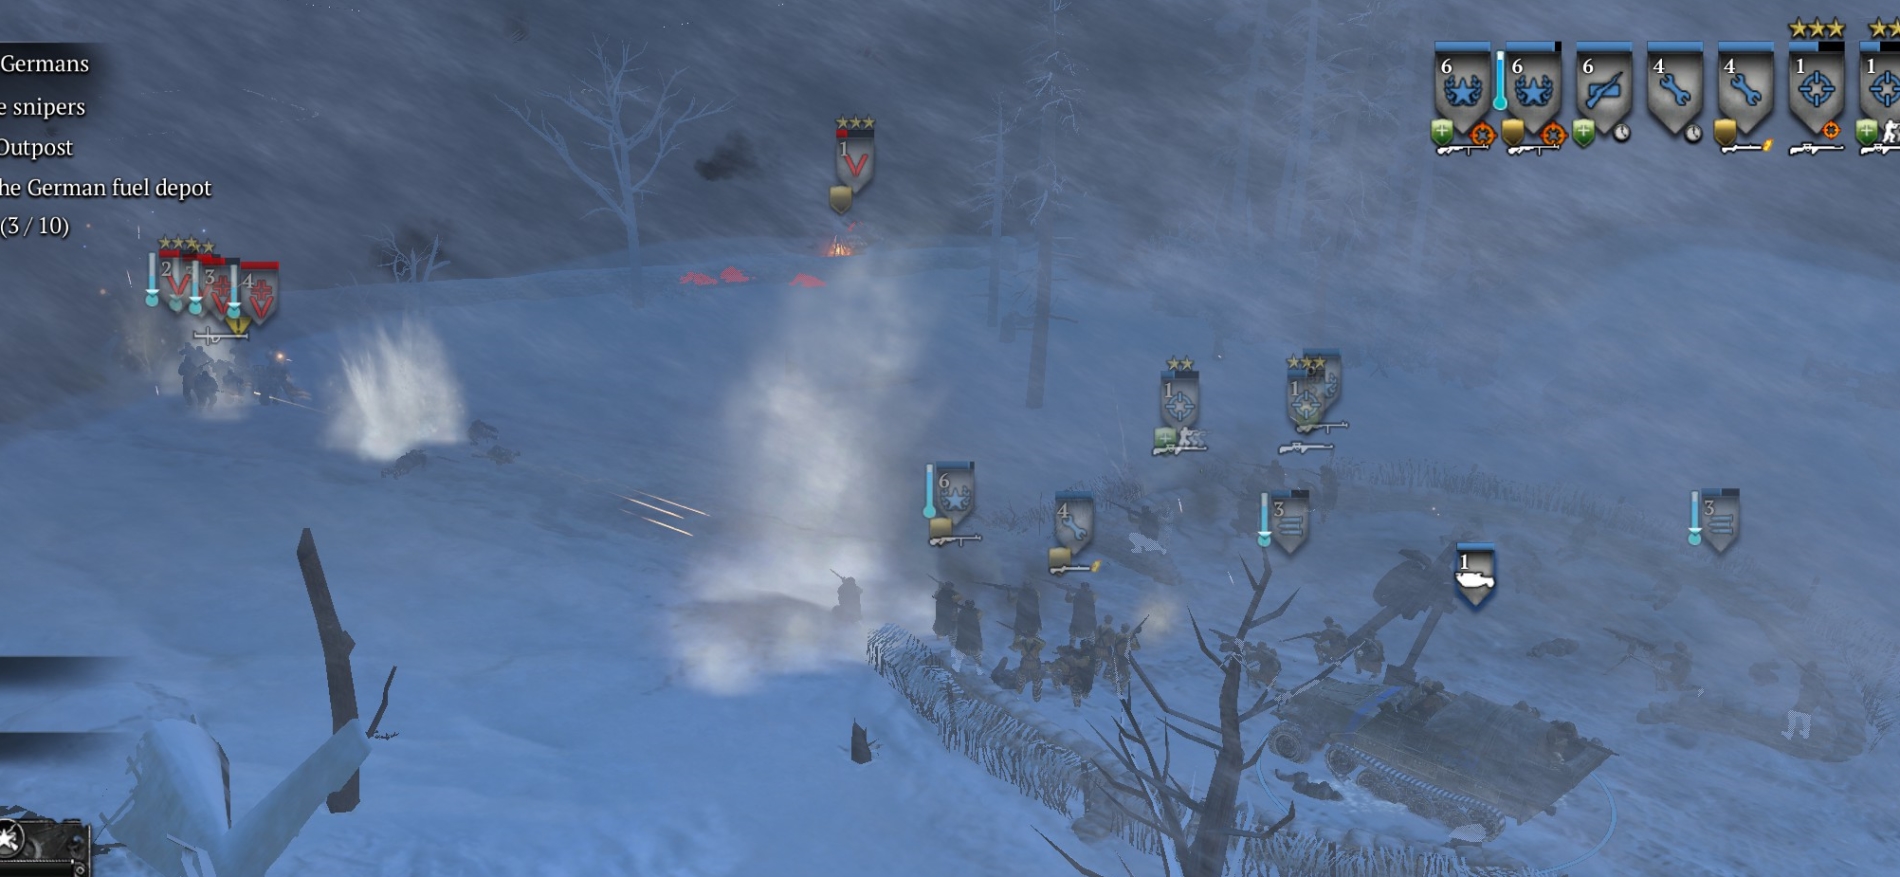
When your frontovikis are fully warmed up, move them further along the main road/path. Soon they will see a fence and an old building north of the road. The building would be an ideal place for your squad to warm up and wait for the scouts, but the devs have forbidden entry to it. Instead, your squad should grab the LMG that lies beside the building, then warm up by the fire on the road below the building. Unfortunately for your frontovikis, they will be immediately (no time to build defenses) attacked by three German squads, and since the Russians here are very nerfed, they mostly won’t be able to hit anything with the LMG.
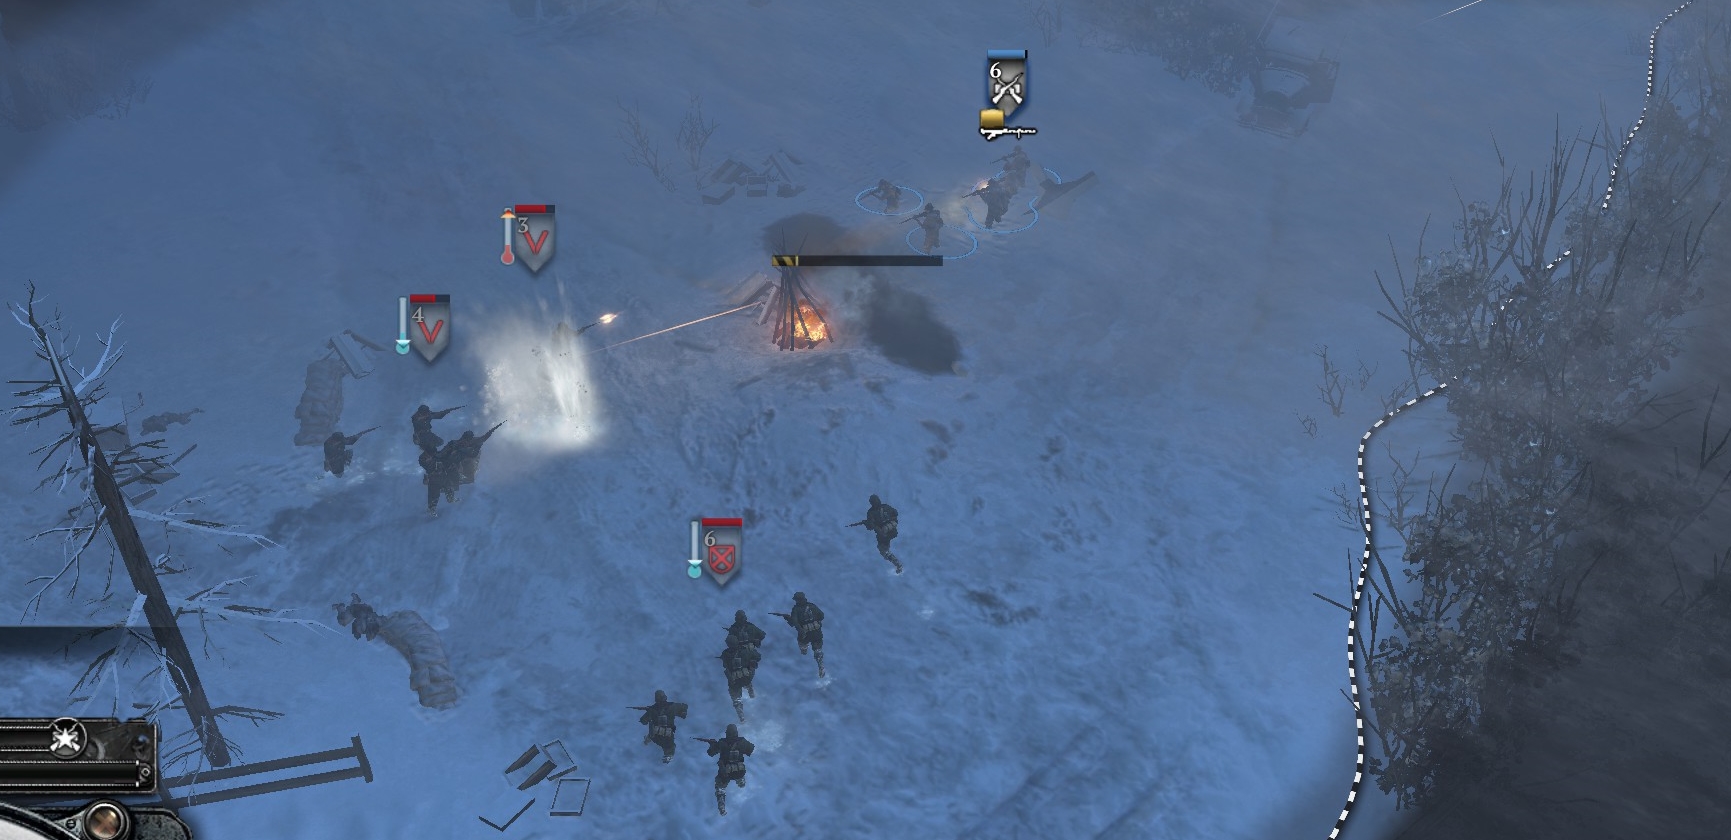
Your frontoviki squad stands a good chance of perishing—this is one of the broken parts, since you don’t really have any choices here—in which case start over. Or it might survive with diminished strength, in which case two Russian sniper teams should arrive (and help dispatch the Germans) to close out this phase.
PHASE THREE: TAKE THE FIRST POINT
Move your snipers (switch off “fire at will” mode) and any surviving frontoviki from the fire where you just had the firefight “north” to a path that goes through woods. They will see a house, with an engineer team inside. The engineers and your remaining frontovikis can stay warm in the house for now.
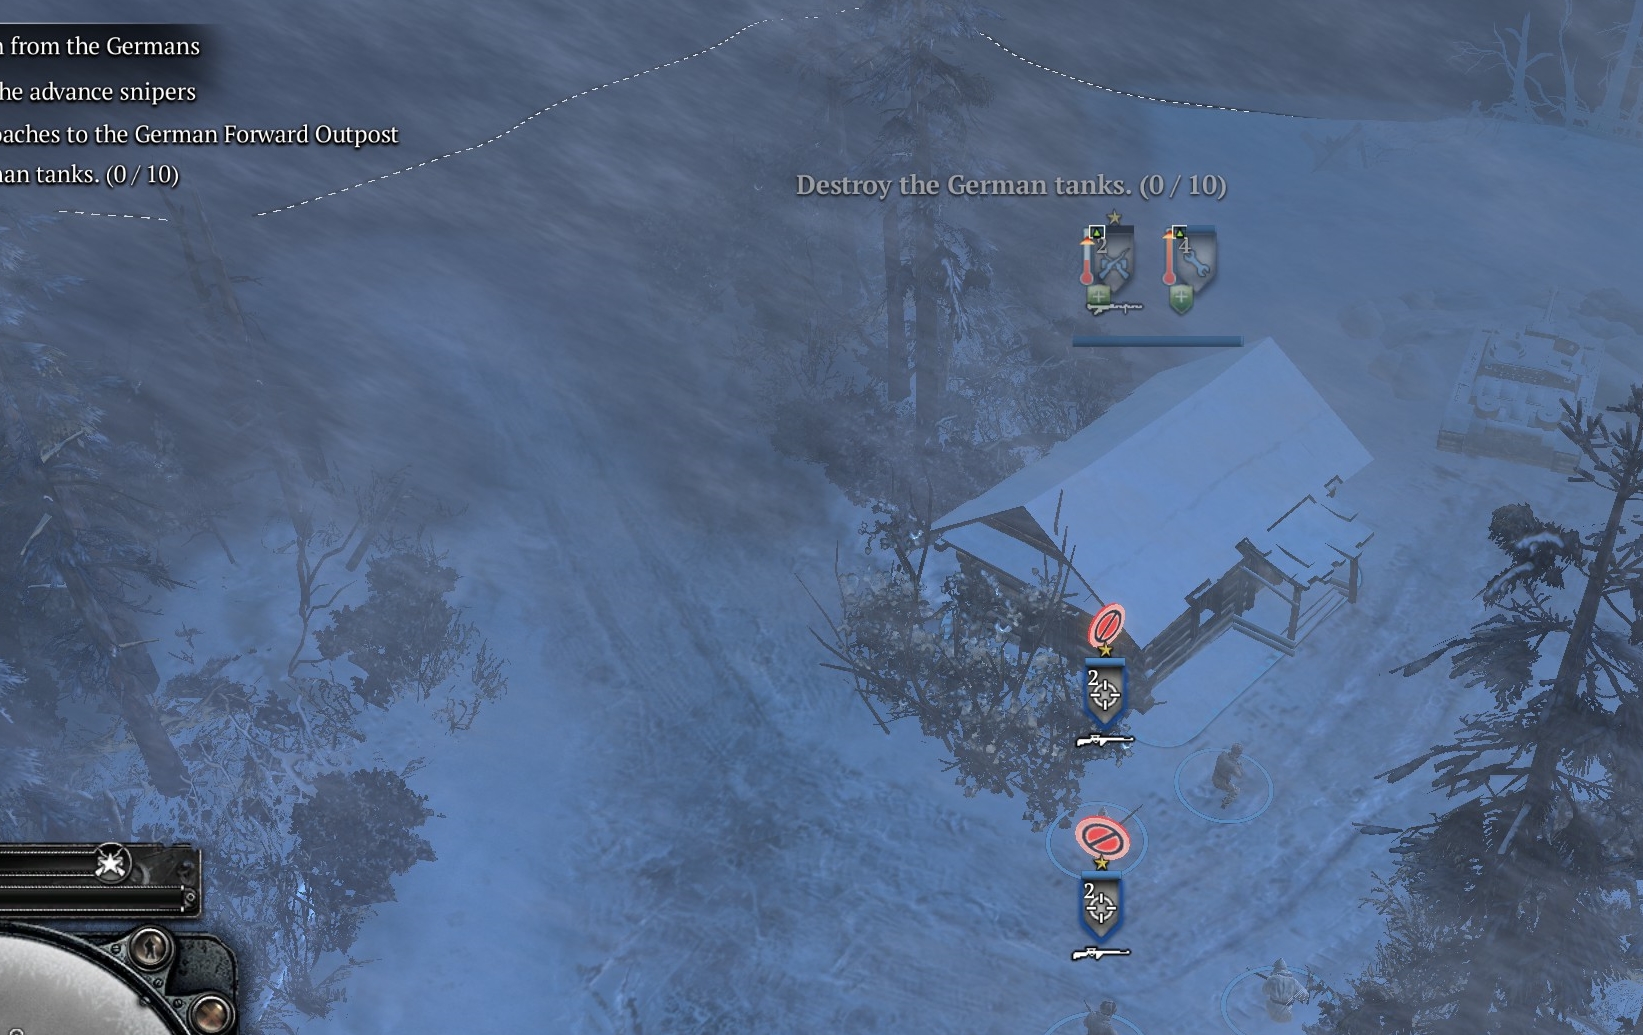
Your snipers can continue north and then swing around to the southwest to approach the first point your force has to capture.
The snipers have an ability (cost: 60 muni points) to fire a parachute flare to illuminate the area ahead of them and extend their effective range. One sniper team can do that—both teams should be in cover, of course—and then they both can start sniping German infantry in the buildings to the NE of the point. They should be able to handle this first set of German infantry squads.
Unfortunately, the German grenadiers and HMG crews in the point are much harder targets, and here is where the mission starts to break down. The snipers have a ridiculously cramped firing range, and are extremely nerfed so that they usually will miss their targets even at what is effectively point-blank range—meanwhile German grenadiers, correspondingly buffed, can stand out in the open and pick off the snipers relatively easily.
It really doesn’t matter whether you set a sniper team to free-fire or hold-fire mode—the Germans readily detect them at any range they can fire from, moreso when they fire, which the snipers must do to survive—thus the snipers, if they try to work against more than a handful of enemy soldiers on their own, usually cannot survive. Of course, there are plenty of people online who will tell you this technique or that technique will work for this mission, but I’m pretty sure none of those techniques work now.
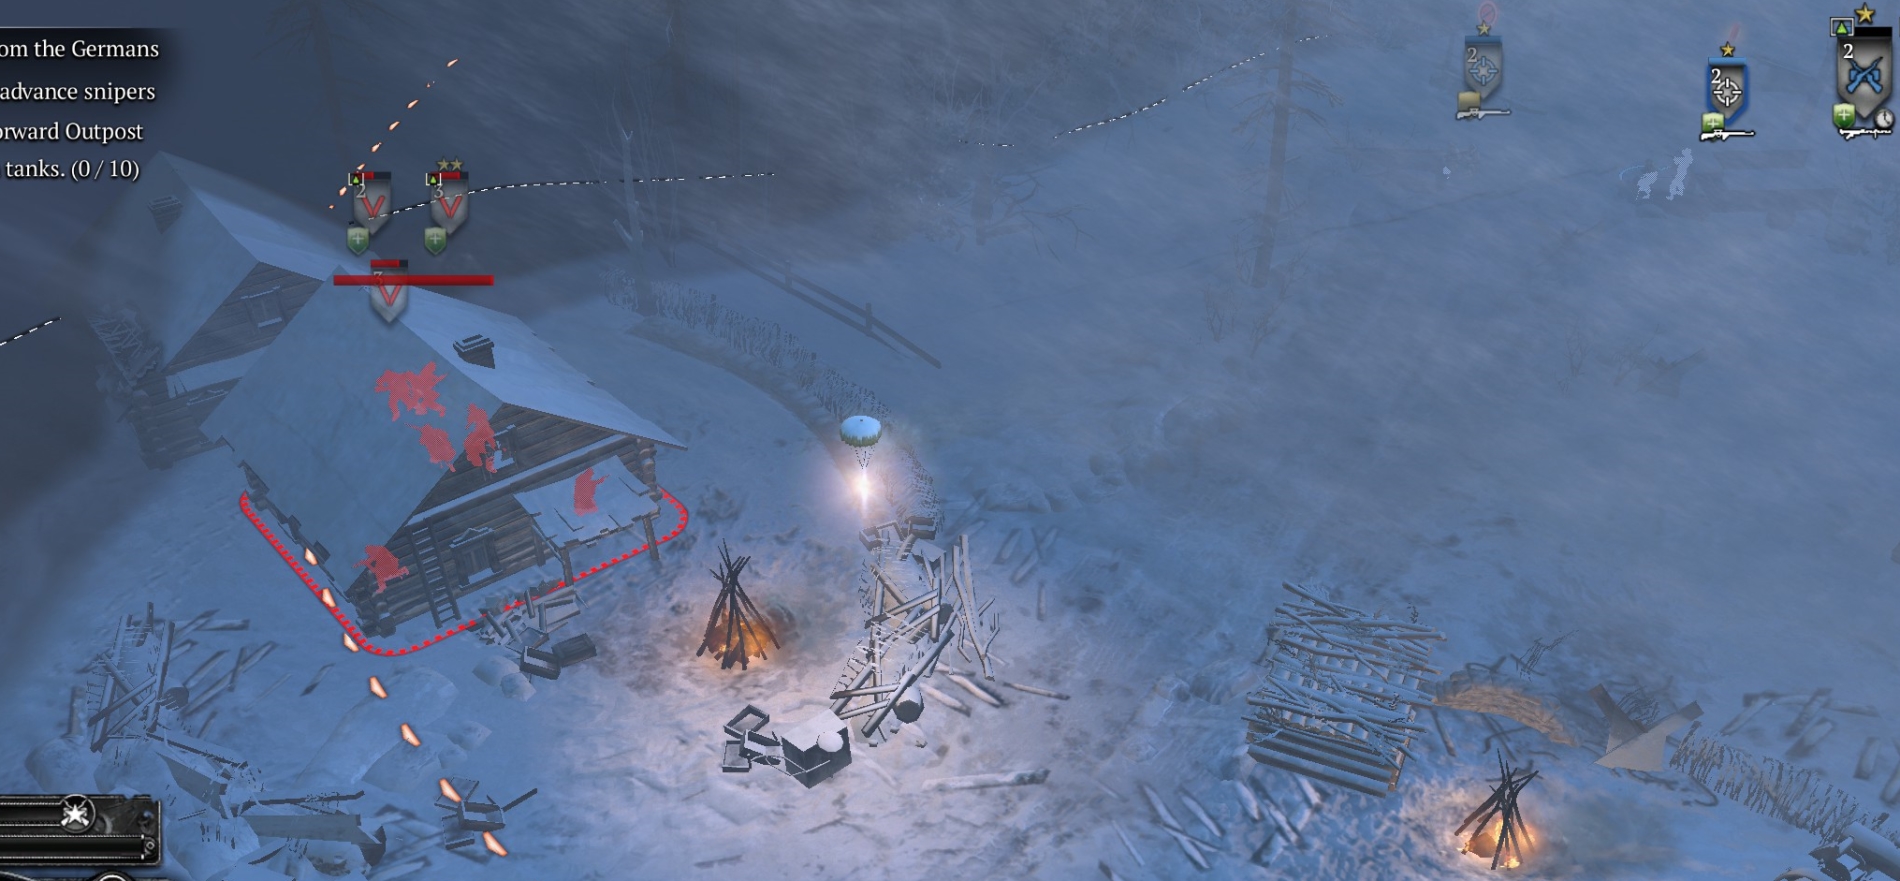
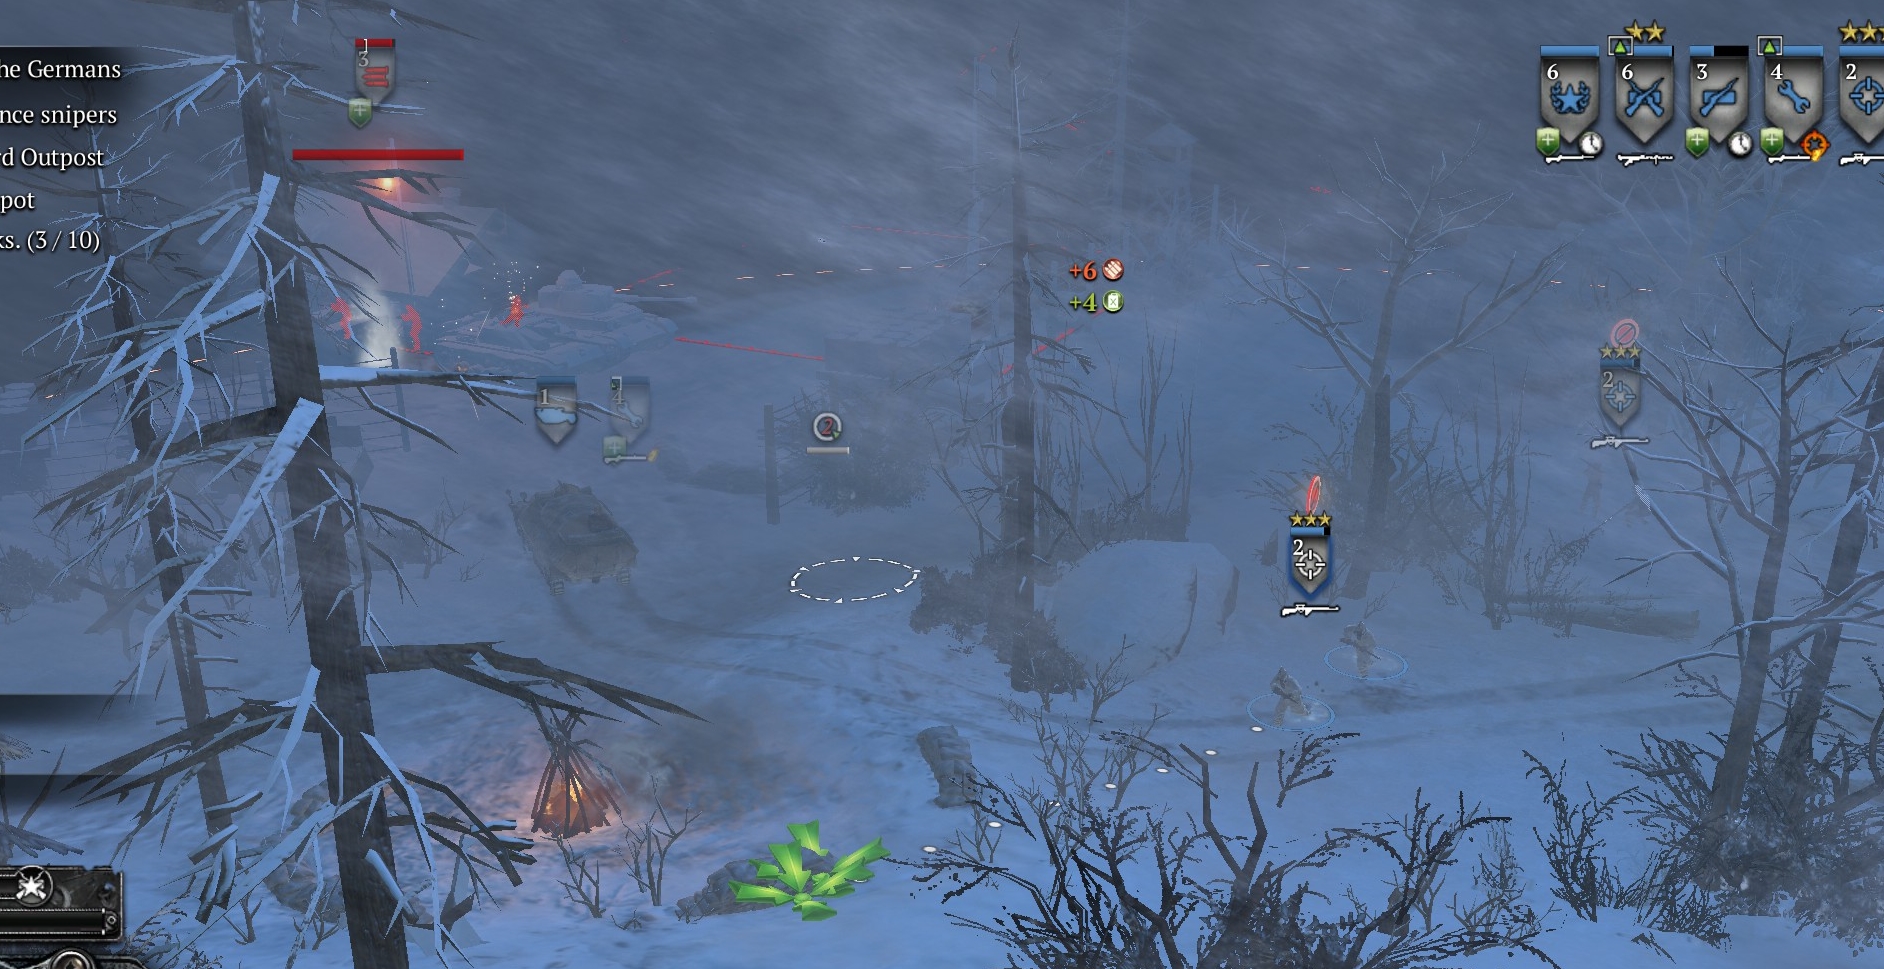
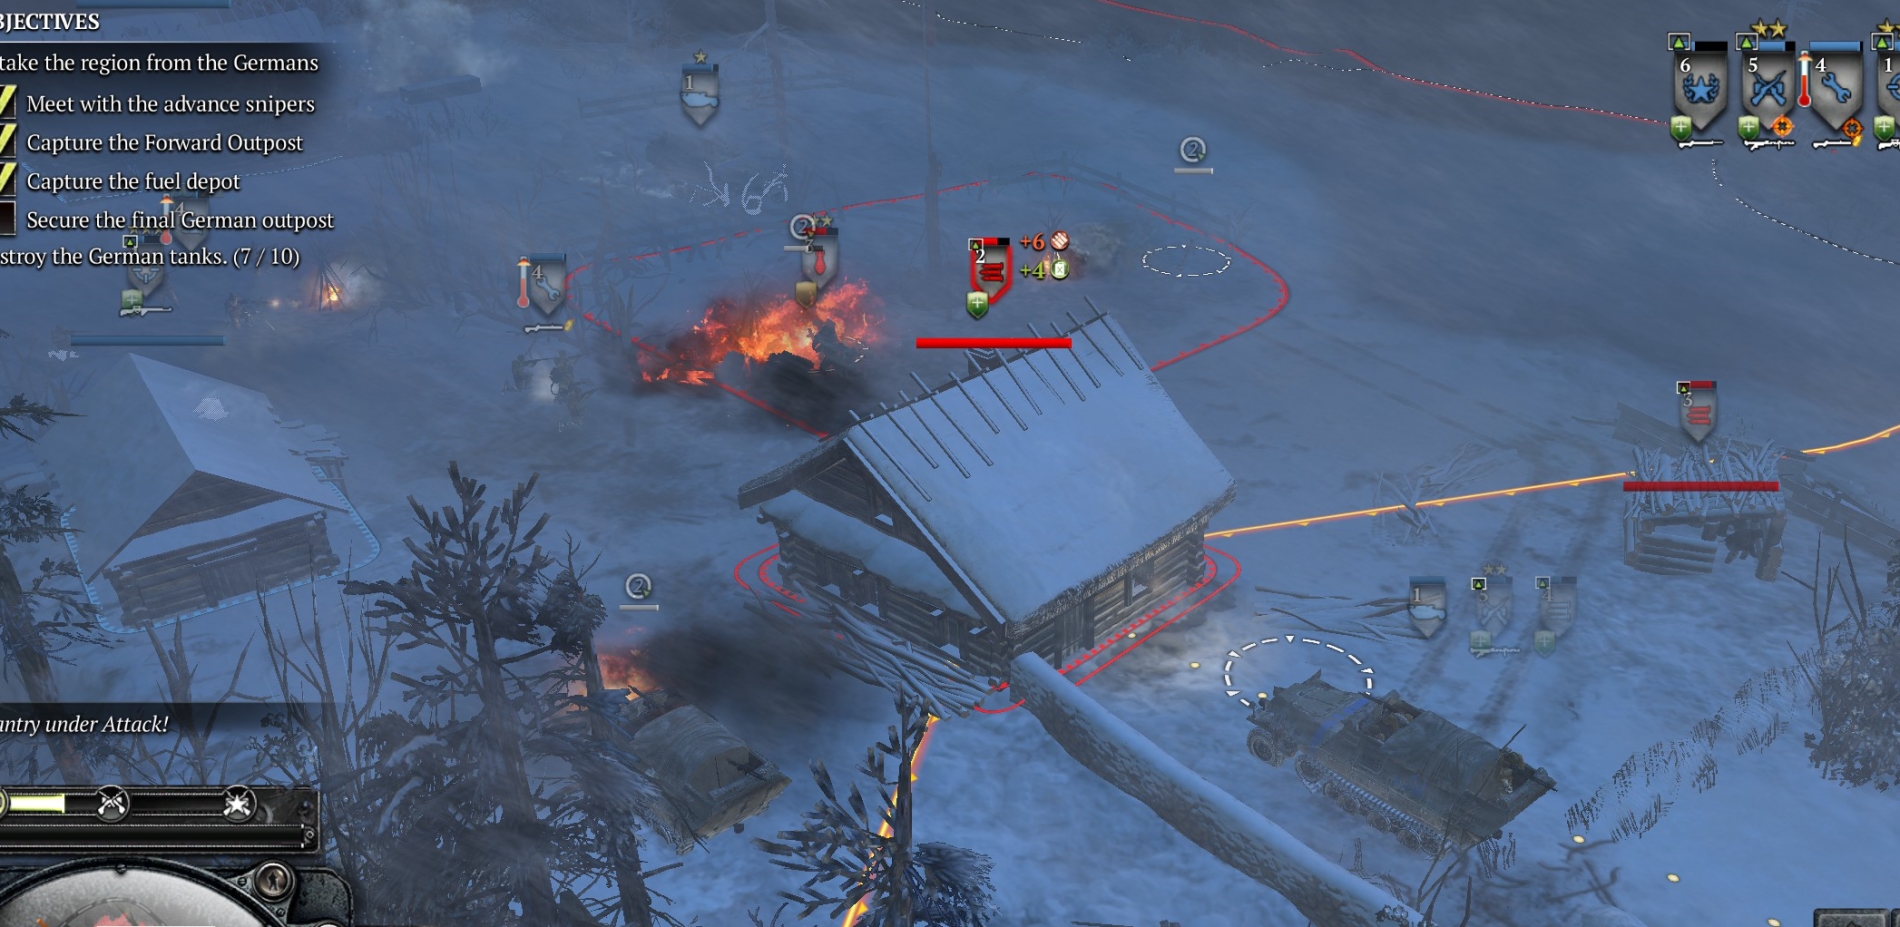
What does work best, out of all the poor choices, is to put your snipers, in free-fire mode, in buildings, and bring in your other troops to use as distractions for the Germans to give your snipers an extra edge. Here is how that can look when you have positioned your squads for the final attack on this point.

As soon as you start to fire on the German squads (grenadiers and HMG crews) at the bottom left part of this point, the grens will charge and the HMGs will set up to fire on you. You just have to hope that you wipe out the Germans before they do the same to you—and you will most of the time, just not all of the time.
PHASE FOUR: CAPTURE THE FUEL DEPOT
Once you cap the first point, you will get reinforcements from the south. As muni points permit, your engineers can lay charges to blow up parked German tanks (StuGs) at the point and wherever else you have seen them. One charge is good for two tanks parked closely together.
Re-crew the two German MG42s at the point.
On the path north from the first point, there is an abandoned 251 halftrack. Your engineers can repair it, and conscripts can re-crew it. You can reinforce squads at the halftrack, including snipers.
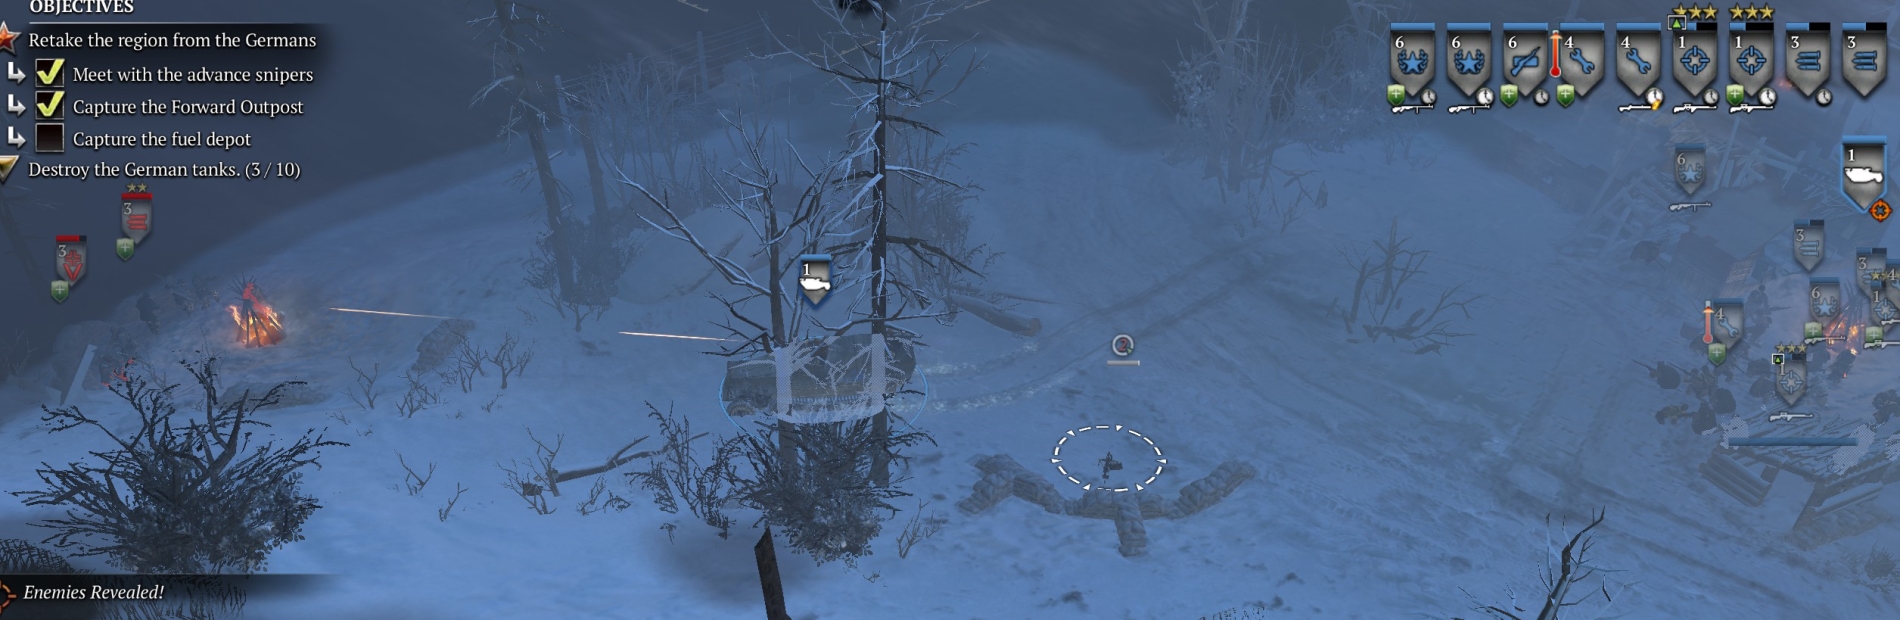
Gather your force around the fire beside the halftrack. Then move them, halftrack in the lead, into the sandbagged circle a bit further north and west. The halftrack should then move further west, where it will encounter (or your snipers’ flare will reveal, if you want to burn muni points) German infantry, which will then (as your halftrack retreats) come out and attack you—and your snipers (free fire) and MG42(s) and other squads should wipe them easily.
When this is done, move your force to the nearest fire to the NW, and set up MG42s to cover an attack from the W. Use the halftrack again to probe to the west, where it will find another German MG42 crew and a panzergrenadier squad.
Use your MG42s to suppress the panzergrens when they charge your (backing-away) halftrack, and use your snipers at max range to de-crew the MG42.
To the north lies the fuel point, guarded by a panzergren squad in a tower, and an HMG in a building. Use your snipers at max range with halftrack as spotter.
Cap the point and, if you want, get the other abandoned halftrack nearby re-crewed and repaired. Always remember that, with the exception of your snipers, your squads must be in a building or next to a fire and will quickly die if they are not.
PHASE FIVE: CAPTURE THE FINAL POINT
To the northeast of the fuel point there is a short stretch of woods, a frozen river/creek, and then the last point, which is too heavily guarded for you to attempt a simple frontal assault. There are two HMGs in buildings, two mortars in the point itself, and several grenadier and panzergren squads.
First, use one or both halftracks (far enough apart that they don’t entangle each other) to run across the ice to the point and then back away—don’t get too close to grens with their anti-tank grenades. In this way, you can draw the grens and panzergrens (not all at once but over time) away from the point into the woods on your side of the river, where eventually they should freeze to death if you don’t kill them first.
There is only one small hut in the woods that a single squad can use safely—crew it with an HMG or LMG-equipped conscripts or guards rifle dudes. The two structures along the river also can be occupied but will draw extremely accurate insta-wipe mortar fire from the point.
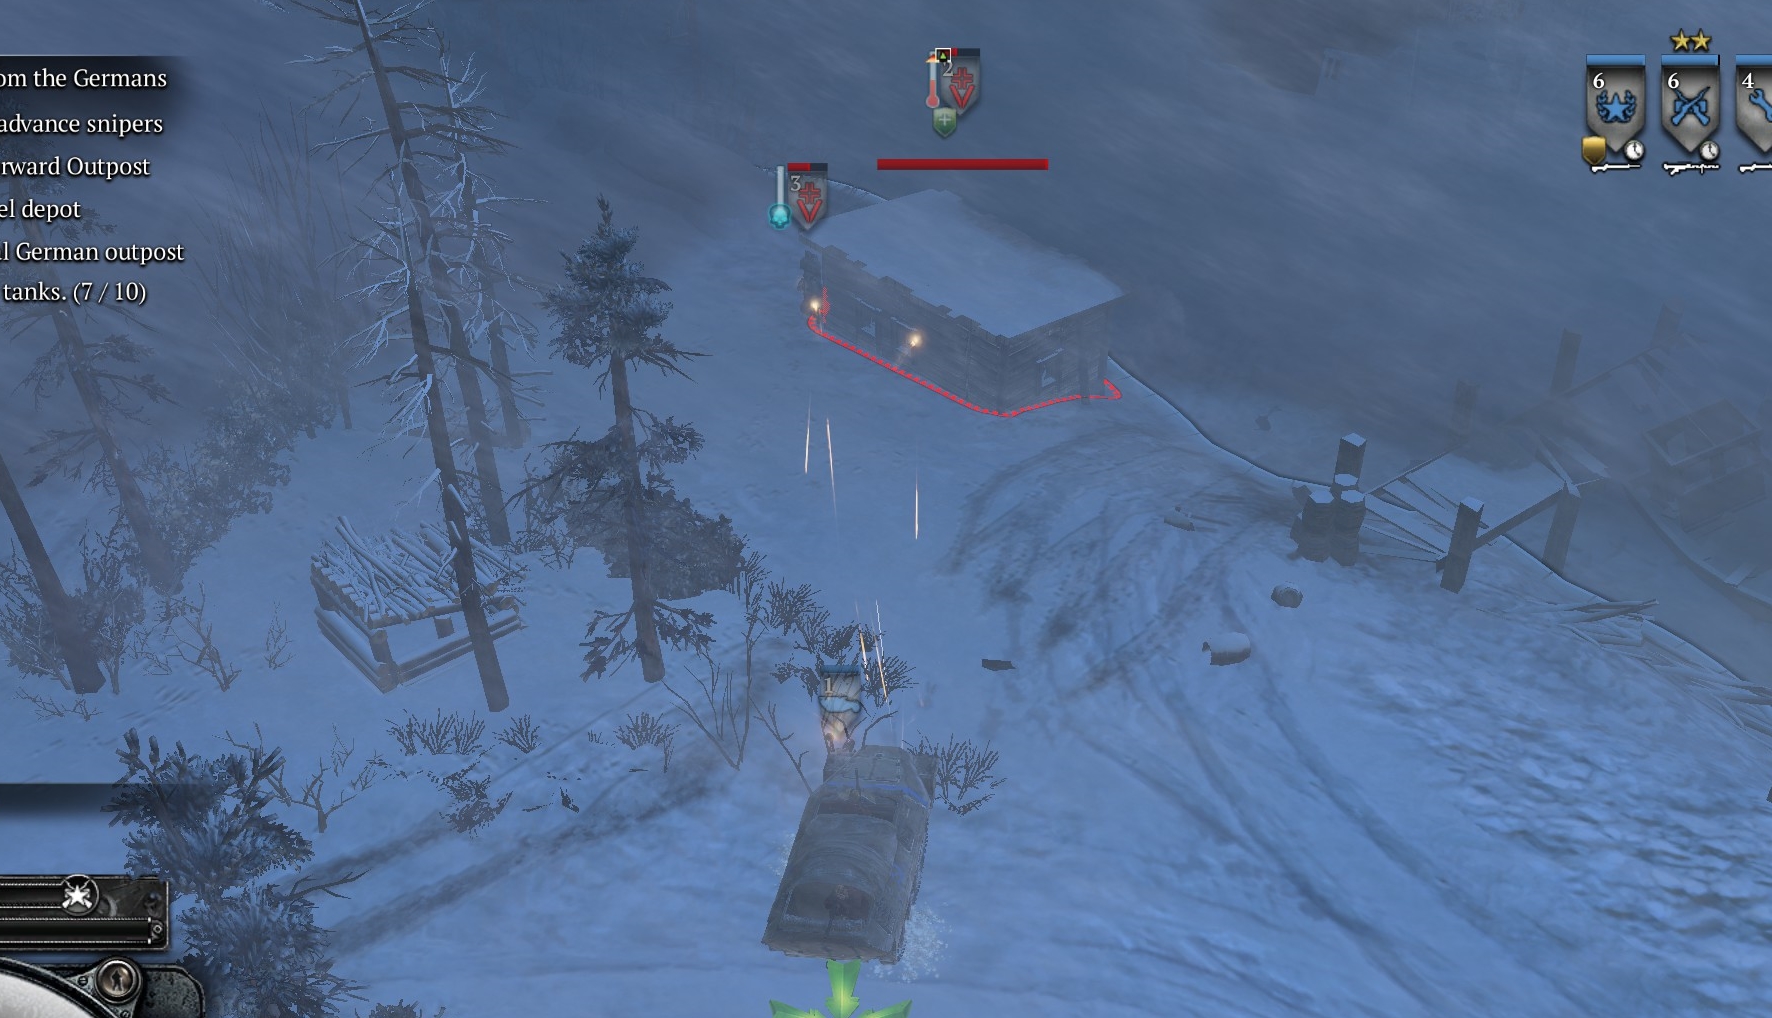
Once you have killed several German squads in this way, run your force (loaded halftracks in the lead) into the point area and occupy buildings. One halftrack should stay on the SE side of one of the HMG buildings (see image below) to draw its fire away from the point area, while your other squads work on annihilating the German force at the point.
De-crew and re-crew the mortars in the point. Your engineer team(s), as you are completing the point-cap, should go and plant a single mine in the center of the river to the W/NW of the point. Make sure you have at least one HMG in the building north of the point.
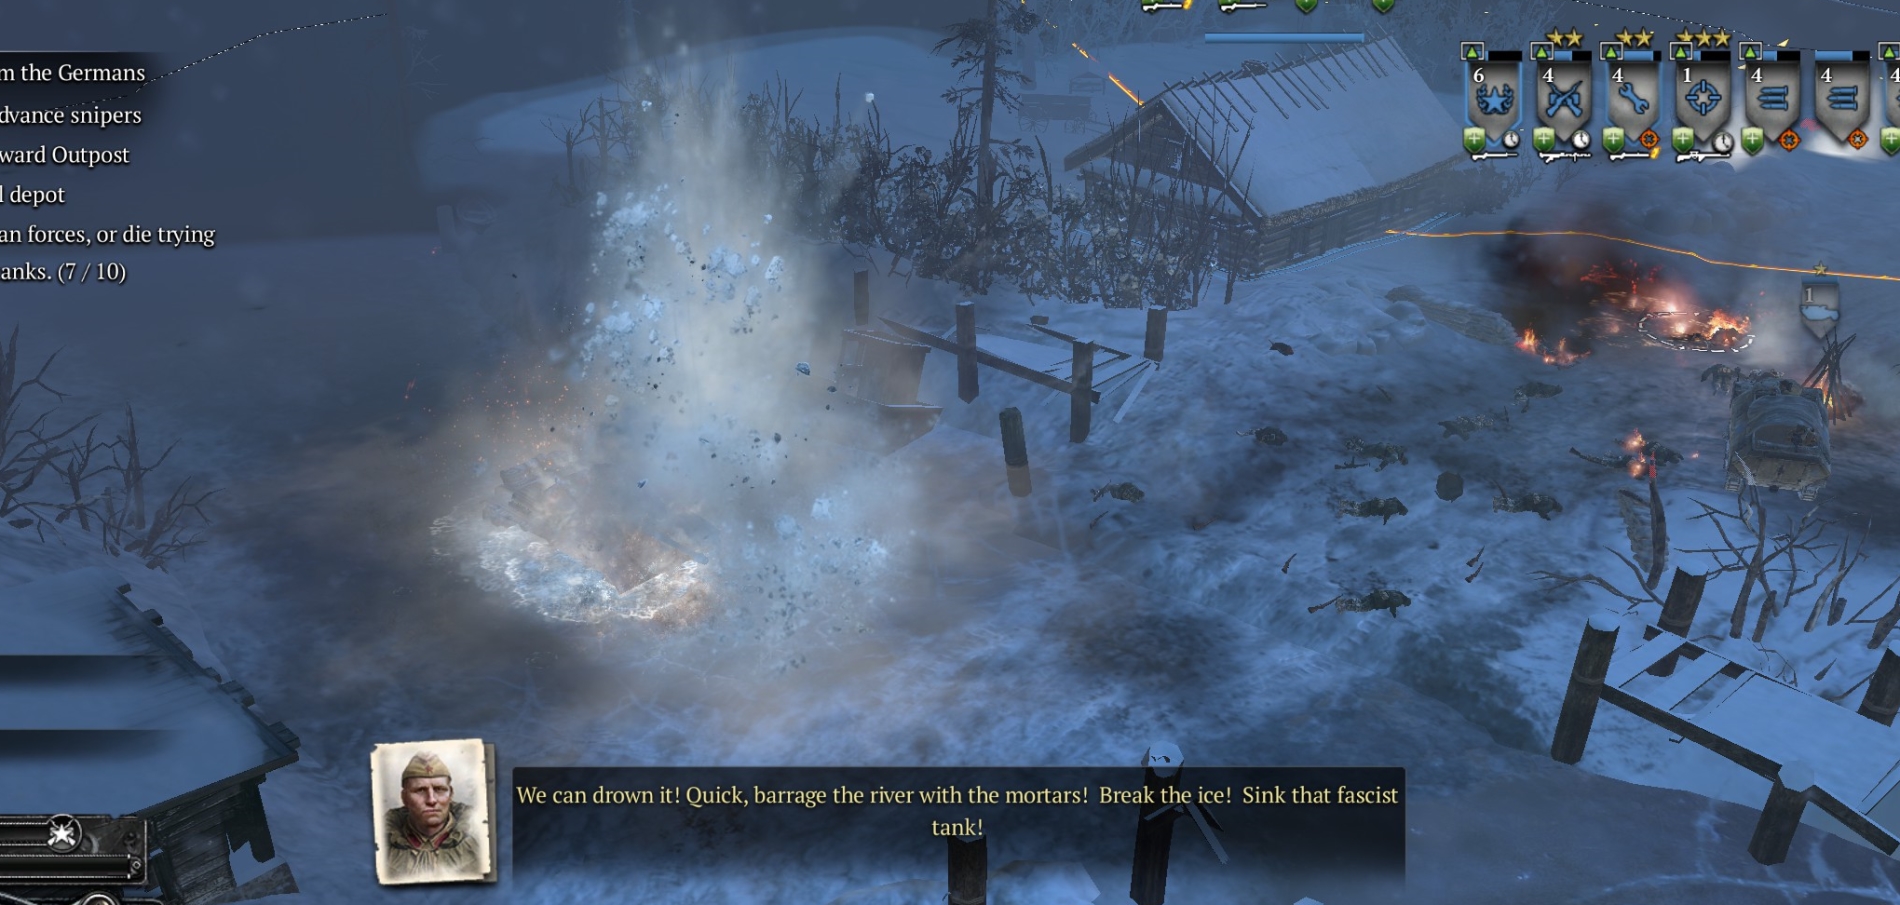
The Germans will counterattack mostly with infantry, and with your HMGs and mortars you can send them packing. Then a StuG-III will arrive from the NW on the river. The devs want you to mortar it to sink it there on the river, but if you have laid the mine there beforehand, it will work just as well. When the StuG has been sunk, the mission will end in victory for you.
A sort of side-mission in “The Miraculous Winter” is the destruction of parked German tanks (StuGs). If you are so inclined, plant demo charges beside every tank or tank-pair you see. The one on the snowy path in the woods SW of the last point usually will rumble to life and move away, however, if you try to lay a demo charge against it.
***