This mission depicts a very scaled down version of Operation Iskra (“Spark”) in January 1943, which aimed at opening a land route to besieged Leningrad along the southern shore of Lake Ladoga with attacks near Shlisselburg from both east and west.
At the start, the UI insists that your small set of infantry squads should run across the frozen river Neva to seize the opposite bank. This is a bad idea, however—as so often with COH you cannot trust the developers to fully understand the missions they have designed.
Your infantry can move forward a small distance to reduce and rout some German squads, but as soon as one Russian soldier is killed (freeing up the needed pop cap) they should then retreat or run back to base, on the near bank of the river, while you order in an M5 halftrack.
Put a couple of shock troop squads in the halftrack when it arrives.
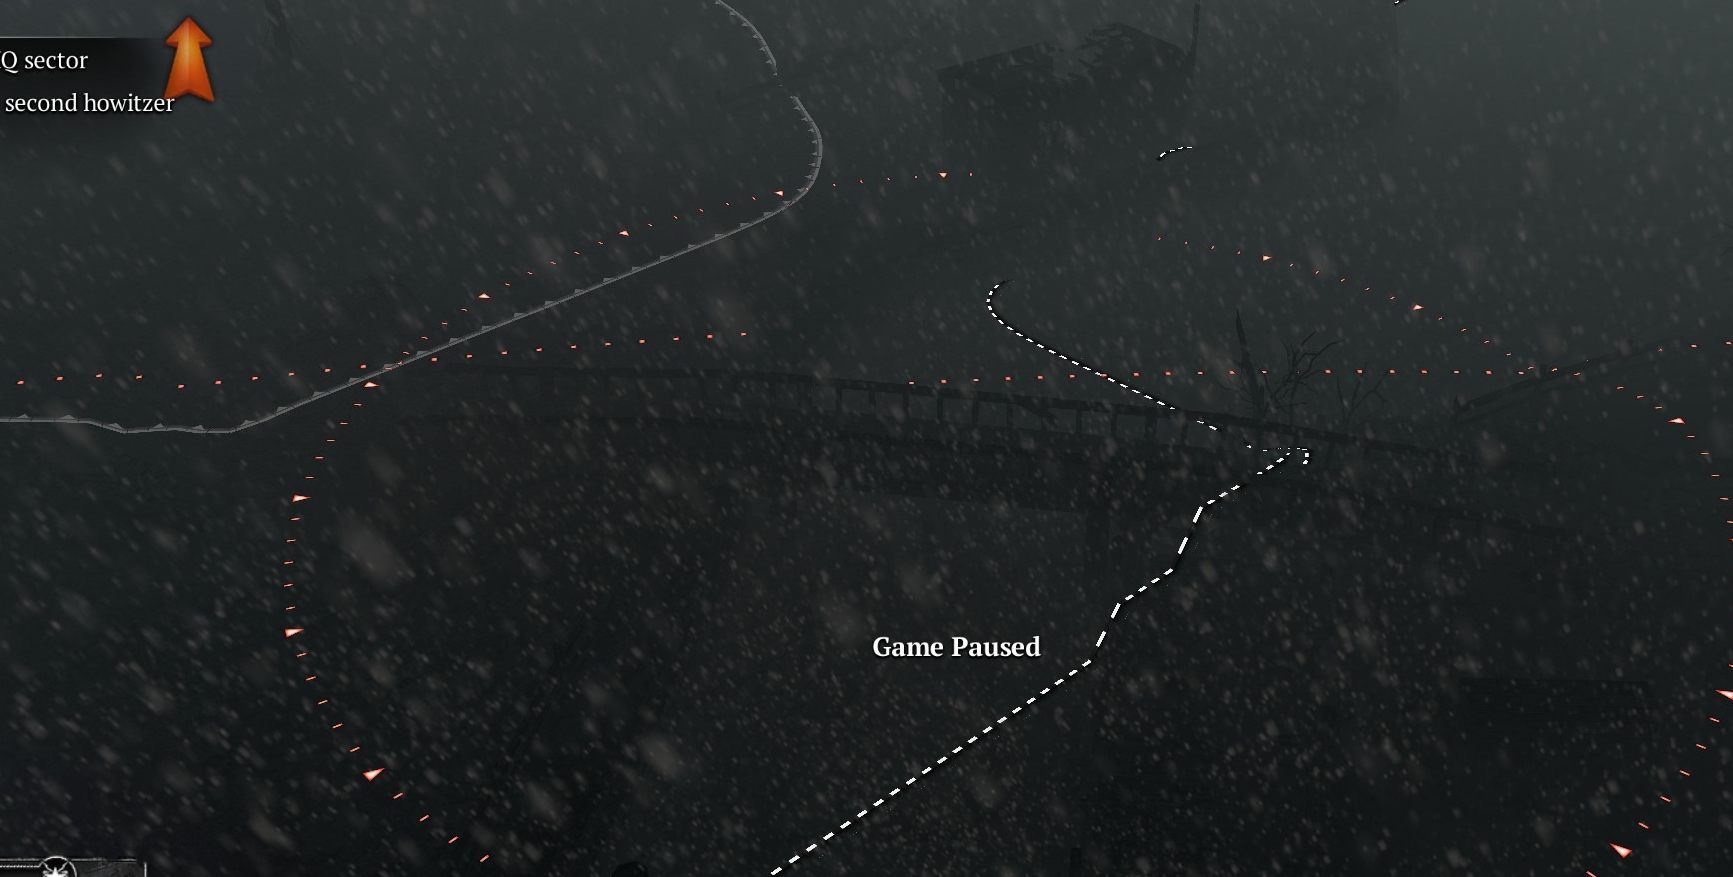
FIRST POINT ON RIVER BANK
Have the rest of your infantry run ahead (aiming for the farthest right part of the bank) and rout as many German troops as they can on the river ice. The M5 can follow and drop off the shock troops in a position to start wiping out German mortar teams.
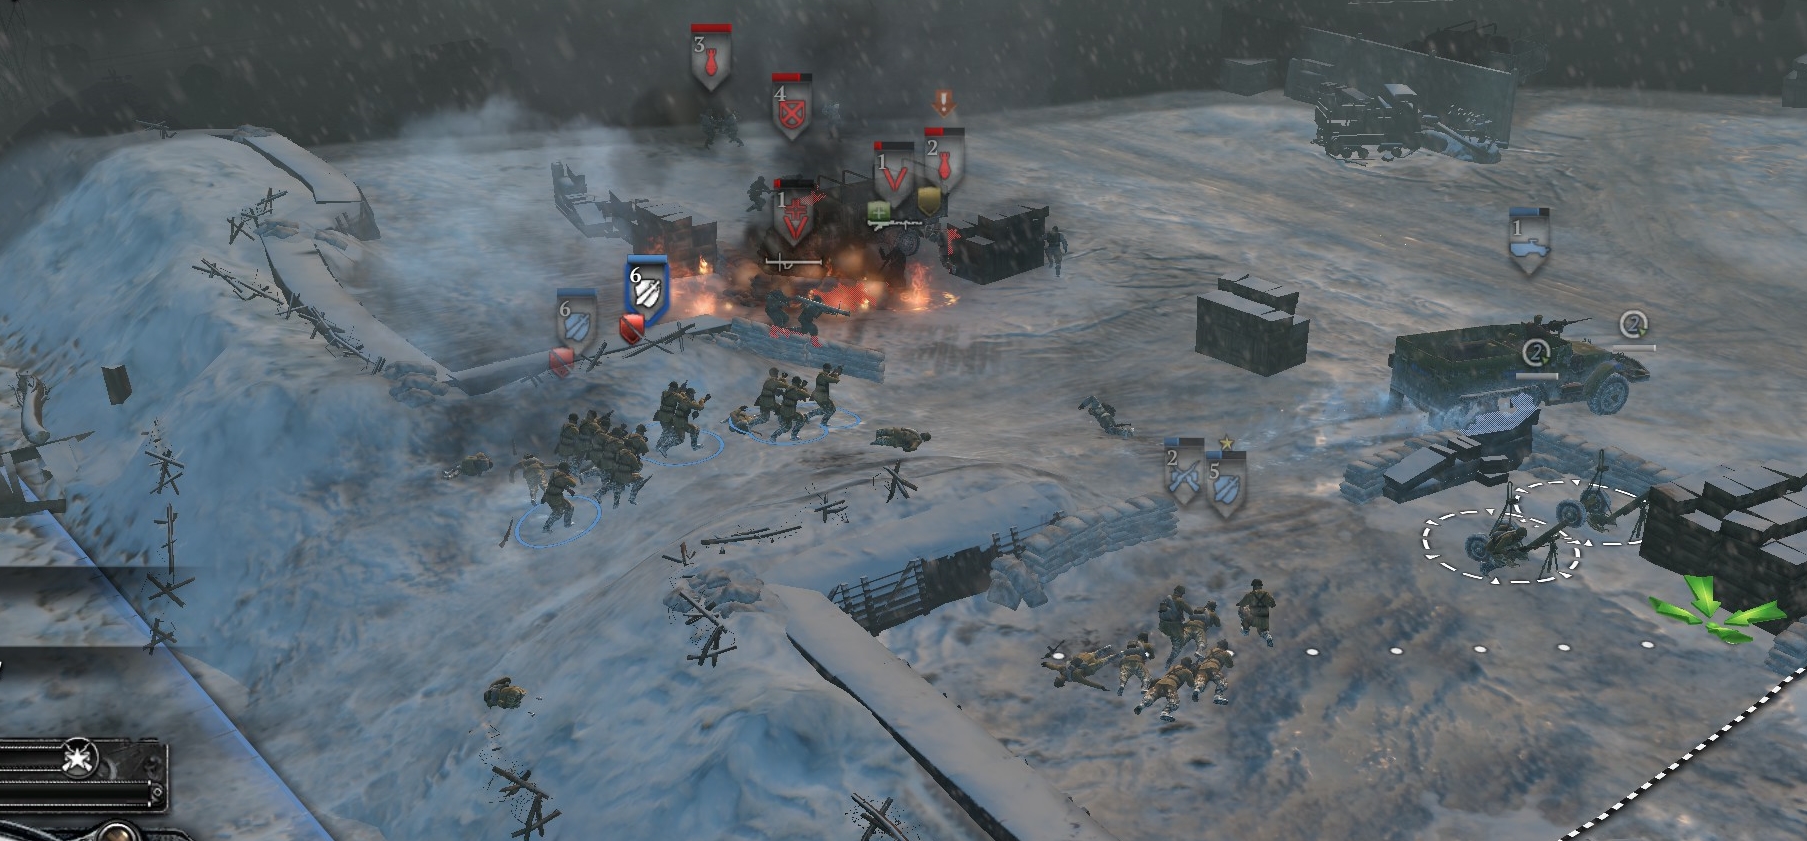
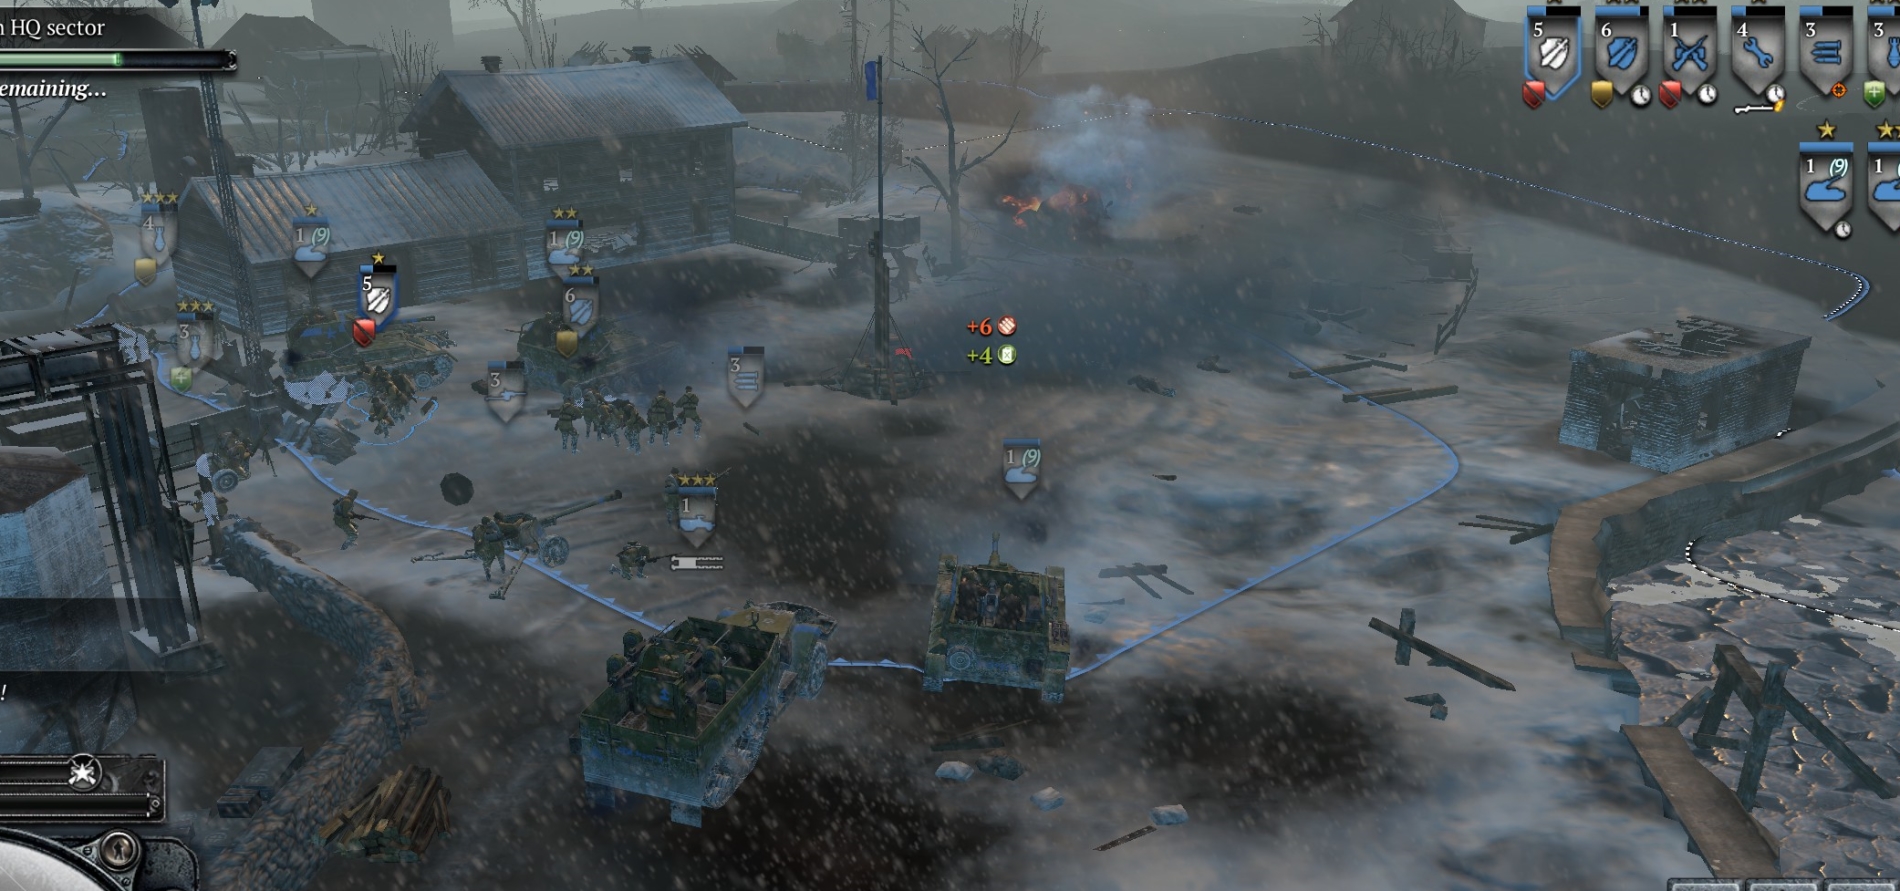
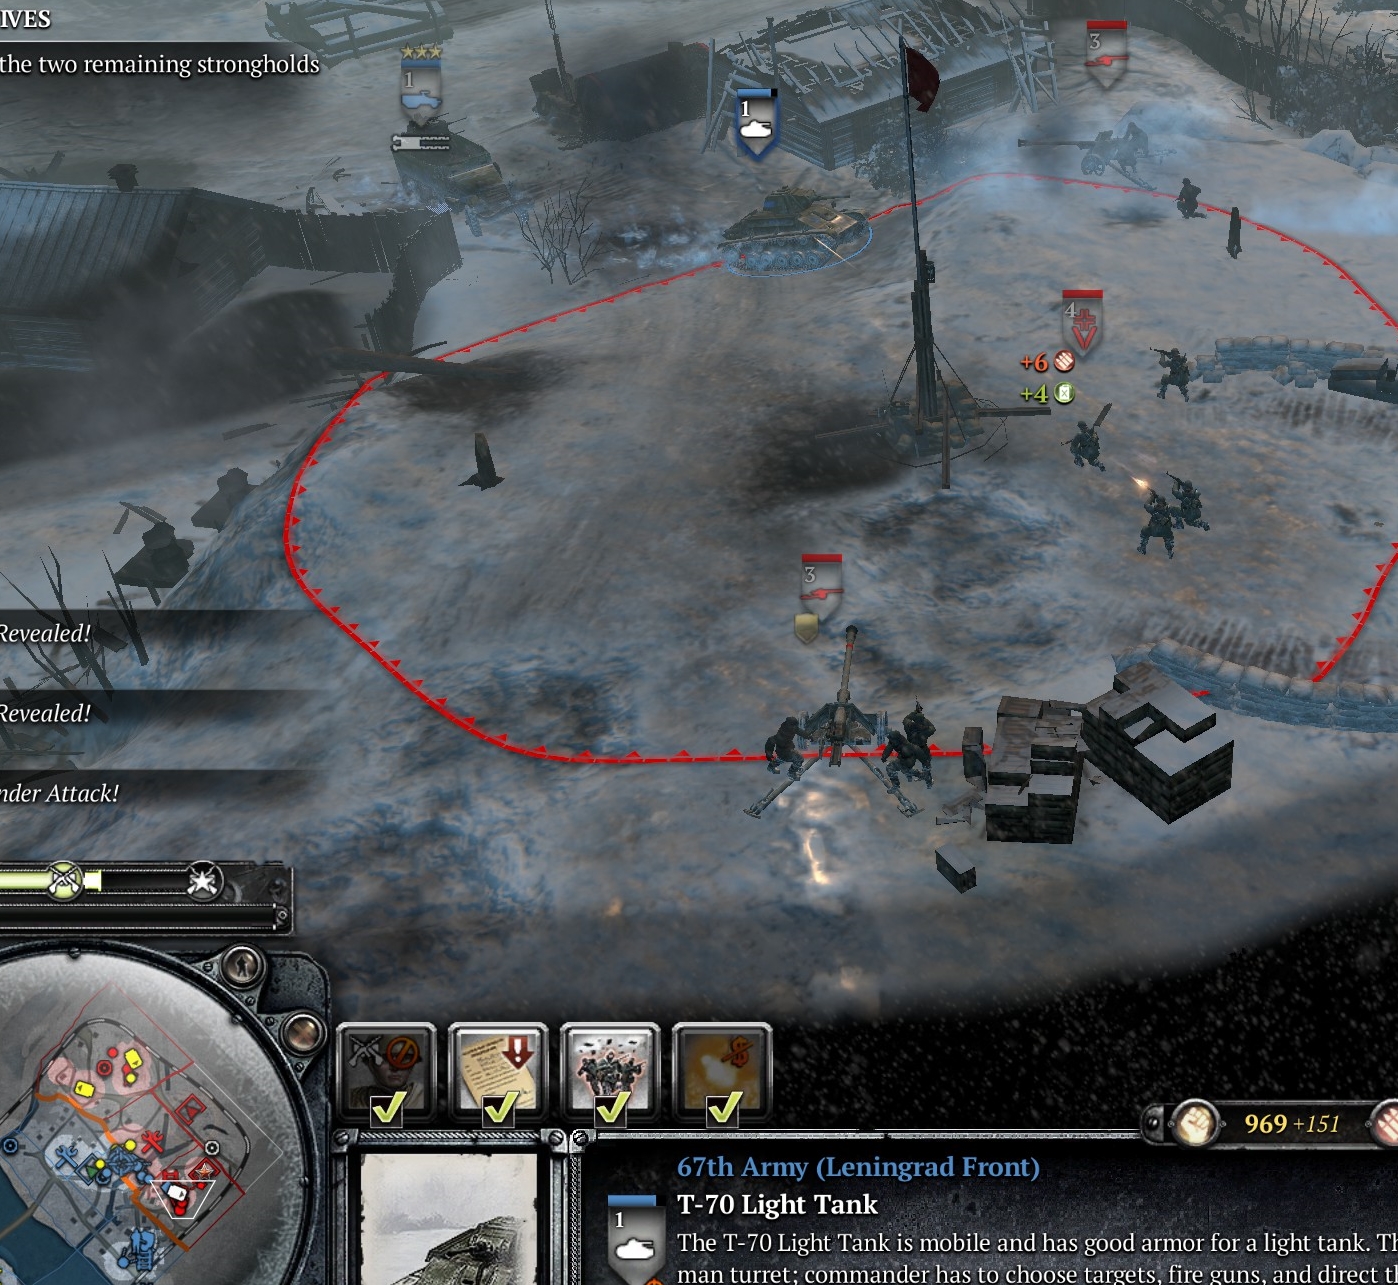
There are at least half a dozen crewed German mortars on the right part of the bank, plus a howitzer, a couple of snipers (in the point nearby), two flamer-pio squads that will attack from the NW when you start wiping the mortars, and an MG42 crew in a building at the NW edge of that area. You want to wipe out the German mortars and supporting infantry, and the howitzer crew, and then re-crew the latter as well as the 120-mm mortars at the SE end of the bank. Use your 120-mm mortars to destroy German mortar crews and later the building with the MG42 to the NW. Keep the M5 alive and use it for reinforcement and for killing snipers in the point area. Bring in an engineer team as soon as you can, for example to keep the M5 repaired. Cap the first point and, again, watch out for those snipers in the point area.
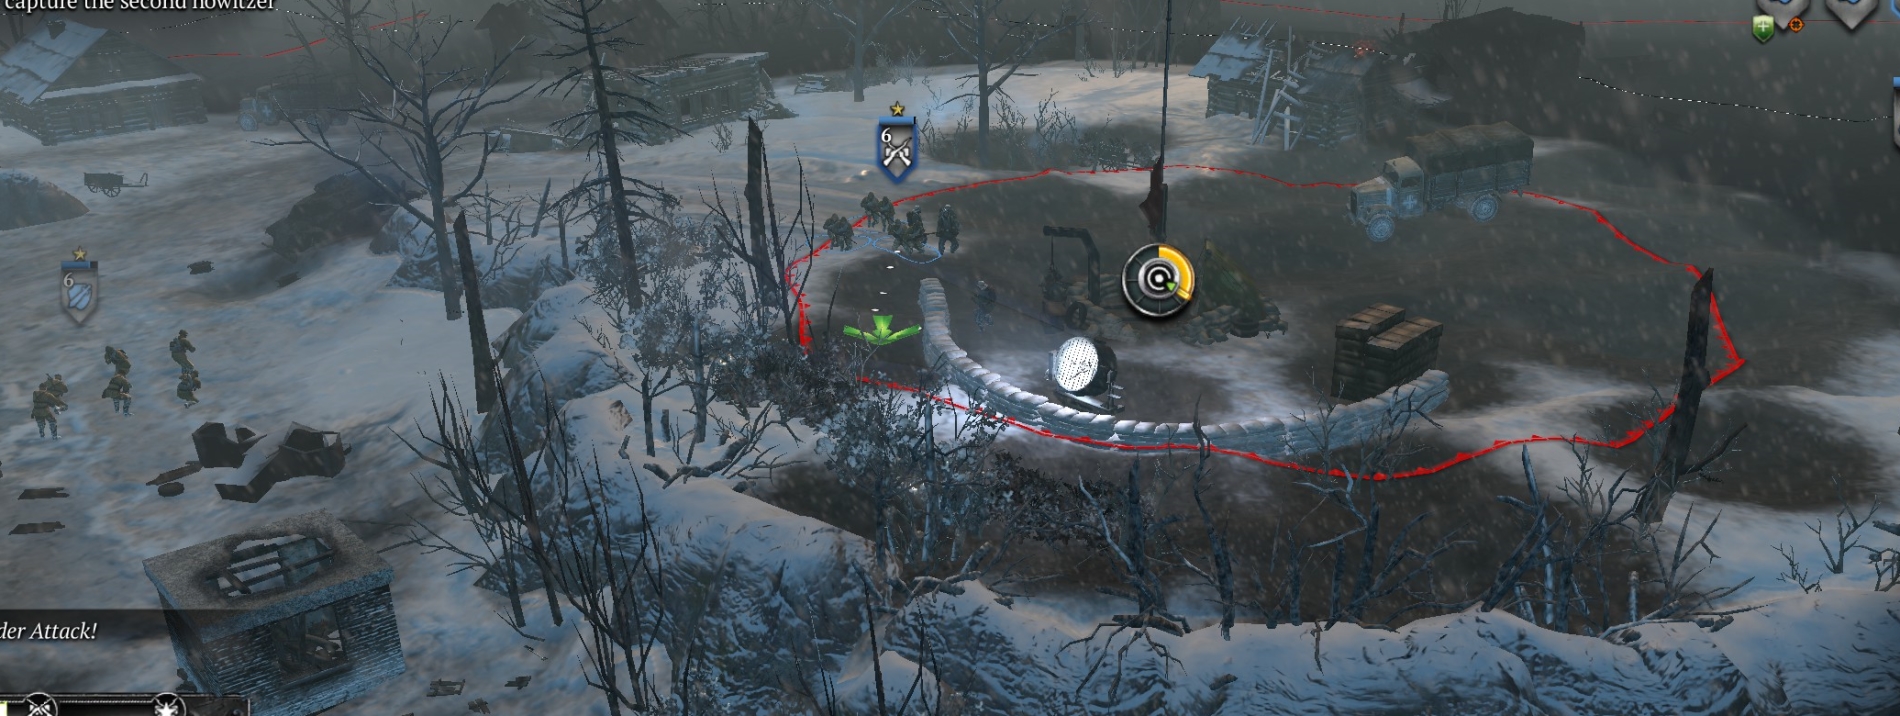
When you cap the point, your new base forms magically and immediately to the SE of the point. A phase change occurs, and the UI tells you that your new task is to de-crew/destroy the other German howitzer at the NW end of the river bank. You receive three free Su-76s for that.
DESTROY THE OTHER HOWITZER
Between the first point and the one with the other howitzer lie about 200 meters of powerful and well layered German defenses. You can’t just run in with the Su-76s, because they will be wiped by Paks and schrecks. You can’t just use your infantry because they will be pinned immediately by MG42 fire and picked off by snipers and grens/panzergens. What you can do, though, is use infantry or an M5 to scout (retreating as needed), with Su-76s and 120-mm mortars close behind to shell to smithereens anything that gets in your way.

You can do this all the way along the riverbank until you get to the point at the end with the howitzer—terminating every German unit you find, and capping that point.
Along the way, you can clear (with mortar fire) and cap the mechanics station point just above the road. If your vehicles need speedy repairs, bring them to this point once it has been capped.
If you have crewed the howitzer at your base (and you should), use it, whenever convenient, to shell the canal bridges NW of your base, beside the point you will attack in the next phase. If you don’t destroy these bridges, German troops will infiltrate constantly across them to flank your force.
TAKE AND DEFEND GARRISON POINT
When you have done all this clearing and capping, bring your forces back along the road to the approach path to the next point, which lies just NW of the bridge near your base.
Clear and cap this point with the same tactics you have been using. The Germans have only a few infantry squads here.
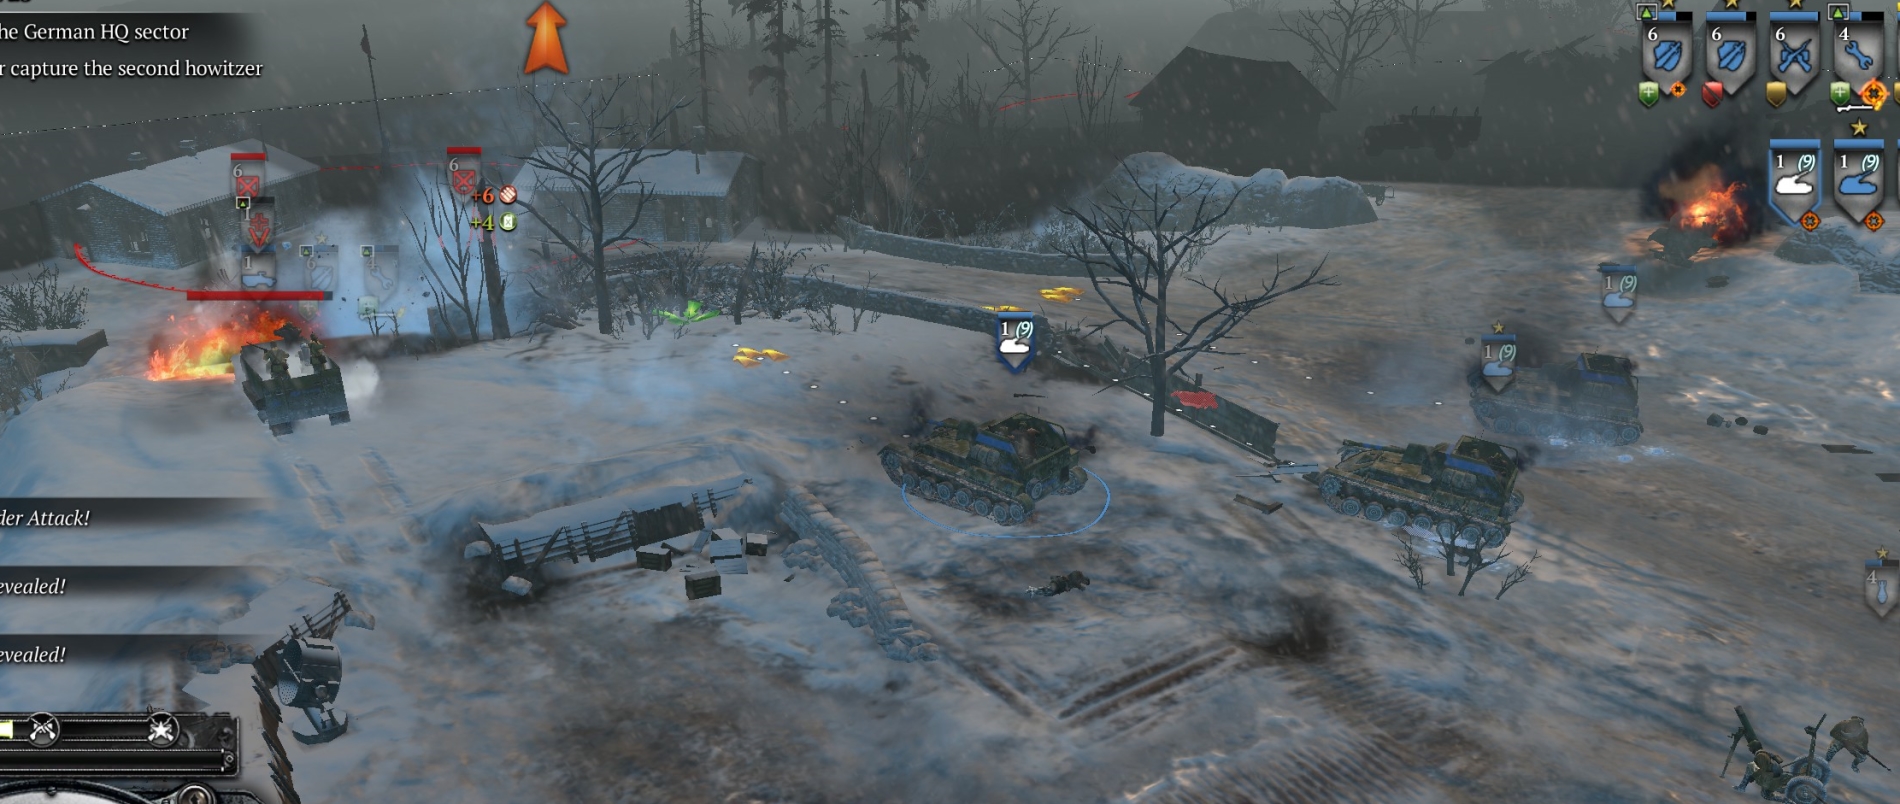
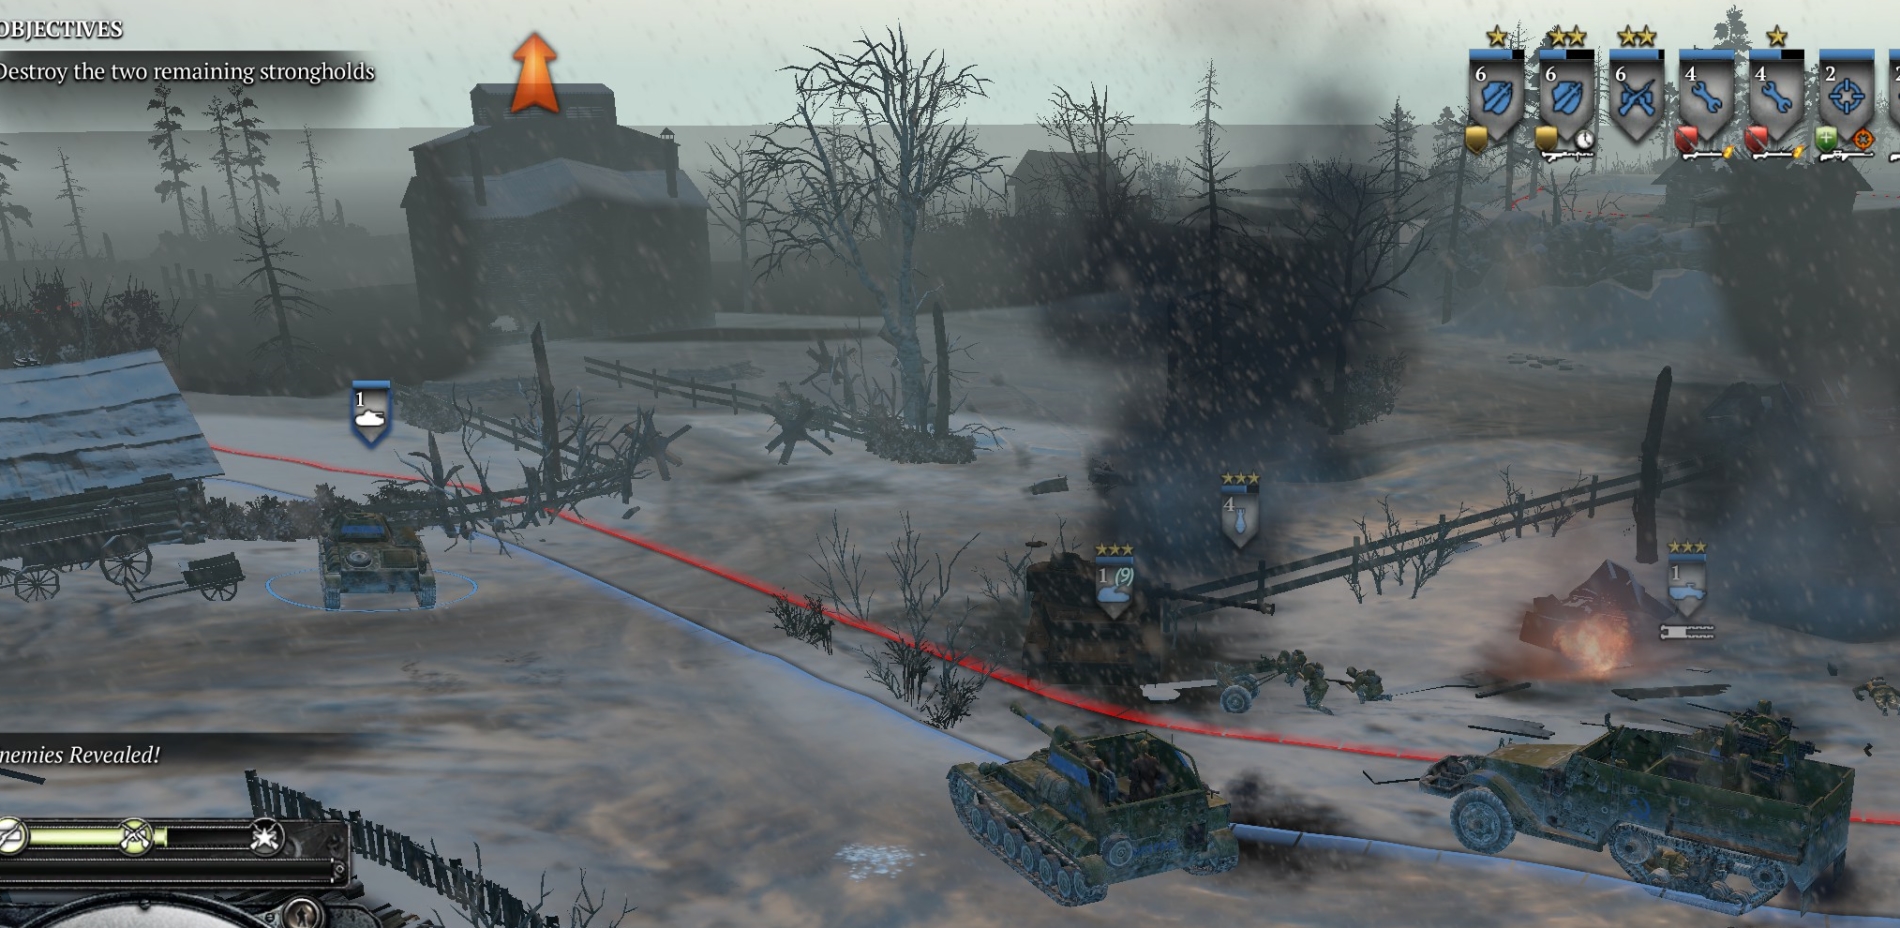
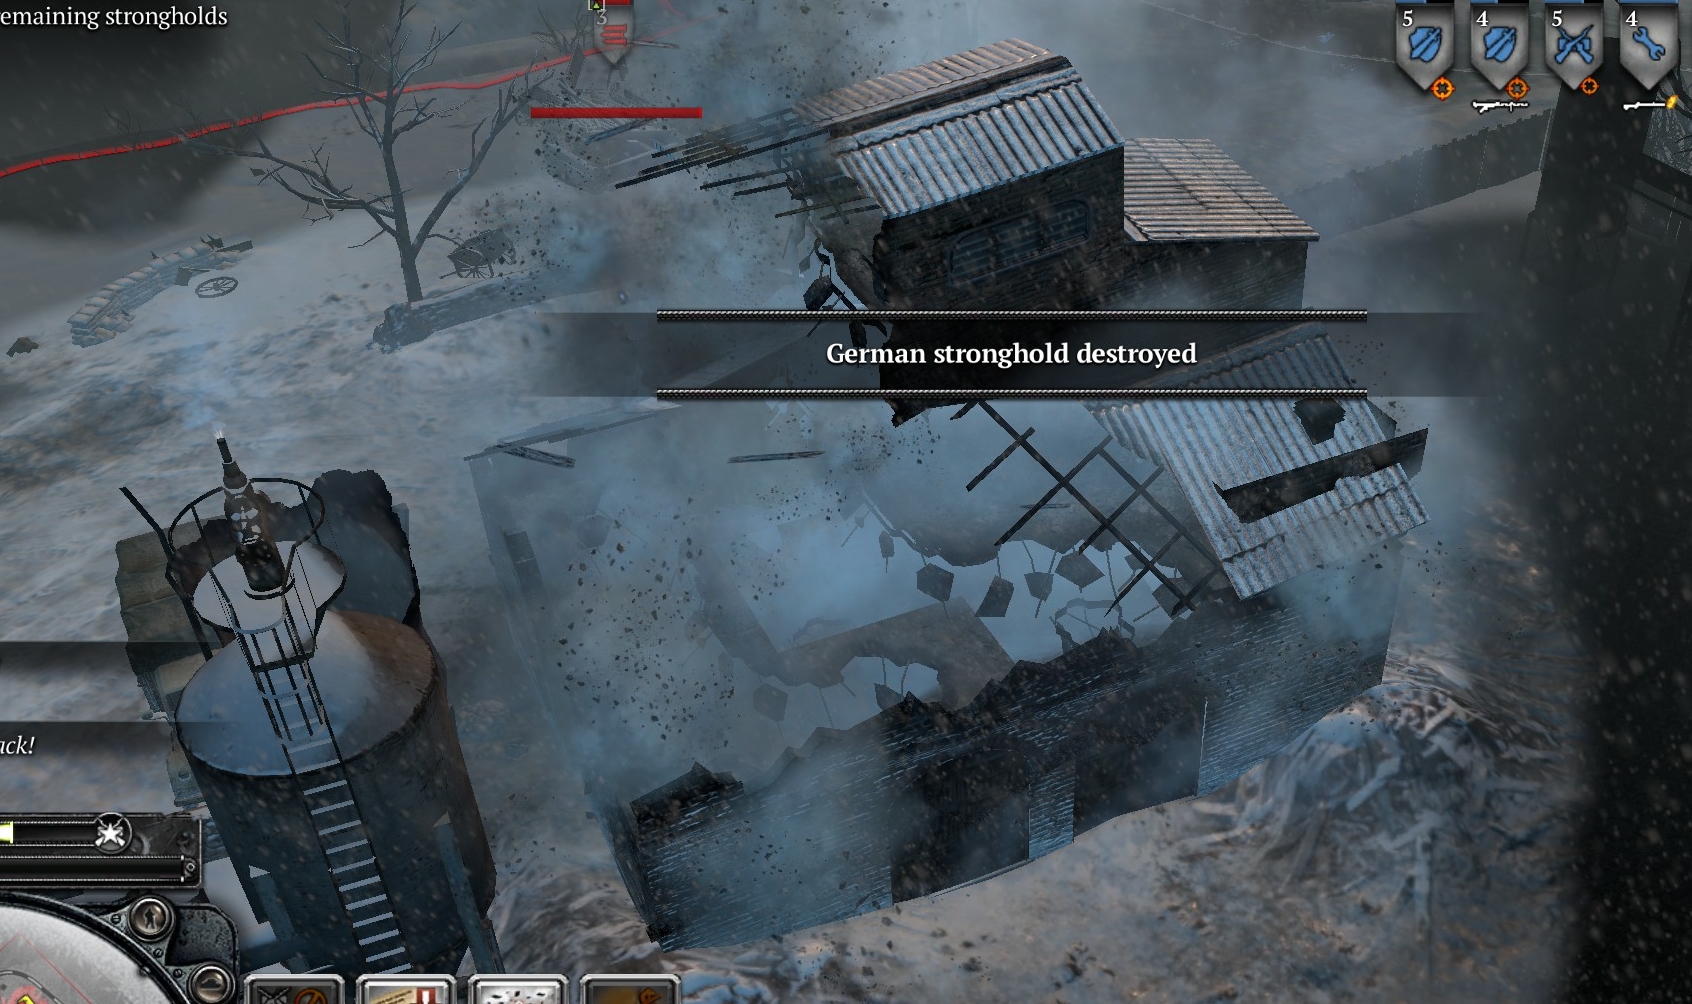
However, the Germans will counterattack here, ultimately twice with a StuG-PzIV pair. Your AT guns are extremely nerfed, so you will have to do some micro to avoid losing all your force. A successful defense setup for this point should look more or less like the setup in the image below (and note the destroyed bridges to the right):
DESTROY THE TWO OTHER GARRISON BUILDINGS
The rest of the mission is surprisingly easy. First, reinforce your units at the point you just defended. There should a field hospital here, but apparently it doesn’t always activate, due to some bug.
Bring in two or three snipers and if possible a T-70.
Hopefully at least two of your Su-76s have survived up to this point. If not, bring in Zis-3 field guns as replacements—they are basically the same as Su-76s but unmounted.
Leave some snipers in stealth mode, and an MG42, to block German units coming across the ice from the east.
Send the rest of your force (T-70 as scout in lead) up the road to the north, to approach the garrison building (marked with star on tac map) near the NW edge of the map. There are StuGs and Panzers guarding this building, and a Pak-43 on a high point north of the building, so be careful.
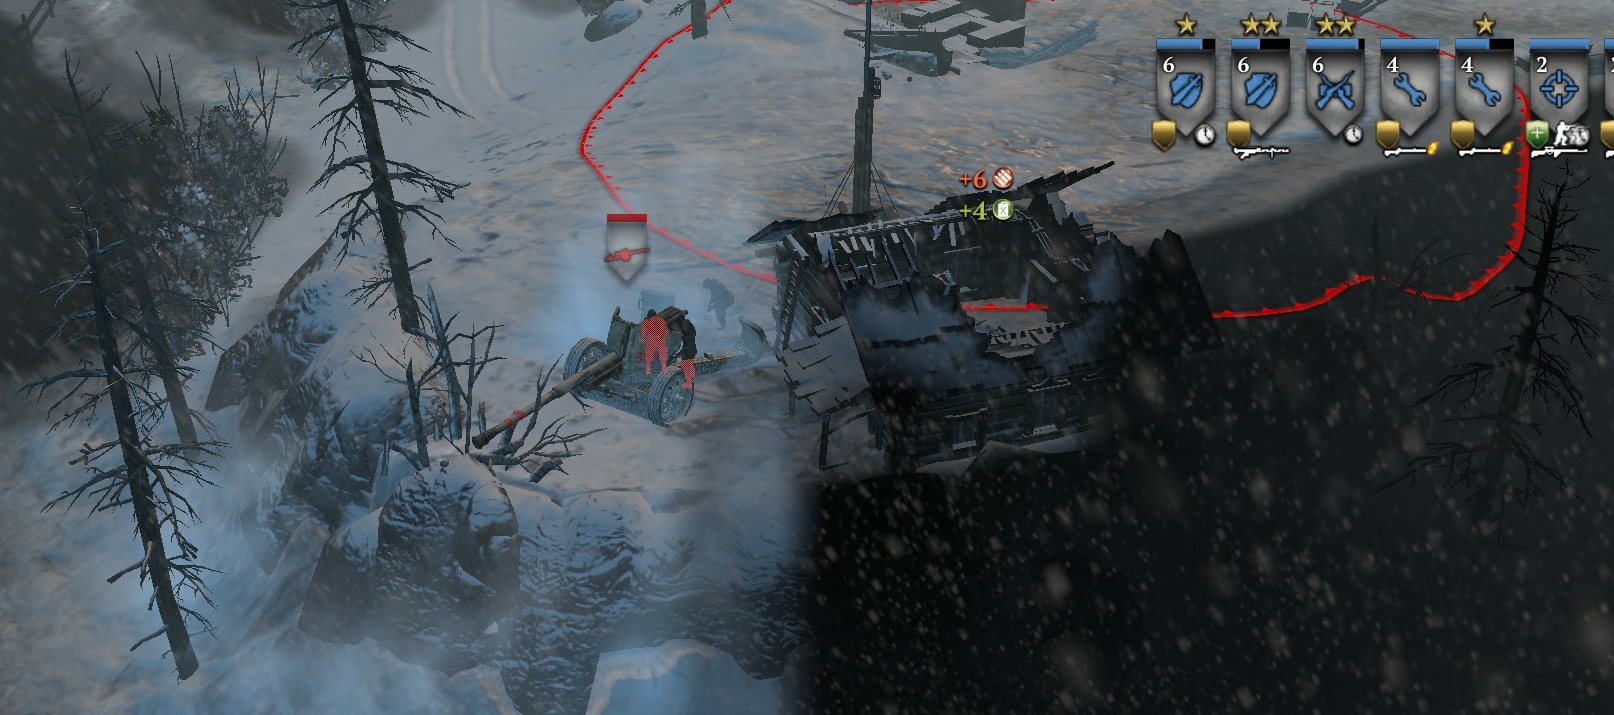
Basically you use your AT capability to take out any tanks that come at you, and your mortars to take out the Pak-43 crew. Then you can use mortars and Zis-3 guns/Su-76s to shell the garrison building until it collapses, which shouldn’t take long at all.
Once that’s done, you go back the way you came (watch out for Pak-43 to NE), reinforce as needed, and then cross the ice to get to the approaches to the last garrison building. You will have to defeat a Panzer IV, a couple of Paks in the point closest to your base, and some schreck and LMG-equipped infantry. (Your base howitzer can help.)
Once done with all that, use SU-76s/Zis-3s and mortars on the garrison building. Usually by this time the Russian force coming from the other direction is breaking through German lines, making things easier for you.
***