This first mission is highly scripted and is meant to serve largely as a tutorial.
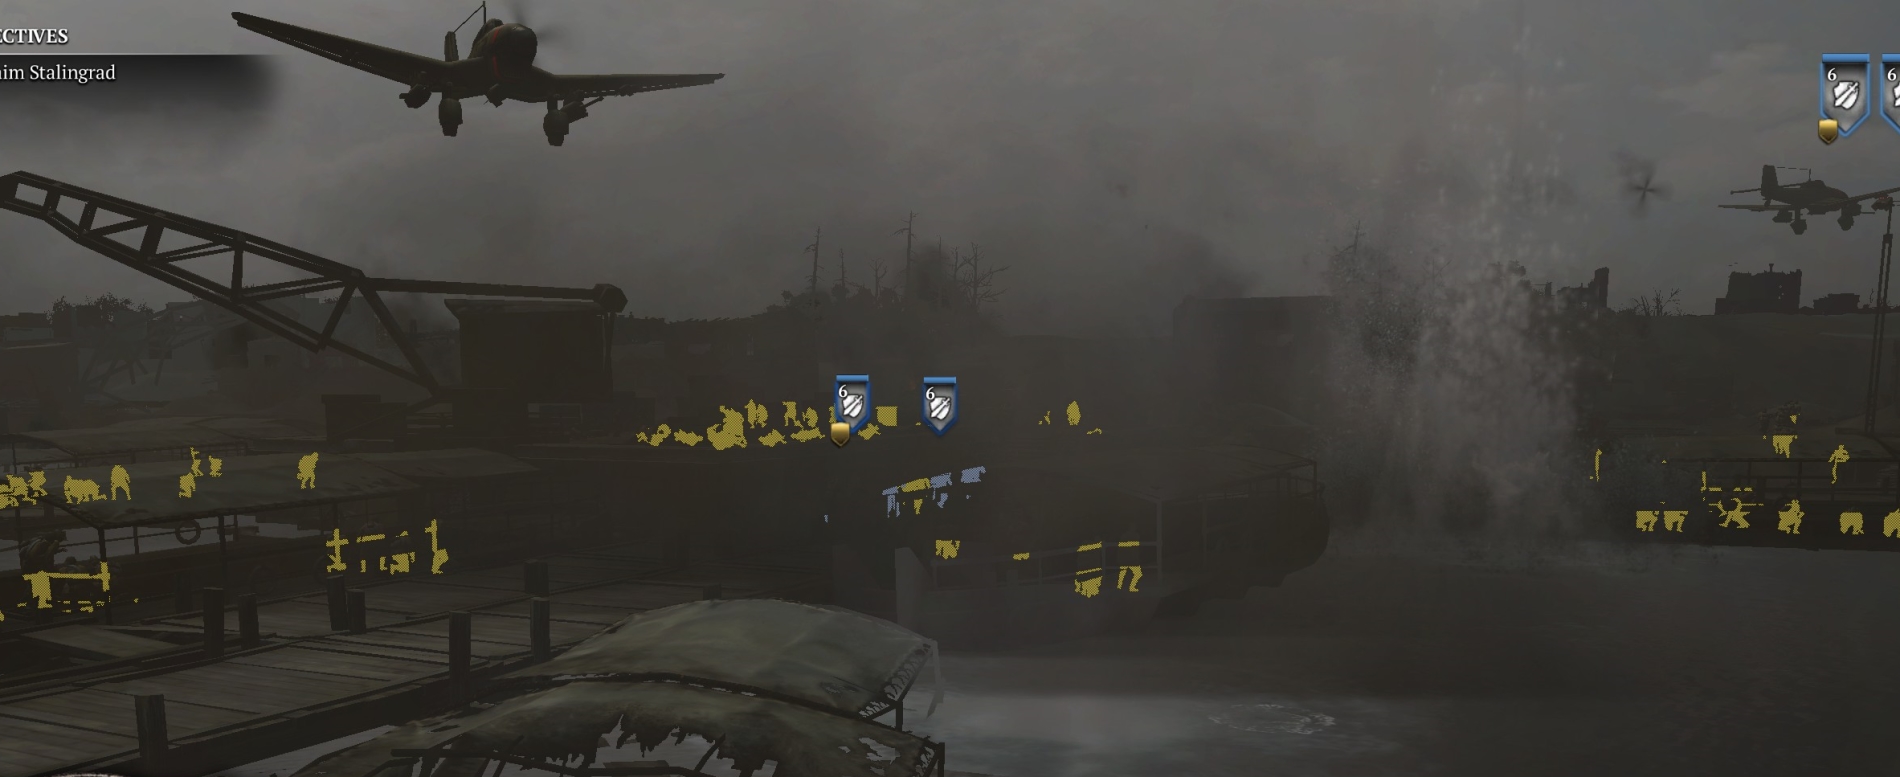
At the outset, the player controls two Shock Troop squads on a pier on the bank of the Volga at the edge of Stalingrad. The waterborne invasion setting obviously is meant to have similarities to COH1’s opening mission at Omaha Beach. In this case, though, the German defenses are much deeper and include Stuka CAS and armor, though they don’t include bunkers.
Oddly enough, I’ve never tried to lose this mission to see what would be required for that. But I think it would be difficult, since shock troops (especially in this mission) are quite strong offensively and defensively, and lost squads always seem to be replaced. In general, in this Soviet campaign, you are meant to treat your squads as expendable and your manpower overall as an inexhaustible resource.
As soon as the player gets control of the two squads on the pier, the boat they arrived on is sunk by a Stuka-dropped dive bomb. Time to get moving.
Up the hill
The initial advance against the outer German defenses at the bottom of the hill is easy, because the UI provides fairly clear visual instructions on what to do.

Basically, you need to move your squads (which have SMGs and body armor) into cover, let them fire some, then move them forward into new cover, and so on. The squads should keep up with, but not get too close to, the T-34 that essentially will guide them uphill.
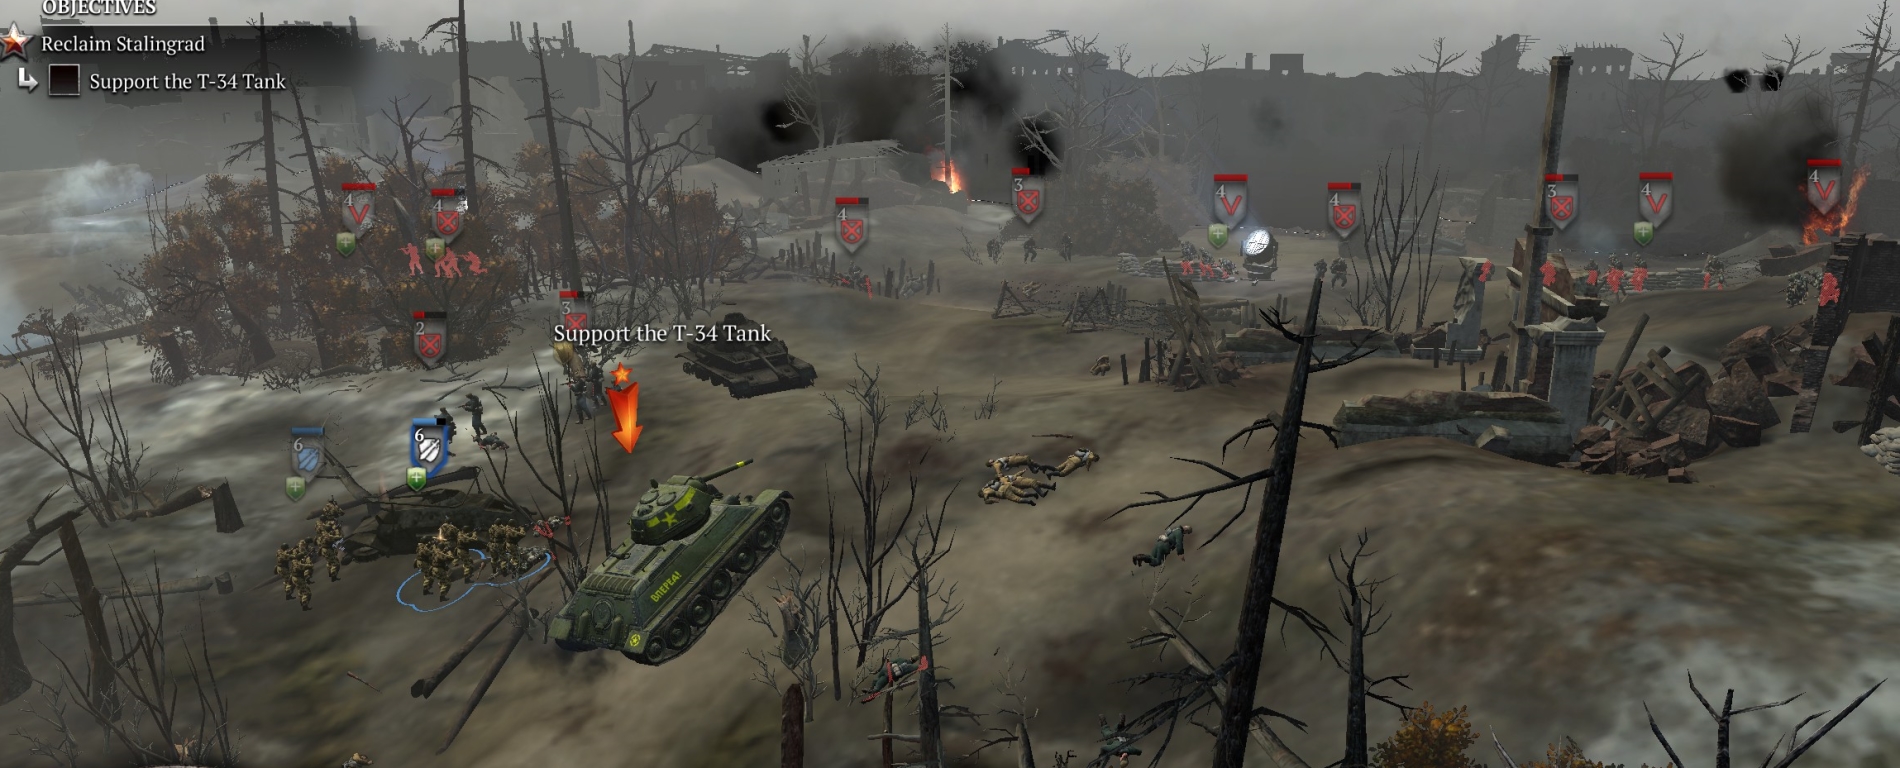
As it crests the hill, the T-34 will pause for a while—and then will be destroyed by a very powerful bomb dropped by a Stuka.
At this point, assuming your squads were not consumed by that blast, they will be facing the first German line, which consists of some Osttruppen and grenadiers behind sandbags and a shallow anti-tank ditch. Your shock troops can stay in cover, or outflank the German line from the left. Either way, the German line will soon break and this first phase of the mission will end.
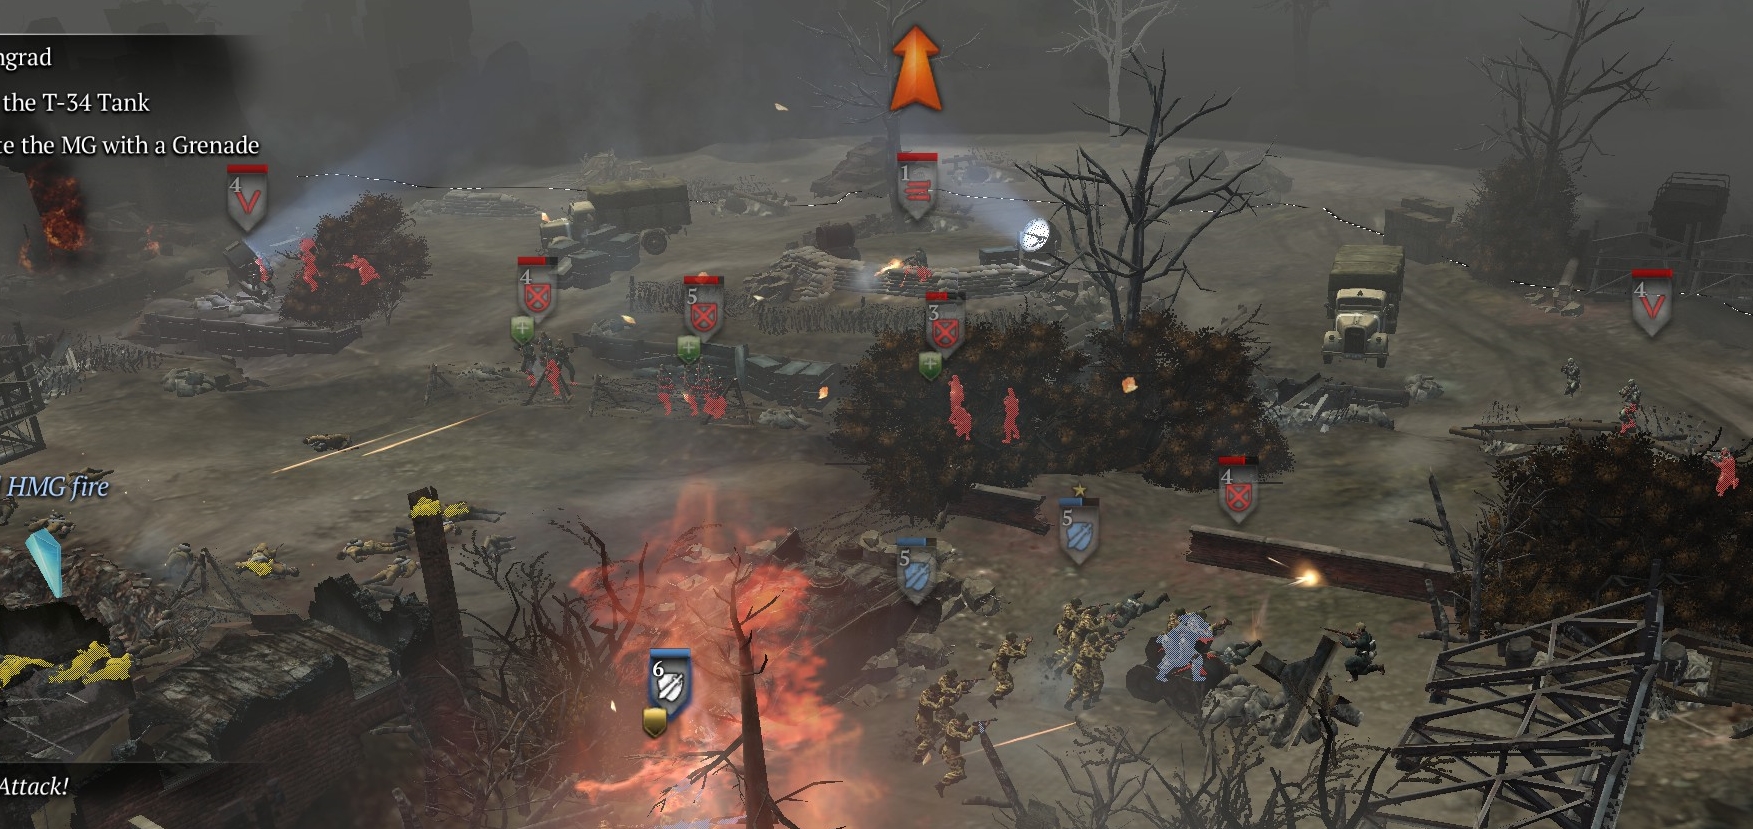
Flank and eliminate the HMG
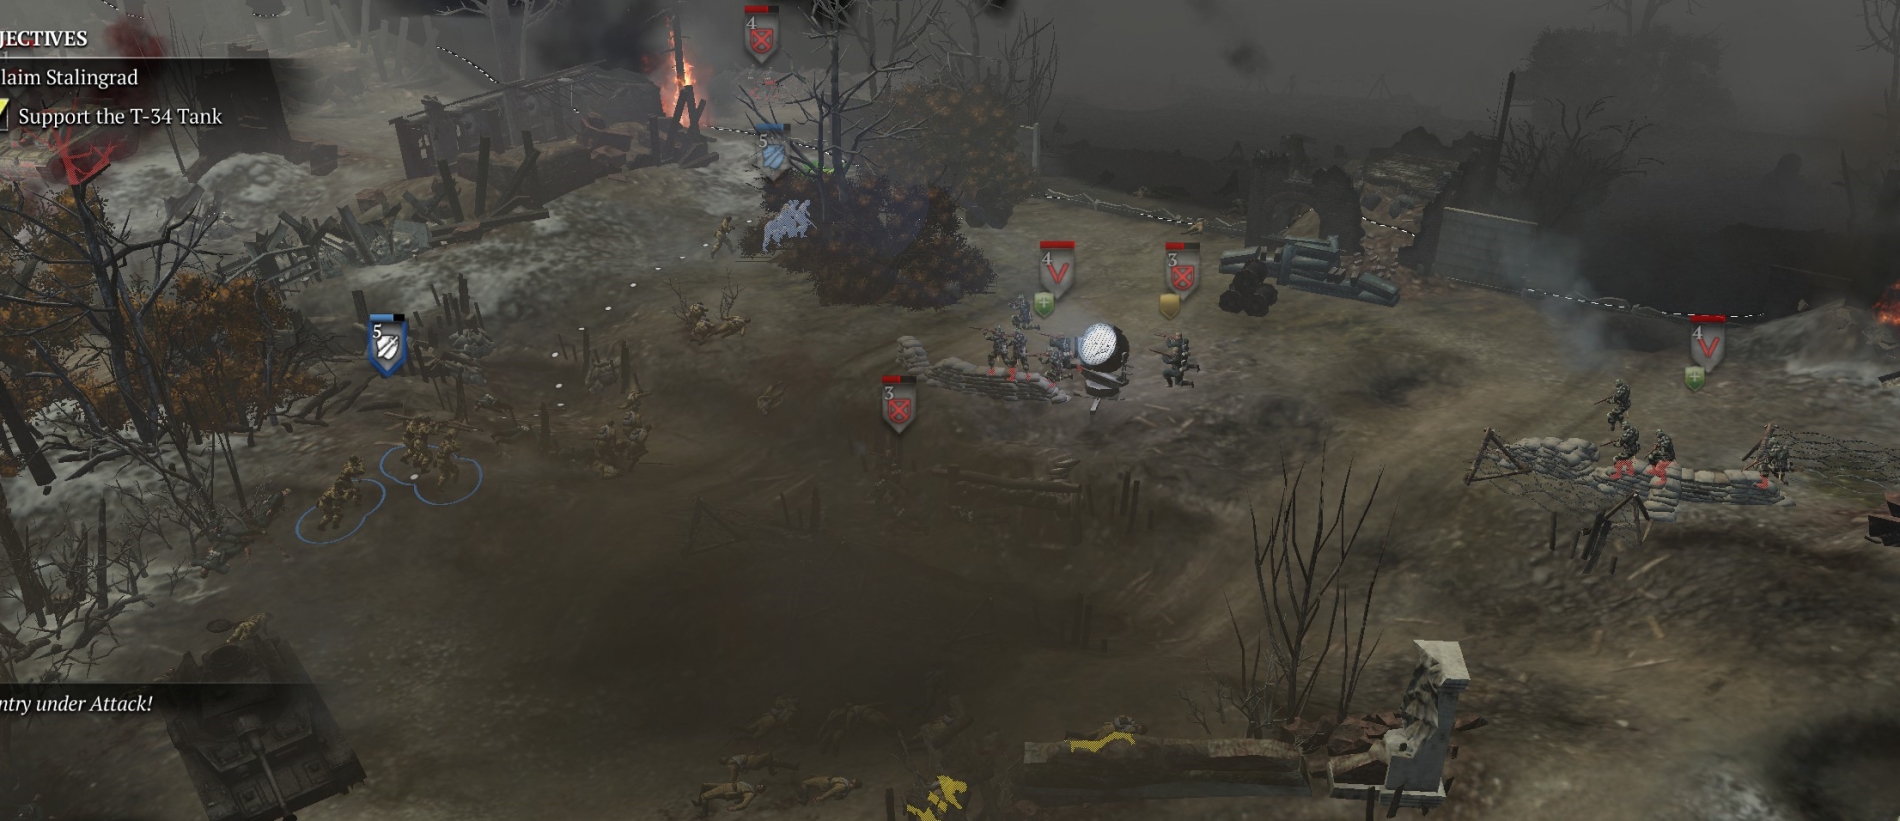
After that first German line breaks, your task will be to force the next line to break, but the next line has an HMG behind sandbags. The UI will show you “flanking routes” either side of it.
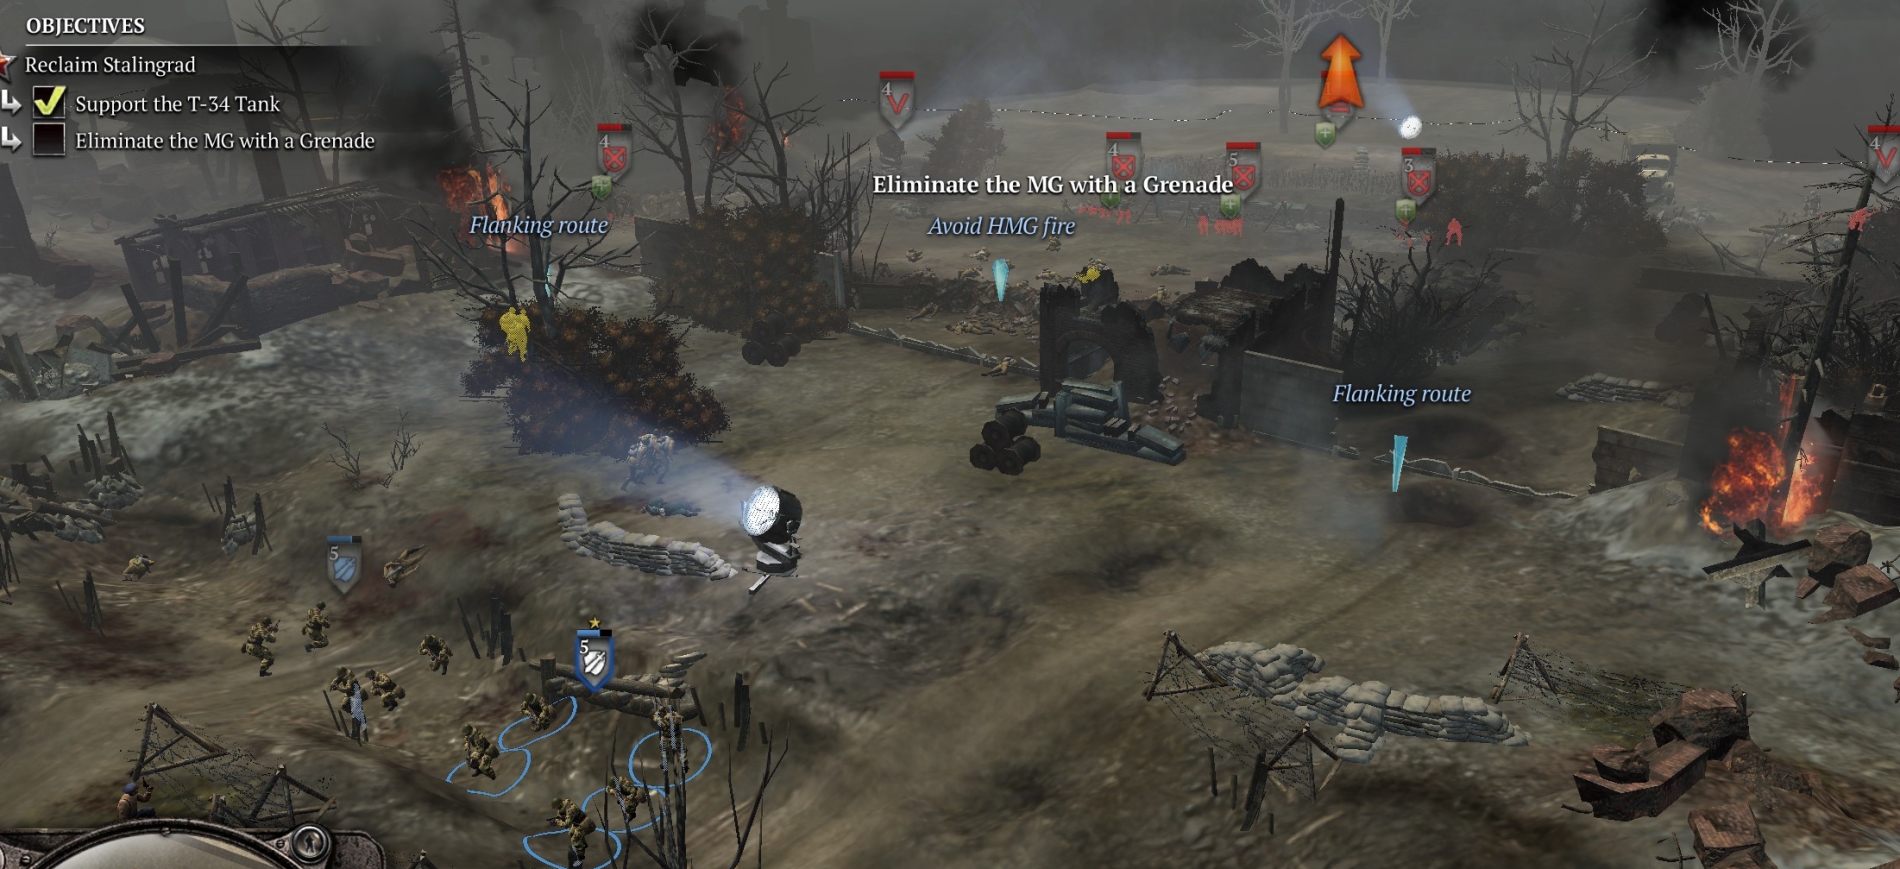
Choose one flanking route (I tend to go right for some reason) and maneuver your squads past the MG and around behind it. In this phase, you will be able to call in a third shock troop squad and your squads will get access to grenades. I find the grenades more useful for taking out grenadier squads (especially the ones with LMGs), and usually not necessary for de-crewing an MG—even a half-strength shock troop squad can wipe an MG crew (crew of one in this mission) quickly with its SMGs when behind it at point blank range.
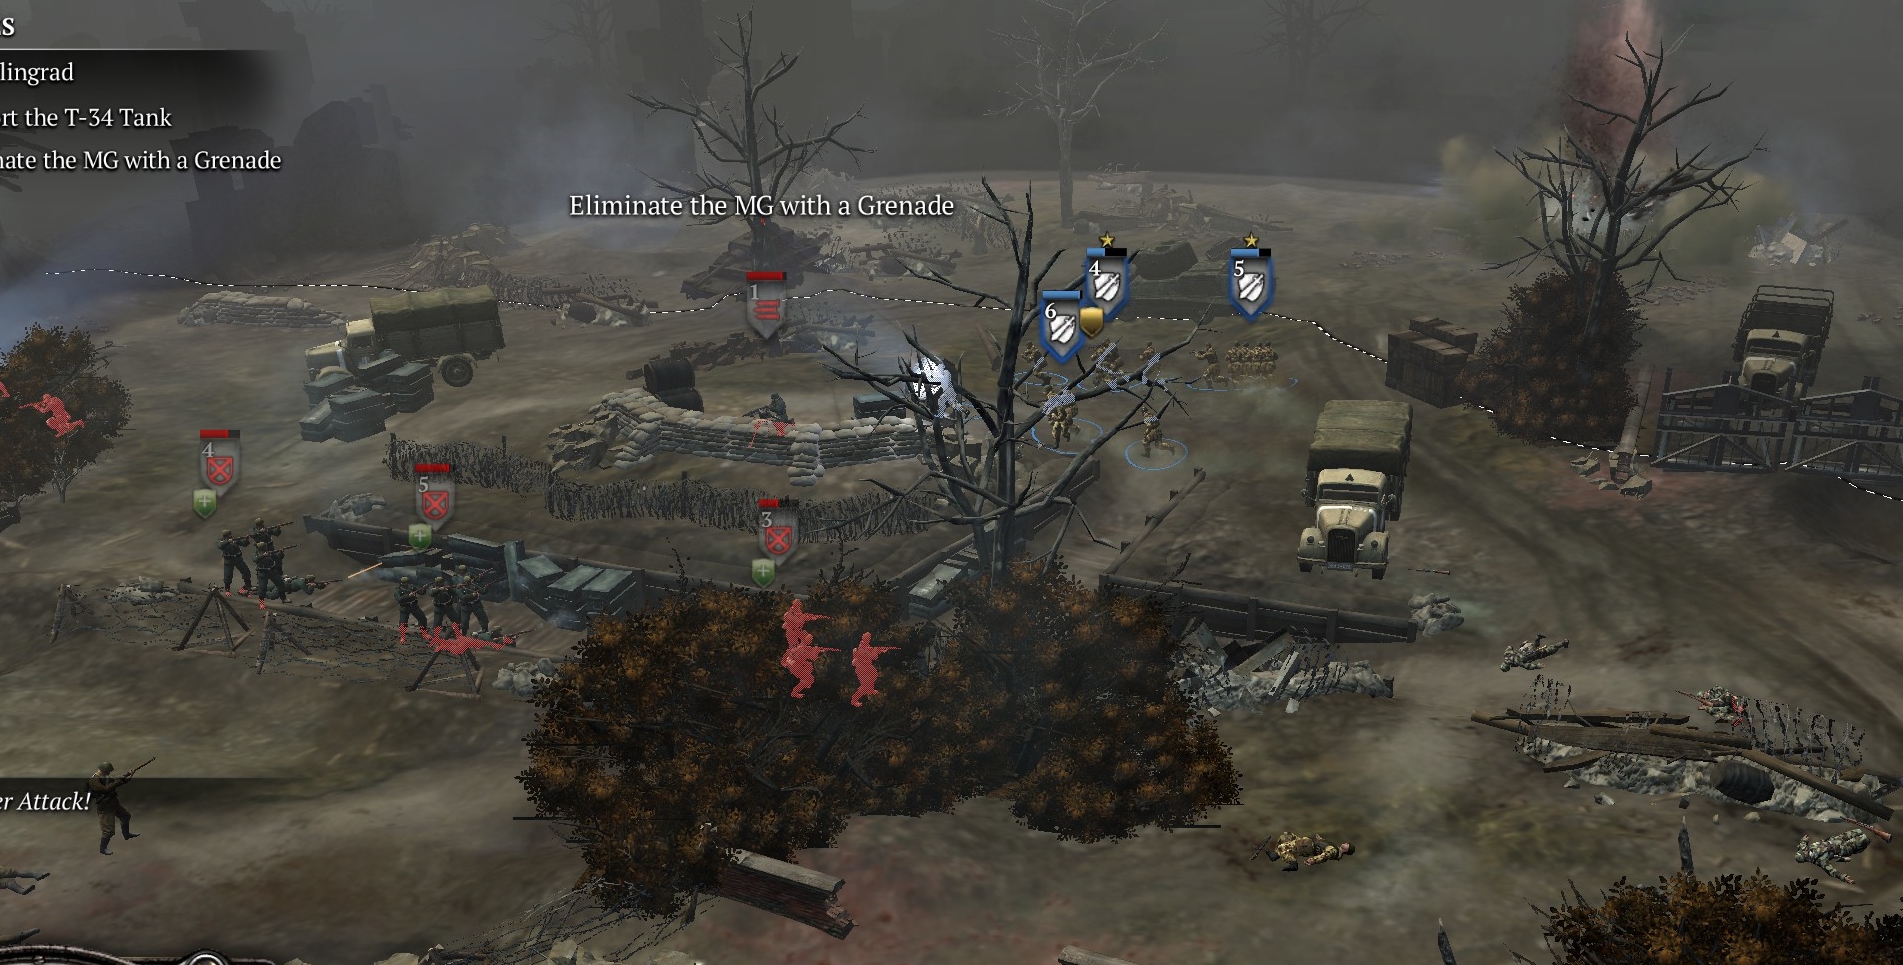
A few seconds after you eliminate the MG (with or without a grenade), surrounding German units will bolt back to their next line of defense and the phase will end.
Terminate the howitzers
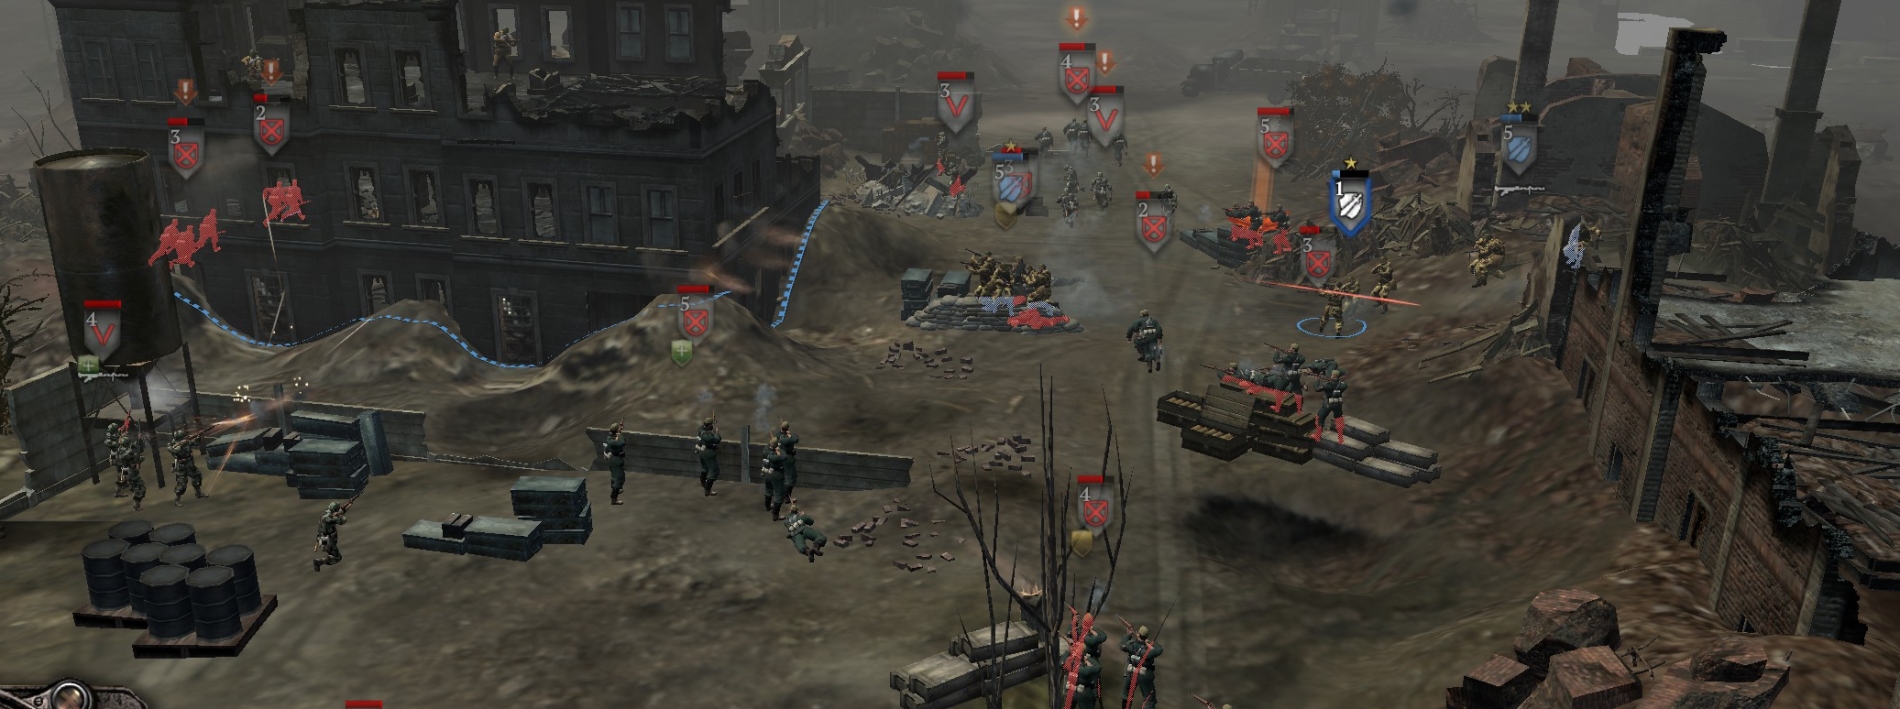
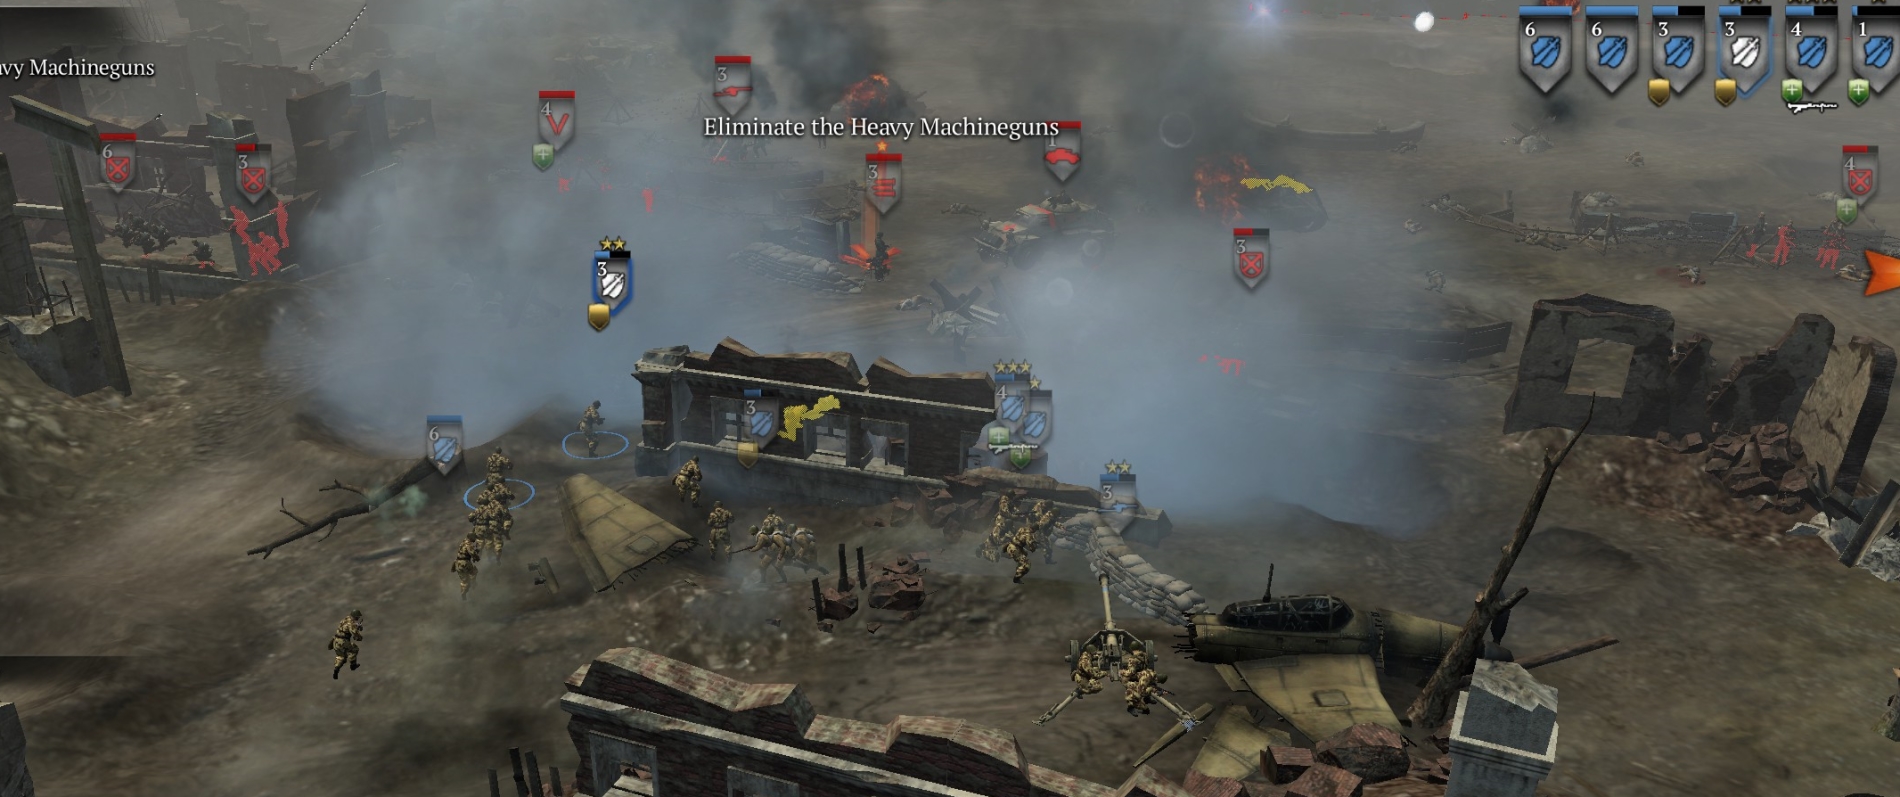
The next defense line is more powerful and has two artillery pieces surrounded by infantry squads. The following image was taken with the fog of war switched off.
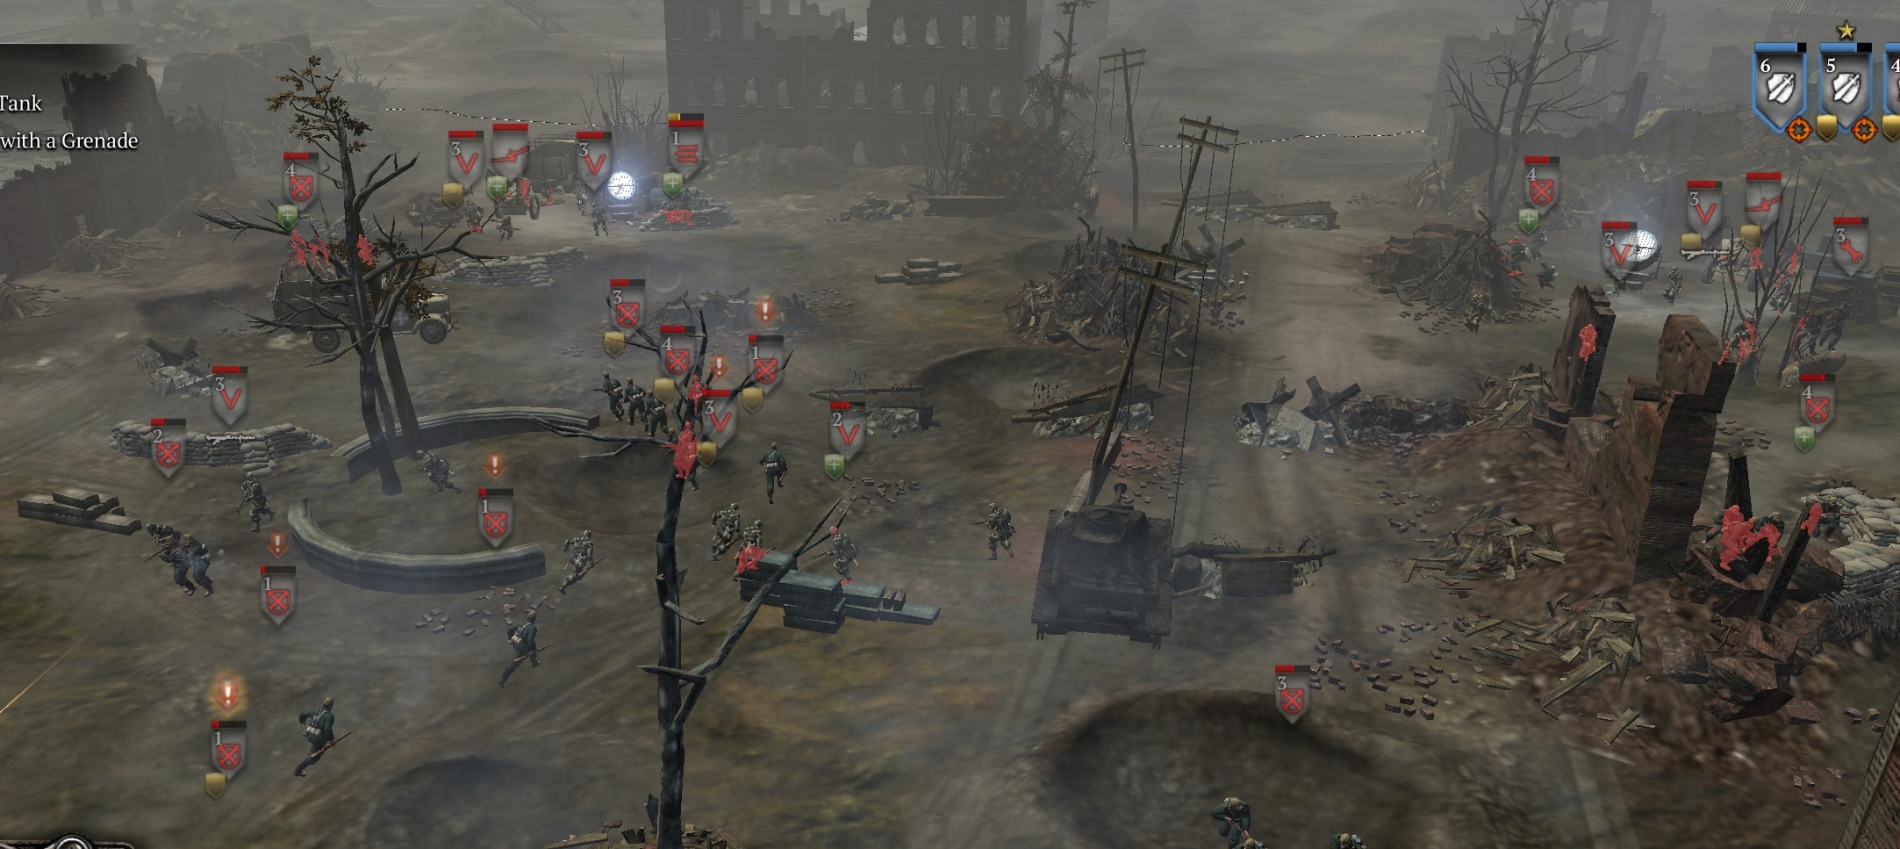
As you can see, there is an HMG at the left howitzer, but none on the right. Therefore move your force to the right—watching your flanks.
Take out the cluster of defenders around the right howitzer, using a grenade or close-range SMGs on the howitzer crew. (The howitzer unfortunately cannot be re-crewed.)
You will notice that some defending squads have LMGs. These LMG-equipped squads are the most powerful on this map, and will be a major cause of KIAs for your own squads. Always target these LMG squads first (after HMGs), then grab the LMGs to give your shock troop squads even more power, now at medium-range.
Once you have wiped all the units around the right howitzer, move directly left to flank and destroy the units (including HMG) around the left howitzer.
Now continue left to terminate the German units besieging Soviet troops in a building on the far left (a new side-mission that opens up in this phase). Keep collecting German LMGs.
After you took out both howitzers, a Panzer IV appeared on the right side (this is why it is better to finish the howitzer job on the left side). You now have to take out the Panzer using a stolen Pak-40 anti-tank gun.
To carry out this task, you have only one scripted option: Move forward on the left side until you see the bottom of the alleyway where a German HMG is slaughtering other Soviet troops. Bring your force close to that alley but not into range of the HMG.
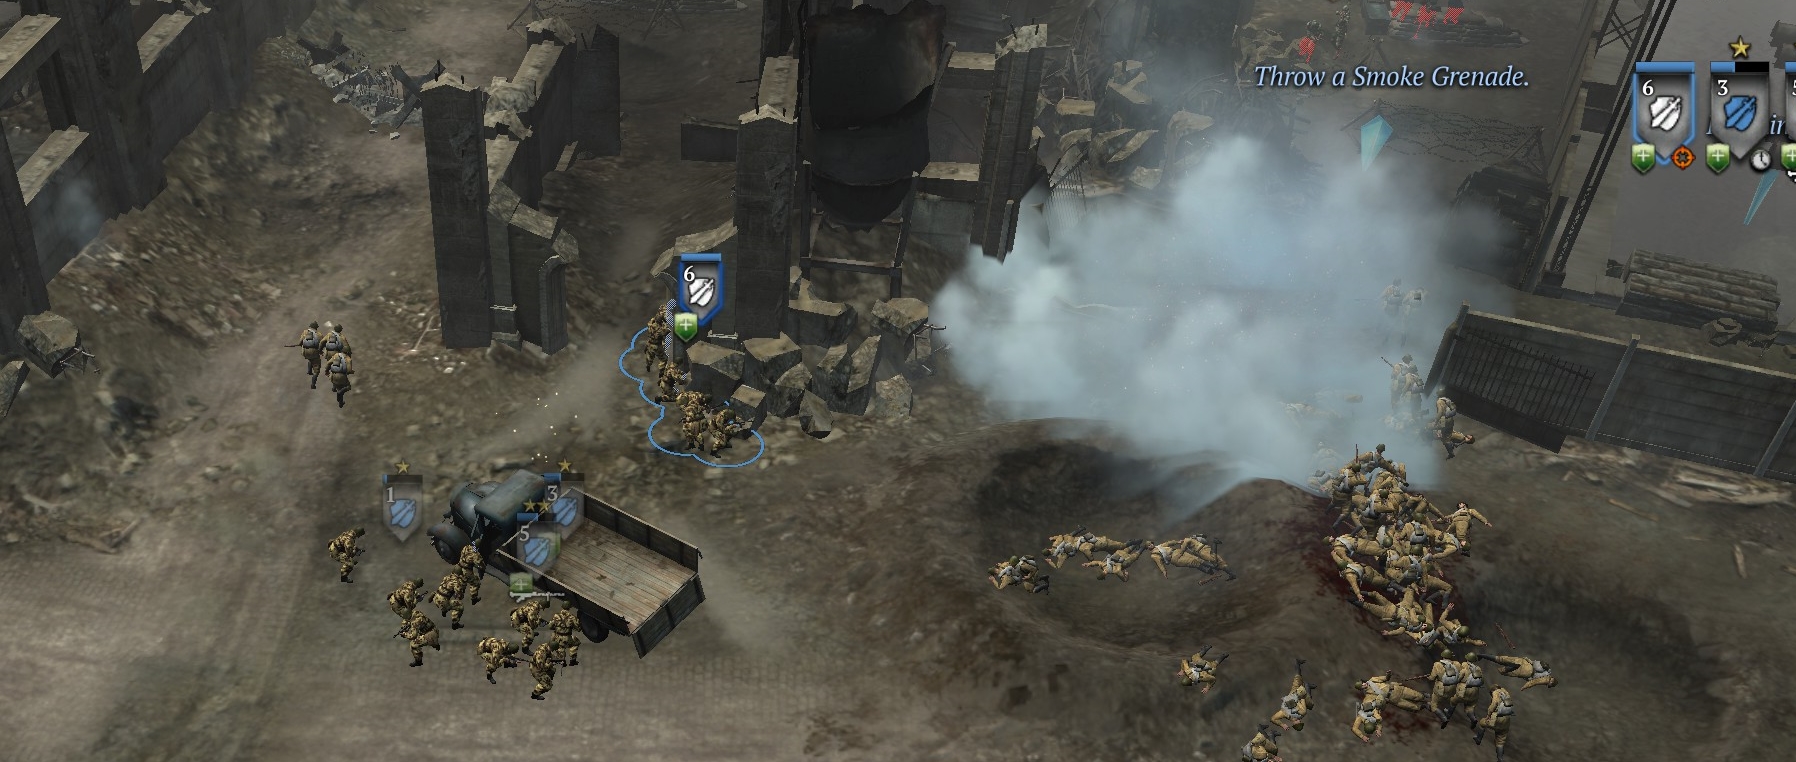
Throw smoke (the UI will guide you) to cover your squads as they run into the mouth of that alleyway and then right into a water-filled passage (“flanking route”) with a wall between them and the HMG. They can toss grenades over the wall to finish off the HMG and supporting squads.
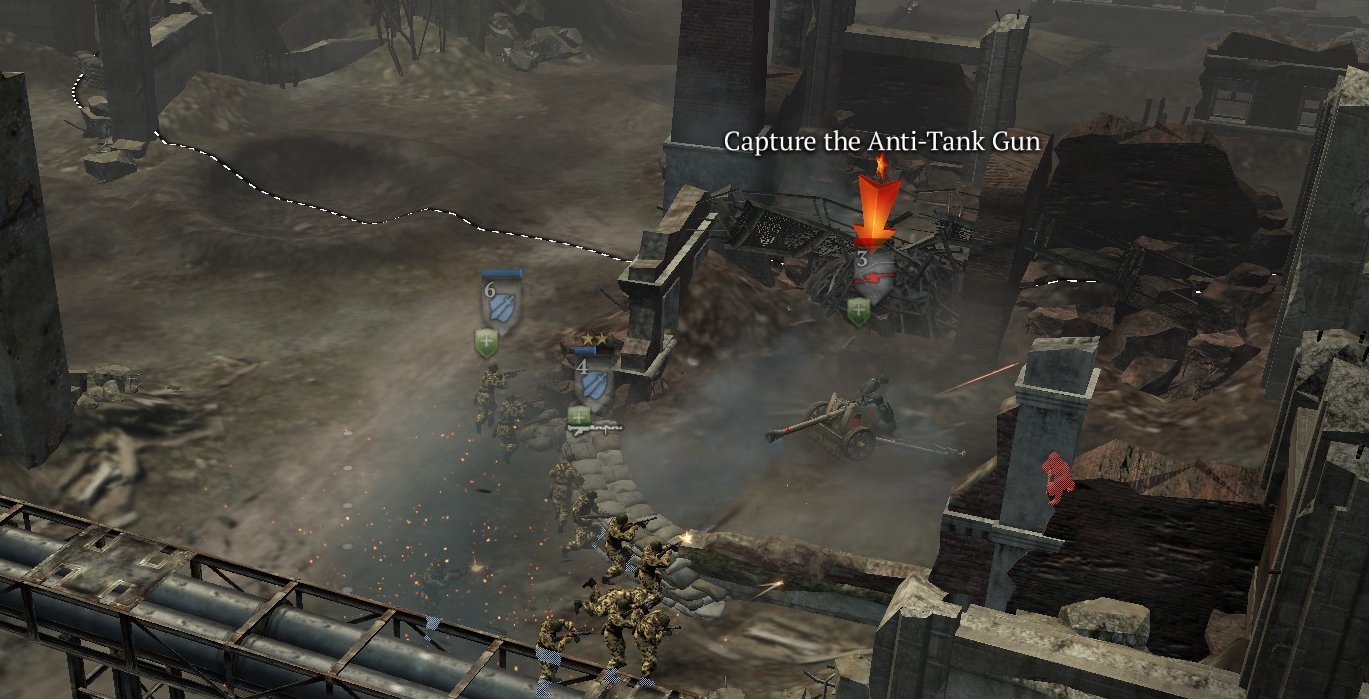
Ahead of your squads, behind sandbags, is the Pak-40. Run up to it and de-crew it.
To re-crew it, vault the sandbags (select one of your units then right-click on the sandbags, repeat for each unit) and crew the Pak-40 and then drag it right through the ruined building until it is ready to fire into the rear of the Panzer. Use smoke to reduce casualties from German squads around the panzer, but note that this bit is as scripted and railed as an amusement park ride. You will fire once (or as many times as you like through smoke, using attack-ground) and there will be no effect on the tank.
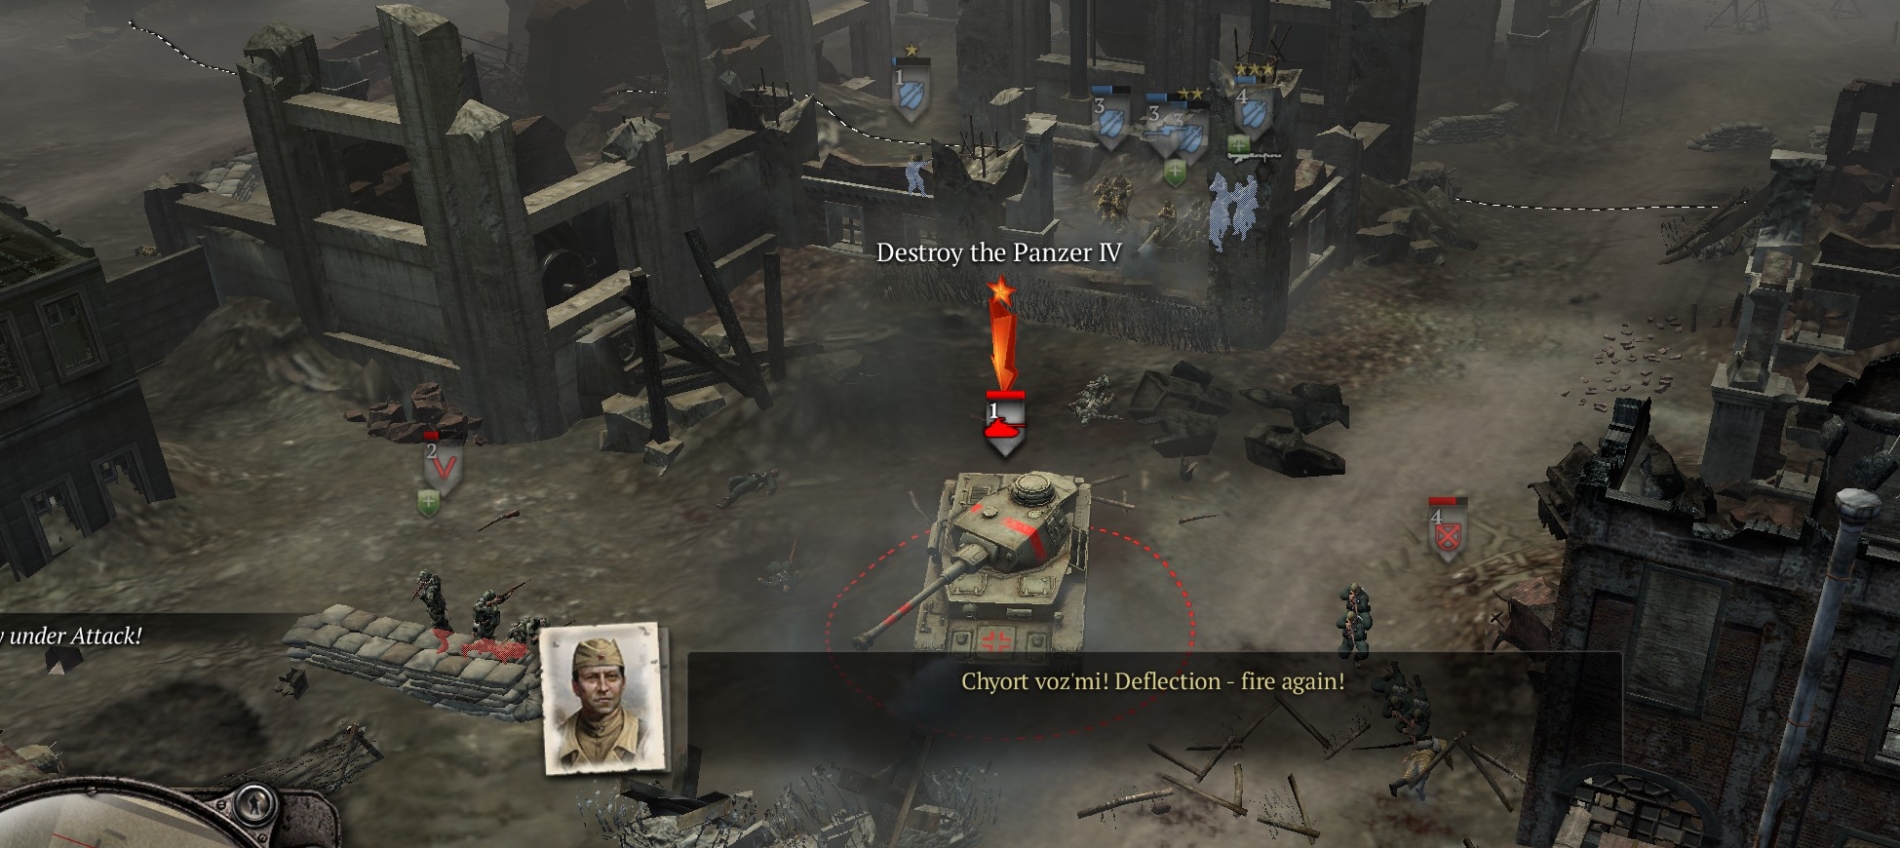
This is just to build suspense—all COH1 and COH2 missions contain fakery like this to some extent (this is why I call the game a “simulation of a simulation”). The tank turret will turn and you will frantically try to fire again, but will find that you no longer have control over the Pak. Just before the turret turns onto you and wipes your Pak crew and squads, the Pak will fire again and destroy the panzer explosively. More German squads will rout and the phase will end.
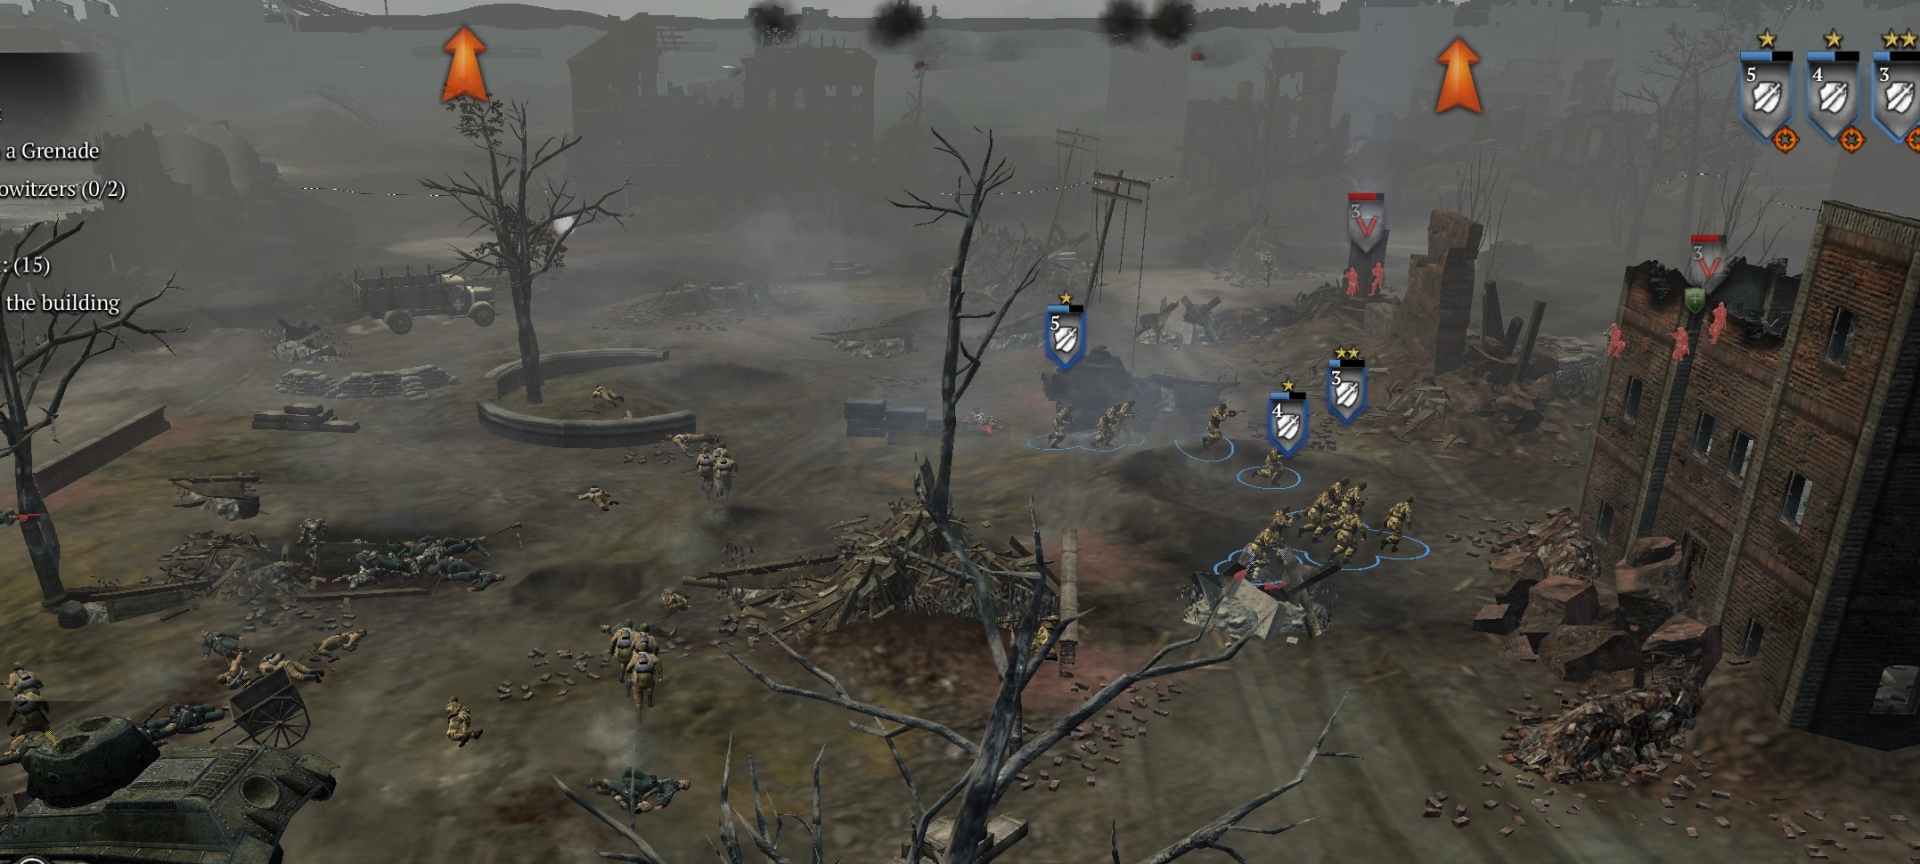
Destroy the rail station defenses
In this last phase, you’ll get more pop cap and your task will be to move forward to terminate the rail station’s major defenses, which include two scout cars and a Panzer IV.
First, move up and, using ruined buildings for cover, and smoke to conceal your movements, grenade the HMG in front of you and kill the scout car. You can throw grenades, and fire your Pak using the attack-ground command, through smoke.
Next move left to clear the German units harassing you from your left flank. As always, grab LMGs.
Now send units forward to de-crew and take possession of the Pak in front of you, and use your first Pak to kill the remaining scout car to the right. Grenade any remaining German HMG.
When the scout cars are gone, a Panzer IV lurking behind the rail station (just one panzer, contrary to the suggestion of the UI) will jump out on the left side. Target it with your two captured Paks. When you kill it, the mission ends.

***