Sorry to be negative again, but this is a somewhat broken, pain-in-the-ass mission in which your puny force must move through a sniper-infested Stalingrad hellscape to take several points from mostly static German defenders, and then, in the second phase, reach and cap and hold a position at the top of the map against German counterattacks for several intense minutes. The COH2 devs never got snipers right, so the first part of this feels very fake and is just a chore to get through. The beginning of the second phase, in which you have to get your force through enemy lines to a point near the top of the map (where a large base magically materializes for you) is flat-out nonsensical, and without foreknowledge you will almost certainly lose the mission at this point. But the following suggestions should help you win reliably or at least minimize the rage-quits.
POINT 1
Start by bringing in more snipers, up to a total of four. In this initial phase of the mission, you will always need them, although they will be worse marksmen than German grenadiers (and much more easily killed) until they are fully vetted.
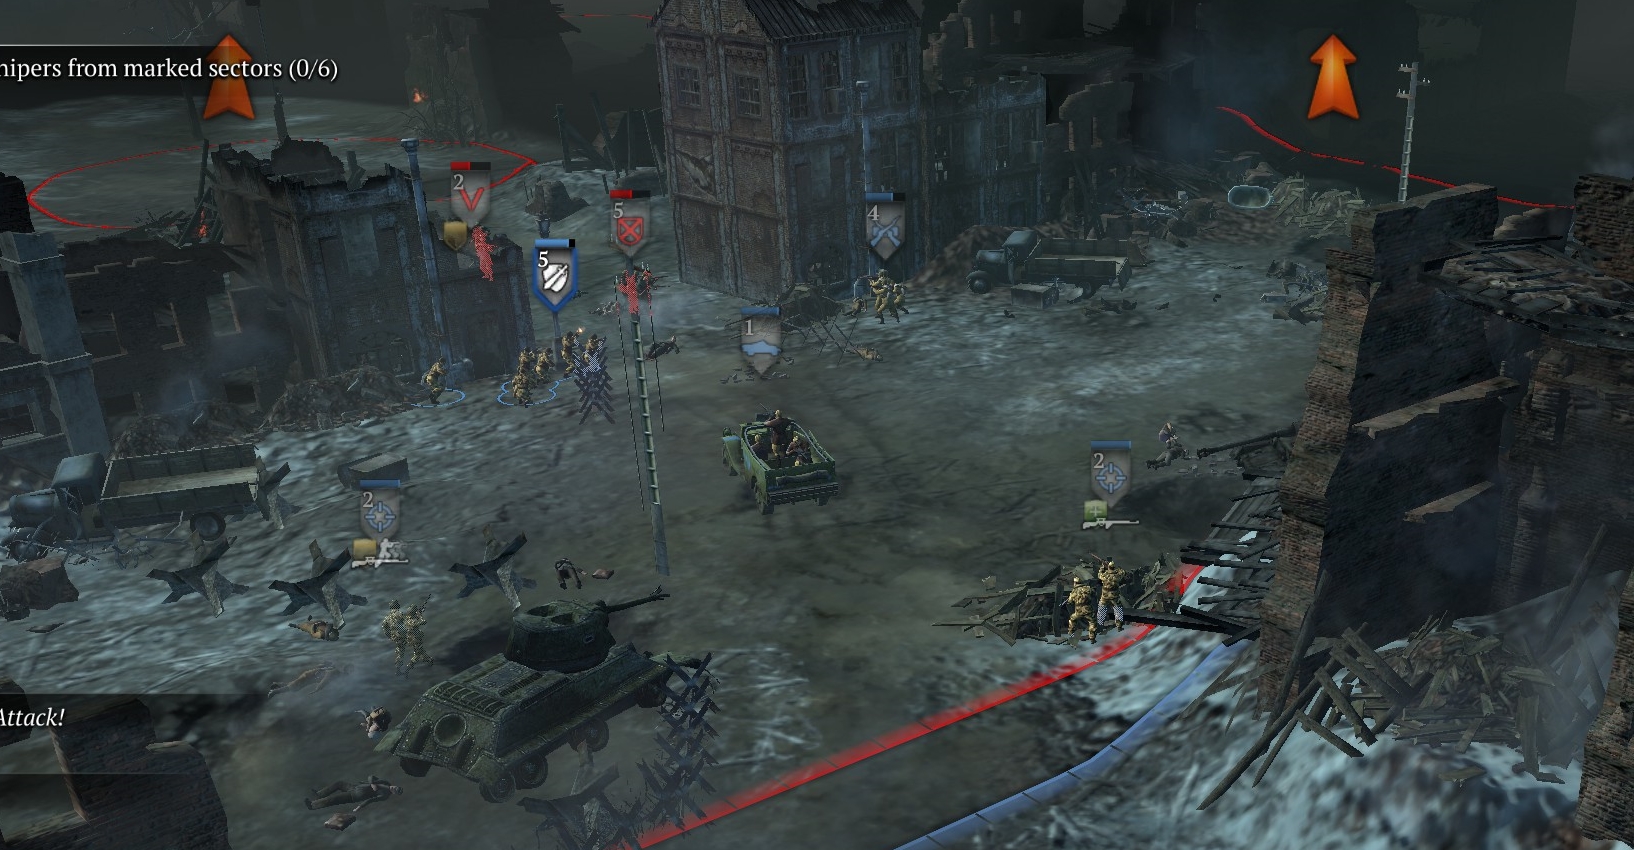
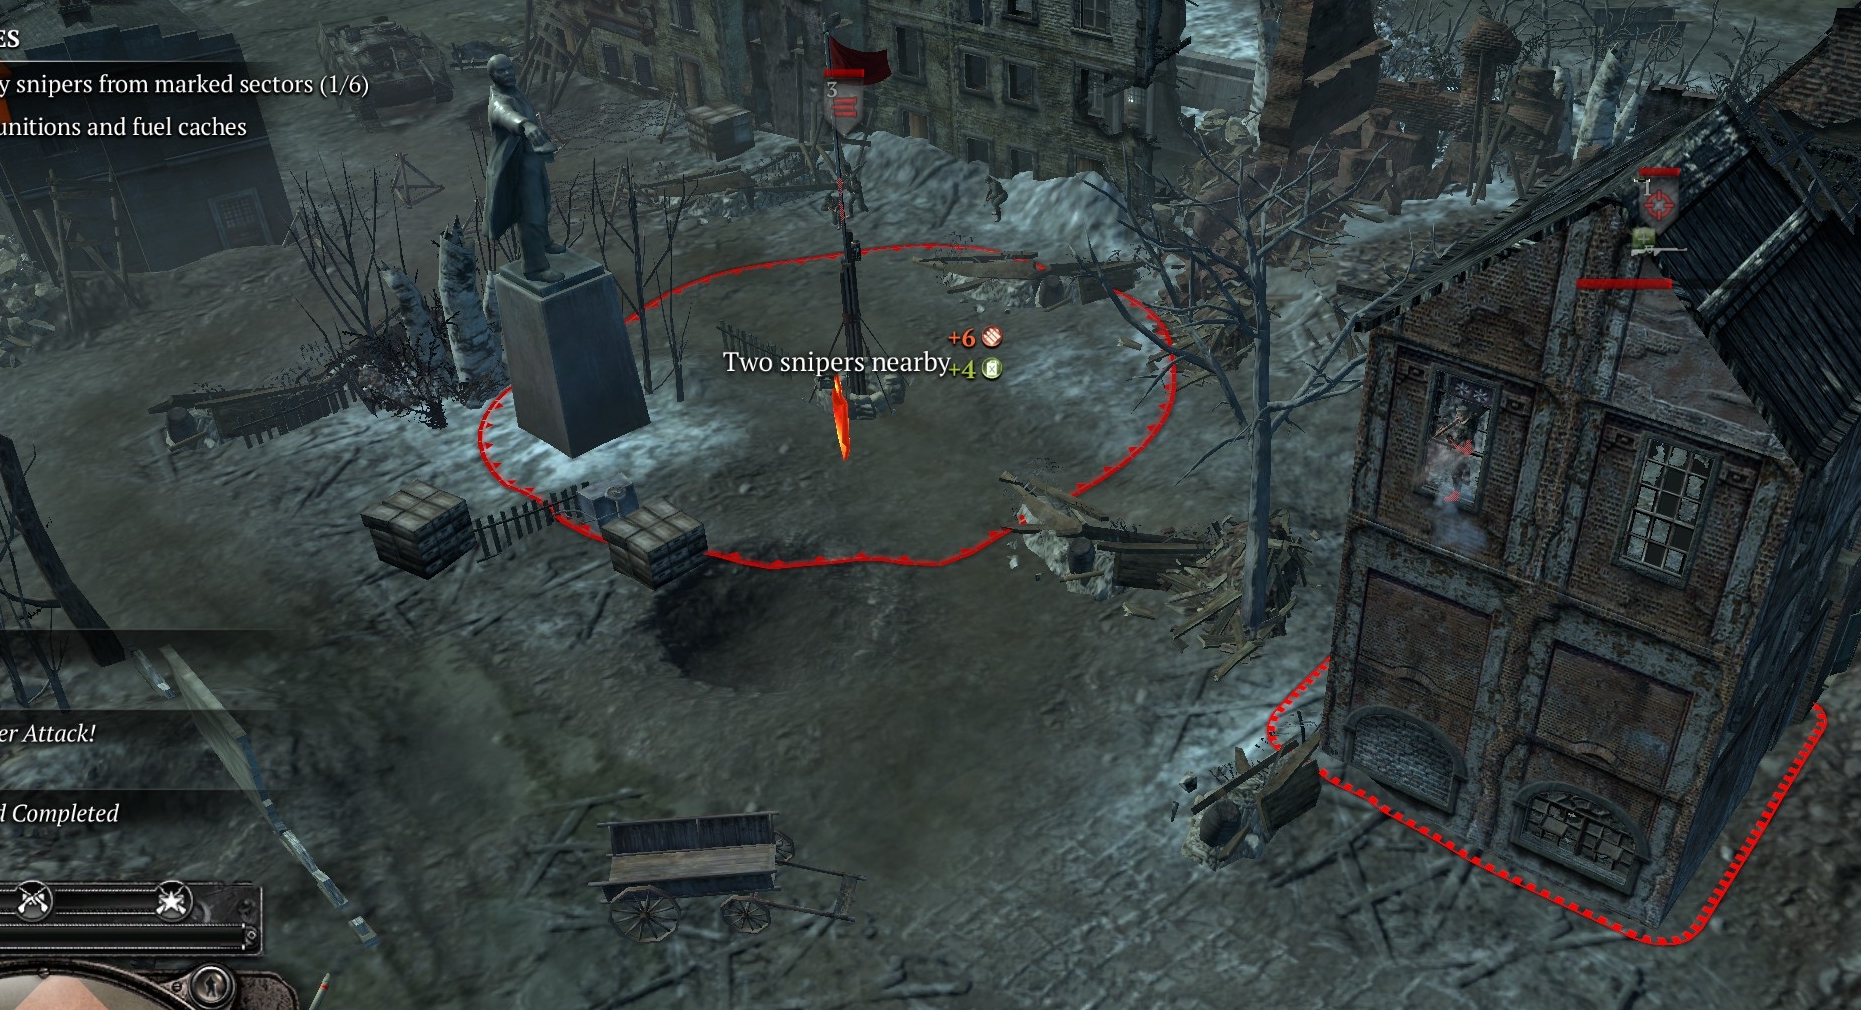
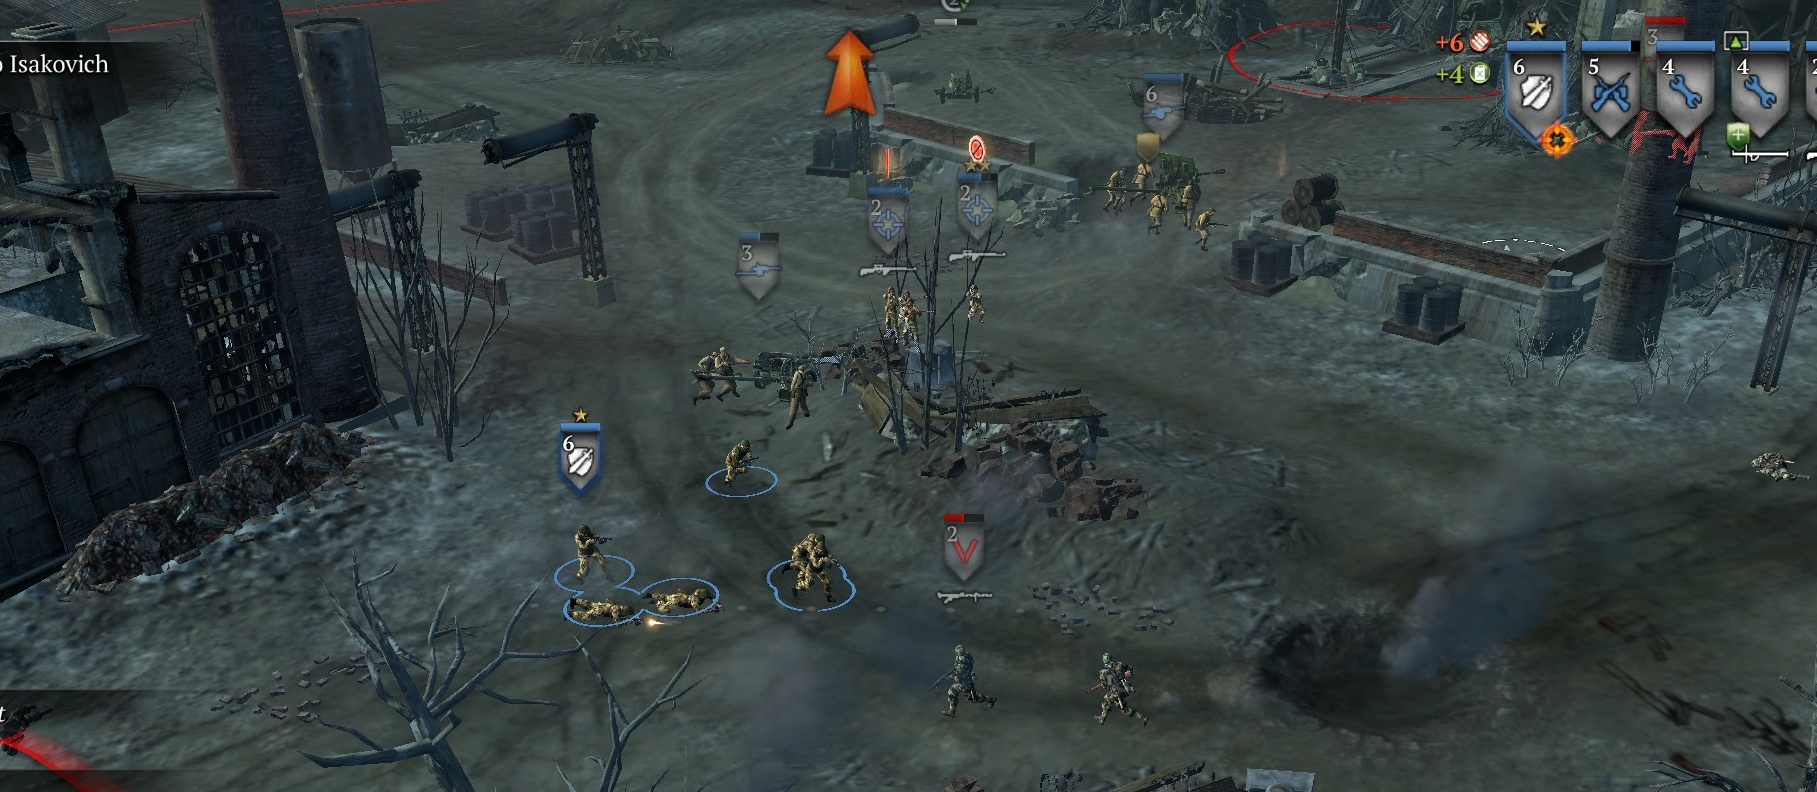
At the first point, to the NW of your base, allied units have been fighting the Germans, and are about to be wiped out—nothing you can do about that. The Germans have a grenadier and Osttruppen squad in or around the point, plus an invisible sniper in the point and another in the ruined building to the WNW of the point.
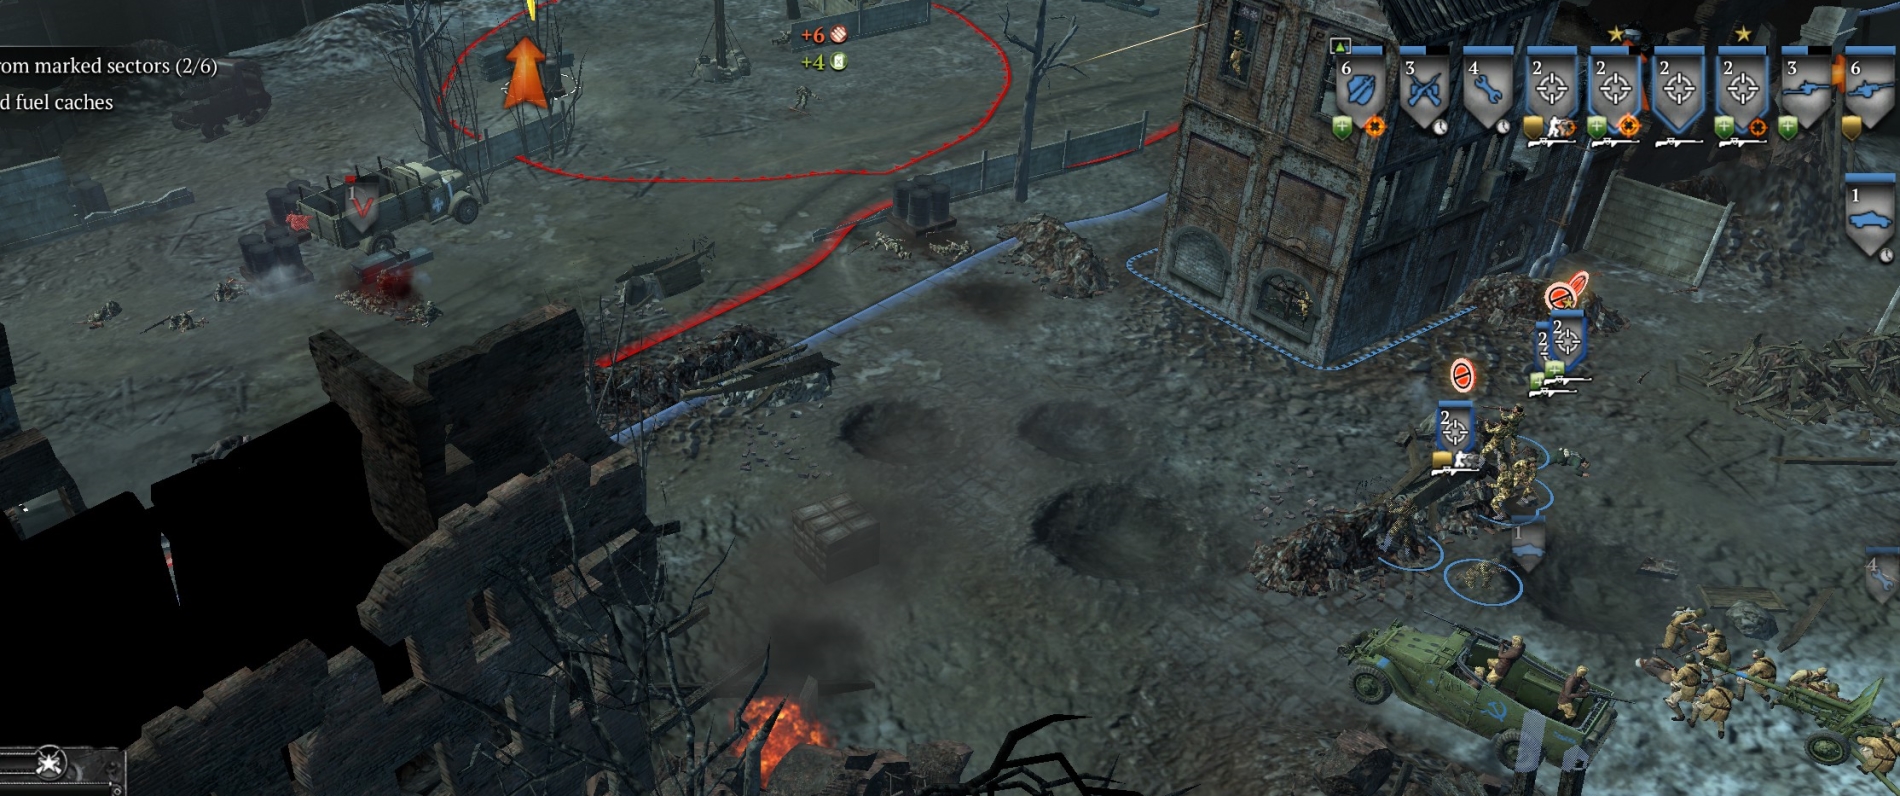
While you are waiting for your force to build up, you can at least start reducing the German defenses. Position your shock troops and (reinforced) frontoviki in cover behind the buildings SE of the point as shown in the image below, with available snipers farther back in cover. Use your scout car to move up and bait the German infantry if needed. The grens have a panzerfaust and will want to use it, so back up the scout car as soon as the grens get within range. They will walk into the ambush by the SMG-equipped shock troops and frontoviki, with snipers sniping from their front. In this way, you should be able to wipe those two German infantry squads quickly.
Reinforce as needed. Bring your sniper team total up to four.
Now move your snipers (in stealth mode) cautiously towards the point. Soon they should see the German-crewed Pak-40 and behind it a Maxim HMG, with a sometimes-visible sniper in a building ruin to their left. Snipe away, and use your scout car wherever it isn’t hittable by the Pak or a panzerfaust.
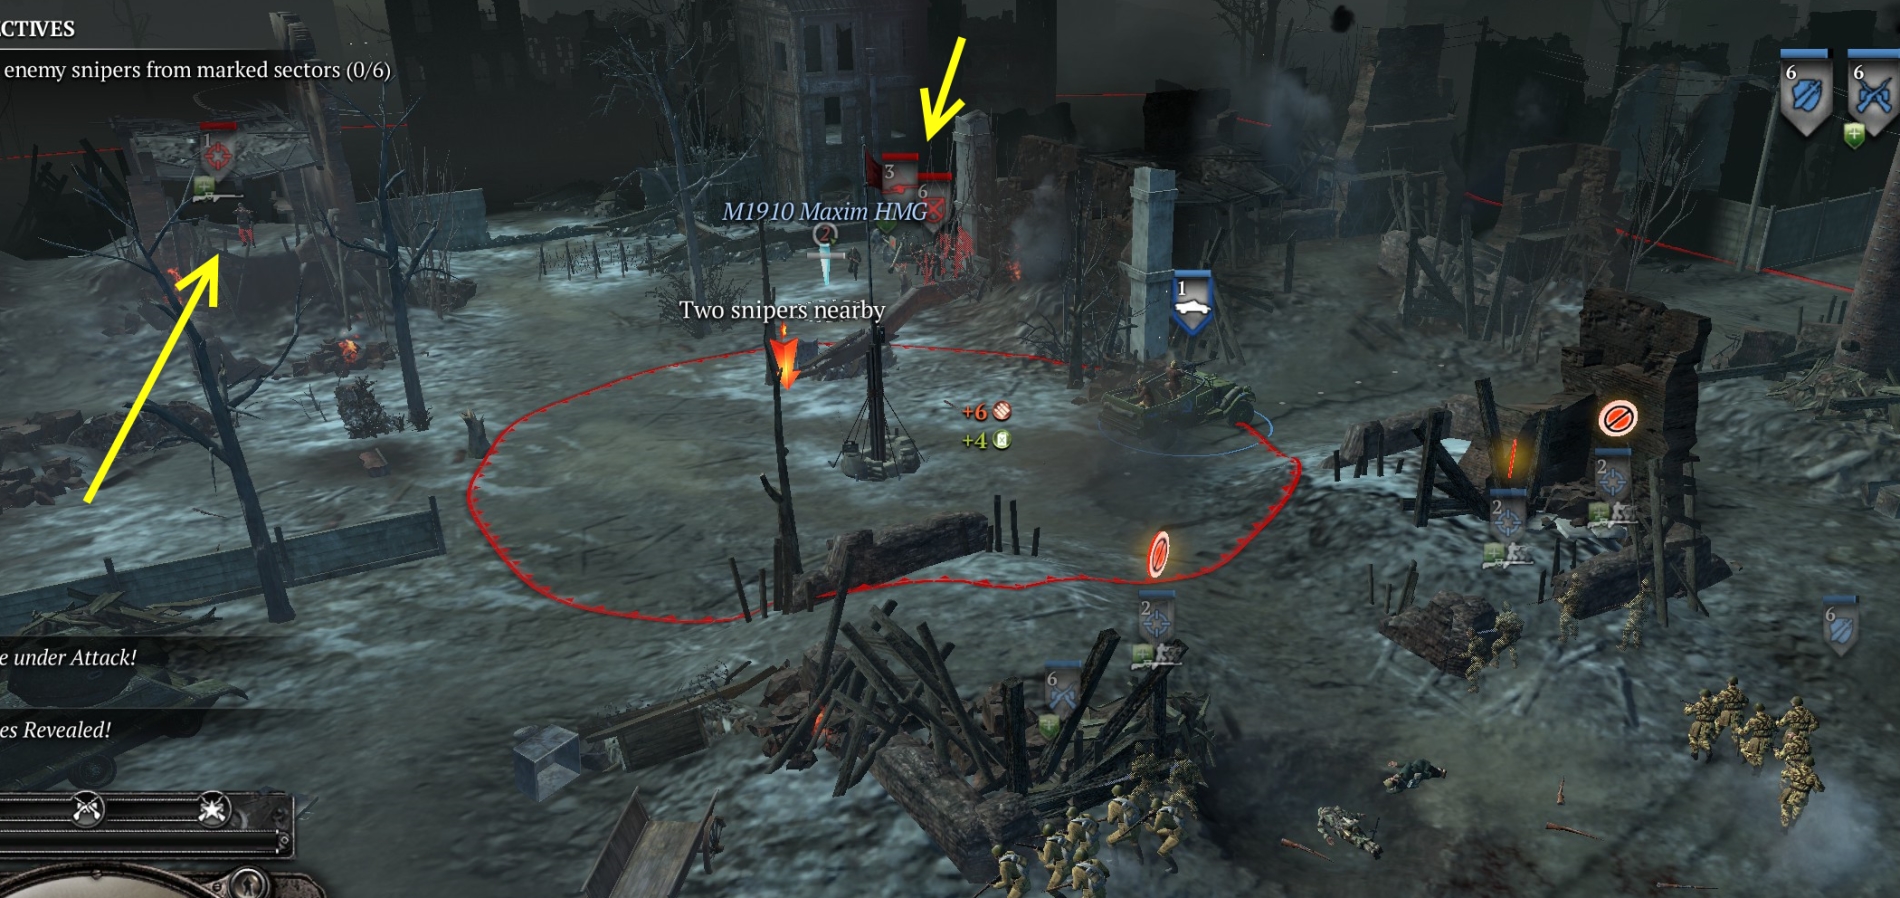
Typically as you are capping point 1, a grenadier and Osttruppen squad will rush at your force from near point 2—hit with your snipers and shock troops. If the Maxim is not crewed and the path is clear, also use your shock troops, frontoviki, scout car and snipers on any unkilled German sniper visible in the vicinity.
POINT 2
Bring in a Zis-3 field gun. Reinforce your troops as needed. Use your frontoviki or new conscripts to crew the de-crewed Pak-40. (You will soon be facing German vehicles.)
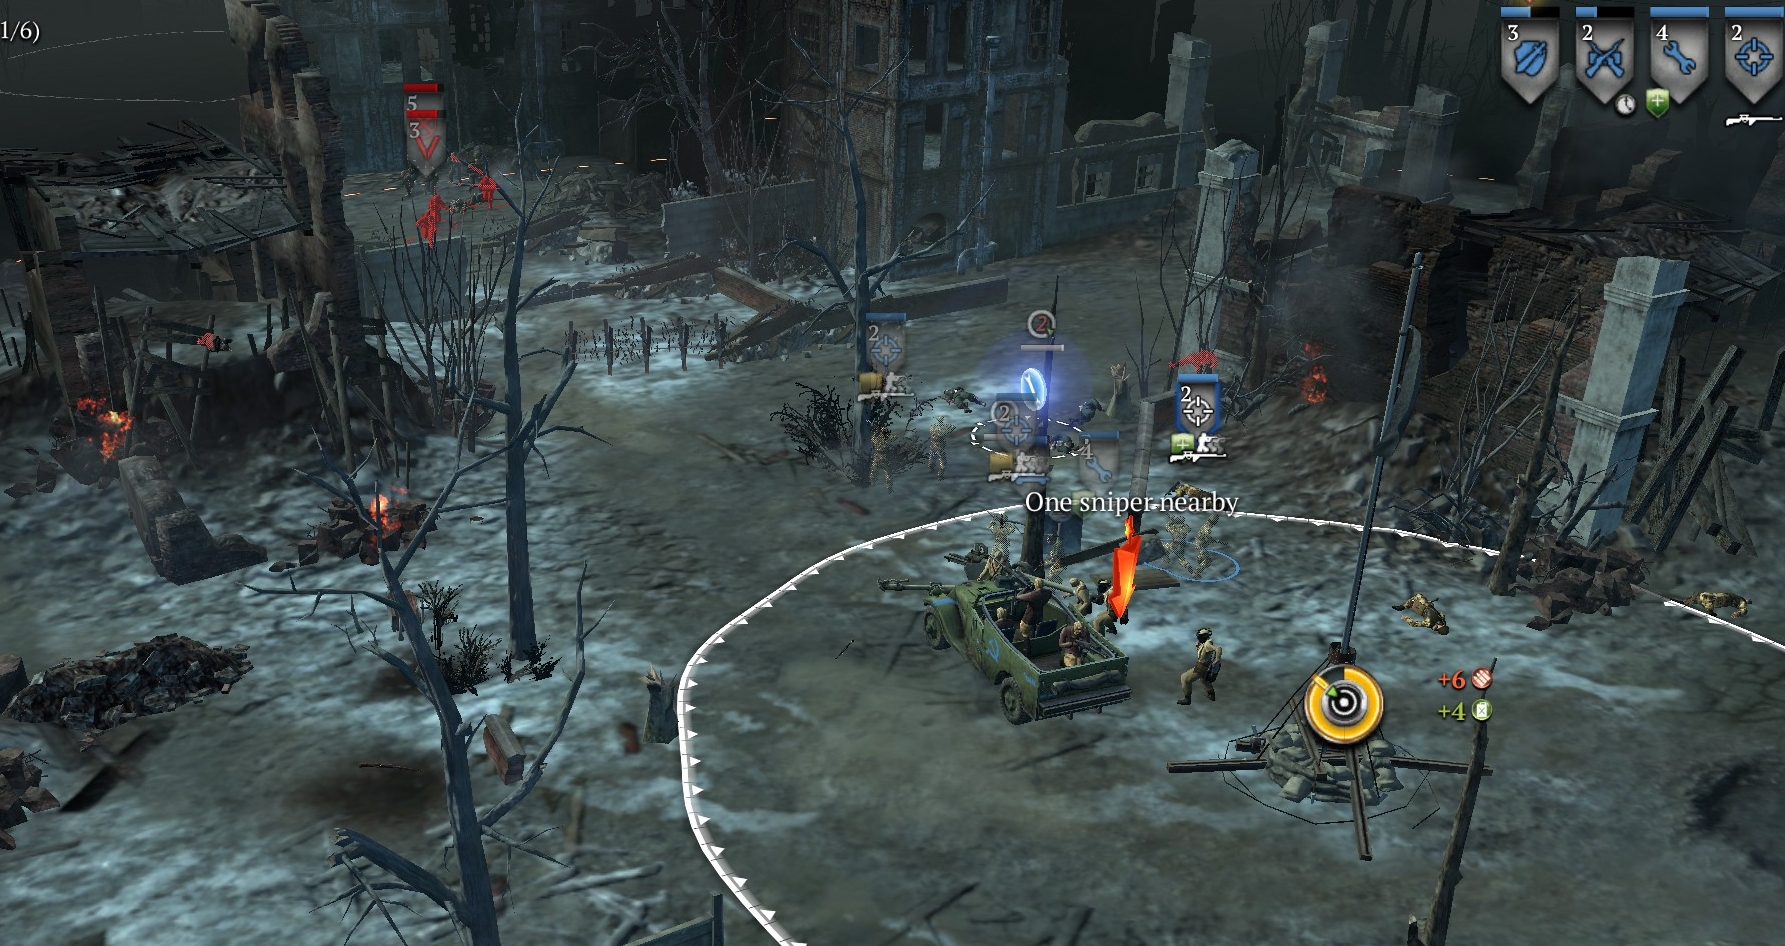
Send your frontoviki (or raw conscripts) as scouts to the NW, towards (and if possible beyond) the building that overlooks point 2. Your shock troops, scout car, and snipers in stealth mode should be not far behind. If attacked, the frontoviki can throw a molotov, and then retreat. The Germans have an LMG-equipped gren squad and other infantry guarding this point. There might also be a sniper in the area—and unfortunately the German snipers can be invisible even when your troops are on top of them. Anyway, by goading the German defenders into attacking you, you should make it easy for your snipers and shock troops to deal with them.
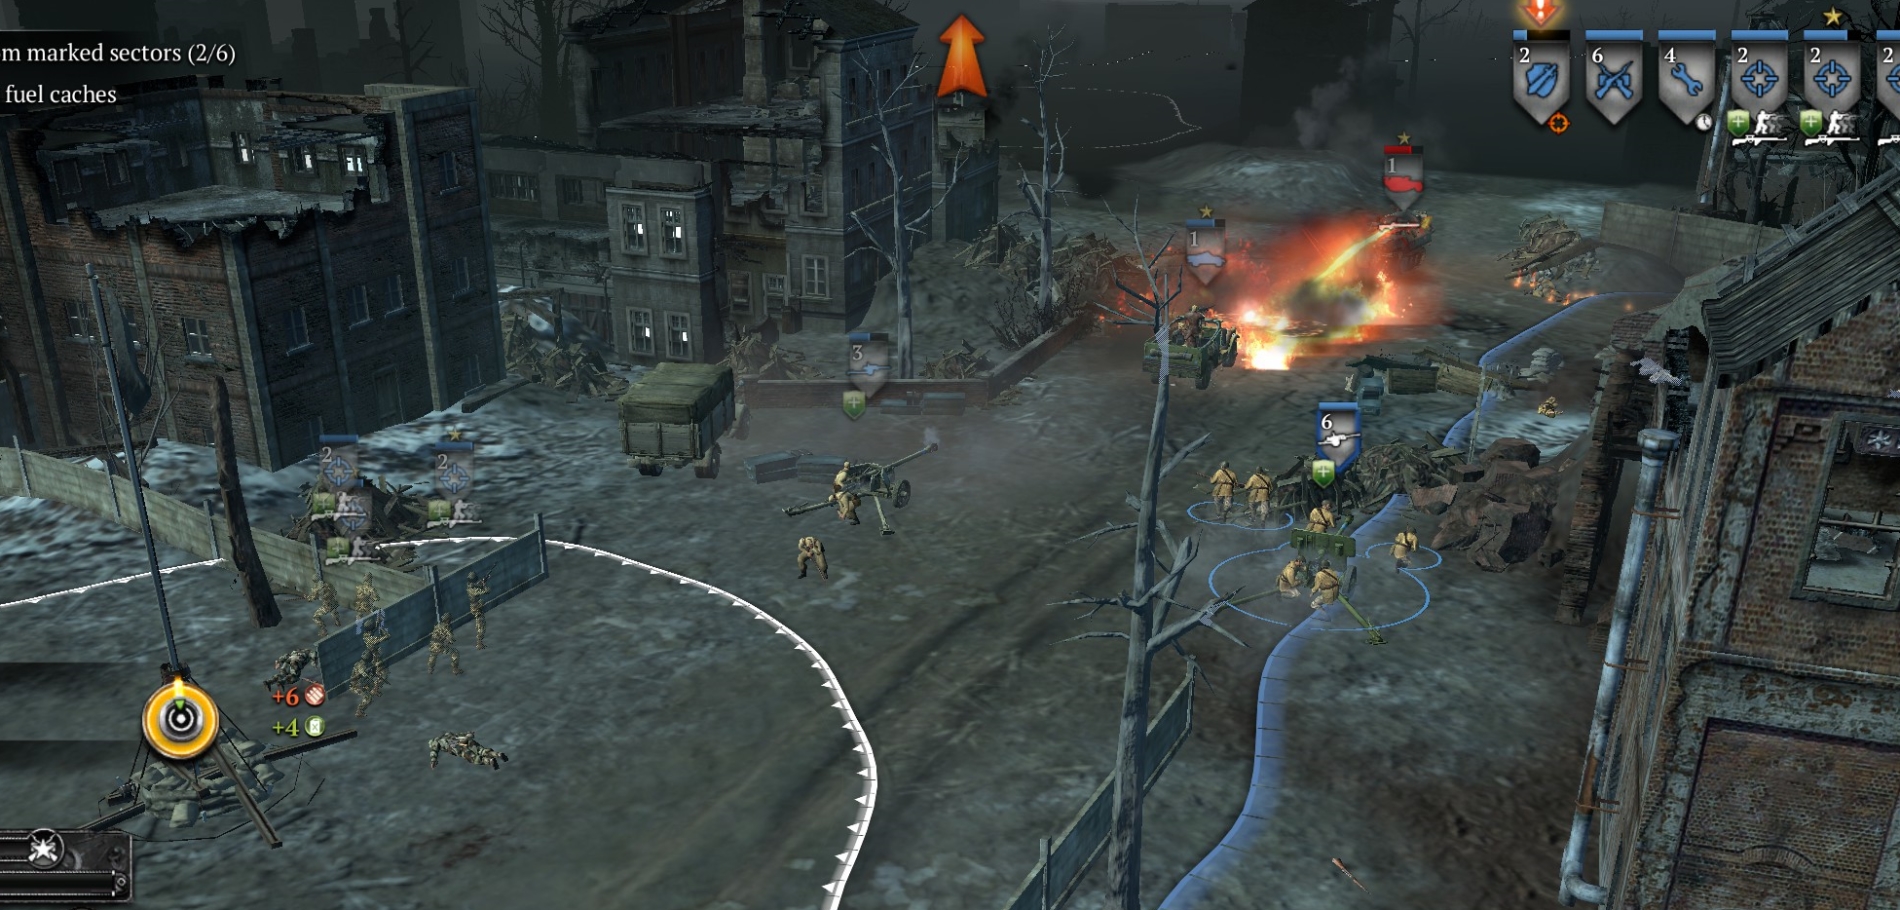
When you have cleared point 2 of its defenders, bring your entire force into the point. Your AT guns should be facing up the road to the NE. A flamer-251 will attack from that direction as you are capping the point, and unfortunately your AT guns are extremely nerfed—five to ten hits to kill a 251, and even at close range many shots will miss completely—so use your scout car to divert the flamethrower attack while your AT guns fire away. Have your snipers ready to kill any German snipers who materialize within range.
POINT 3
There are two panzergren squads, one schreck-equipped, at point 3.
Send frontoviki or raw conscripts to the point, with snipers in stealth mode positioned close behind. The panzergrens will focus their fire on the frontoviki, while the snipers snipe away—the frontoviki also should try to kill a few German soldiers before they are forced to retreat. With any luck, your snipers and frontoviki will wipe the German squads quickly. Keep your scout car clear of the schreck guys.
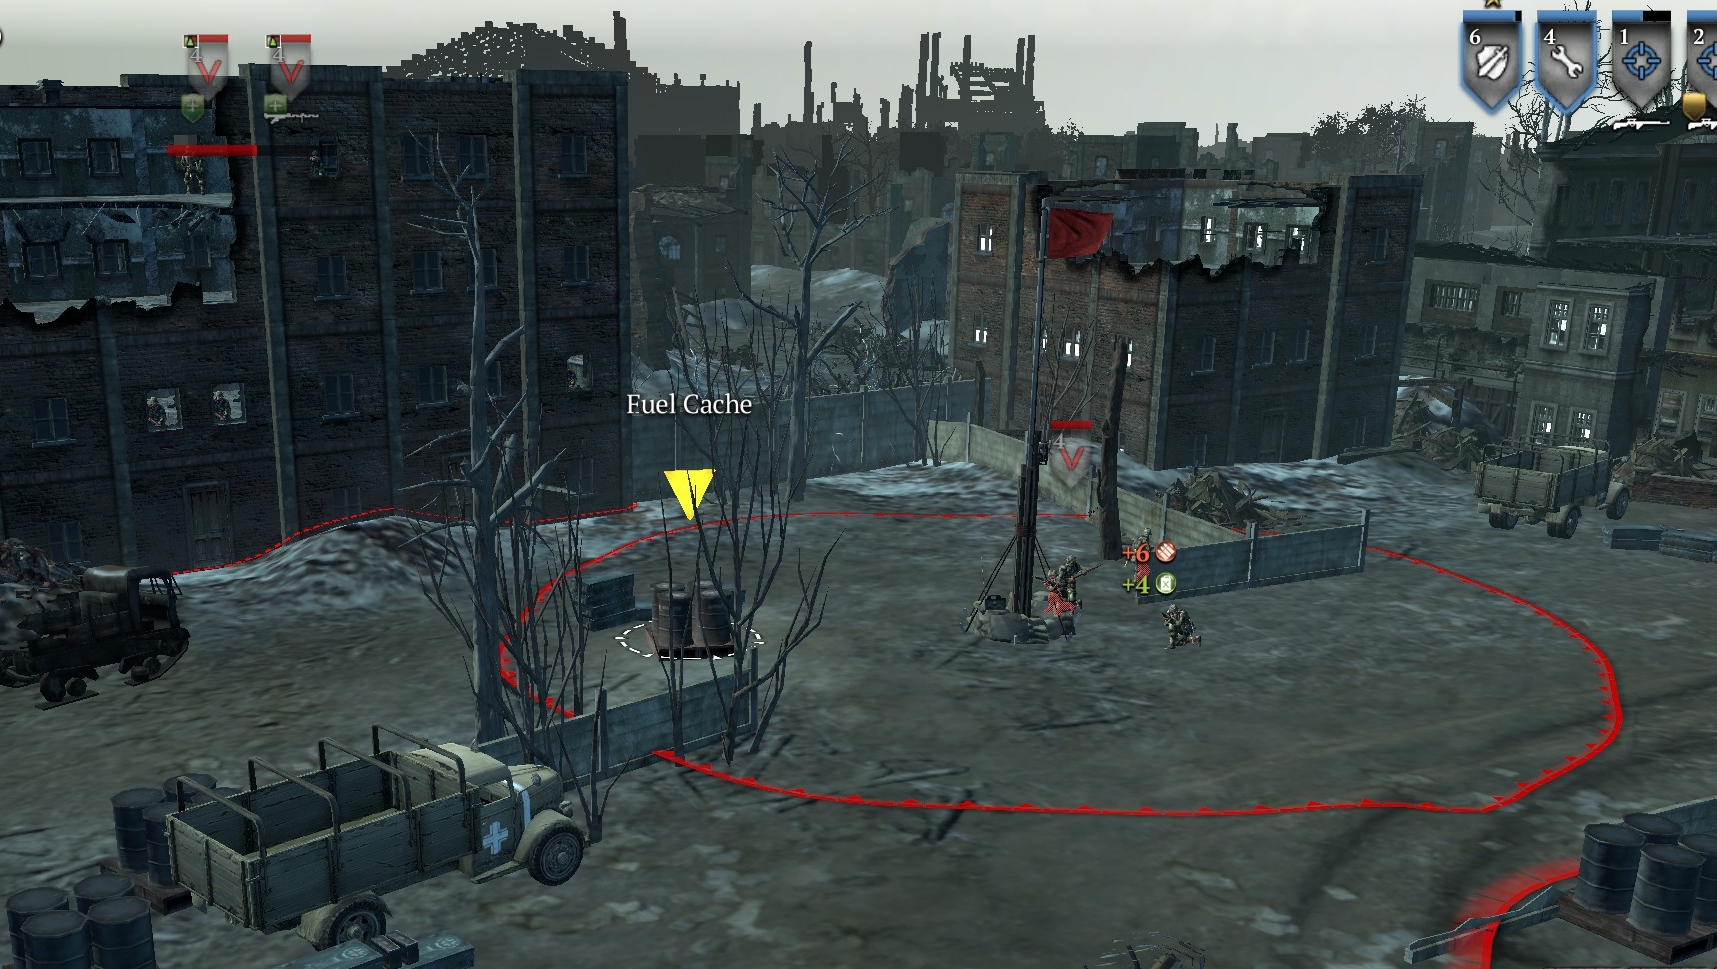
When the point has been cleared, cap it and grab the “fuel cache.” A sniper in stealth mode should suffice.
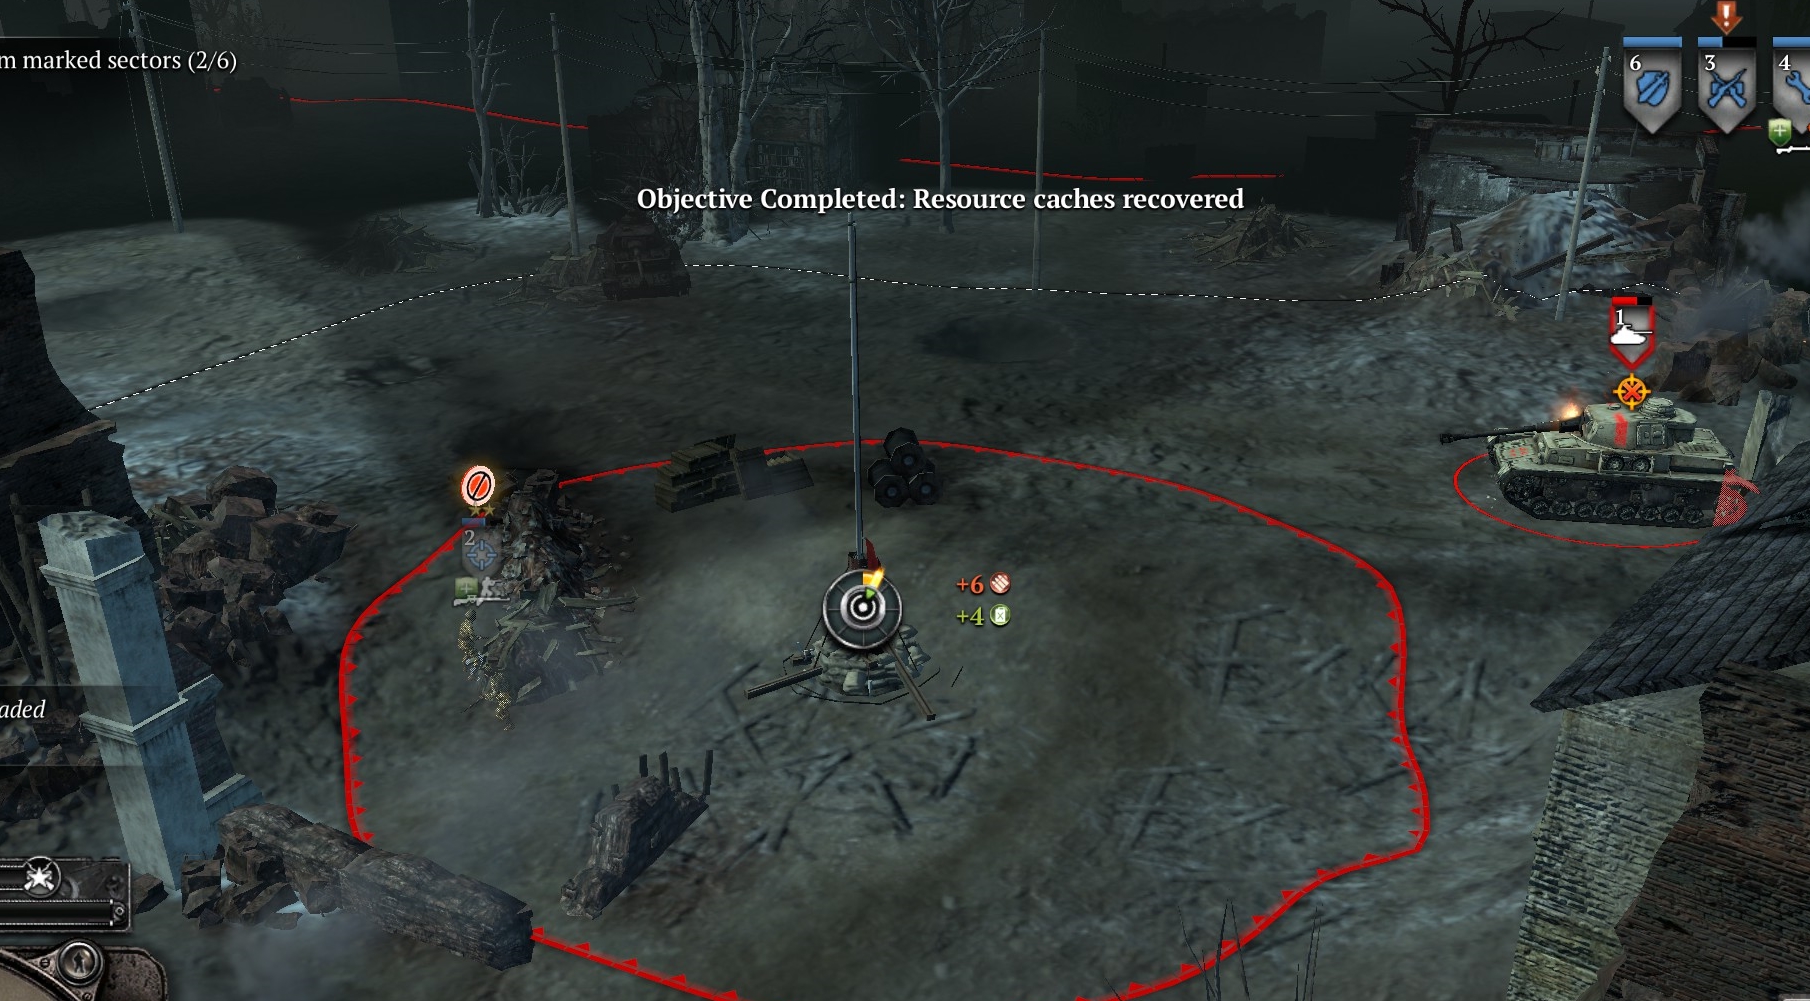
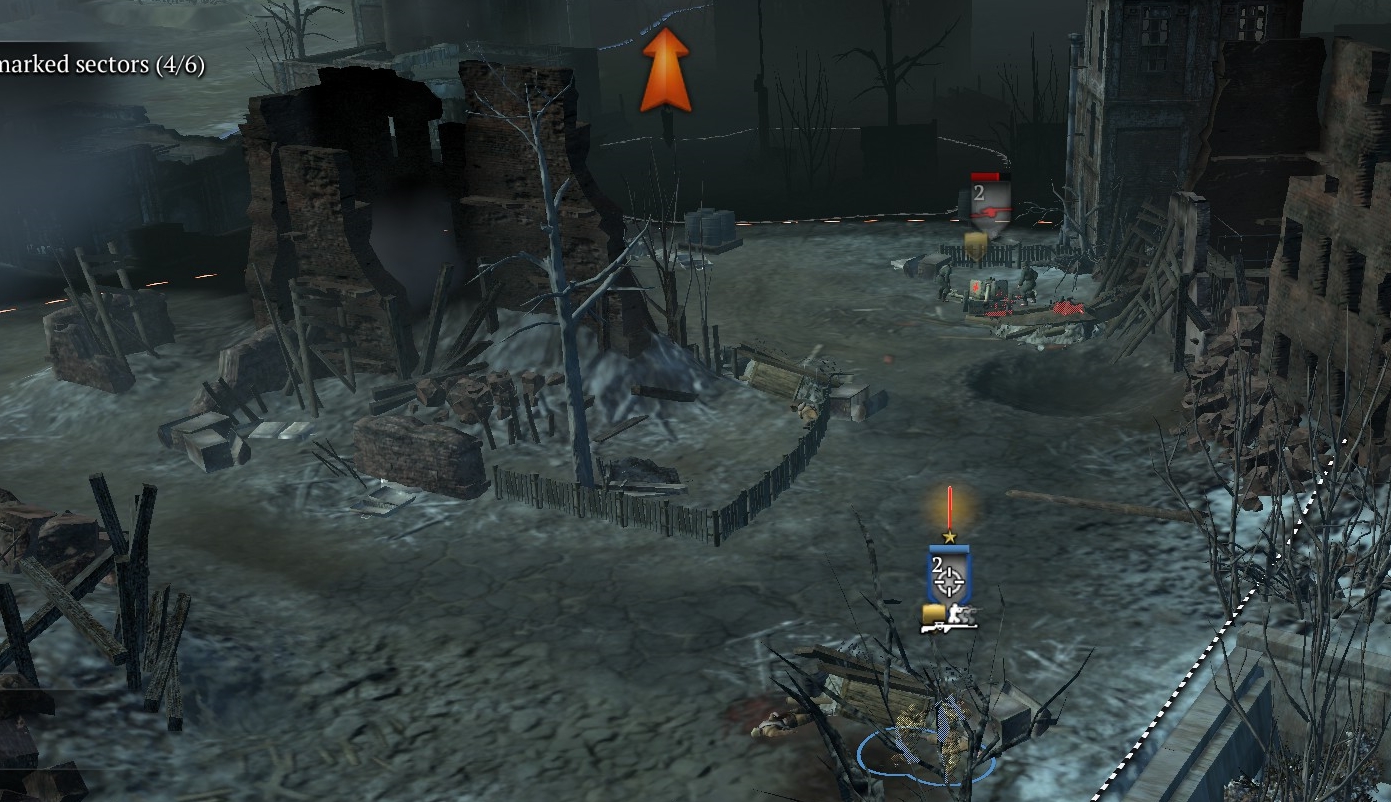
Note that German vehicles will pass on the east-west road above the point every minute or so. You can ignore them because they have inoperative guns and can’t shoot back. Why did the devs code this weird feature? I don’t know, but my guess is that it allows them to clear any mines you might lay on the road—mines that would make things much easier for you in the second phase. Since those passing Panzers, StuGs, 251s and scout cars are spawned automatically, you can’t really gain much by destroying them, although you can camp out at that point for a while and let your AT guns vet up. Also, your engineers can place demo charges on the road for use in phase 2, but you must protect them because, whenever they start demo-charge-laying, German infantry come from the top map-edge to attack them.
POINT 4
The next point to take is the one just to the SE of point 3. It has a Pak-40, HMG, one or two snipers, and sometimes grenadiers. Attacking with infantry (backed by snipers in stealth mode) from two different directions, focusing first on the HMG and sniper, then on the Pak, usually works. Note that your units being in or close to the point will trigger a Stuka dive bombing attack that will obliterate anything within the point itself, so get clear when you see the purple marking smoke—but you can resume normally after this scripted, one-off attack.
Remember that you can take your time in this first phase, reinforcing as needed.
POINT 5
Further to the SE, and to the NE of your base, lies the last point from which you need to clear all snipers, in this first phase of the mission. Its defenders include a Pak-40 south of the point facing your base, two snipers, a gren and panzergren squad, and an HMG in the point or in a nearby building.
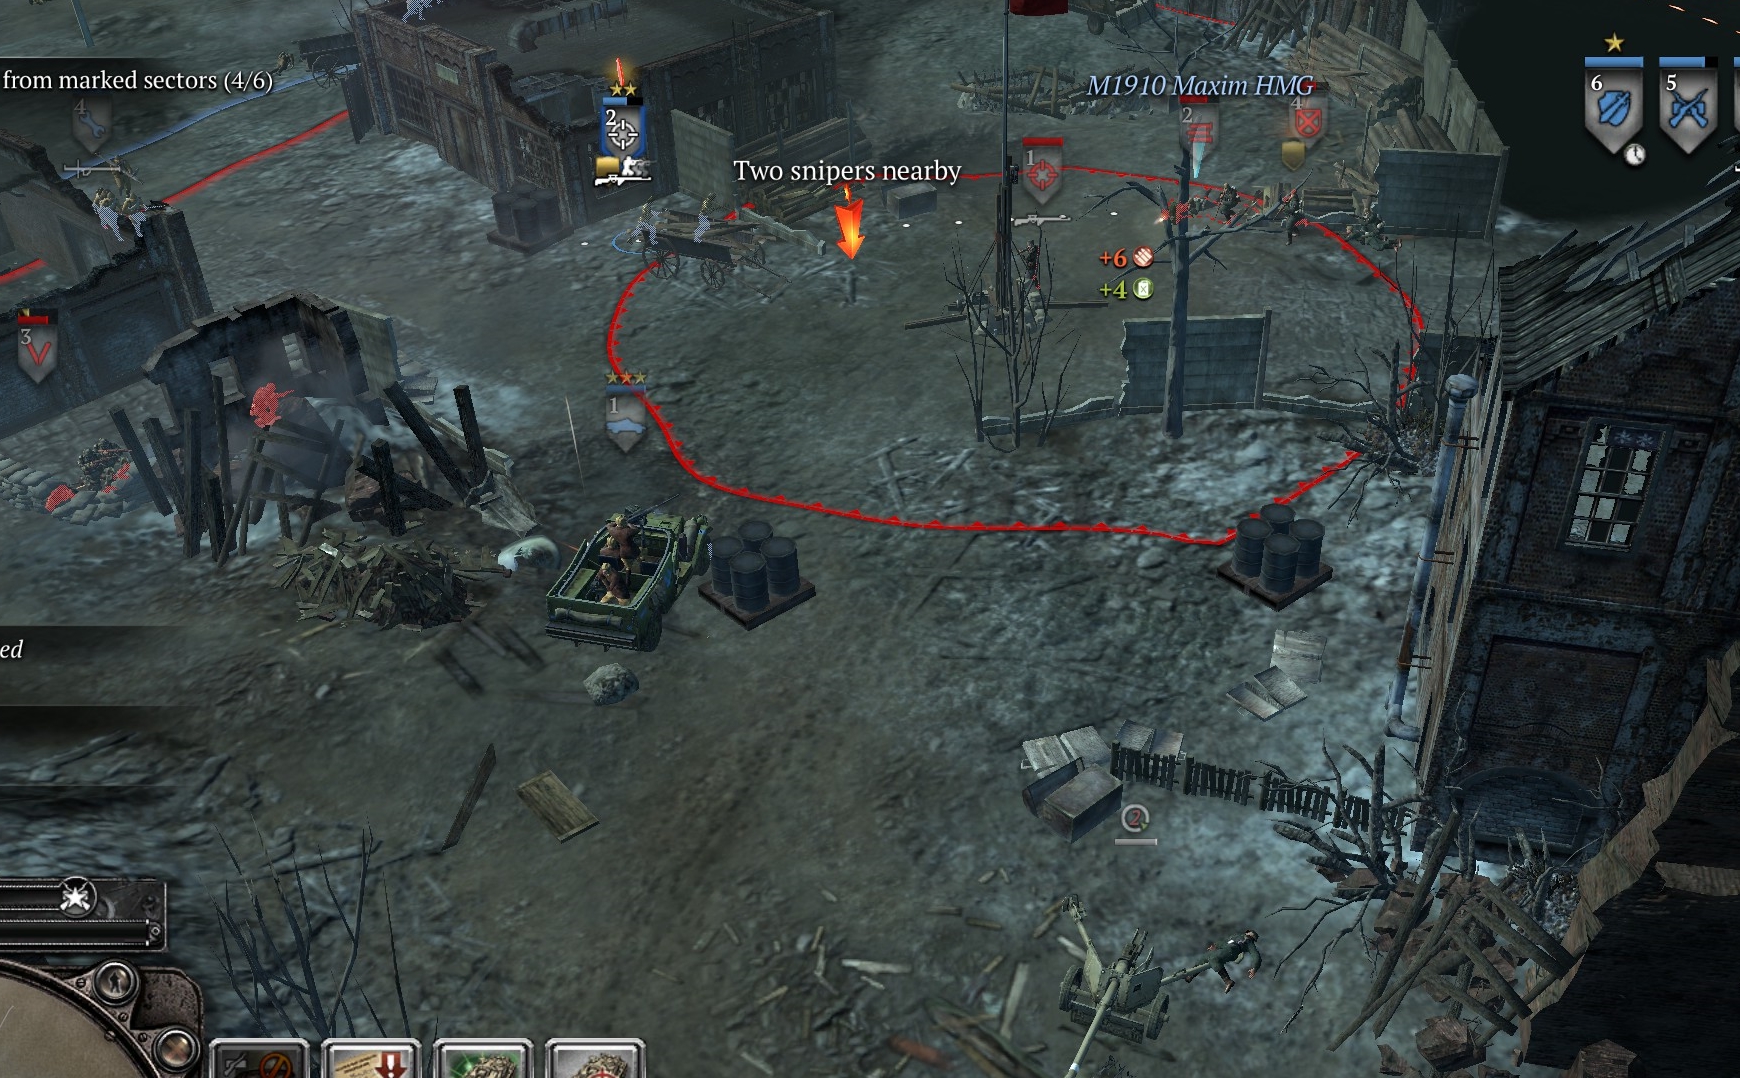
The catch here is that you should NOT rush in with your entire force, wipe the defenders, and cap the point. If you do that—in fact, as soon as you kill the last sniper (you do not need to cap the point)—the phase change will be triggered and your forces here will very soon be attacked by an overwhelming force from the east and north, and you will not be able to complete the transition to phase two. (This is the most broken part of the mission.)
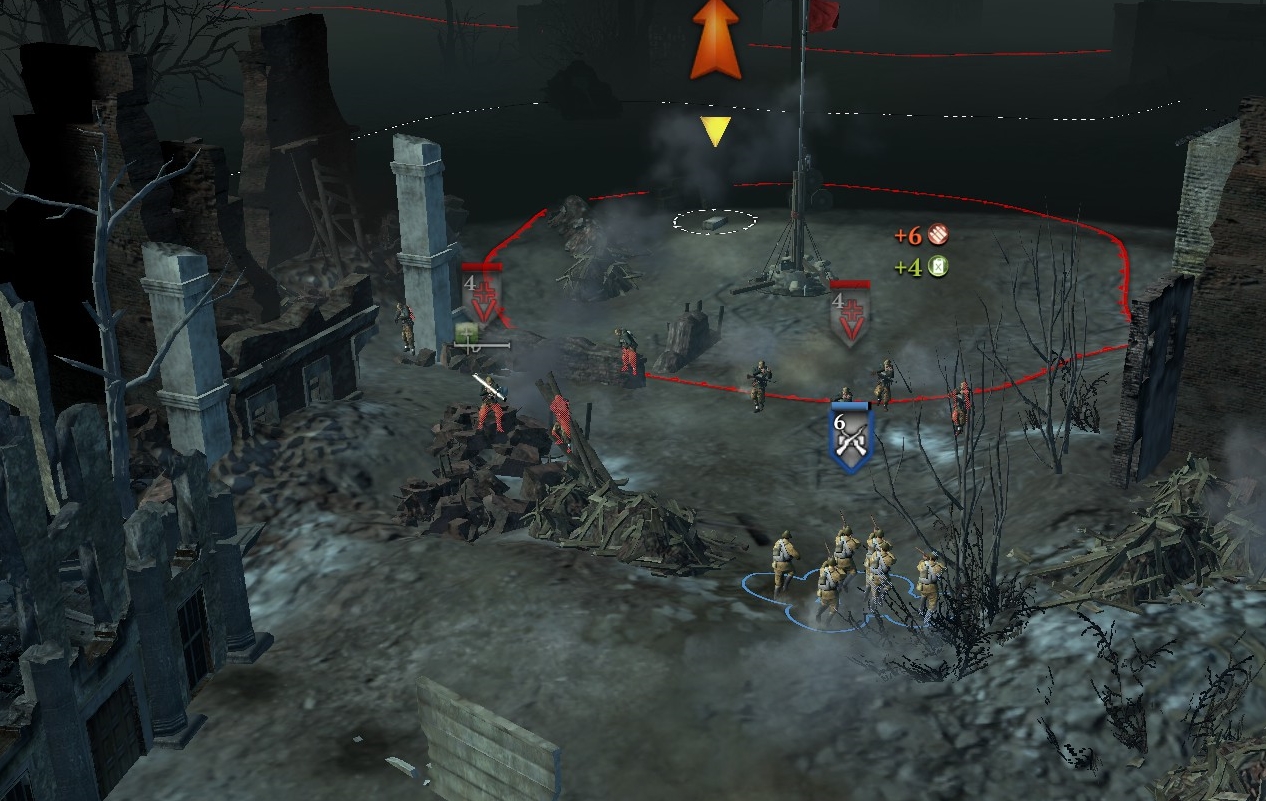
Therefore, use one or two snipers in stealth mode to slowly reduce the defenders at this point, while the rest of your force, including at least one engineer squad, moves to the top of the road above points 4/5, at the edge of the map. This is the place they need to be when the phase-change starts.
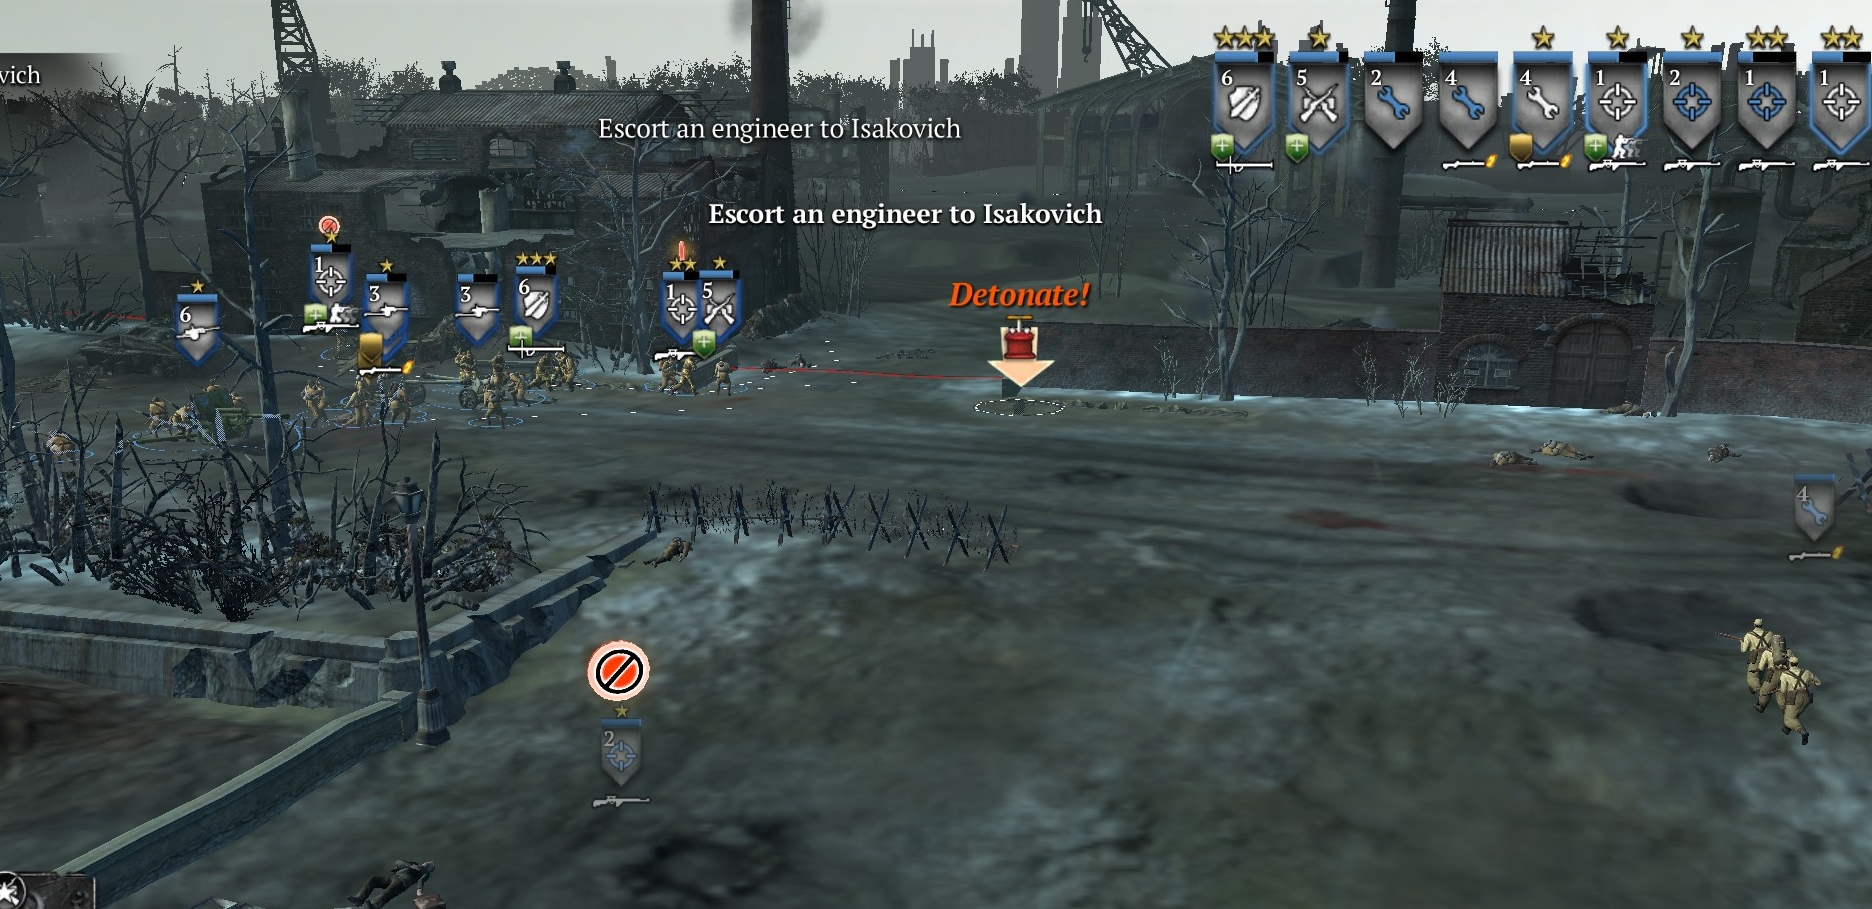
Specifically, as soon as the phase change occurs and the map expands to the north, they will have to bolt (in slow motion as always) northward to a raised point they will have to defend throughout the second phase. Once any of your engineer teams is there and the point is capped, the timed “escort the engineers to Captain Isakovich” task will be accomplished (one of the engineers in your team will disappear to help dig out the captain) and you’ll have a good chance of finishing the mission.
When the phase-change starts, there will be a cutscene depicting the incident that motivates phase 2: the trapping of Capt. Isakovich under rubble due to a building collapse, and the decision by his troops to hold the point long enough to dig him out.
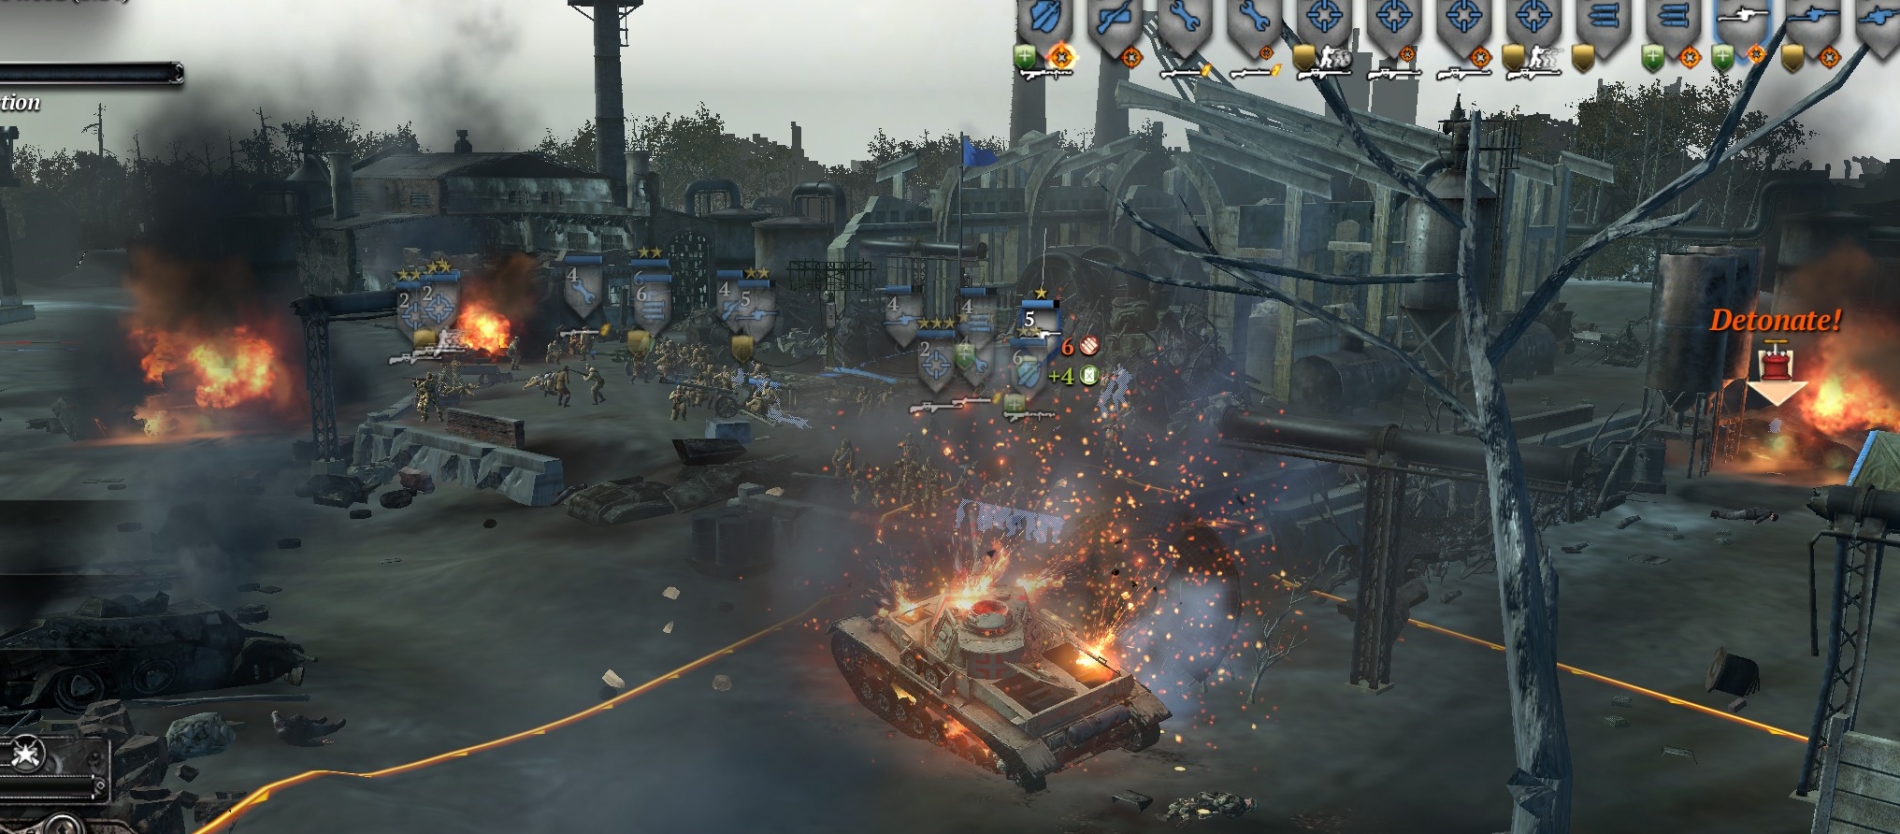
DEFEND THE NEW UPPER BASE
Once you have taken the new point at the top of the map and you have an engineer present, a new base somehow forms, and your pop cap goes up from 60 to 90. Within a minute or so, you will be counterattacked from all sides (including through the area where most of your new base buildings are situated) by German infantry and armor. You should have, scrounge or bring in at least three Pak-40s / Zis-3s plus the Russian 45mm AT gun already at the point, plus HMGs, snipers, and flamethrower-equipped engineers. Your engineers should immediately plant as many mines and demolition charges as possible in the space below and to the SE of the point, to thwart flanking (and base-destroying) attempts by German tanks and infantry. Do your best to grab any MG42s and schrecks within reach before the shooting starts. Schrecks are particularly valuable in this phase.
A timer on the upper left of the UI screen shows you how much time is left until your engineers free the captain—all you have to do is hold the point till then, which is fairly easy though it will require constant micro, e.g., to train all/most of your AT assets on each German tank as it comes in from any of several directions, and there is a lot of brokenness in your unit movements (in crowded situations they will wander in suicidal directions etc.).
The cutscene that follows your “victory” isn’t for the faint of heart.
***