Stalingrad again.
This mission has a design concept that is very common throughout COH2 and COH1 though it would be absurd in real life: The concept is that the enemy on the map has gigantic, maybe as much as 20-to-1 advantages in numbers and firepower, but is mostly positioned in small, static, non-mutually-reinforcing clumps, so the player can win with a small set of units by just roving around and defeating the enemy in detail.
Anyway, the overall goal here is to attack the Germans at seven points, the first points being a lot easier to take than the last ones.
Here is the tac map—note that only the lowest three points will be accessible at the start.
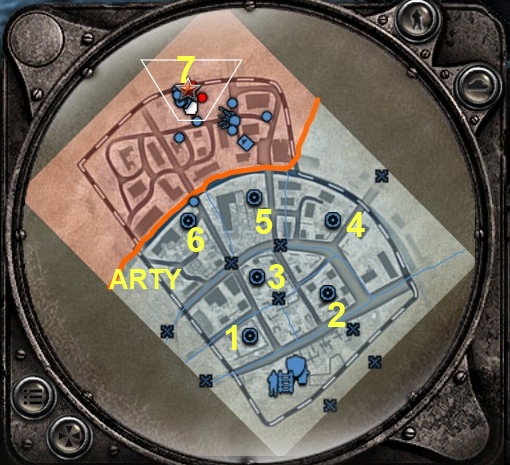
Here is how your forces are set up when the mission begins.
POINT 1
To take point 1, put your flamethrower-equipped engineers in the M5 truck and move directly into the point. Your shock troops can use the truck to reinforce up to 6/6 and jump in the truck. Your conscripts can grab the PTRS next to them (and the one in point 1) and go to the point and set up behind cover. Your guards rifle guys can also get into cover at the point.
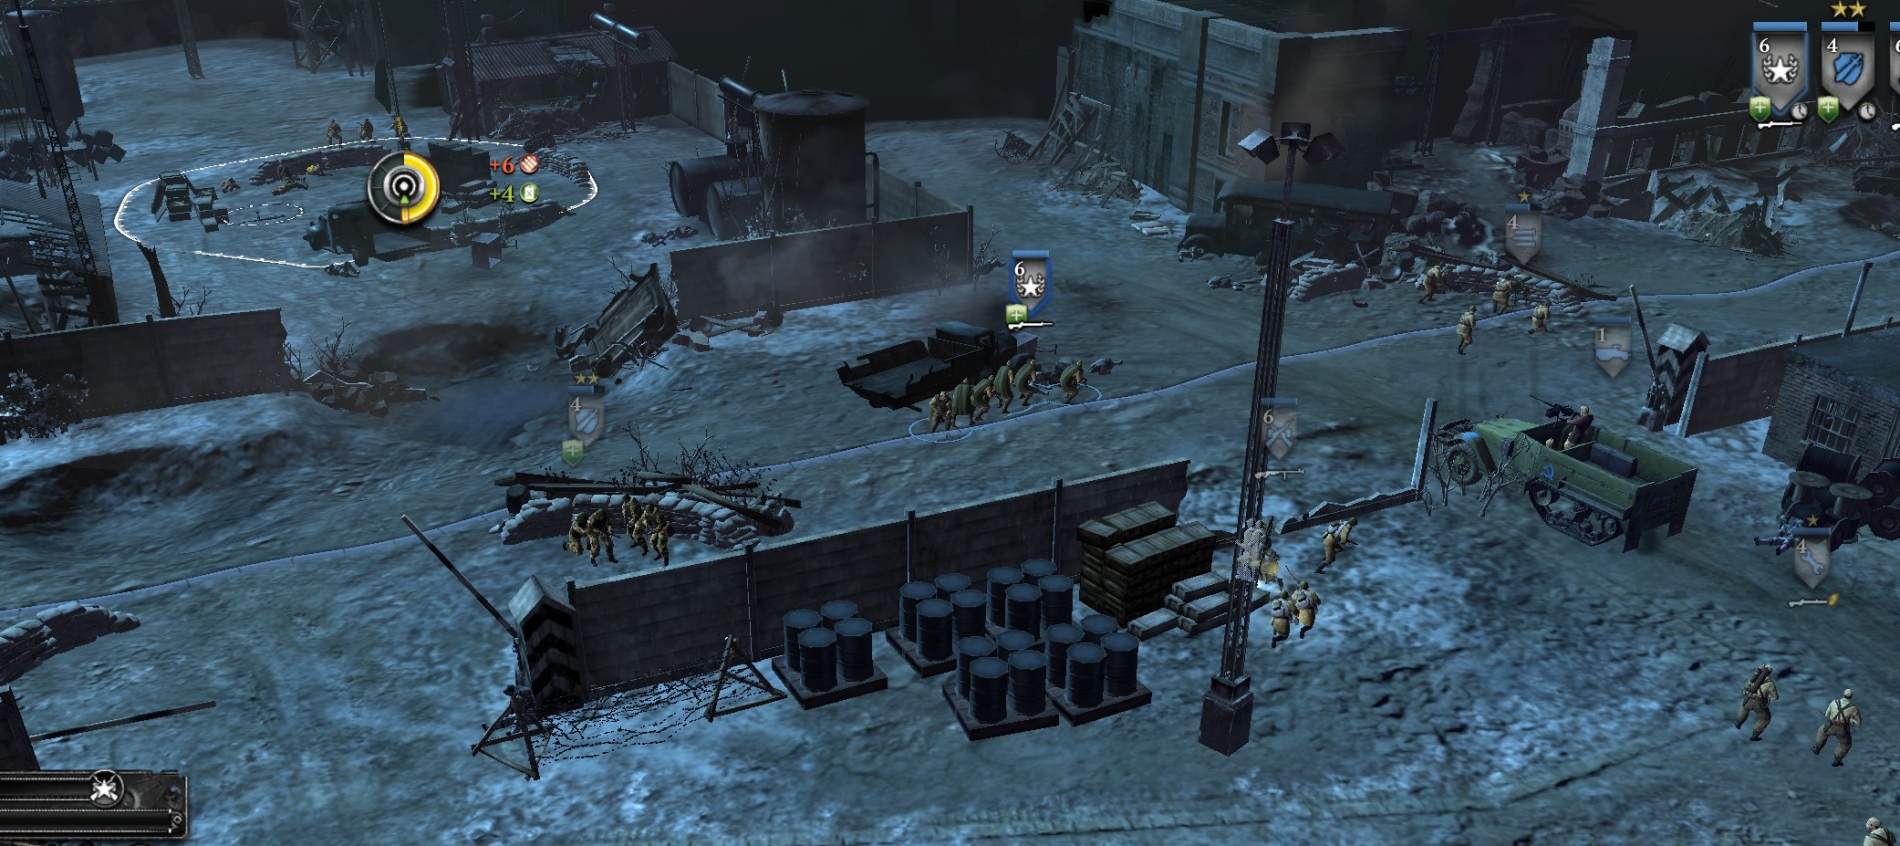
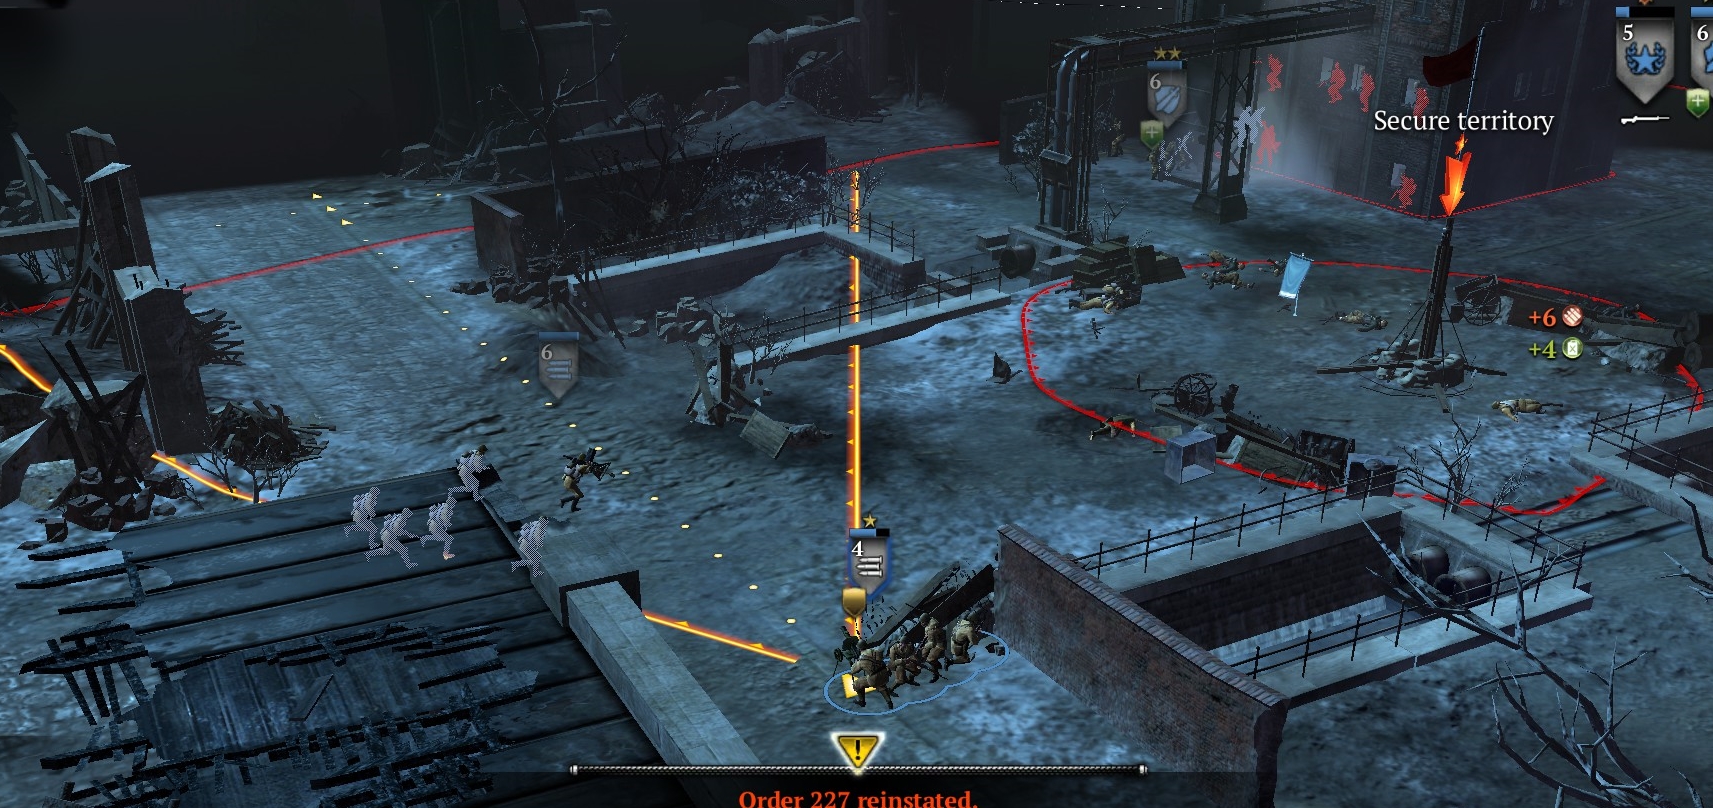
Your HMG crew, which is defending against flanking attacks from the northeast, should relocate to the sandbags about 20 meters SW of their initial setup position. See image below. If they don’t do this, they will soon be flanked and annihilated.
The Germans will attack point 1 in three waves including grenadiers, panzergrenadiers, and pios with flamethrowers. Your truck-mounted units can take the lead while your other squads support from cover. If you are careful to avoid gren and panzergren grenades, this should be easy.

POINT 2
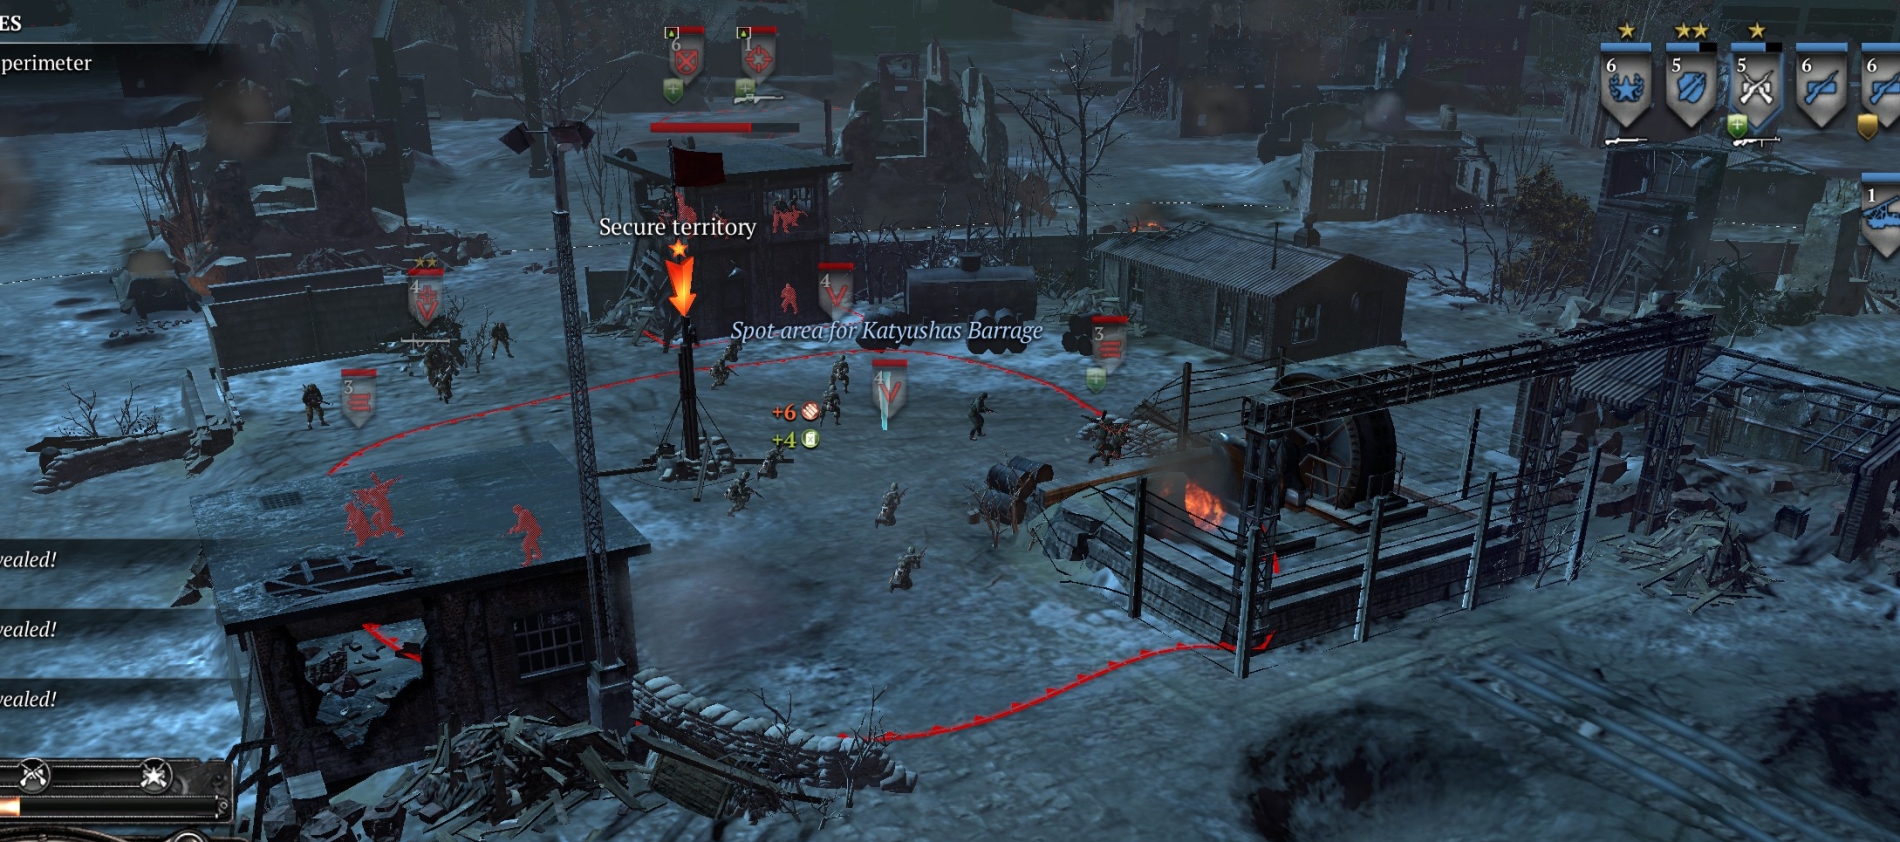
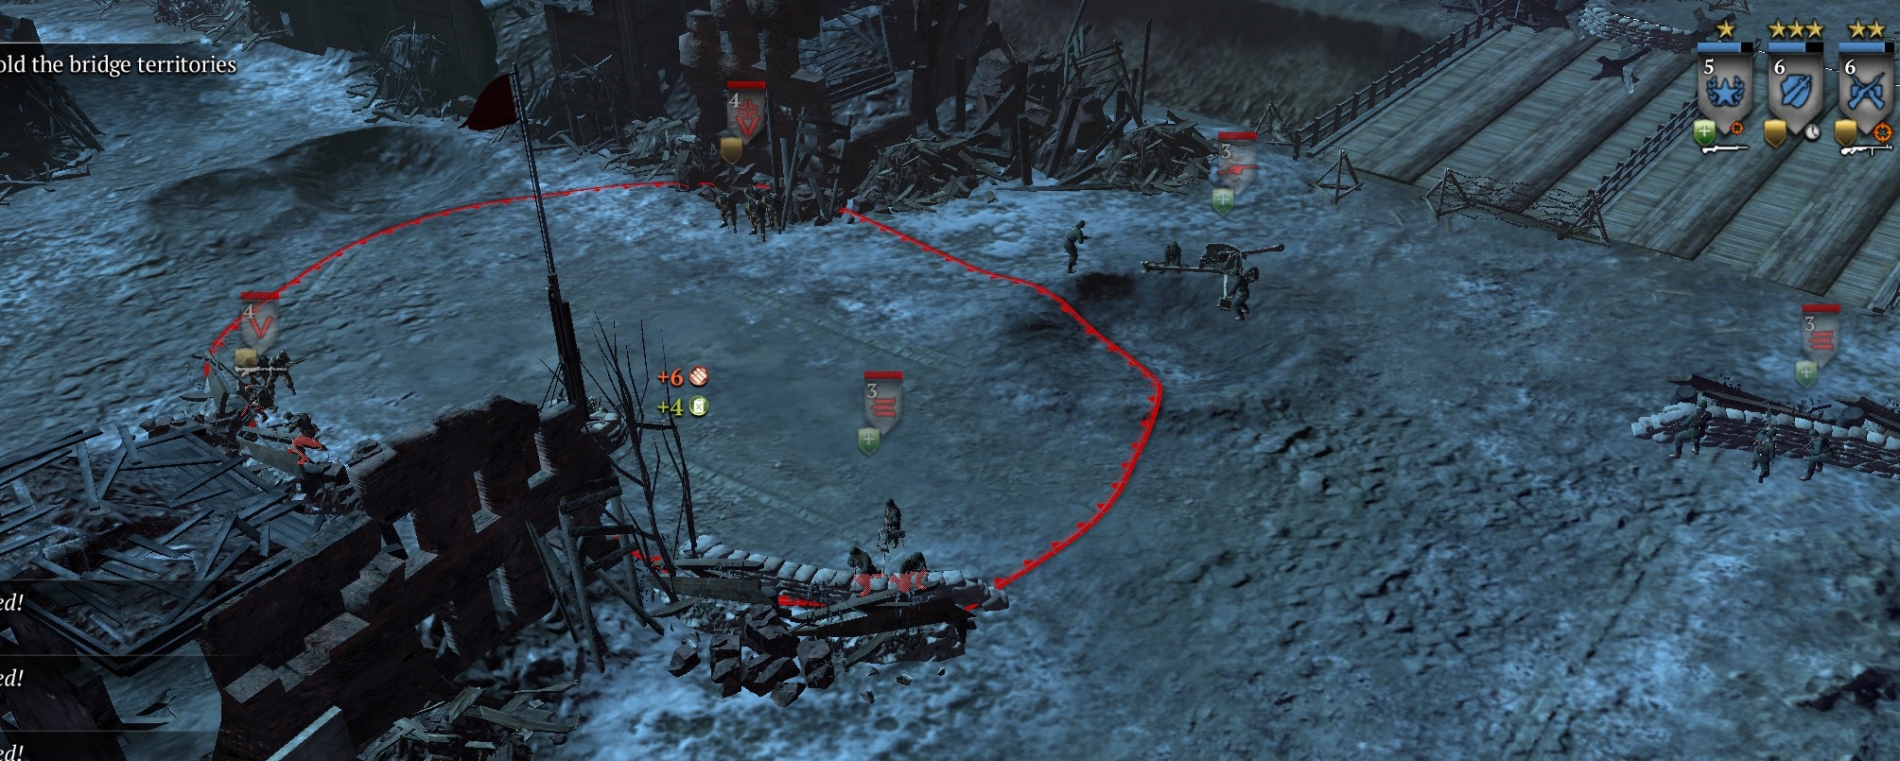
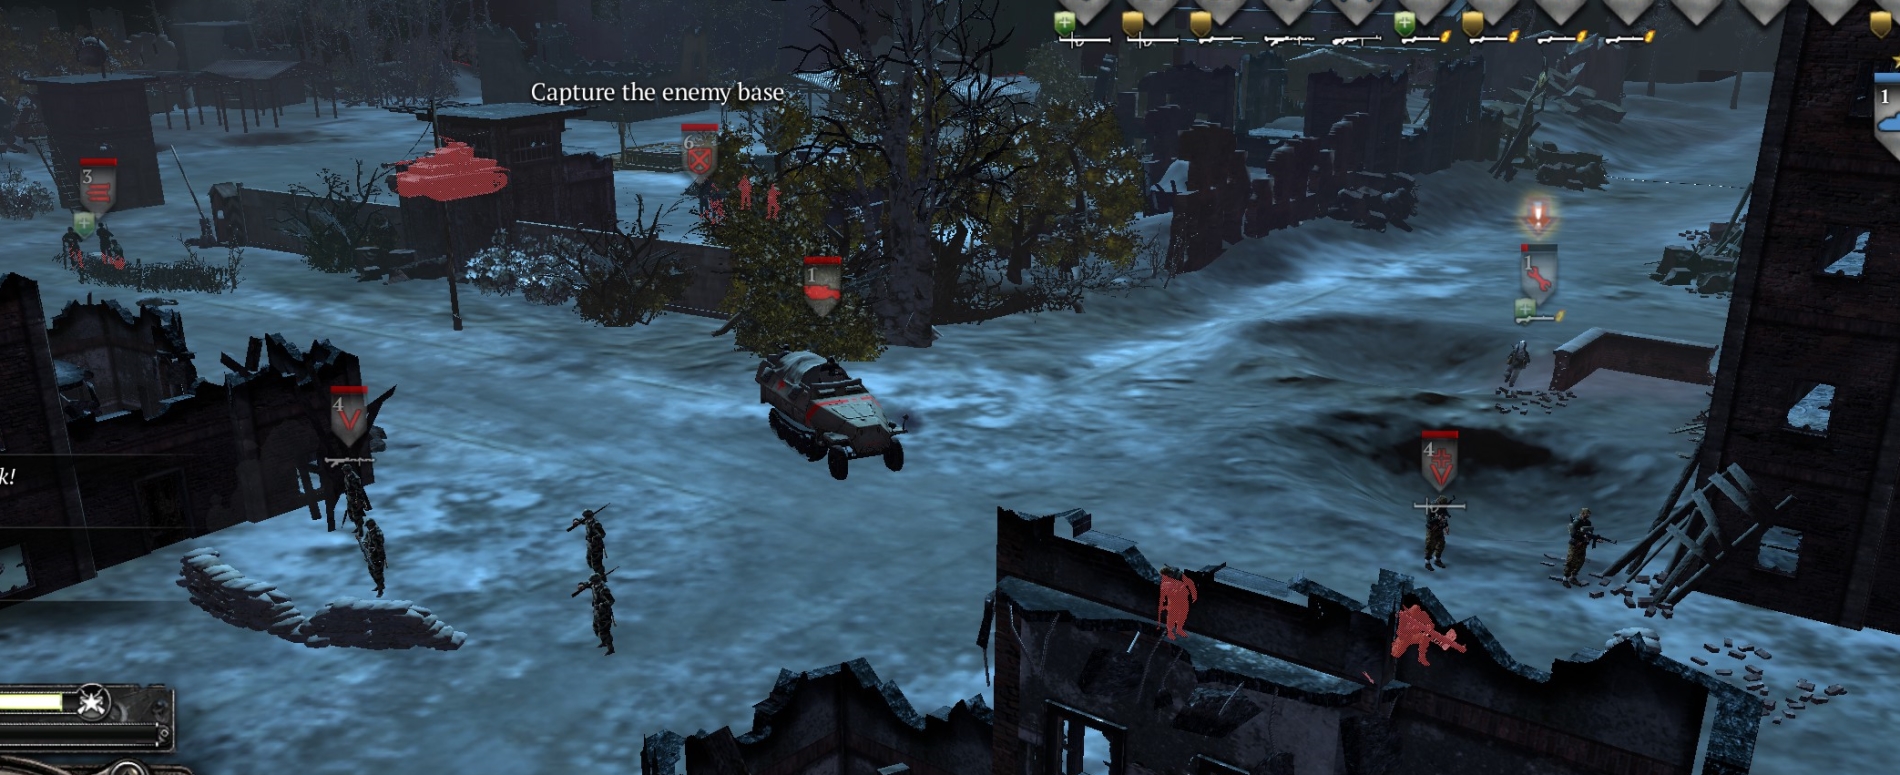
Point 2 is to the east/northeast of Point 1, and is much better guarded. There are two parallel roads that connect point 1 to point 2; have your M5/engineers move along the northern one and flank and de-crew the MG42 behind sandbags to the west of pt2. Your M5 will have to be very nimble, moving in and retreating quickly, since there will be panzerschreck-equipped infantry and a mortar team not far away to the east. Wait until you have at least 60 muni points and then attack pt2 with all of your infantry. Top priority targets are the mortar team, LMG-equipped grenadiers, and schreck-equipped Osttruppen. Use your grenades—definitely the Germans will use theirs. Once the schreck is gone, your M5 can return to help out.
Keep your HMG trained on the road coming from the north (see image), where a scout car and at least two German infantry squads will counterattack.
Use your PTRS-equipped conscripts or conscript anti-vehicle grenades to take out the scout car, and HMG, grenade or molotov the infantry. Always watch out for German grenades—the ones tossed (far) by the panzergrens are powerful enough for total squad-wipes.
You can generally ignore the “Order 227” stuff. It might be that Relic stuck that in, took flak from Russian customers (because it was painfully accurate?) and then decided to leave it in the UI messages while deactivating it in the actual gameplay.
After capping Point 2, crew the German mortar. Around this time, you will be granted two Katyushas (which will max out your pop cap).
POINT 3
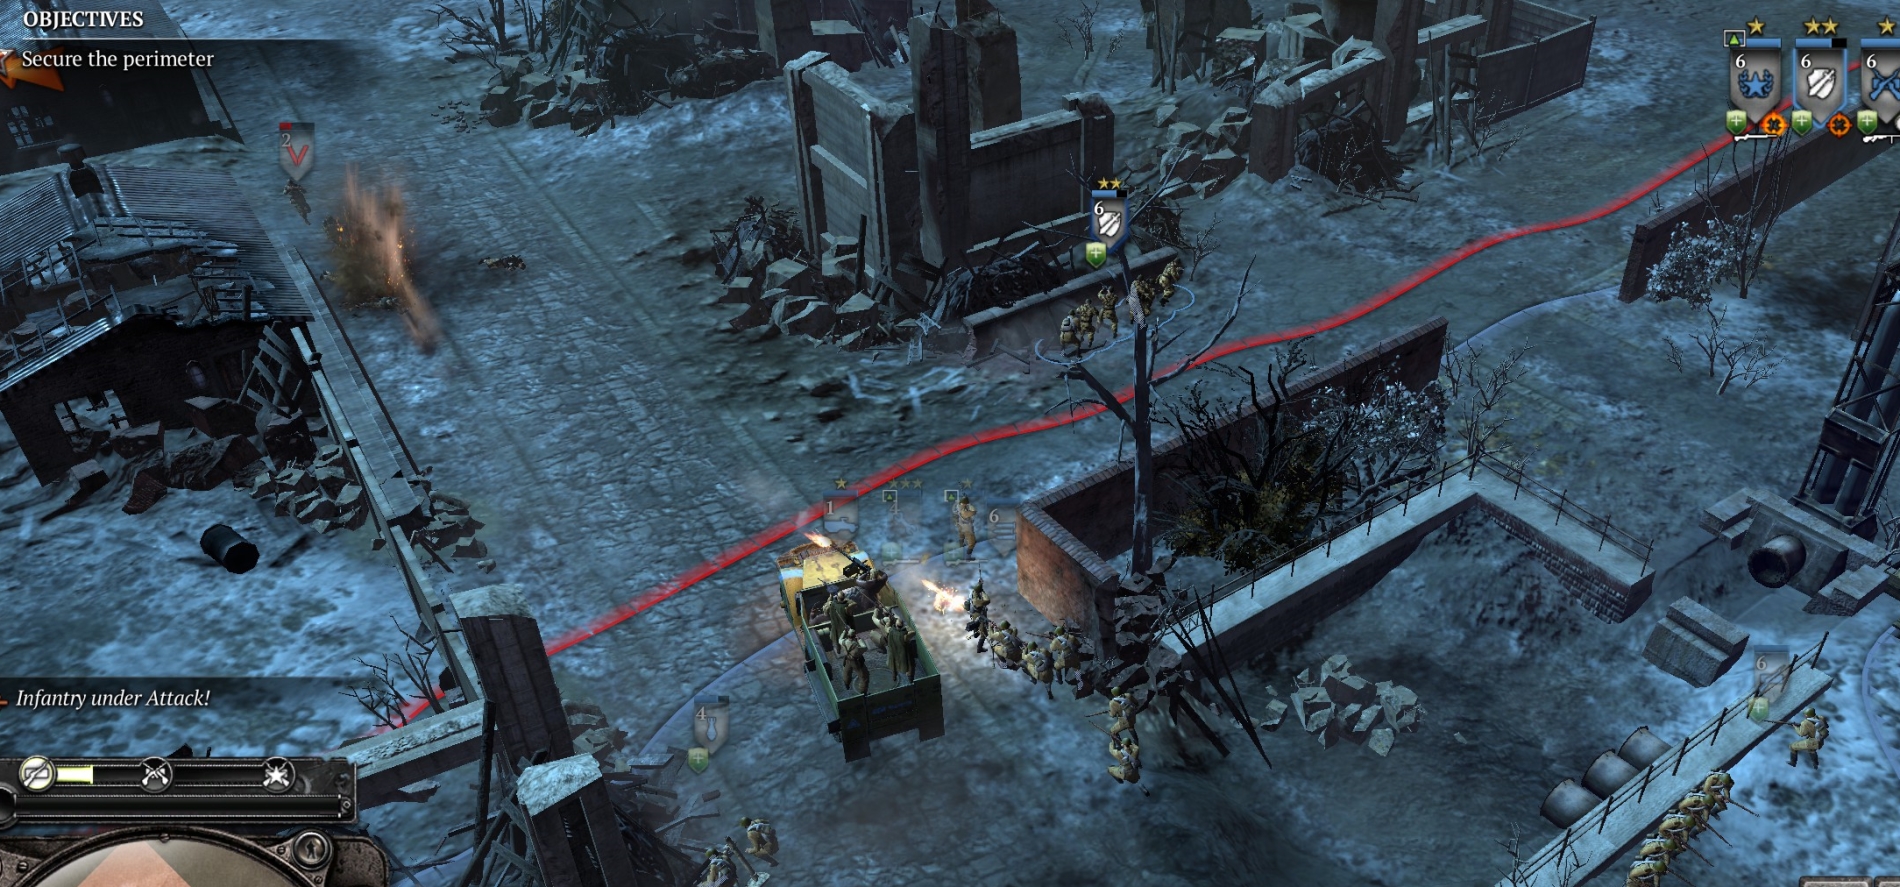
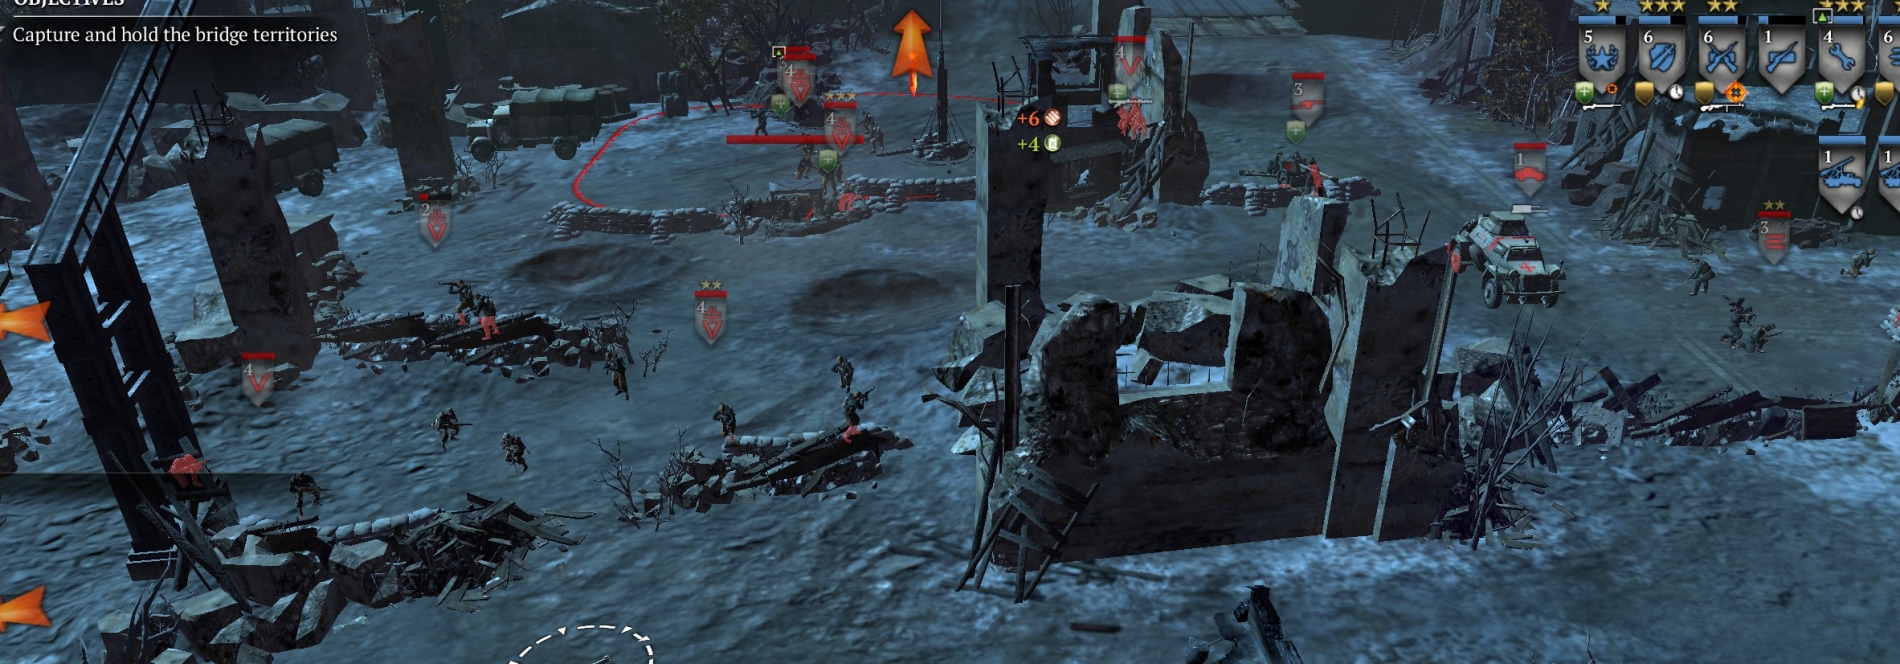
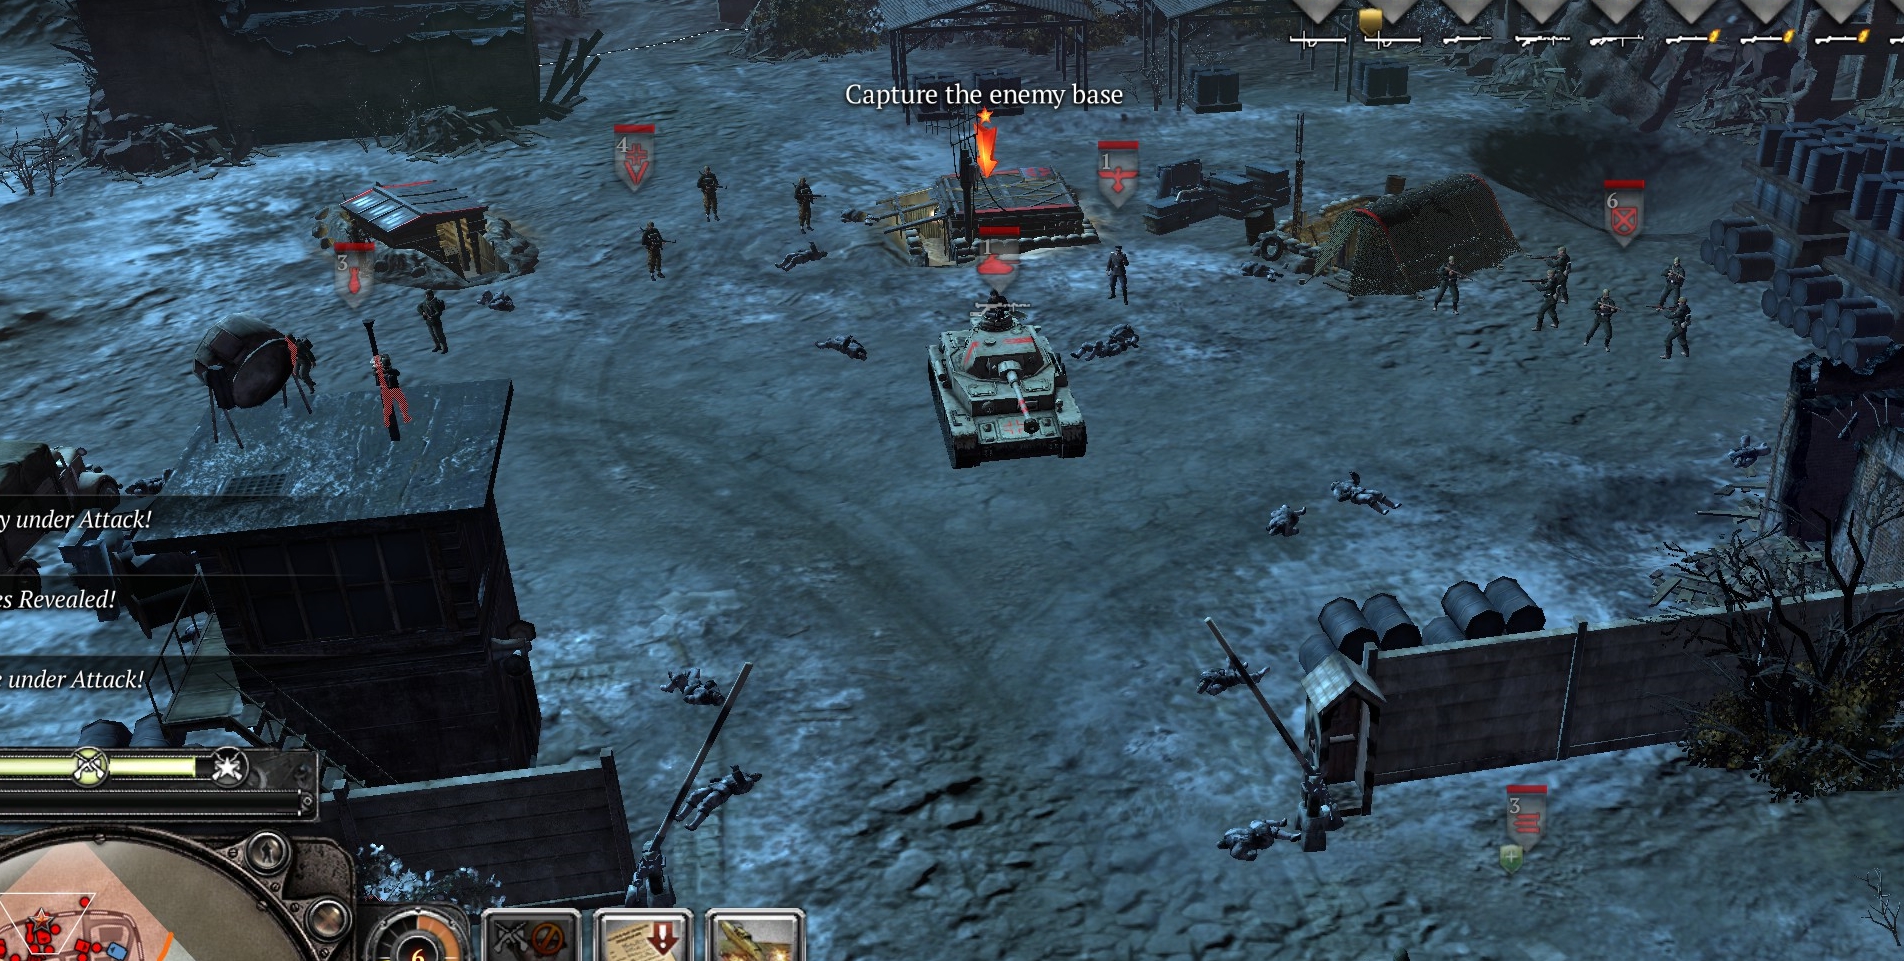
Point 2 was a challenge, and Point 3 is moreso, since it is guarded by two MG42s, a sniper, panzergrens with schreck, at least two gren squads, with reinforcement later by more infantry and a StuG-III-G. (Image is with fog of war turned off.)
Because of the HMGs and schreck, your options for probing are limited—probably the easiest thing is just to use raw conscripts (much as the Russians did IRL) to run suicidally into the point and spot for your mortar and Katyushas, while the rest of your force stands in the road to the SE of the point. You can retreat your conscript spotters when your indirect fire has started, but it’s probably faster to just let them be wiped and bring in a new conscript squad asap. Grens will come around the corner from the point to try to attack your main force, particularly your mortar, so be ready for them with your HMG etc.
Rinse and repeat until the schreck and HMGs are gone/de-crewed, then go in with M5 and flamer-engineers to mop up, following closely with guards rifle guys (use “button vehicle” ability) and PTRS-equipped frontoviki (and more Katyusha barrages if needed) to handle the StuG.
POINT 4
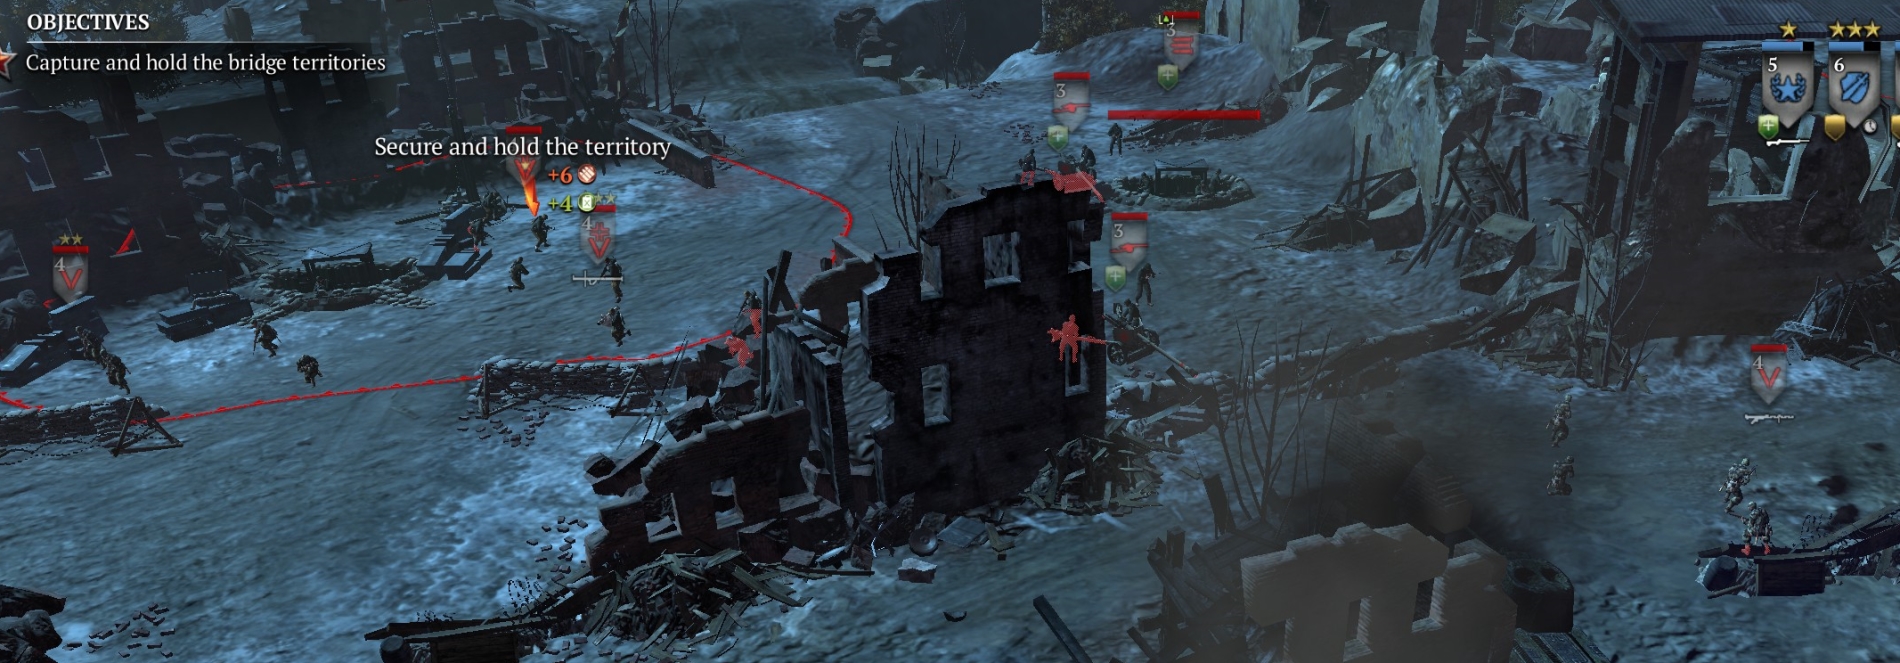
The next point you need to take is to the east of Point 3, though the UI refers to it as the “north bridge.” Its defenses are mostly facing away to the NE, and you can usually wipe them easily with a twin Katyusha salvo followed by M5/flamer-engineers. Priority targets are, of course, the Pak-40, the two HMGs, and the LMG-equipped gren squad. When you clear the German defenses here, you will get an M5 and other reinforcements from across the bridge, and a bump to your pop cap.
POINTS 5, 6, and ARTILLERY
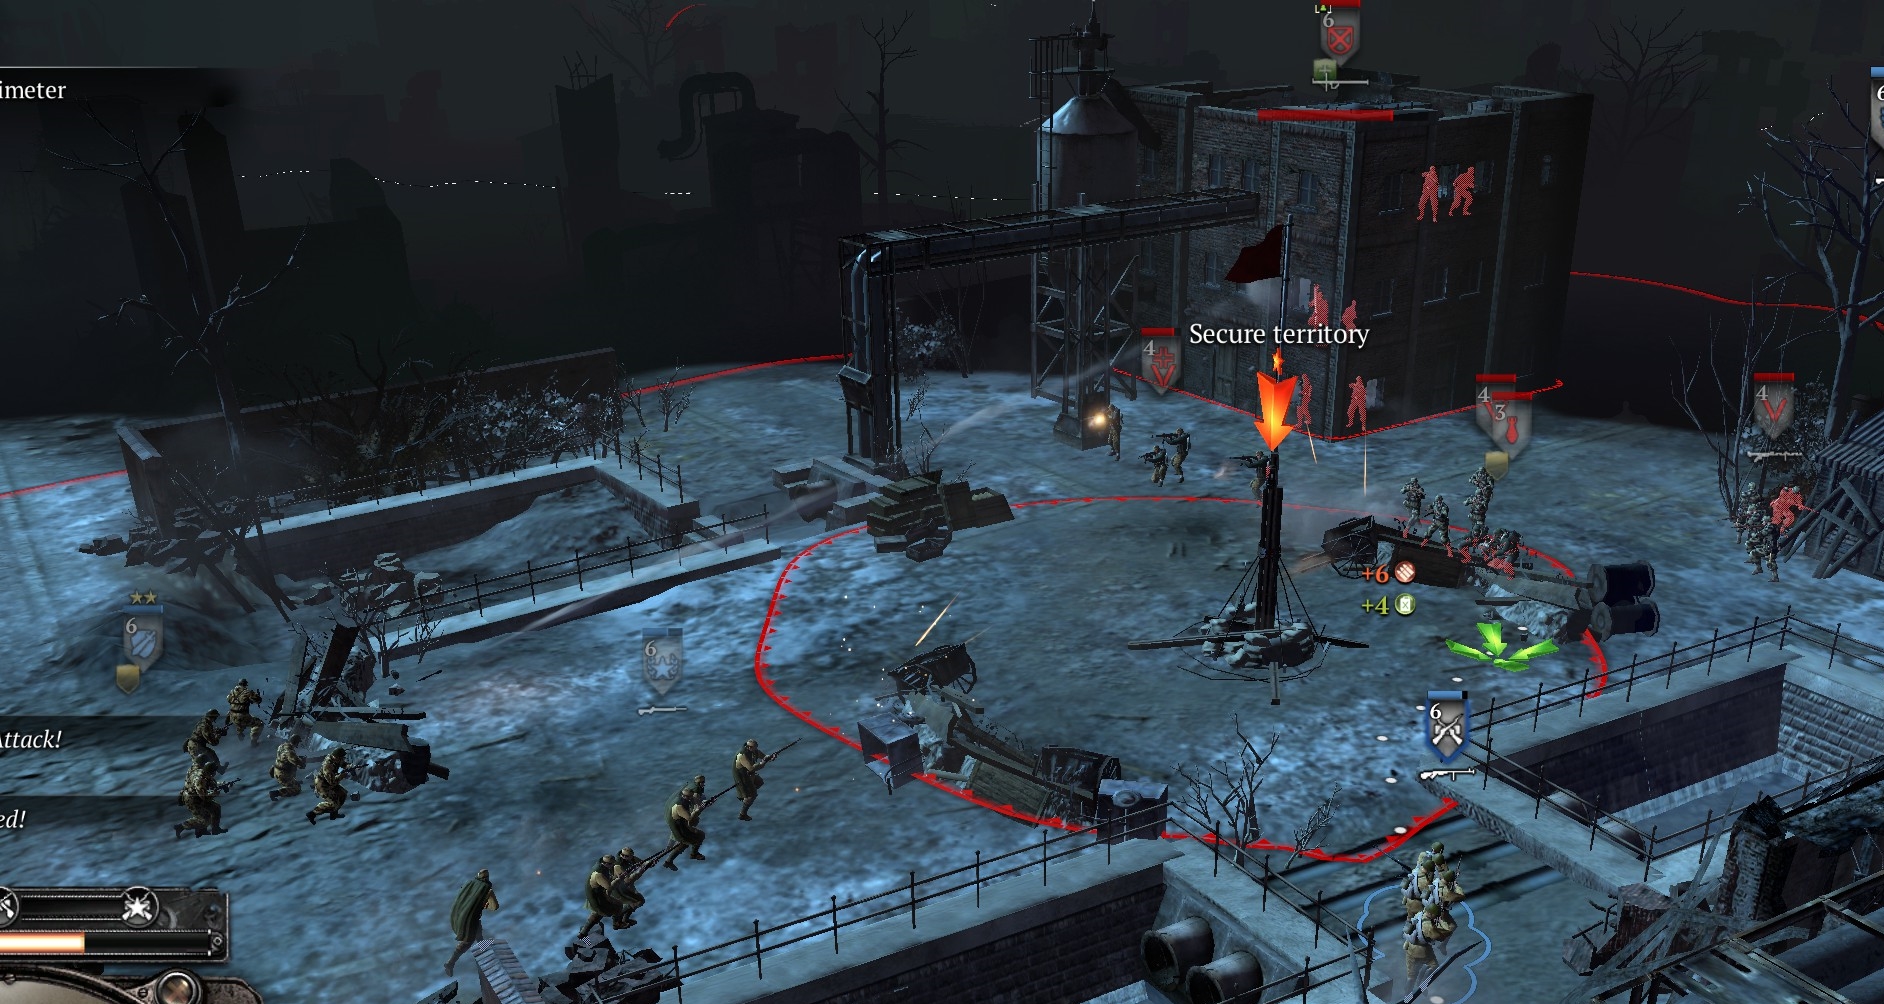
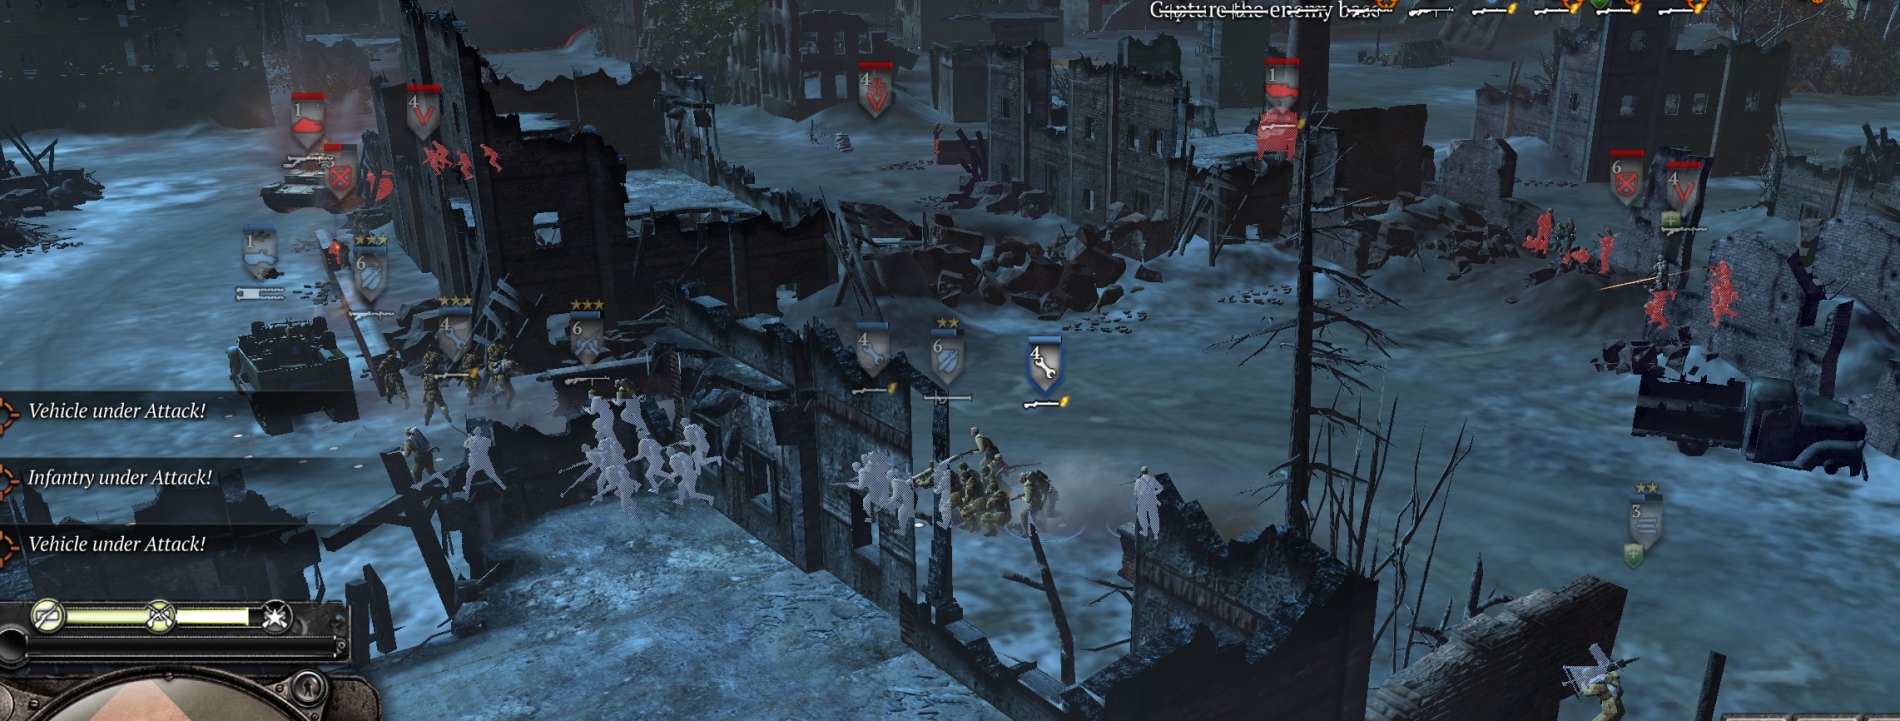
You should consider these three targets as a whole, since they are mutually reinforcing to some extent, and all get reinforced further from the north edge of the map. This is what each one looks like, with fog-of-war turned off.
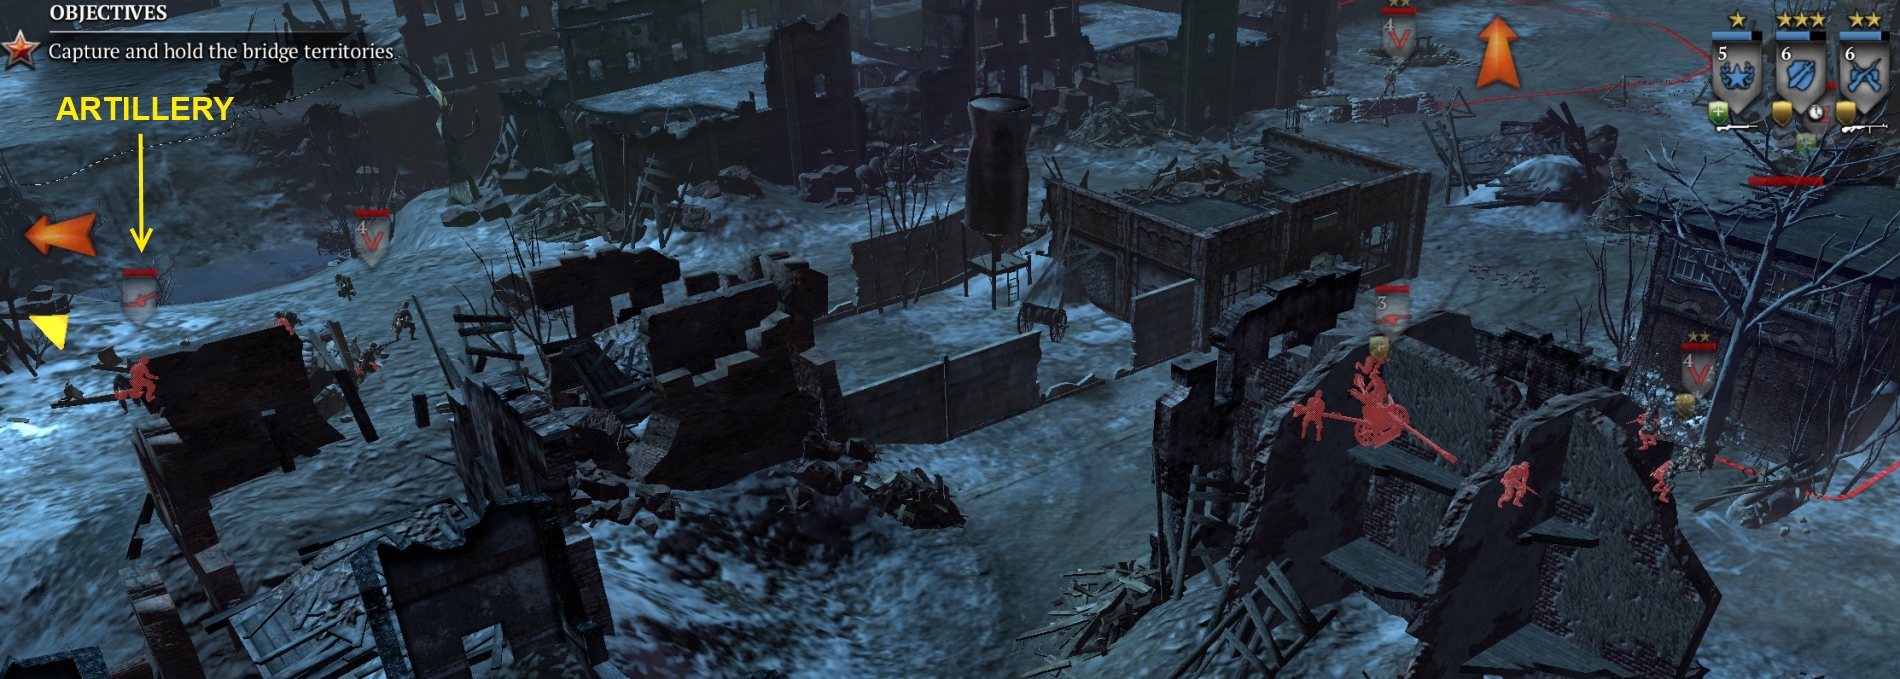
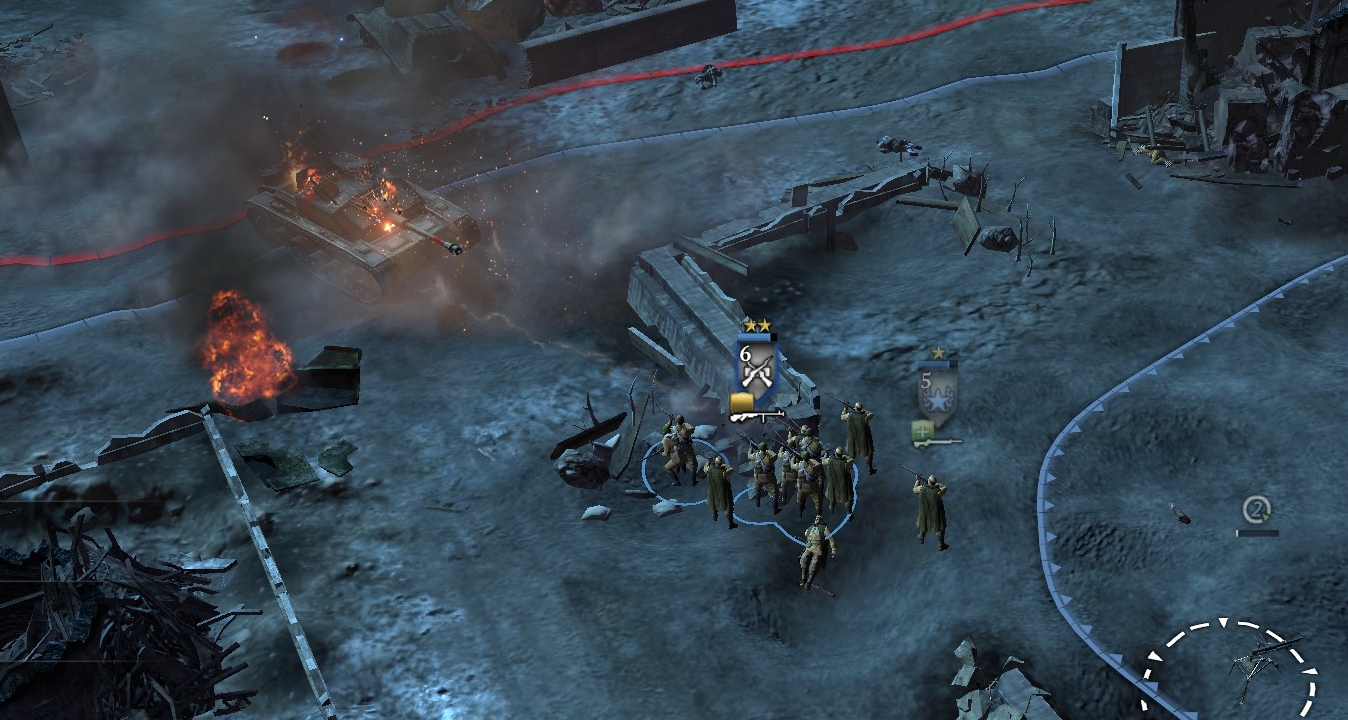
The imbalance of forces should be obvious. Also, you definitely want to shut down that artillery piece asap. So move your force closer to the left side of the map, more or less below pt 6, set up defenses including HMGs and mortar, watch out for Paks and bomb-throwing panzergrens coming at you, and use your Katyushas on the artillery piece, if necessary sending a sacrificial scout car or conscript squad in to spot. Be patient, and be ready to dance away from artillery impact zones. Once you’ve taken out that artillery piece, target nearby HMGs and Paks, mopping up with your M5s. When you are finished clearing the artillery area, move to point 6 and then point 5, each time prioritizing Paks and HMGs. Your Katyushas and mortar crew should vet up nicely. Take your time, and keep going until you have removed every German unit from the active map. But do not cap points 5 and 6 now.
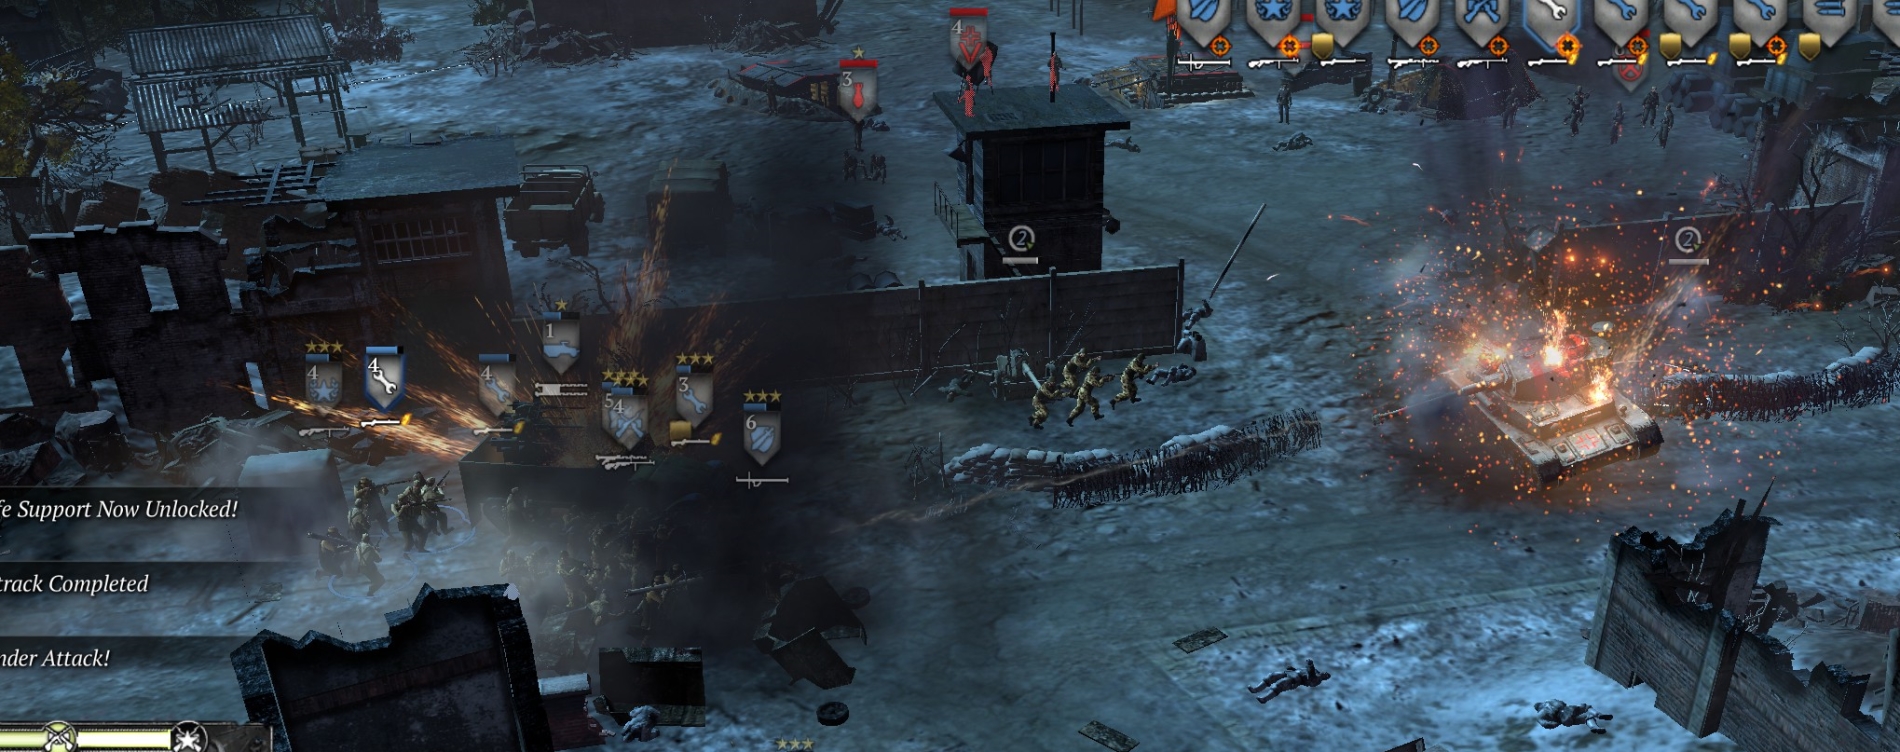
When you cap those points, the Germans will start to counterattack in waves, coming down the roads from the north into both points. They are very overpowered, and your units are very nerfed. By “very nerfed” I mean nerfed to a degree that is just stupidly unreal. German panzergrens will frontally approach one of your MG42s and toss squad-wipe explosives that your plodding crew won’t be able to escape. Your recrewed Pak-40s will require 8 to 10 close-range hits to kill a 251 halftrack. Your mortar rounds and grenades will make direct hits on enemy squads and do zero damage to them. Etc. etc. etc. Once you initially cap points 5 and 6 you will get two T-34s, but they too are horrendously nerfed.
This is where the mission starts to go off the rails, and you realize the devs cocked it up pretty badly. Although the UI demands that you defend point 5 and point 6, you don’t have the manpower to do so, especially when the enemy units are so OP and yours are so artificially weakened. You can defend one point, with huge casualties, but not both—at least not reliably.
The way to do it, I have found, is to start with a relatively light force defending point 6, and concentrate most of your resources at point 5. Your point 6 defense force will be annihilated quickly, but the Germans generally won’t recap the point and won’t come around and flank your point 5 defenses. So just slug it out at point 5 until the attacks stop, and then move over to point 6—where you will find only a small number of remaining German units, usually something like a Panzer IV and a couple of grenadier squads. Once you have wiped them, the UI colonel will say “that seems to be the last of them,” and this most difficult/broken phase of the mission will finish.
Note that when you are defending point 5 (and to some extent point 6) Katyushas are ineffective (enemy is too mobile) and should be sent off the map to free up pop cap. T-34s, M5s, and Paks are also relatively ineffective, so consider doing the same with them—maybe keep just one T-34 and M5, especially since both are useful in the final phase. Against German infantry, your shock troops, LMG-equipped guards rifle squads, MG42s and (especially) engineers with flamethrowers are your best bets—and of course they all should get to vet-3 pretty quickly. Against German vehicles, any infantry equipped with schrecks and/or PTRSs should be superior to Paks and tanks (which are too vulnerable to grenades and schrecks, respectively). Always keep conscripts nearby for reinforcement. You also can keep a (vet-3) mortar behind your units to hit any enemy HMGs that set up offensively in front of them.
POINT 7 — FINALE
Point 7 at the top of the map is the German base, and it is better guarded than any other point on the map, with a total of three Panzers that are either there at the start or will jump out at you. Here is what the defenses look like from east, front, and west:
By now you should know the drill, though: Hit enemy vehicles (flamer 251s and Panzer IVs) with your schreck/PTRS infantry and any Paks; hit enemy MG42s with your tank, M5, mortar, or flanking infantry; hit other infantry with your guards rifle squad, shock troops, MG42s, tank, mortar and/or flamer-engineers. Approach the base entrance cautiously from east and west, and watch out for mortar fire from the base.
When you get inside the base and kill the German officer, the other German units should flee, ending the mission.
***