The idea here is that the Germans have just introduced the Tiger tank on the Leningrad front, and a tiny Russian force is tasked with disabling, capturing, repairing and retrieving one. Many COH2 missions center on the theme of “not giving the player the tools for the job” and this one is among the most extreme examples, since, for stopping the Tiger, you won’t have more than infantry with AT rifles and grenades.
FIRST PHASE: TIGER APPEARS
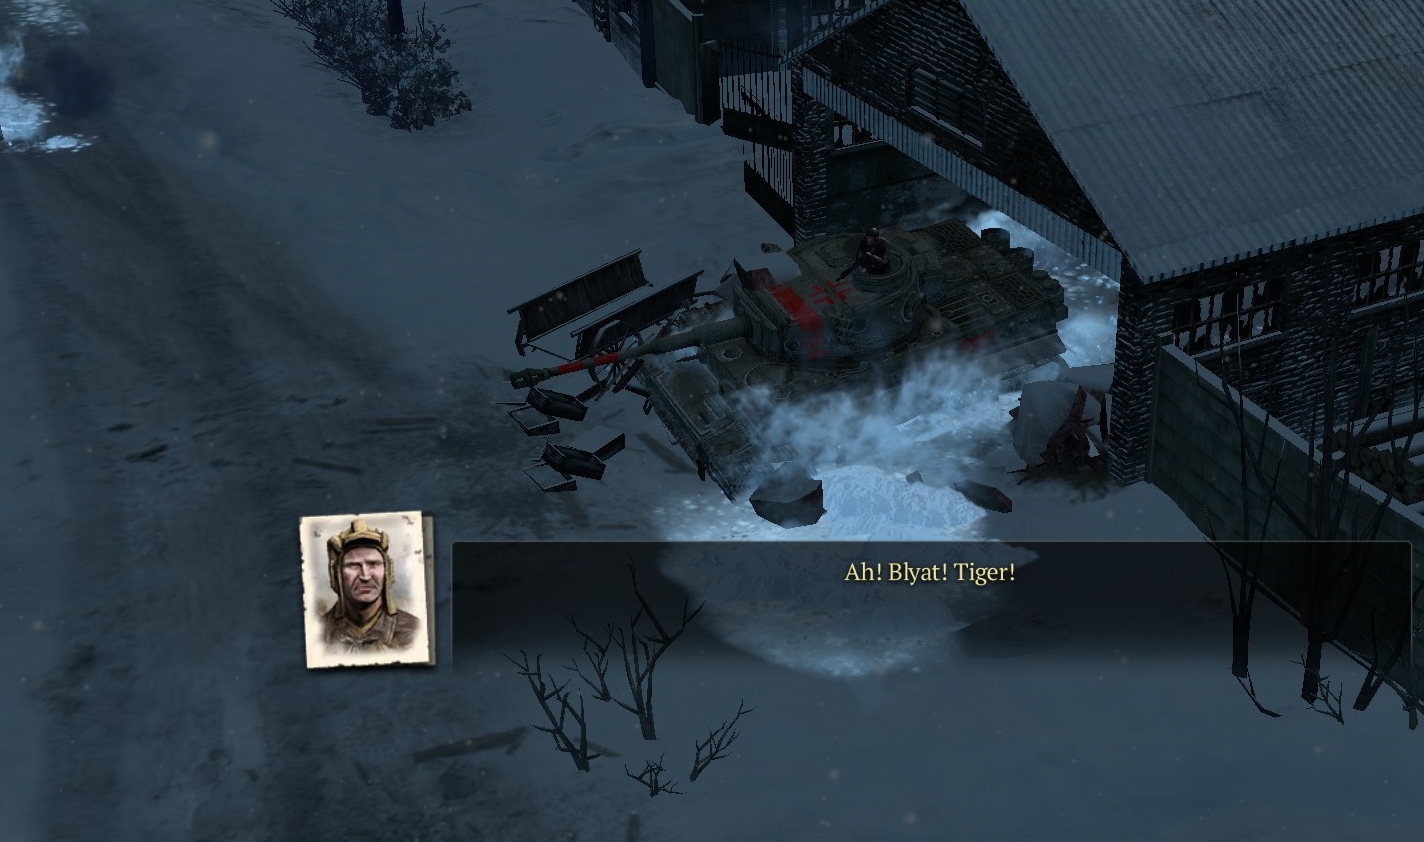
The first phase is highly scripted. Your three frontoviki squads are supposed to follow and “support” several T-34s (allied—out of your control) as they check out some village. At a certain point, a Tiger suddenly emerges from a building and swiftly destroys the T-34s.
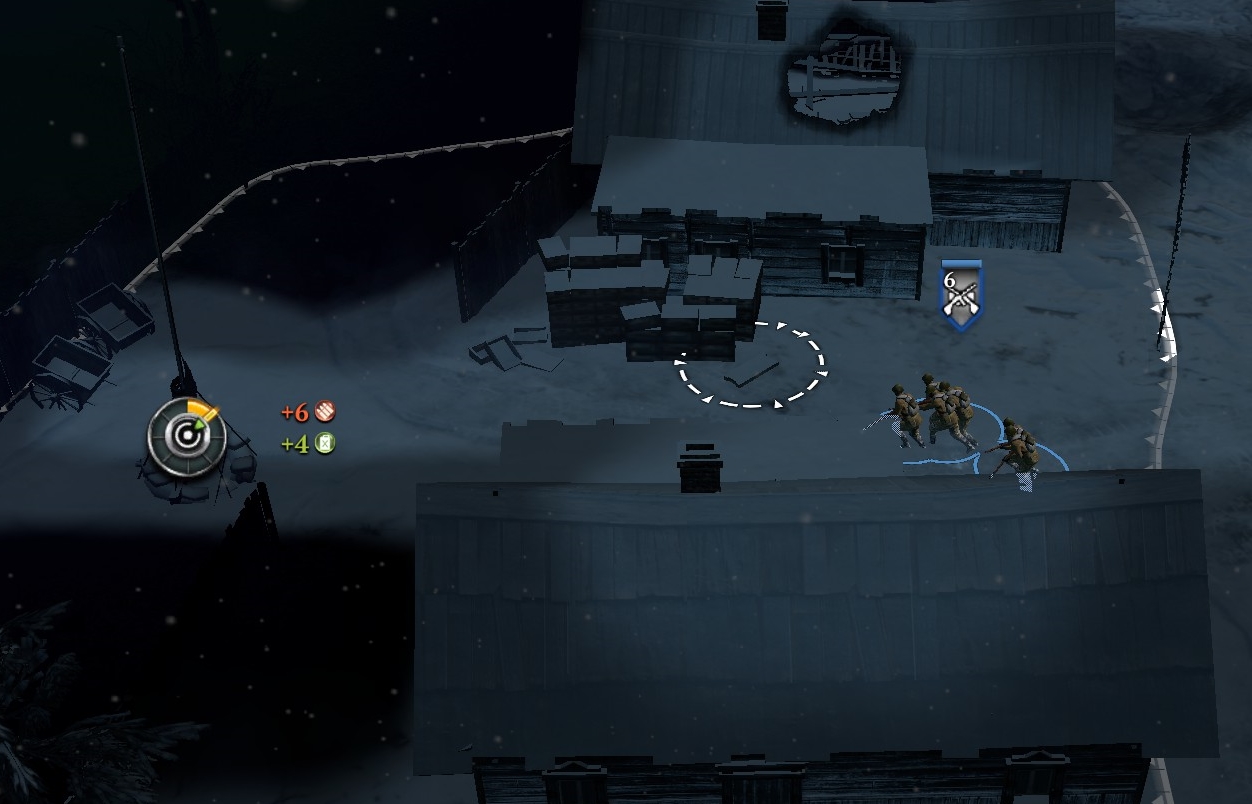
Since your frontoviki cannot possibly alter the fate of the T-34s, they should spend this first phase roaming the map—especially around the capturable points—scrounging munitions crates, PTRS rifles and 45-mm AT guns, and capping points.
SECOND PHASE: WOUND THE TIGER
When the Tiger wipes the Russian tanks, the second phase begins. At the bottom of the map, you will get some Guards Rifle squads with PTRSs, a sniper, and two engineer teams.
Essentially, in this phase you have to play cat-and-mouse with the Tiger. It will usually be in the upper half of the map, and your AT rifle guys just have to dodge in and out of view/range, doing damage whenever they can. Firing (PTRSs) from the rear or side of the Tiger is most effective. Note that the fog-of-war is very close in this mission, so the Tiger can surprise you.
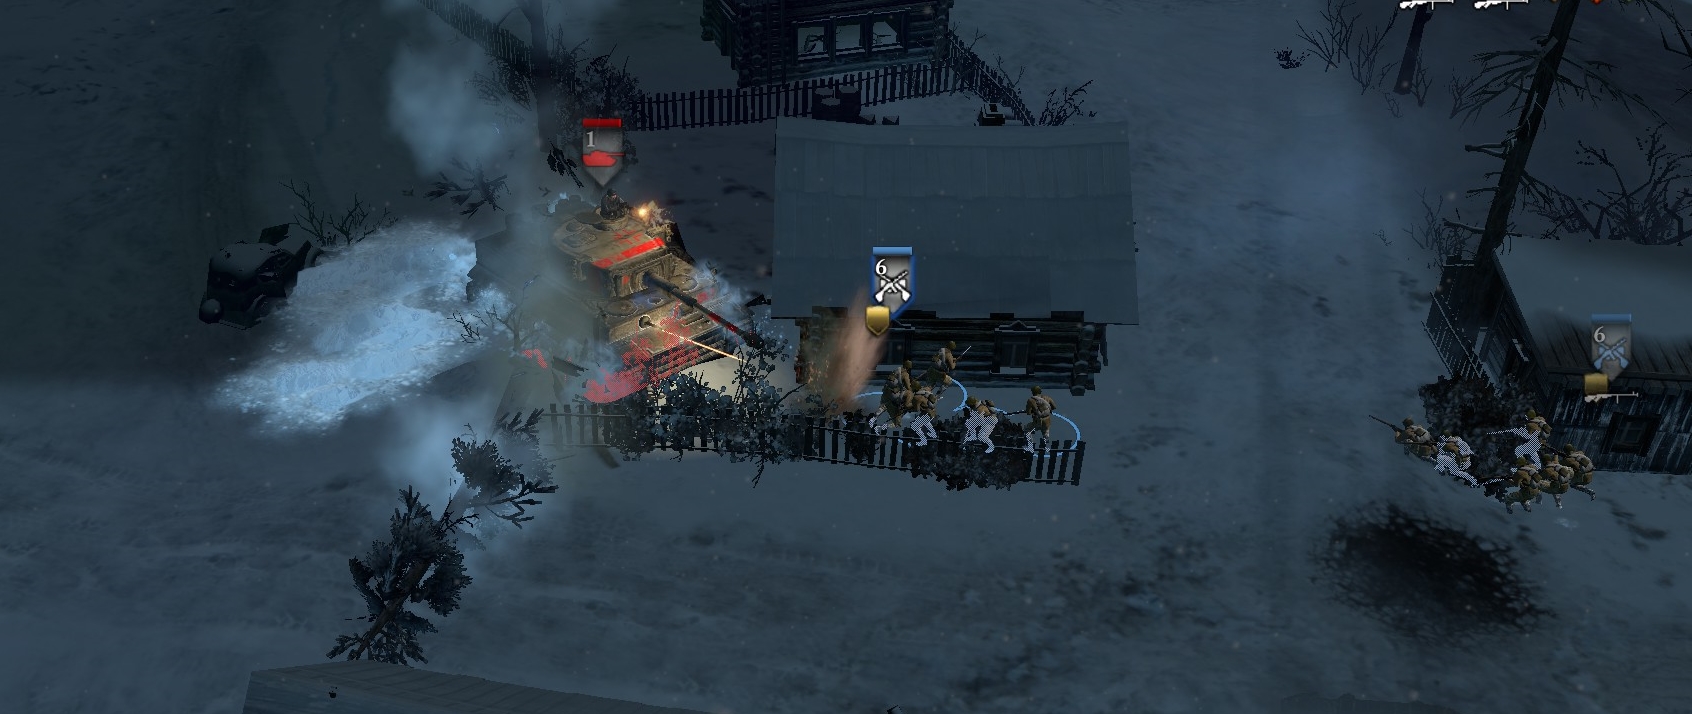
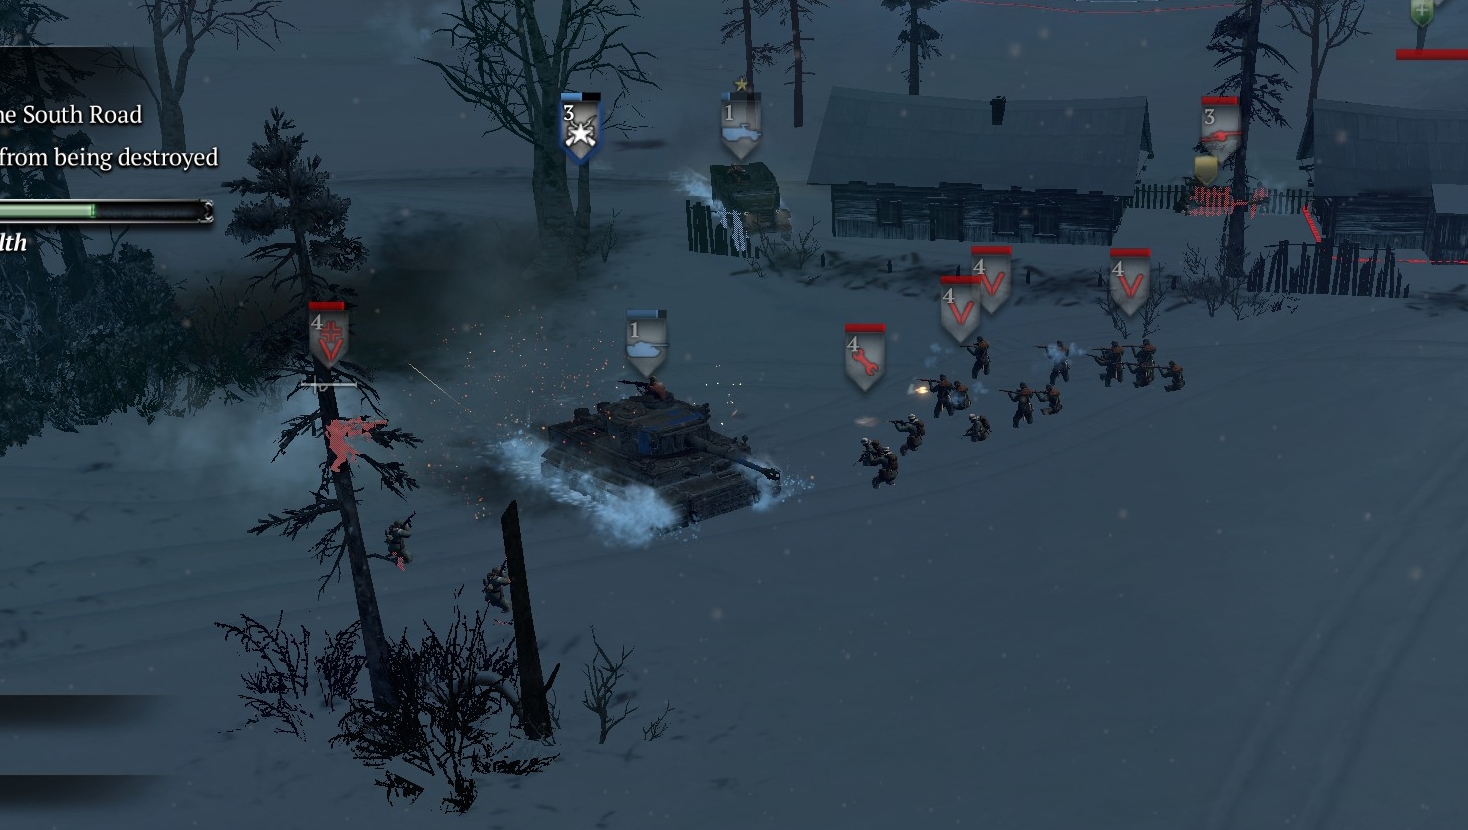
Your best results usually will come when you surround the Tiger with at least half a dozen units—with too many targets to consider it sometimes just sits there taking miniscule increments of punishment, and not fighting back much if at all.
Don’t use AT grenades; they won’t do significantly more damage than PTRSs, and there is a much better use for your muni points: Setting demo charges to help clear a path down the left side of the map for the end-phase when the repaired Tiger, under your control, has to “dash” back to Russian lines.
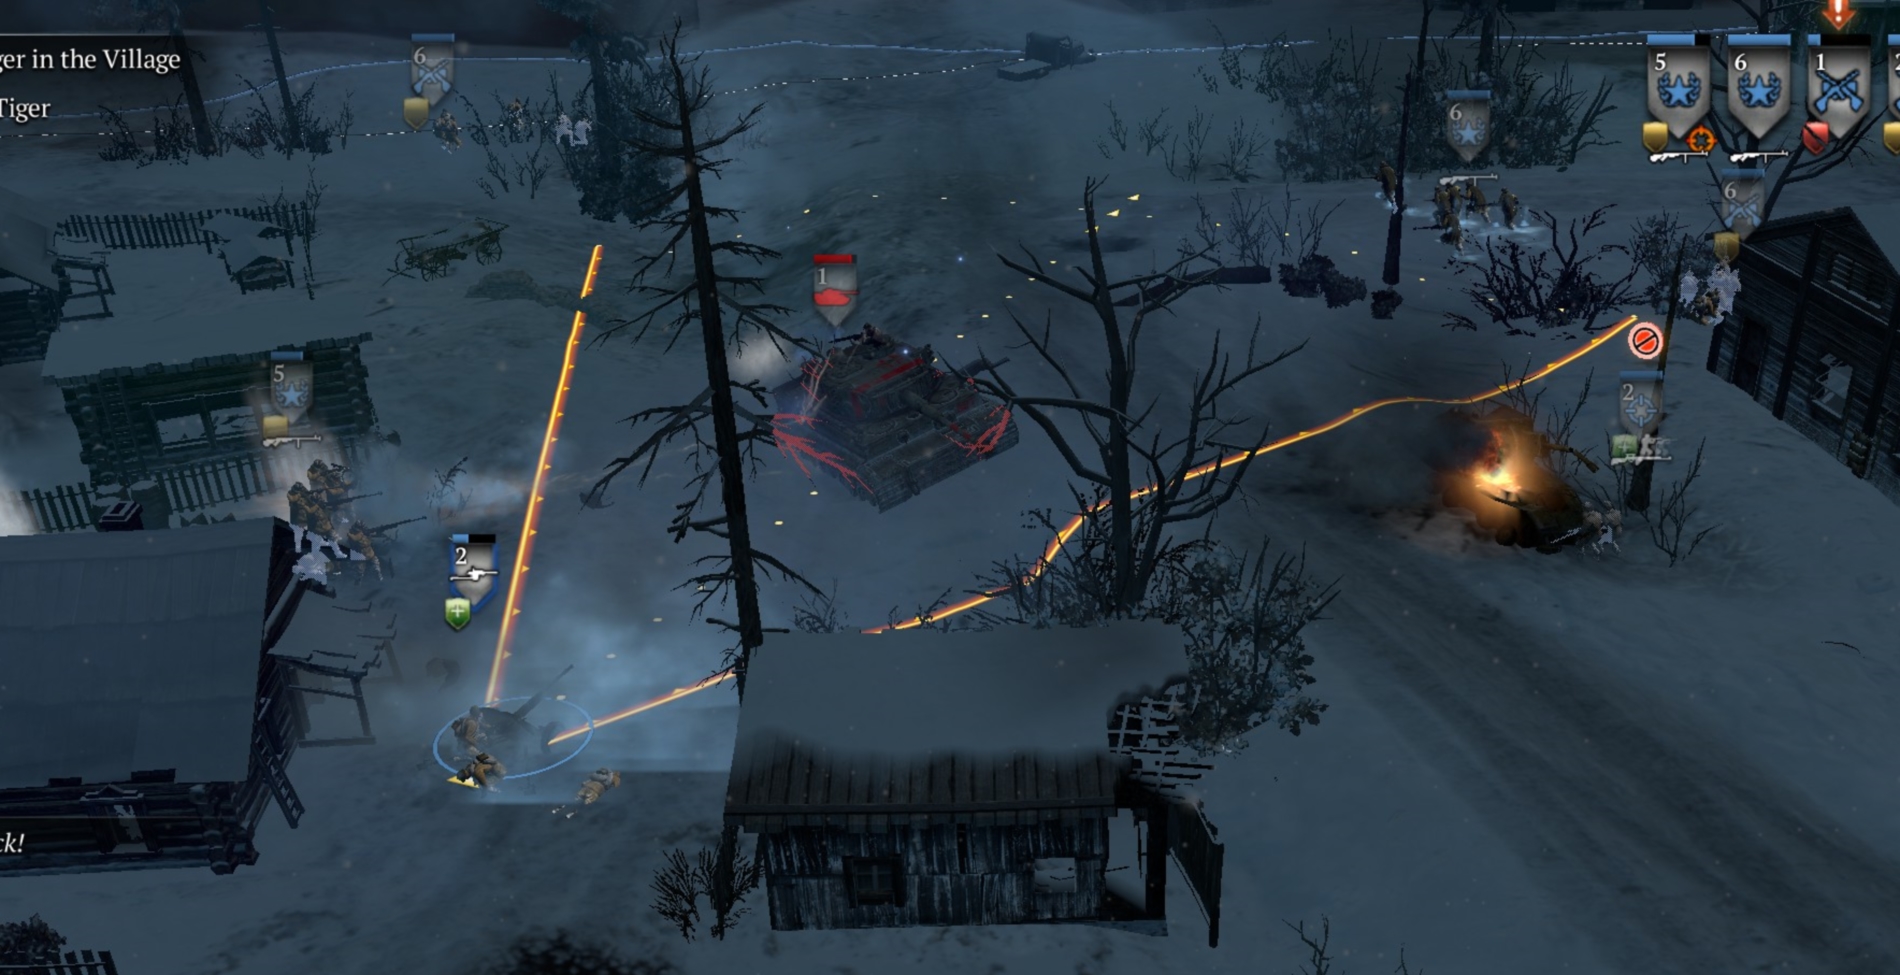
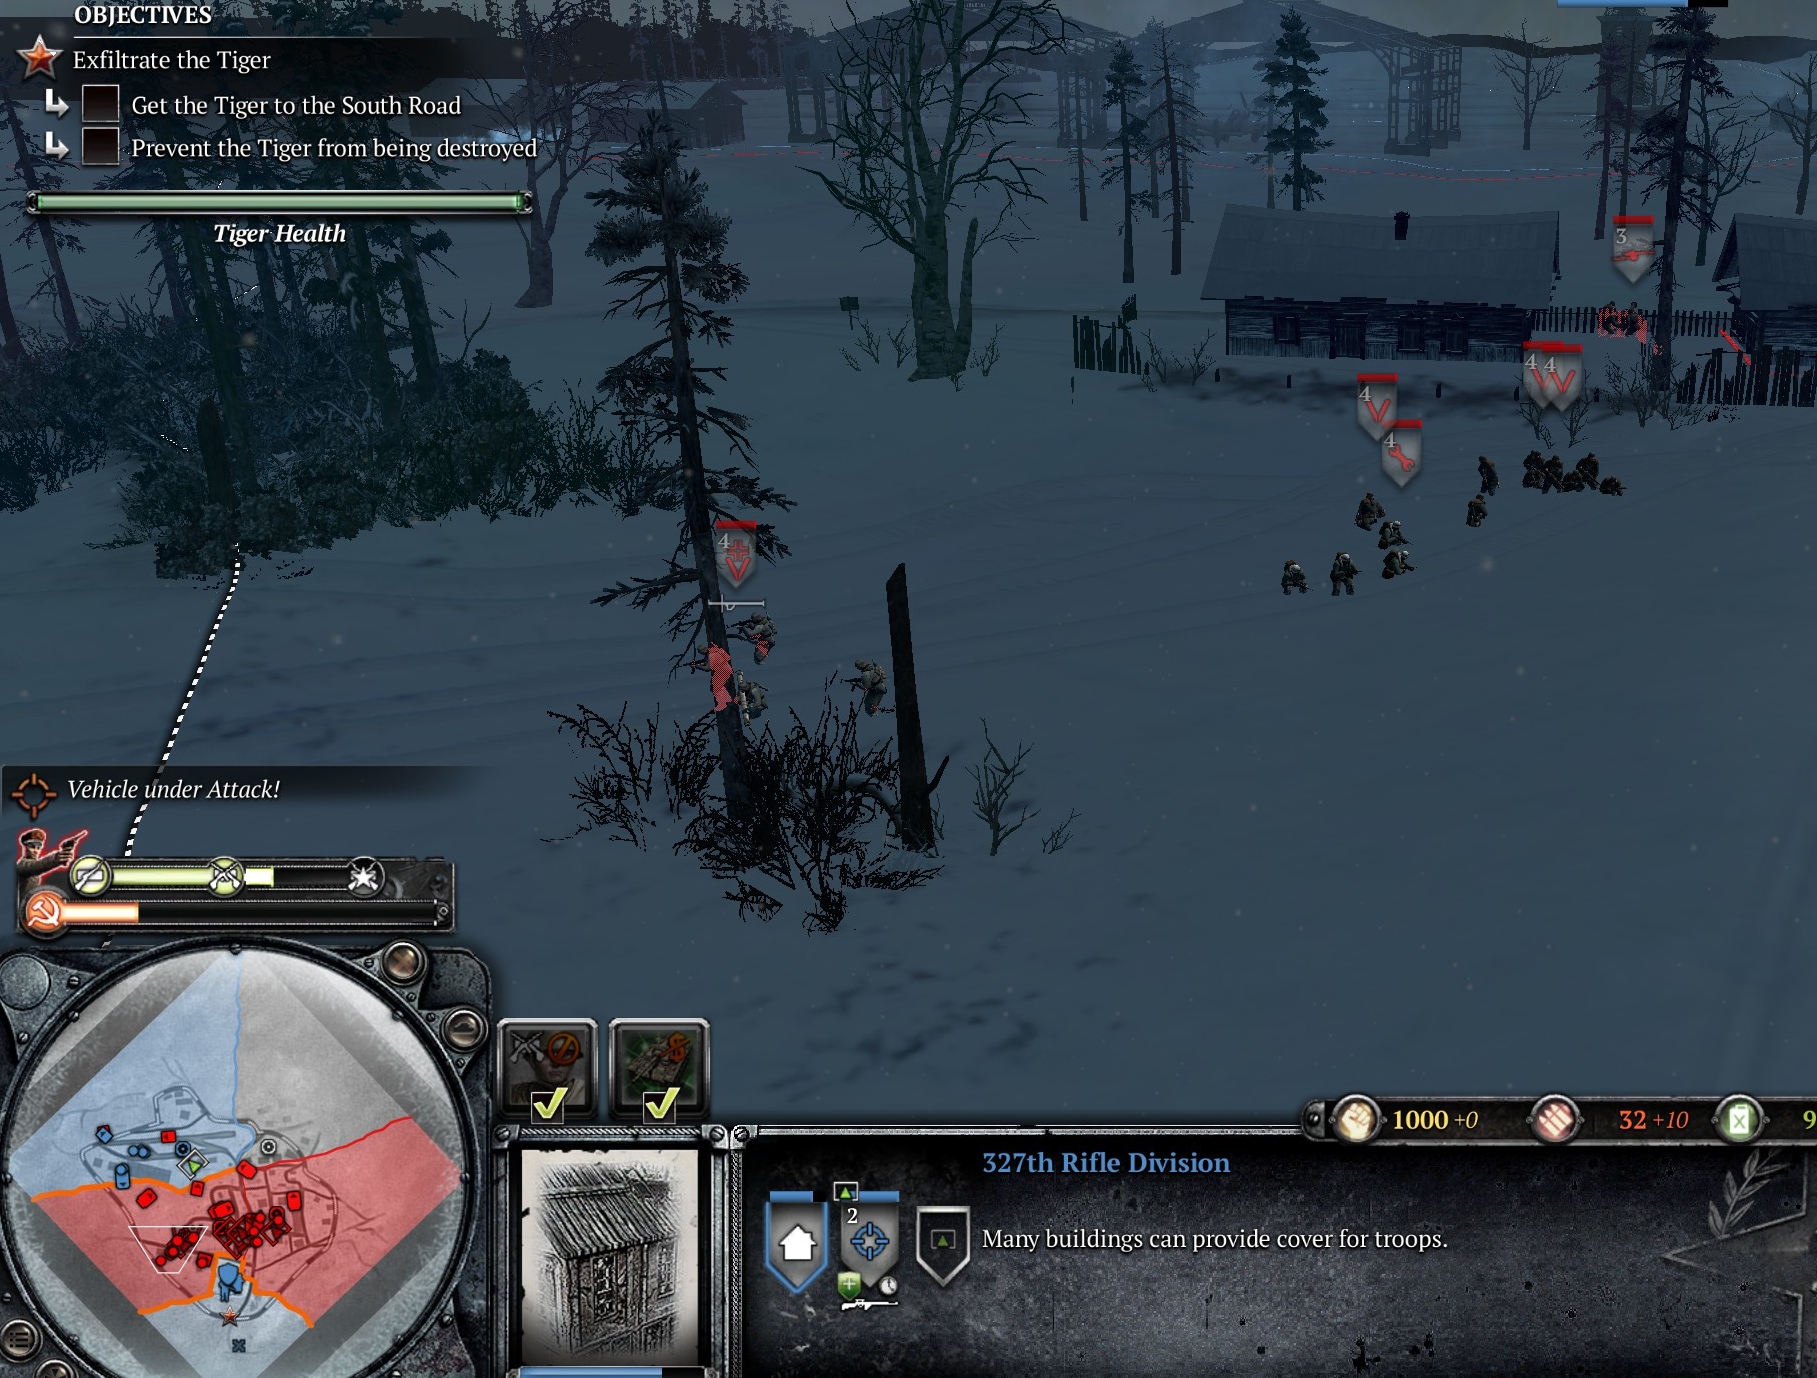
The following image (and note tac map) shows the key area where you should set charges (this is from mission phase four, when there are Germans throughout the village). There will be a minefield here in the final phase, and though it won’t kill the Tiger you can reduce the damage by first having a demo charge go off in the middle of the mines. Also place a charge at the Pak’sposition, and try to cover some of the area where infantry, including the schreck guys, will be standing.
When you get the Tiger to some threshold level of damage (somewhere around 50%) it makes smoke and retreats to the airfield at the top of the map.
PHASE THREE: CAPTURE THE TIGER
Phase three commences, and the map expands to the north. You have to bring your units to the now-accessible airfield, cap the point and scrounge for stuff as usual (esp. south and west areas of airfield), and basically corner the Tiger (while keeping your squads alive) until you bring its health to some threshold level near zero, and its crew die or run away. You can occupy the control tower and other buildings to extend visibility. Your engineers can spend at least the first part of this phase laying demo charges along the escape path, as noted above, but should be back at the airfield before the Tiger is fully de-crewed and disabled.
During this phase, try not to use the retreat button for your units. It’s a long, long way in deep snow to the bottom of the map and then back up again, and soon the Germans will start materializing a large force in the center of the village, blocking the way back. At the bottom of the map you have no base at which to reinforce and heal anyway. So just call in conscripts/frontoviki/strafniki to the airfield when you can, and reinforce your Guards Rifle and engineer squads with them as needed.
That said, the slowness of your units in this mission is very frustrating and artificial. They already are nerfed so that they move in slow motion (look closely at the models and you’ll see this); now they’re additionally slowed by snow everywhere. The devs really left no stone unturned in their search for cheats to compensate for the weakness of their “A.I.”
PHASE FOUR: REPAIR & GO
When the Tiger has been de-crewed and the phase changes, re-crew it immediately with conscripts or other cheap units and set your two engineer teams to work repairing it. When this phase starts, you also will be given an additional engineer team plus guard rifle squad (un-upgraded) in an M5 at the bottom of the map—bring that up asap (it’s never fast enough) and get the new engineers on the repair job.
The longer you wait in the airfield in this phase, the more attacks you will have to fend off. Generally they will come in the form of 251s full of panzergrens and grens, and scout cars, initially from the north and east.
Your forces are so nerfed at this point that even at point blank range they will usually cause little injury/damage to German units. To wipe any German infantry squad it will be necessary to select at least four or five or your own squads and concentrate their fire. Even if you capture schrecks they will be almost useless—maybe five or six hits to kill a 251. The only exceptions are your PTRS-equipped infantry, which will be able to kill German vehicles (aside from the Tiger, of course) probably more effectively than they could have done in real life—infantry inside 251s are somehow never harmed by their vehicles being destroyed, though.
As these attacks at the airfield begin, the Germans also will move a huge force of armor and heavy infantry into the village to block your escape path.
The UI will hustle you to finish the repair, and might even suggest that you start your escape as soon as the Tiger can move. Ignore all that and wait until the Tiger is completely repaired. It won’t ever move quickly, but if its health/damage indicator shows 100% at the start of the escape, it will have a good chance of a successful escape (along the escape route described here).
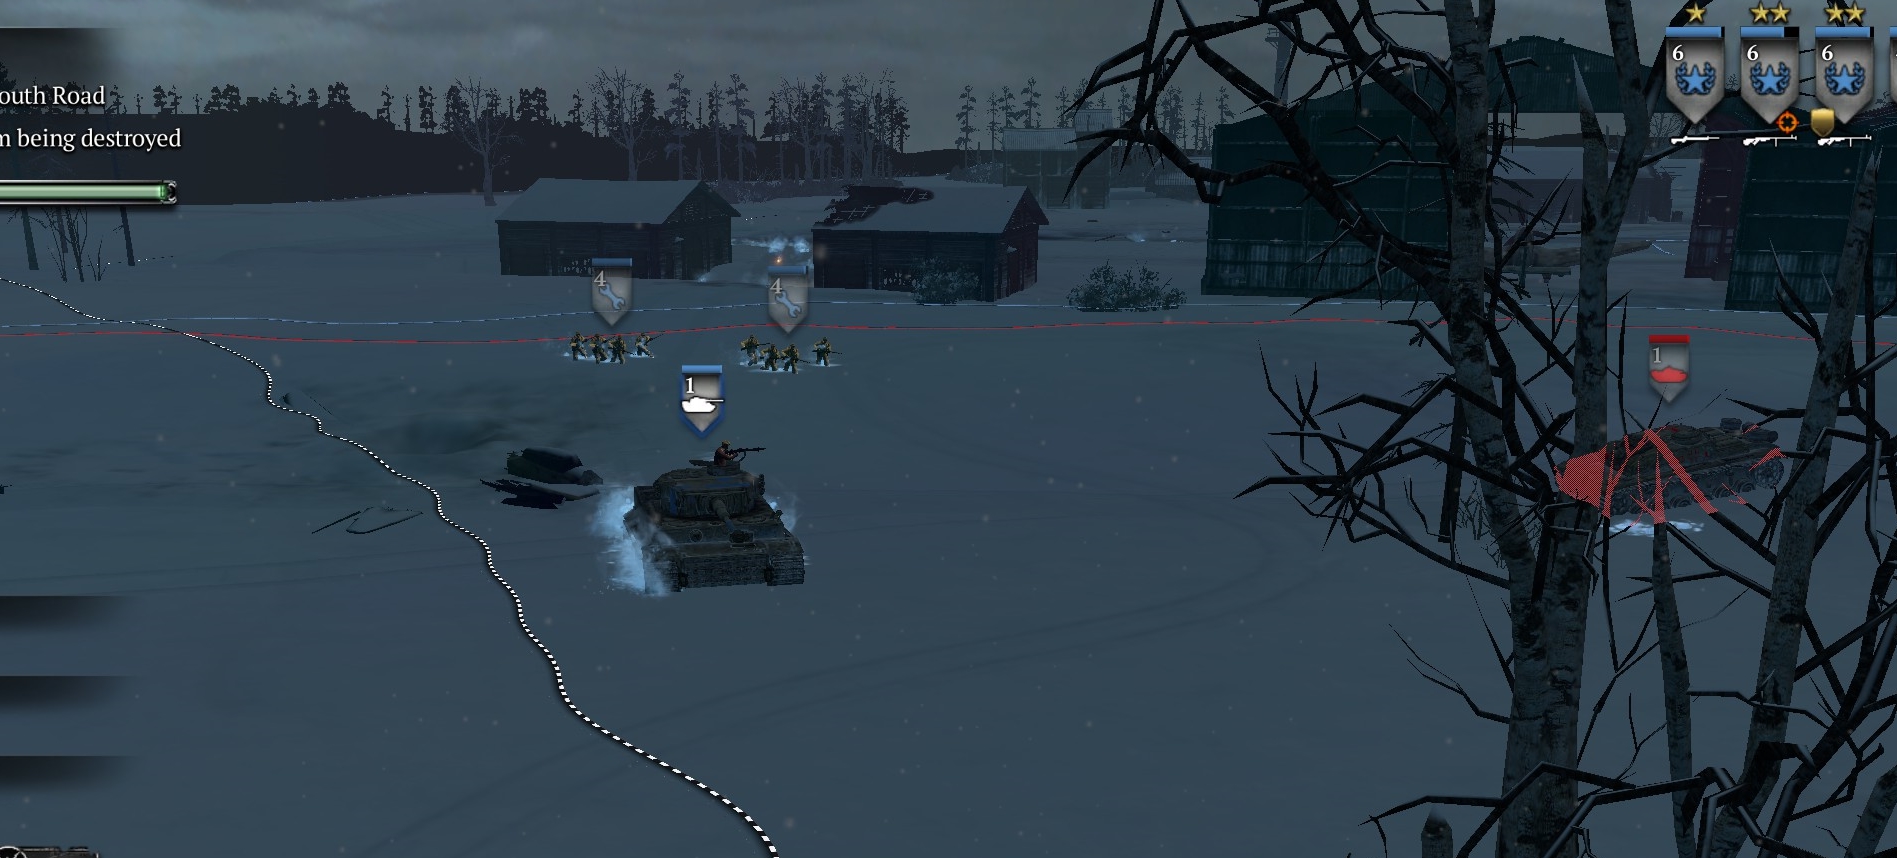
What you do now is run the Tiger to the extreme west of the airfield and through the southern fence of the complex, then south along the west (left) edge of the map all the way to the bottom of the map.
You can use your other units, including the M5, as a decoy for German fire, especially the tank fire and schreck fire that is most dangerous to the Tiger. You also can detonate your pre-planted demo charges and hopefully that will take away some German units—though the devs nerfed even the demo charges in this mission, so that a blast at <1 meter range will often cause zero casualties to German infantry. The Magic of Relic!
Speaking of which . . . you should not pause your Tiger to engage German units, because—guess what?—it is very nerfed too. For example, it will only be roughly equal to a StuG in a toe-to-toe battle. And although in real life it would dispatch two StuGs with two shots, in this idiotic mission it would lose such a matchup badly.
Once the Tiger gets south of your base buildings and is heading for the exit road at the southeast part of the map the mission ends in success, regardless of whether any of your infantry survived.
If the Tiger escapes with less than 50% damage, you’ve done well.
***