I happen to like the Halbe mission because it is set outdoors in countryside that is reasonably pleasing to the eye, and it is nearly at the end of the campaign. It is otherwise a pretty dumb mission, though. The task is to encircle a German force that is >10x larger than yours and much better equipped in terms of armor and heavy infantry—and then somehow, after encircling this hyperpowered army with your own absurdly small bunch of guys-who-can’t-shoot-straight, you must stop it from breaking out. You can complete the mission successfully, but only because the German AI applies its usual static-defense, piecemeal-attack, let-the-hooman win tactics. So it never feels like a genuine victory.
DEFEND AGAINST INFANTRY ATTACK AND THEN TAKE OUT THE PAK-43
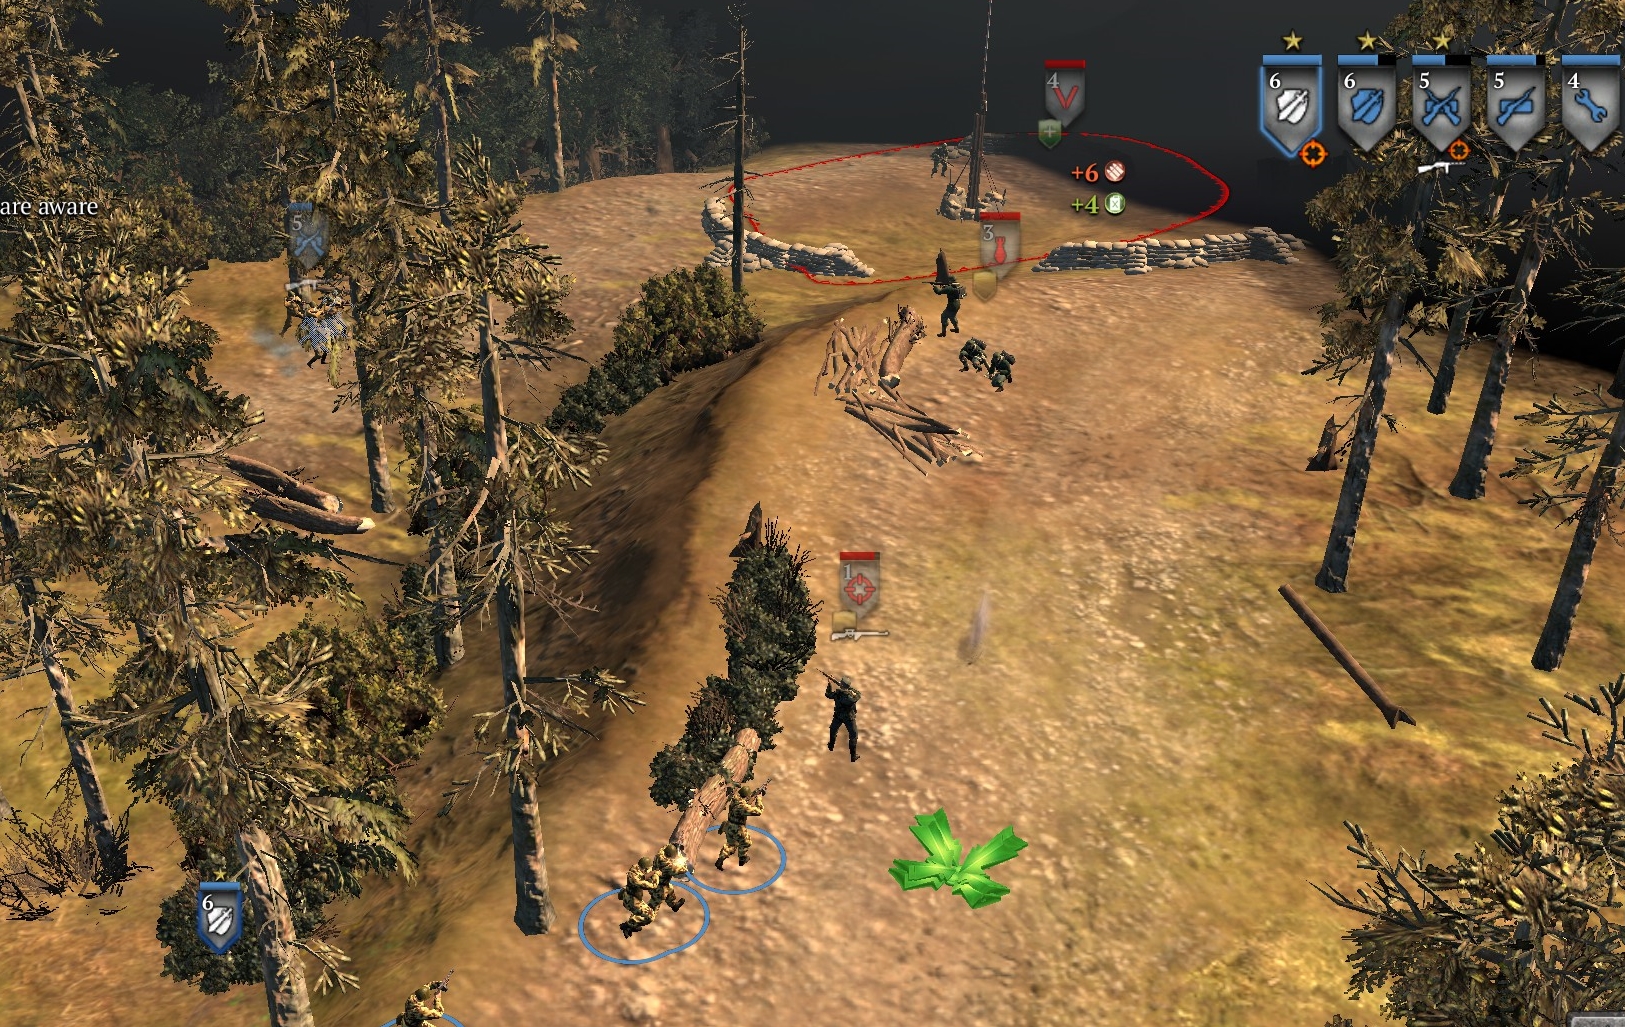
At the outset, you have a small force at the bottom of the map, and your task is to attack a German base/point ahead through the woods. The German defenses (sometimes fully visible due to your recon plane passes) look like this:
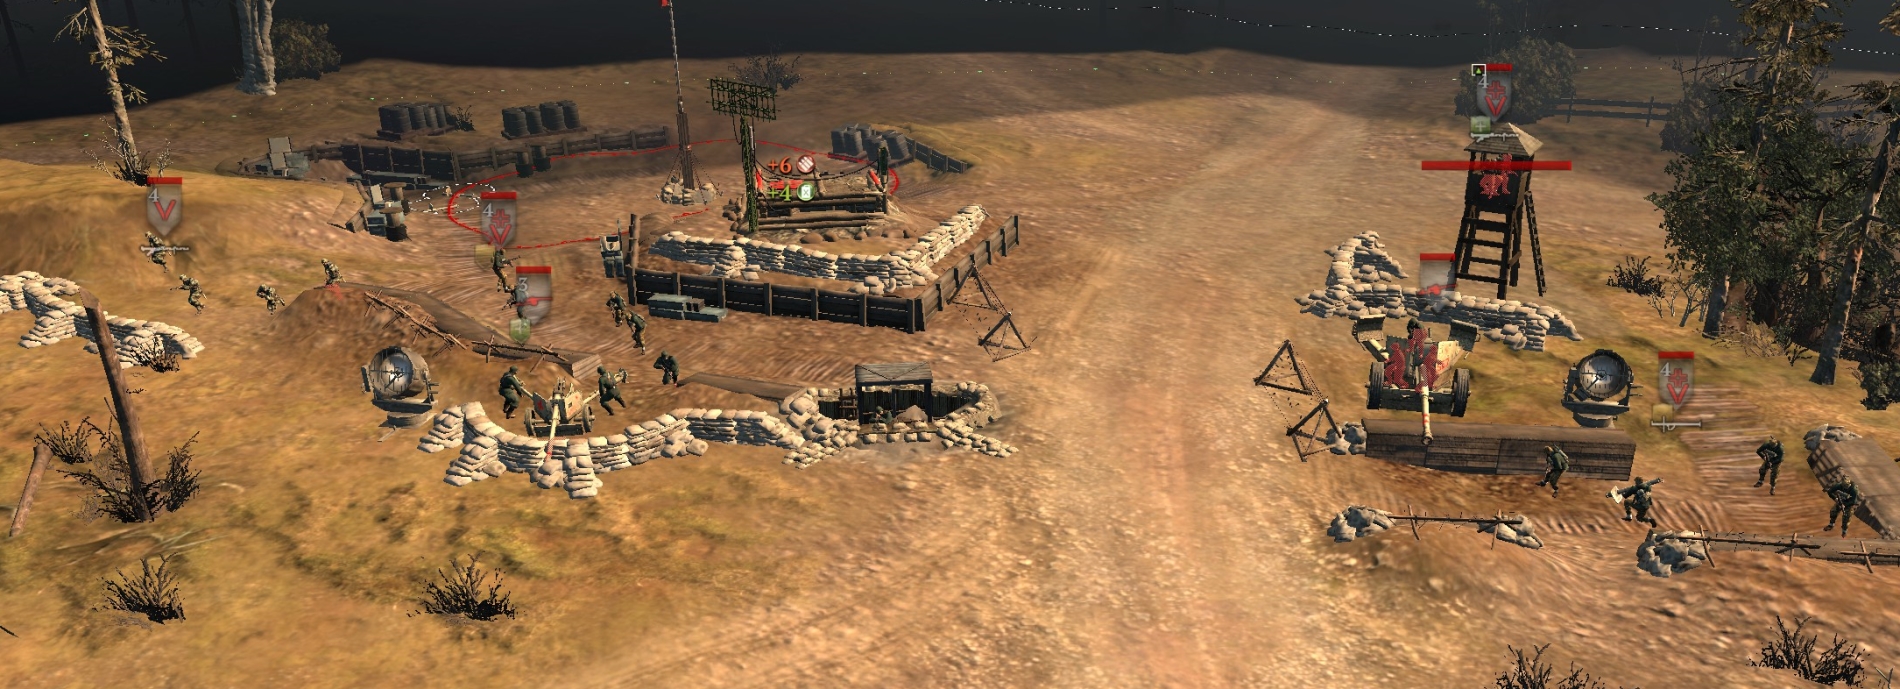
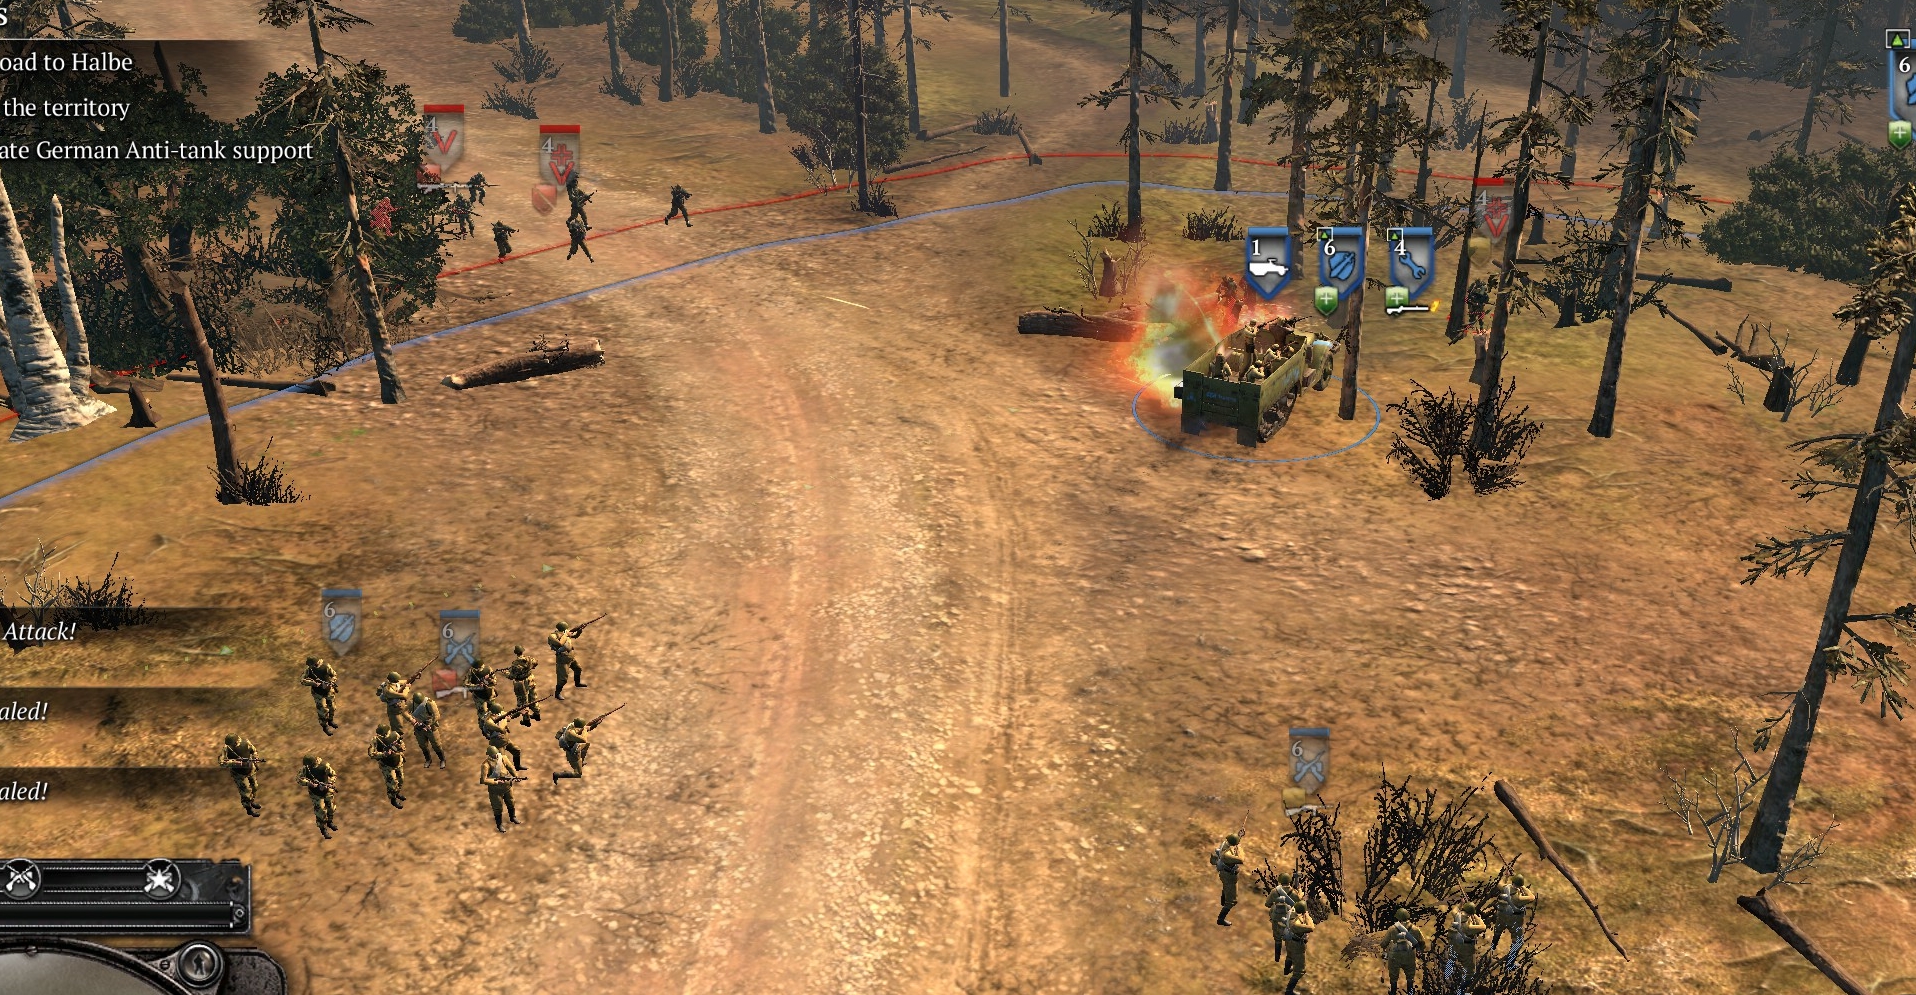
The Germans have no indirect fire capability, but they outnumber/outgun you—in fact, within the first few seconds, a panzergren squad and an LMG-equipped gren squad will materialize near the base buildings and, with another panzergen squad lurking in the forest, run down to attack your force.
The best way to meet them is with everything you have: shock troops, conscripts with SMGs, and flamethrower-equipped engineers in an M5 (upgrade your engineers at the start). Force the German attackers to come out into the open space by the road. Keep your mortar well back, because that is the Germans’ priority target. Watch out for the Germans’ grenades!
When you have killed the attacking German squads, put your mortar team into range of the German defenses. If you de-crew the Pak-43, there will be a phase-change and you will get armor and you will have to rush an attack. So target your mortar on the schreck guys, HMG-bunker and Pak-40 first, and only then take out the Pak-43, so your load is lighter when you have to go in with armor. There is no rush in this first phase and you should take full advantage of that.
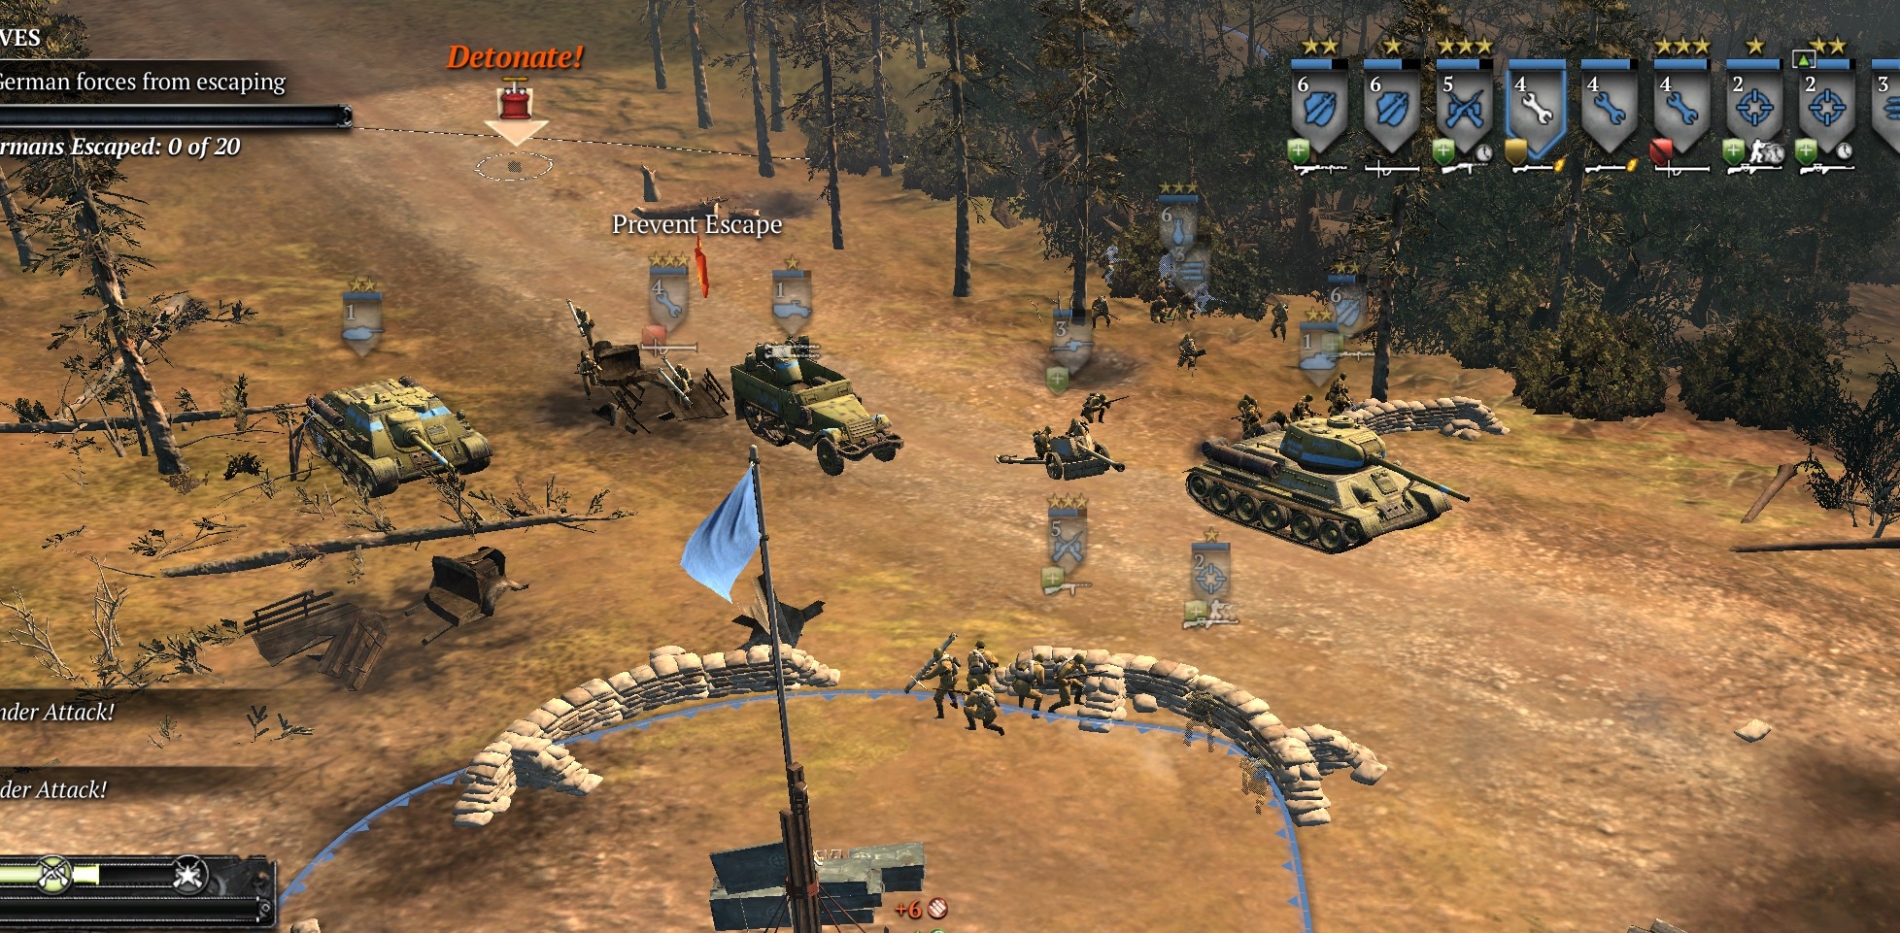
CAPTURE THE BASE
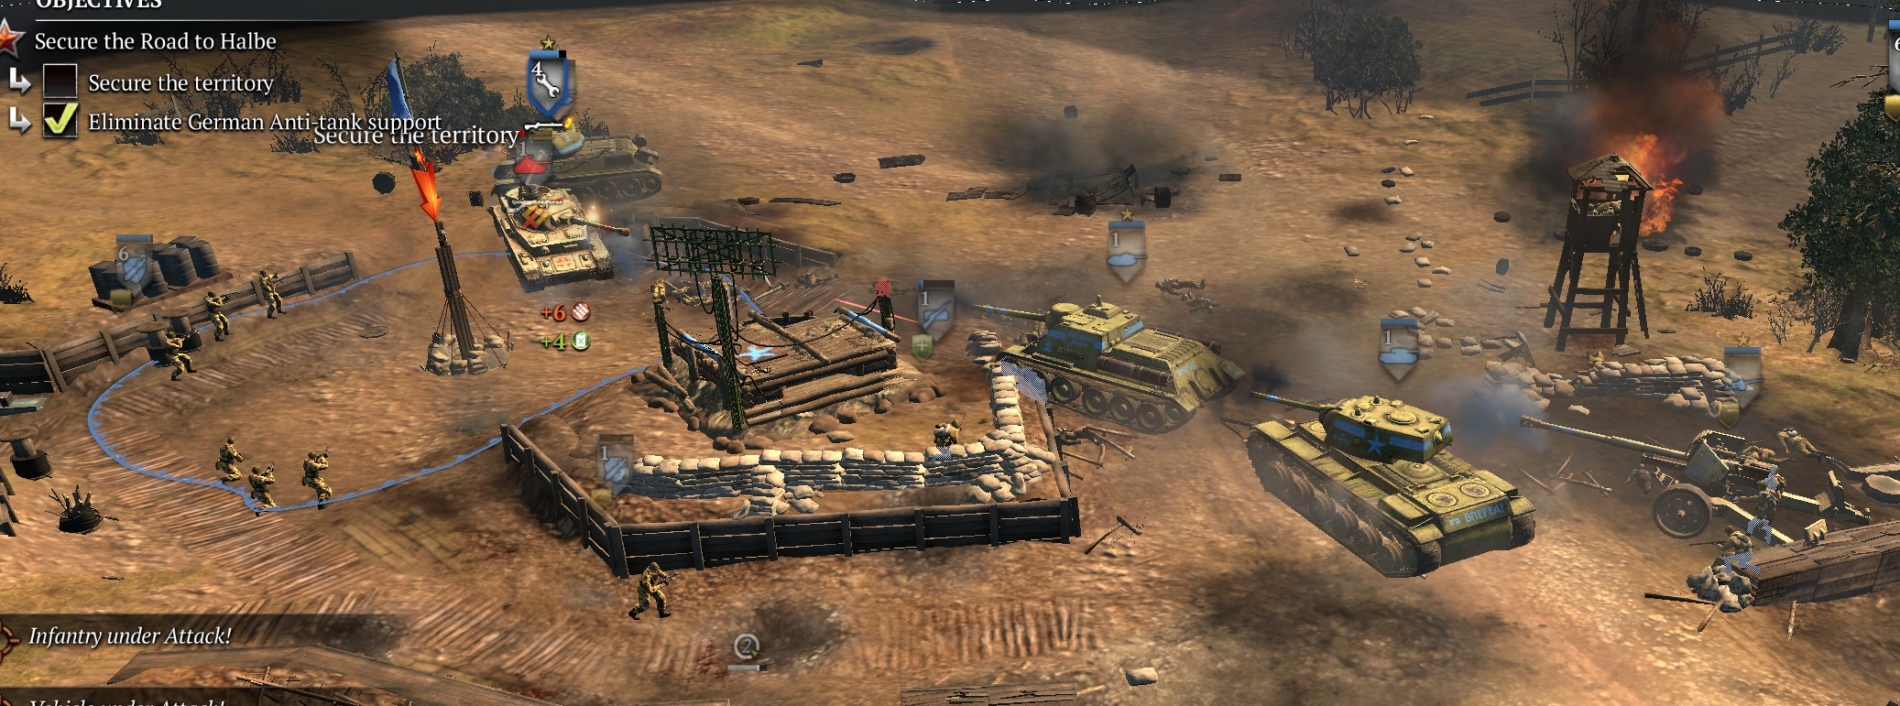
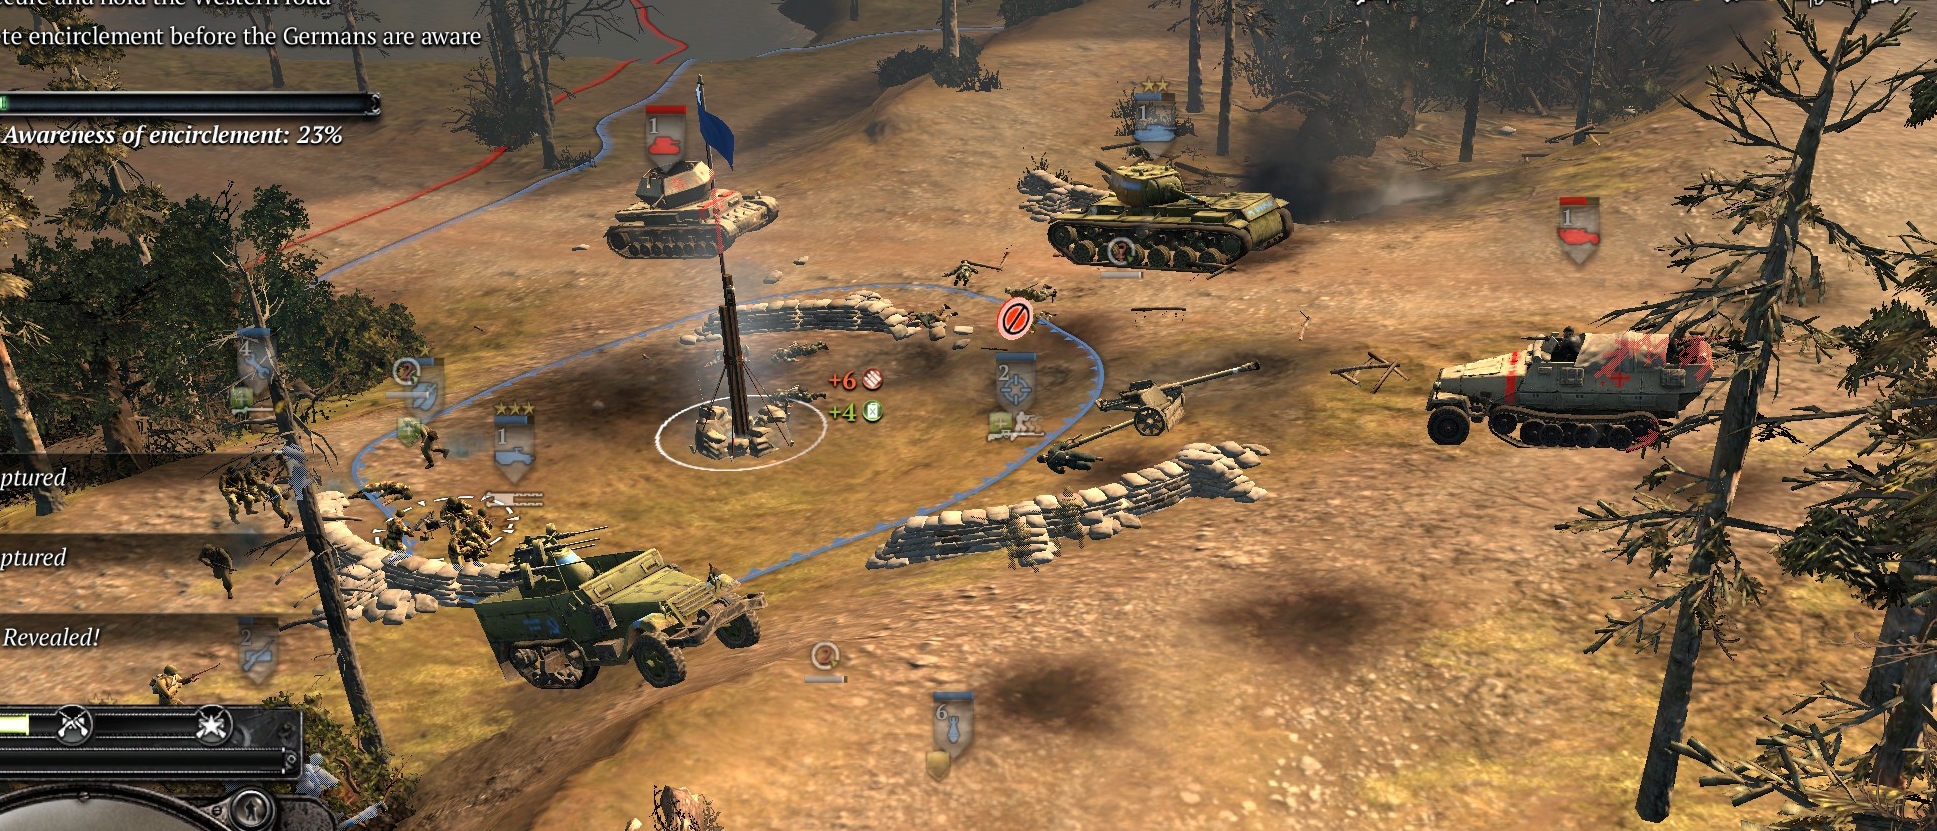
When you de-crew the Pak-43, you will get a T-34/85. Send this up the road to the point, just ahead of the de-crewed Pak-43, where it can start blasting away at remaining German infantry. Your own infantry should follow, and conscripts should crew the Pak-43 (and Pak-40) immediately, facing them north. One of your units also should grab any schrecks that are lying around in the point area.
A Panther, Panzer-IV and 251 will now attack from the N, NW and NE respectively. This is why you re-crewed the Paks. You also will be granted now an Su-85 and a KV-1. Get them into action, kill the German vehicles, cap the point, and build a base building for snipers.
TAC MAP

GENERAL NOTES
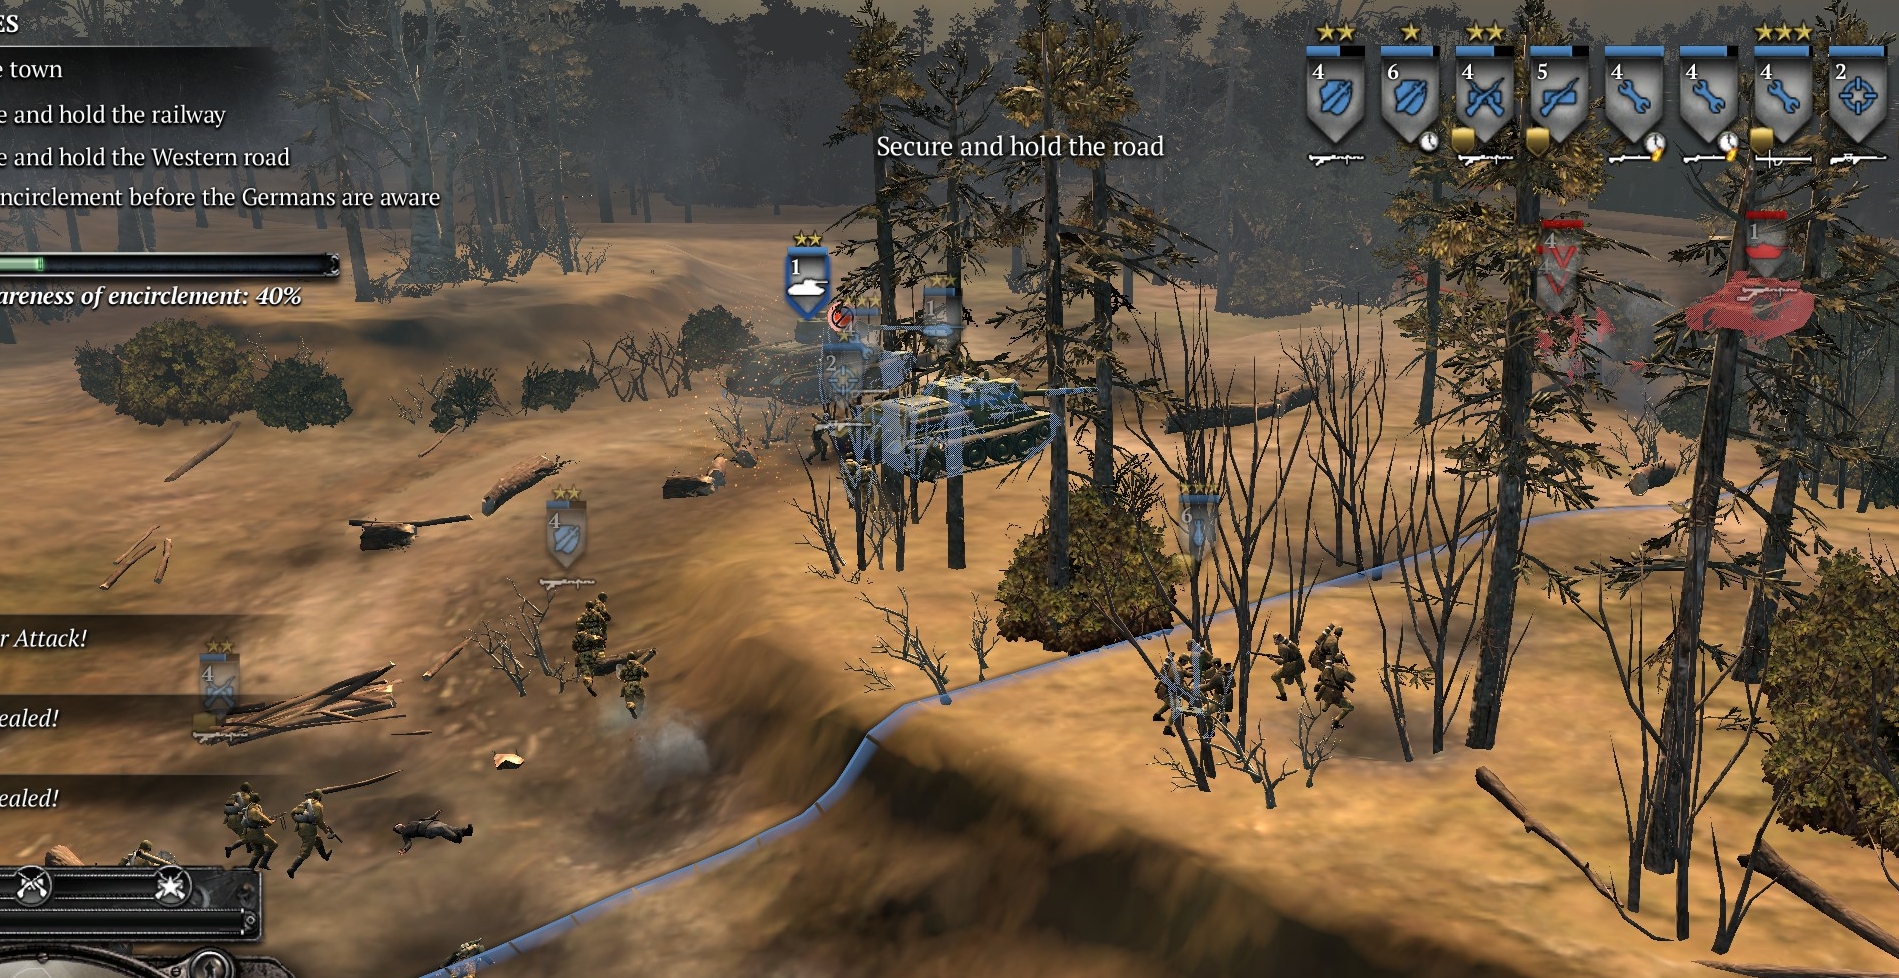
Don’t move significantly from the ring road toward the town—this will trigger attacks coming from the town or spawning in the woods just outside the town.
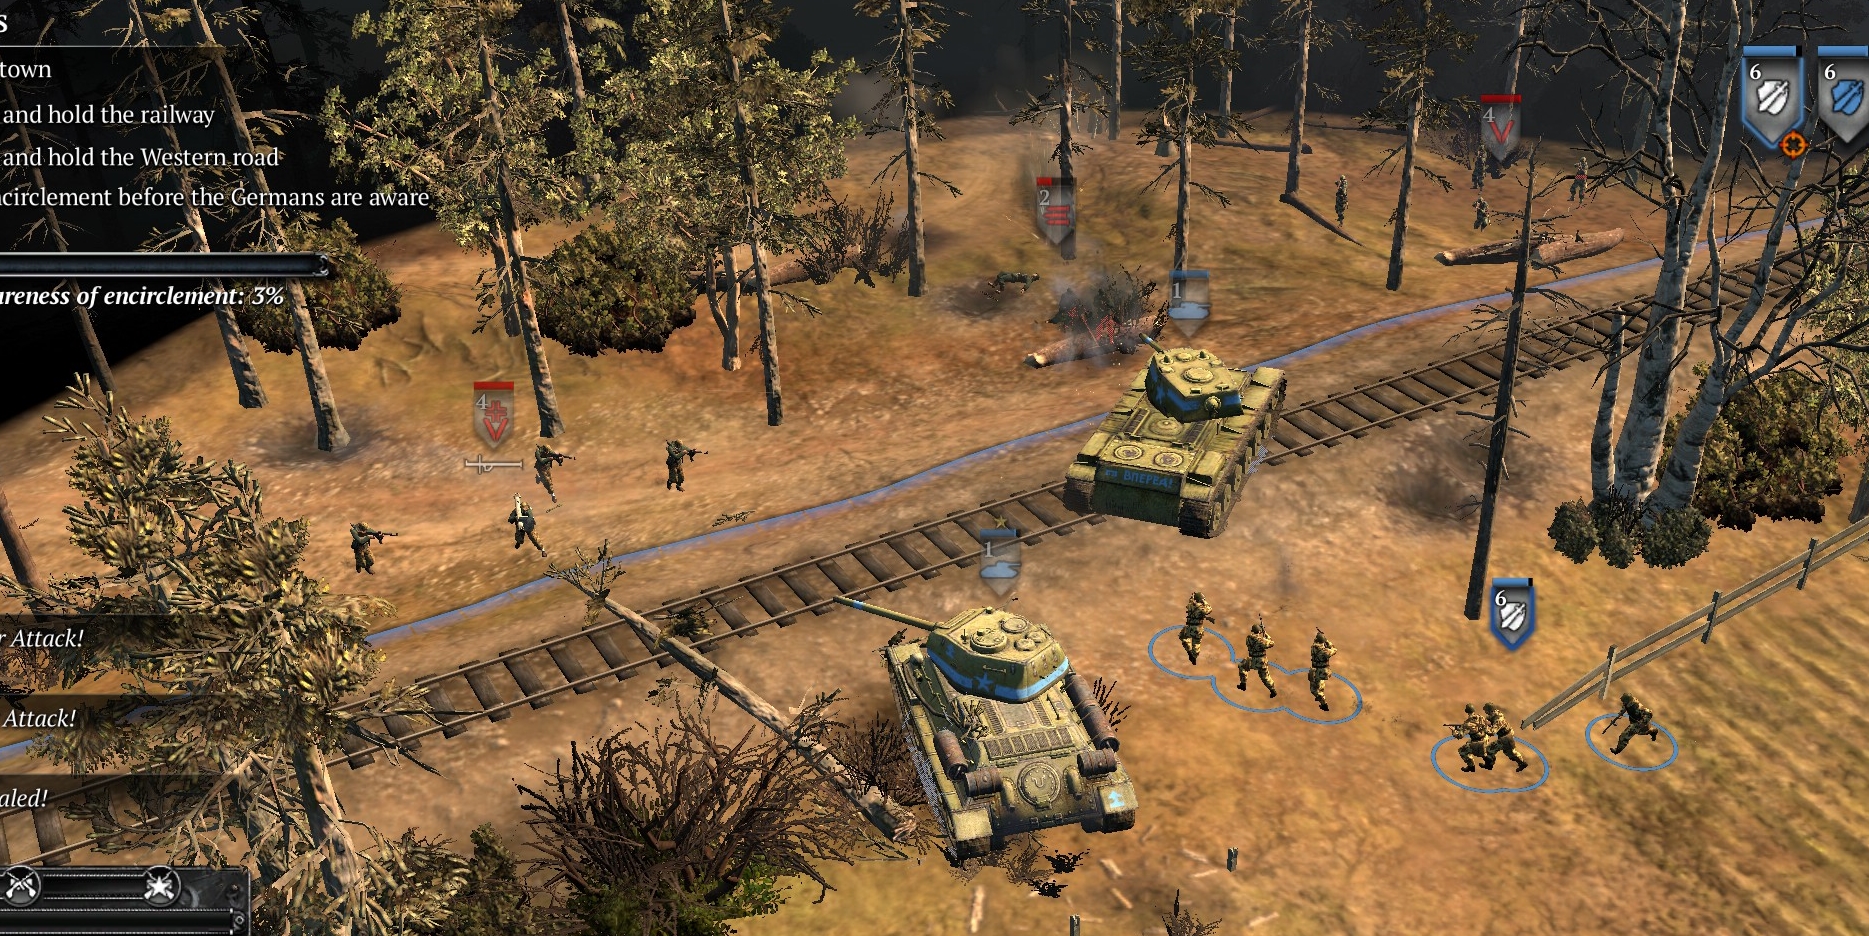
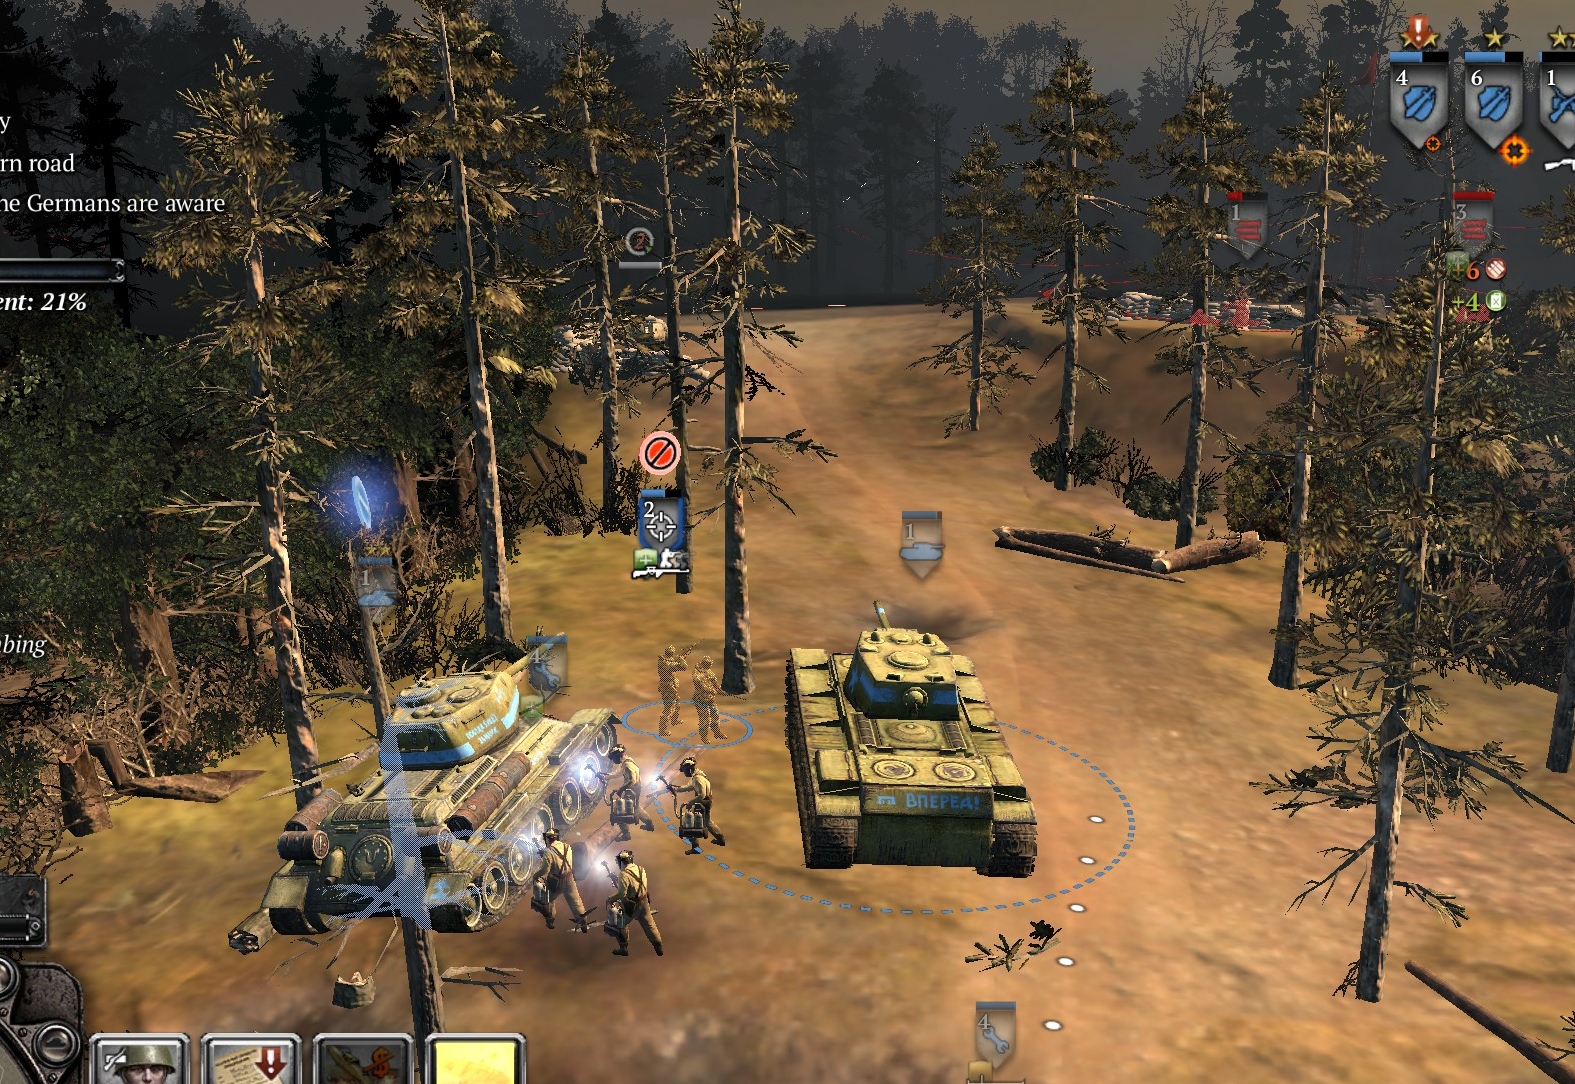
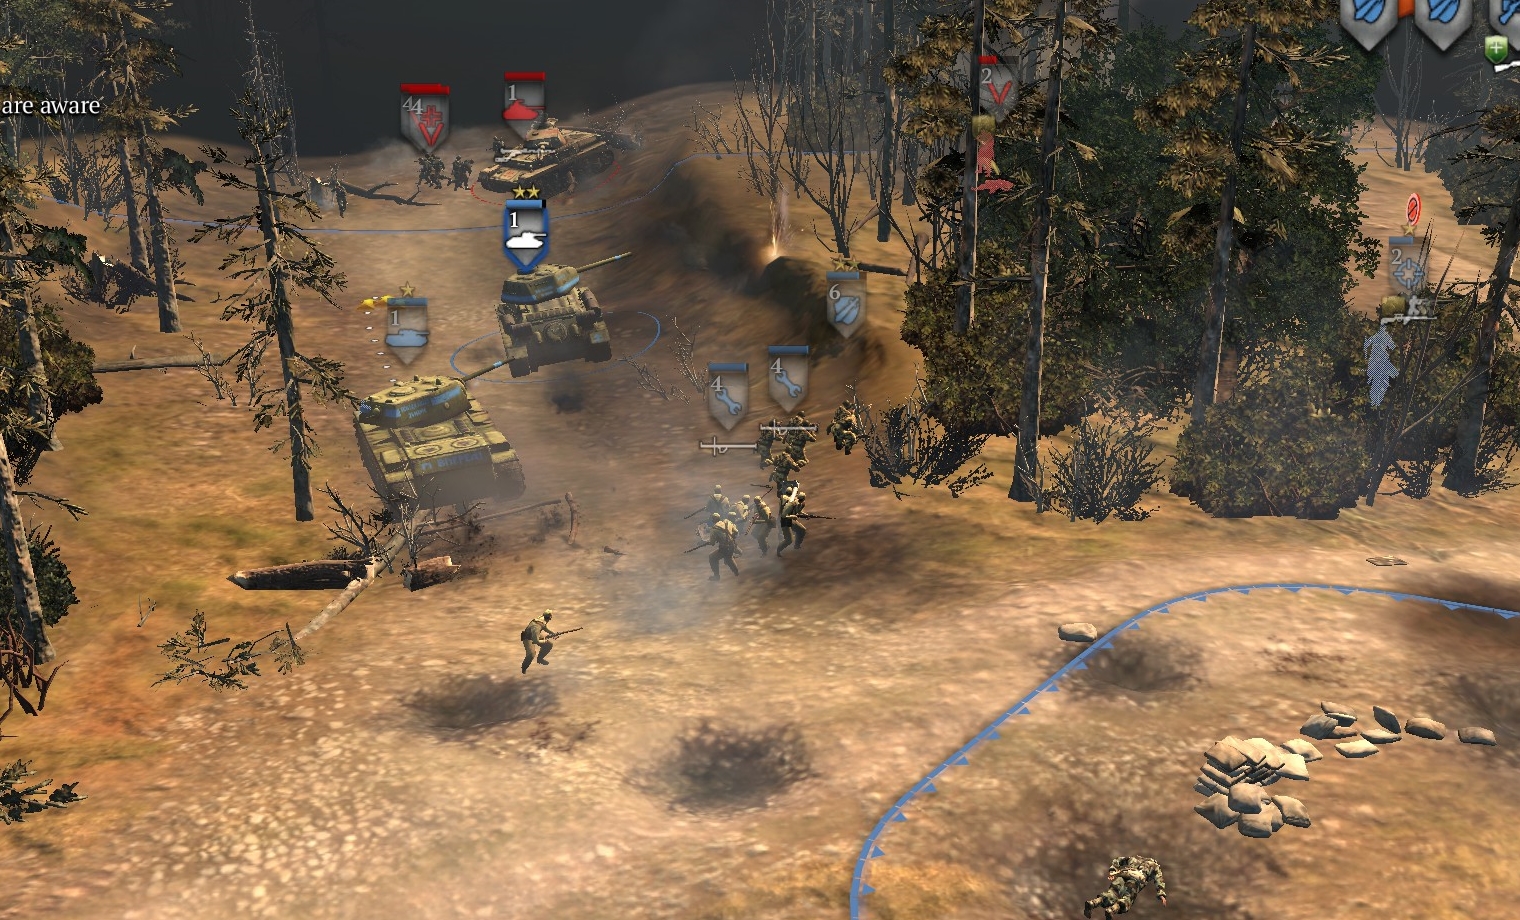
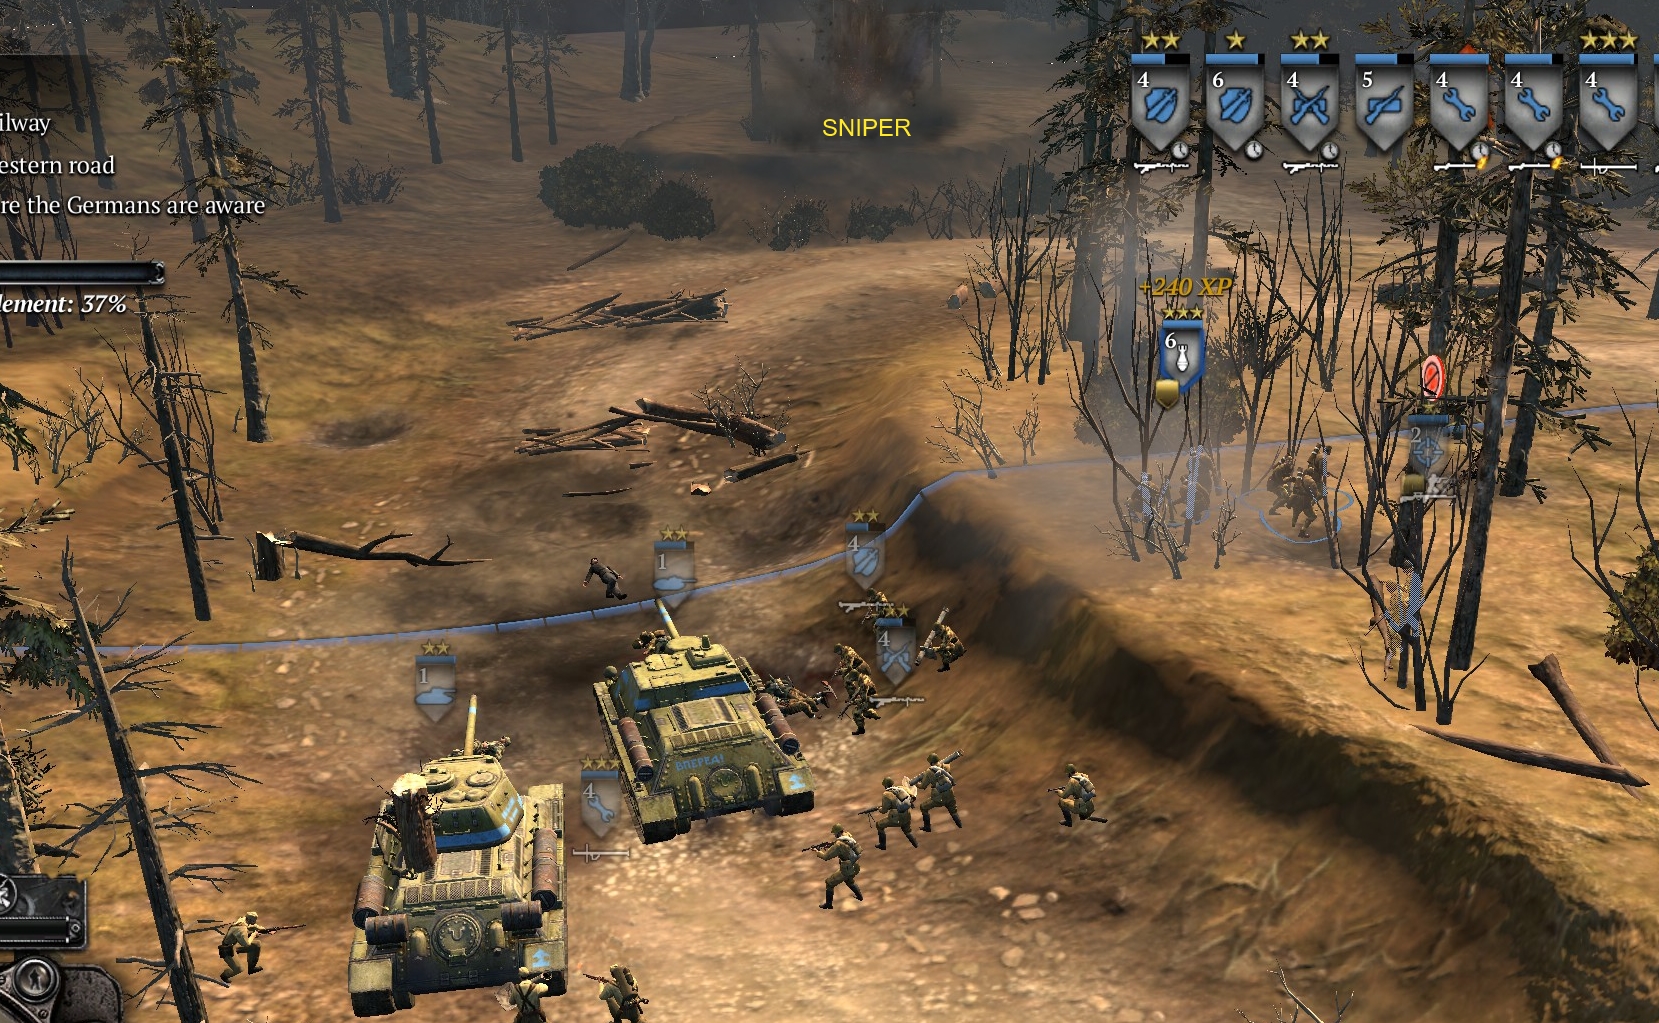
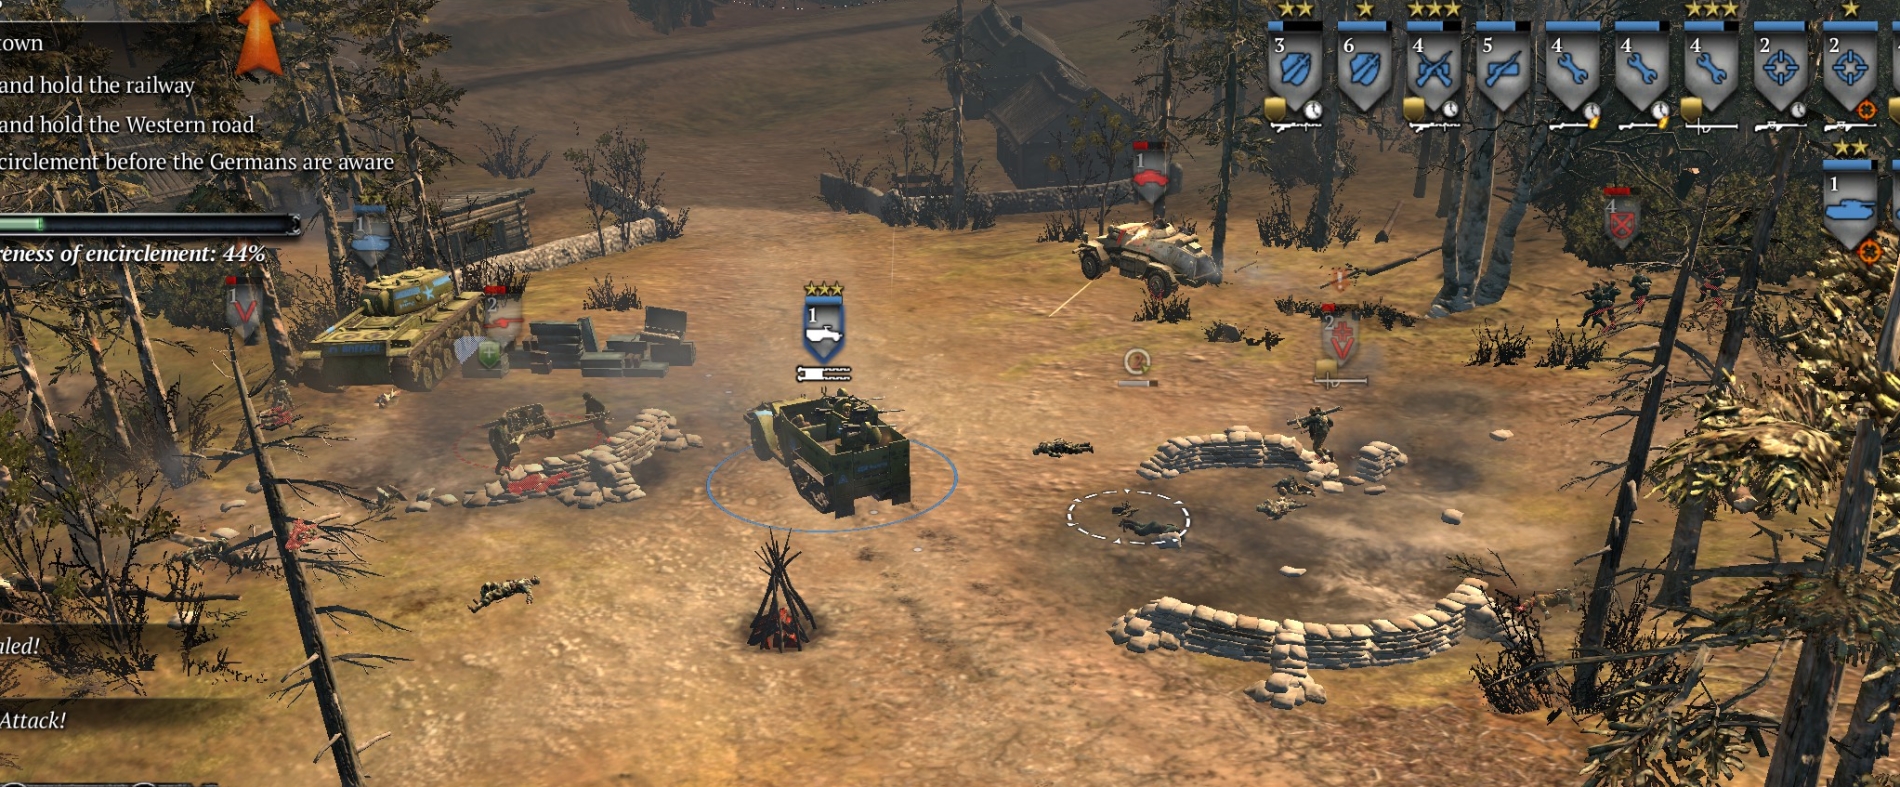
In the encirclement phase, this mission becomes very difficult—as noted in the intro above—because the player’s side really doesn’t have enough firepower. Your force on each side of the map should include snipers and a mortar backed by one or two tanks, but you aren’t given the resources at your base to assemble adequate strike forces initially—if you want any base building other than the one with engineers, you have to build it at a high cost in fuel and manpower points. So you will have to start your encirclement with an inadequate force and take significant casualties as a consequence, then slowly build up an adequate force, but somehow also complete the encirclement before the “German awareness of encirclement” meter reaches 100%. Doable but tricky, especially since you will immediately need a slightly different mix of units (now including MG42s) when the breakout phase begins.
The following are images showing German defenses along your encirclement routes.
W1
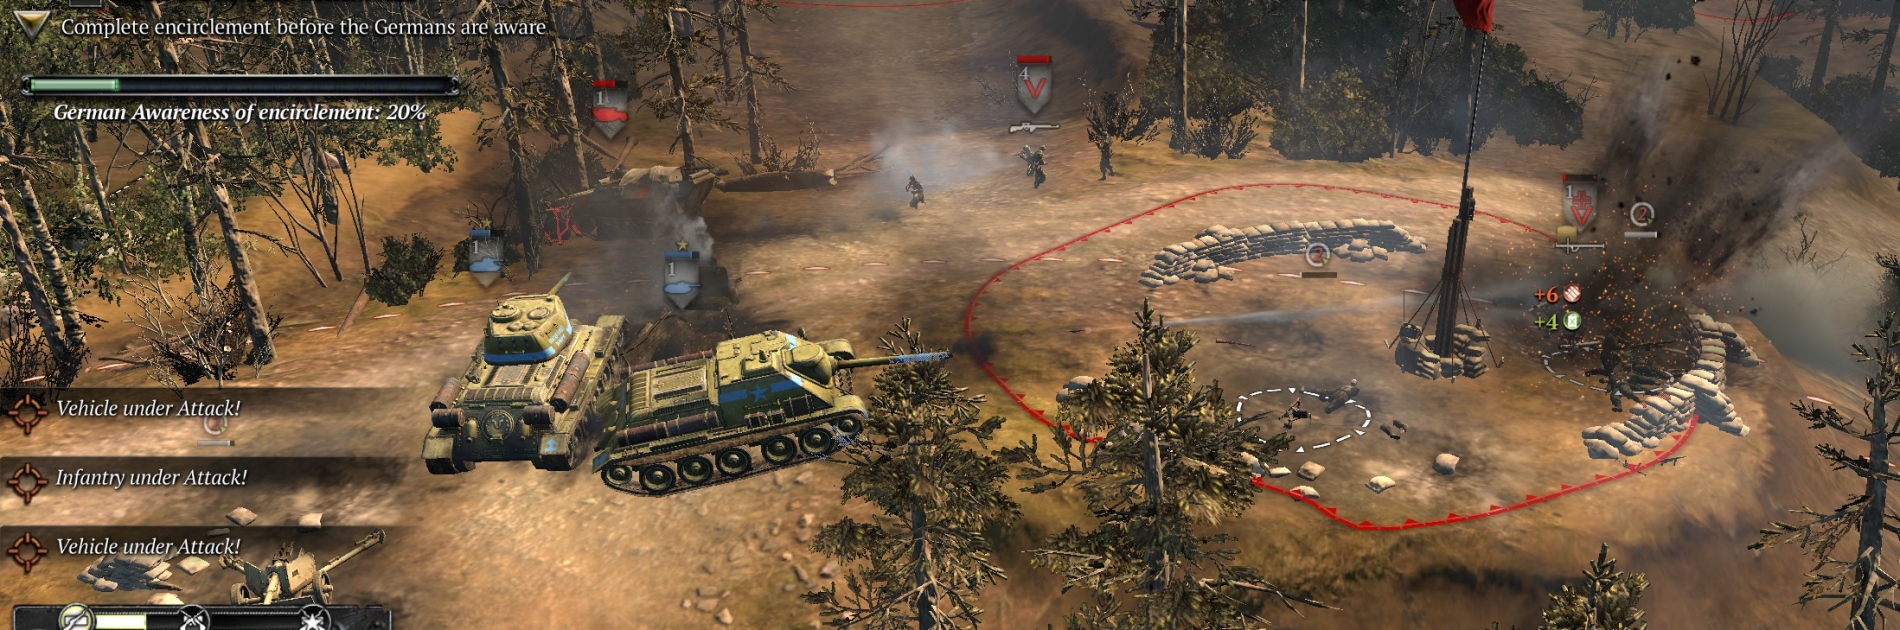
W2
Watch out for the sniper on raised ground just ahead of this area. The image shows a mortar attack on that spot.
Two armor/infantry ambushes between W1 and W2.
E1
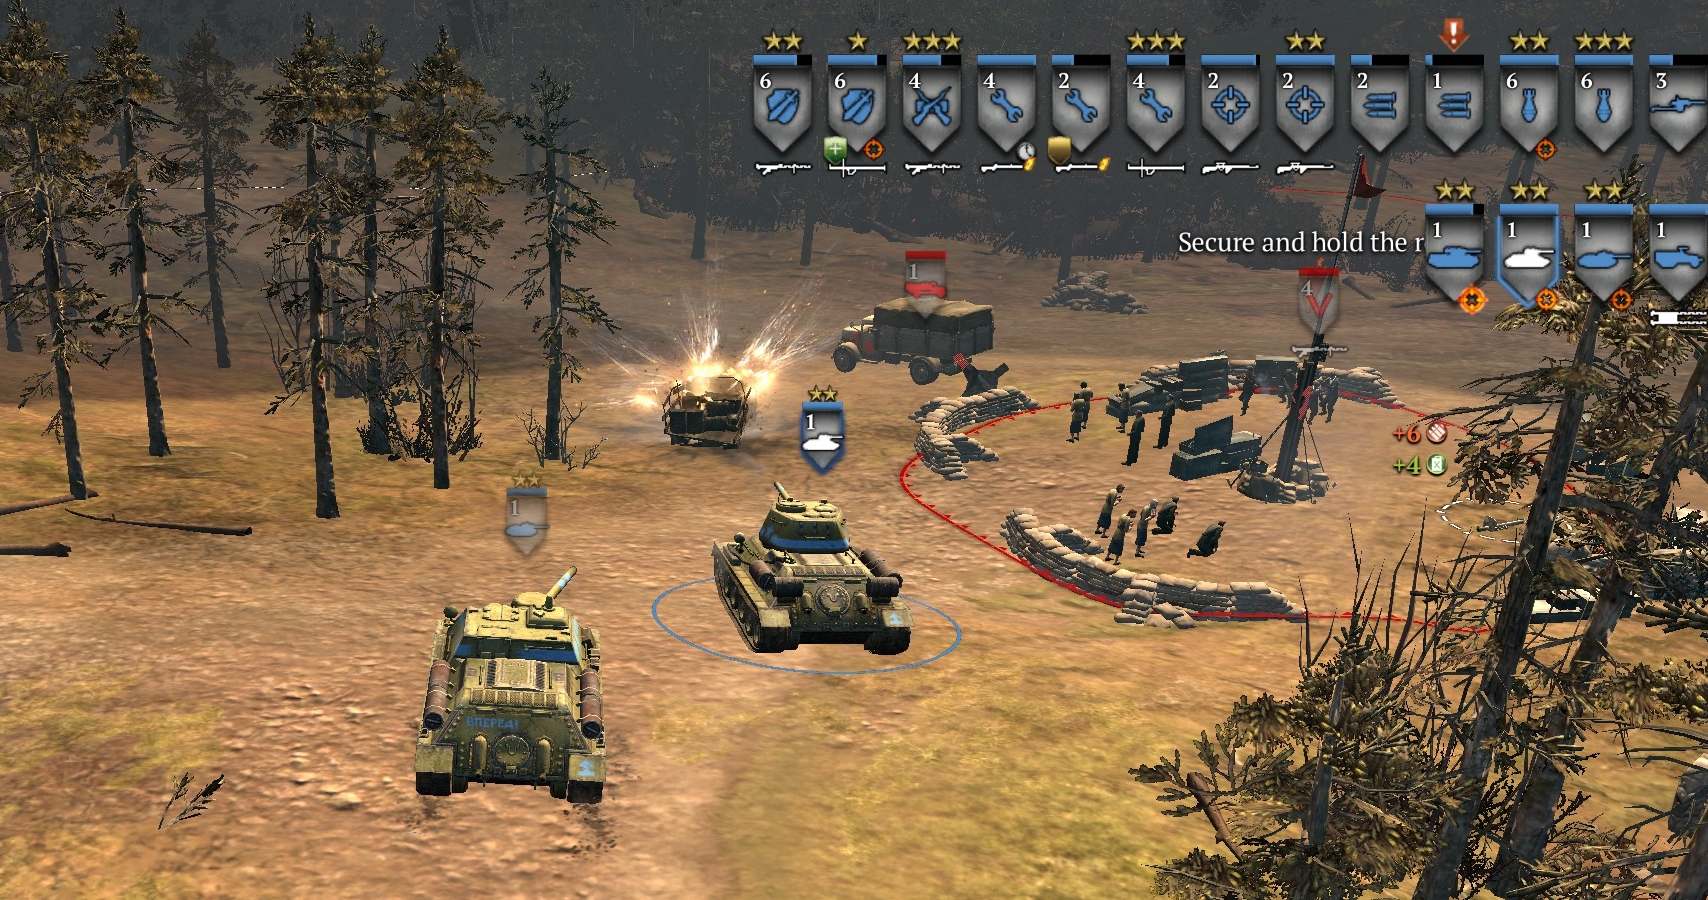
When you pass the small side road that leads towards the town, a StuG tries to flank/ambush you from it.
When you start capping this point, the Germans counterattack with an Ostwind from inside the town, and a 251 from outside. Your tanks and AT guns are very, very weak even against these thin-skinned vehicles, so you will need more than one tank/AT weapon to deal with this threat.
E2

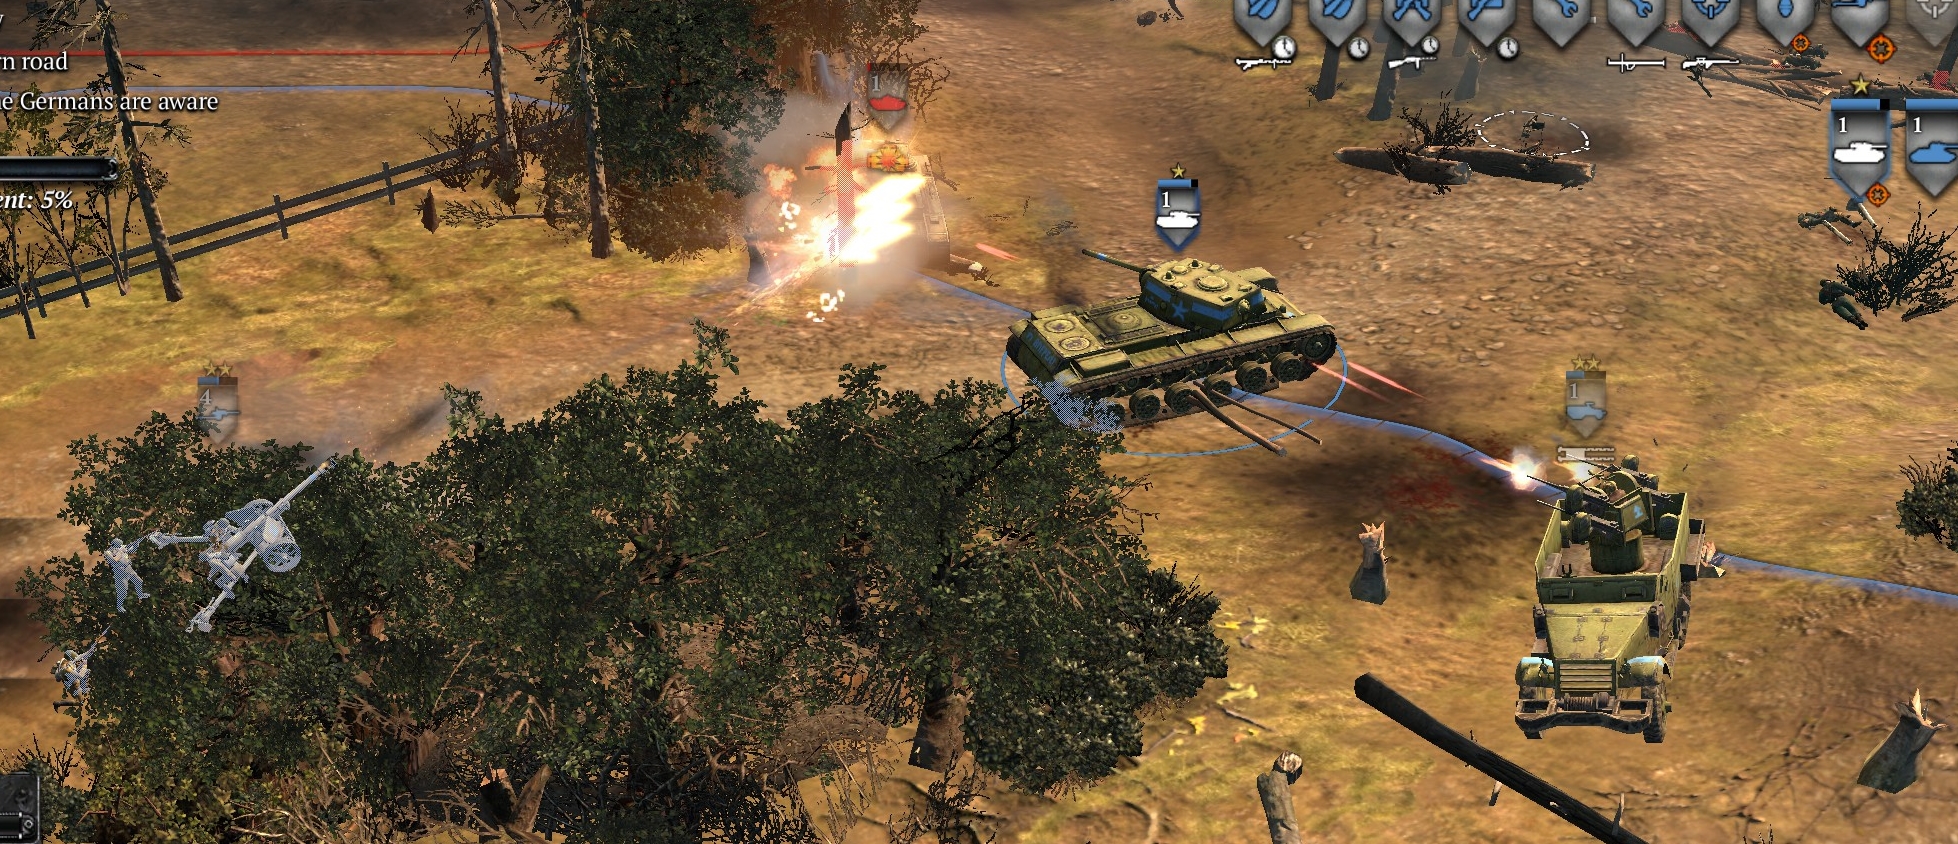
E2 DEFENSE AGAINST BREAKOUT
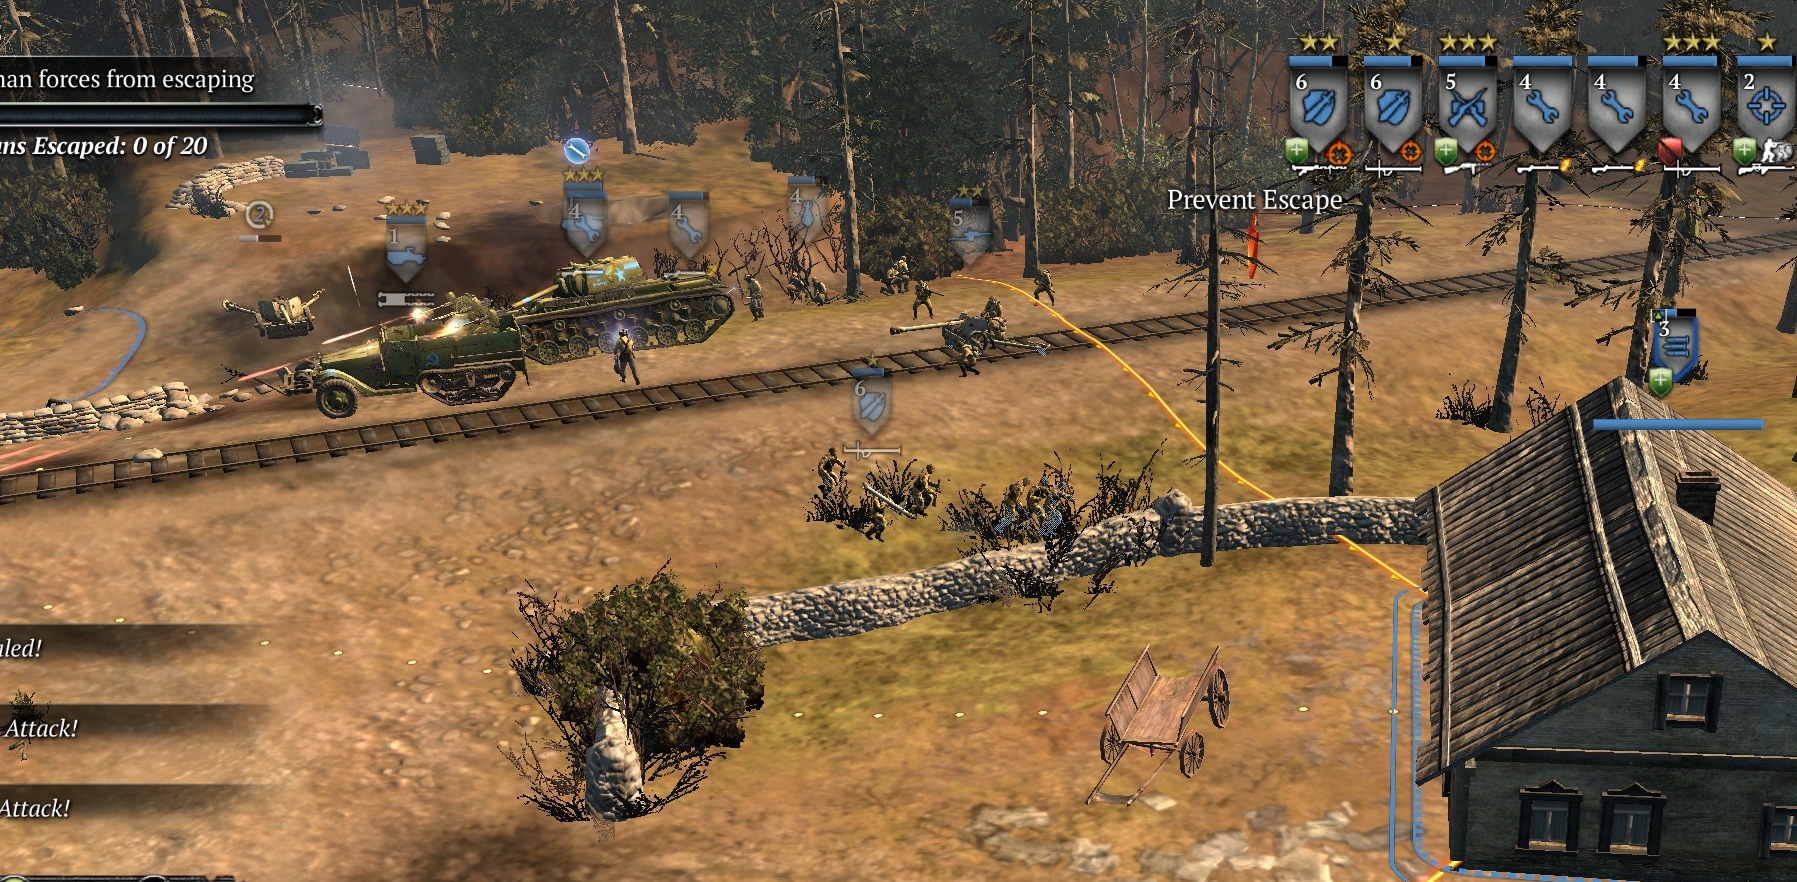
Toward the end, a breakout wave will include a Panther, which can be very hard to kill—and late in this phase the smoke will make it hard for your units even to see German targets.
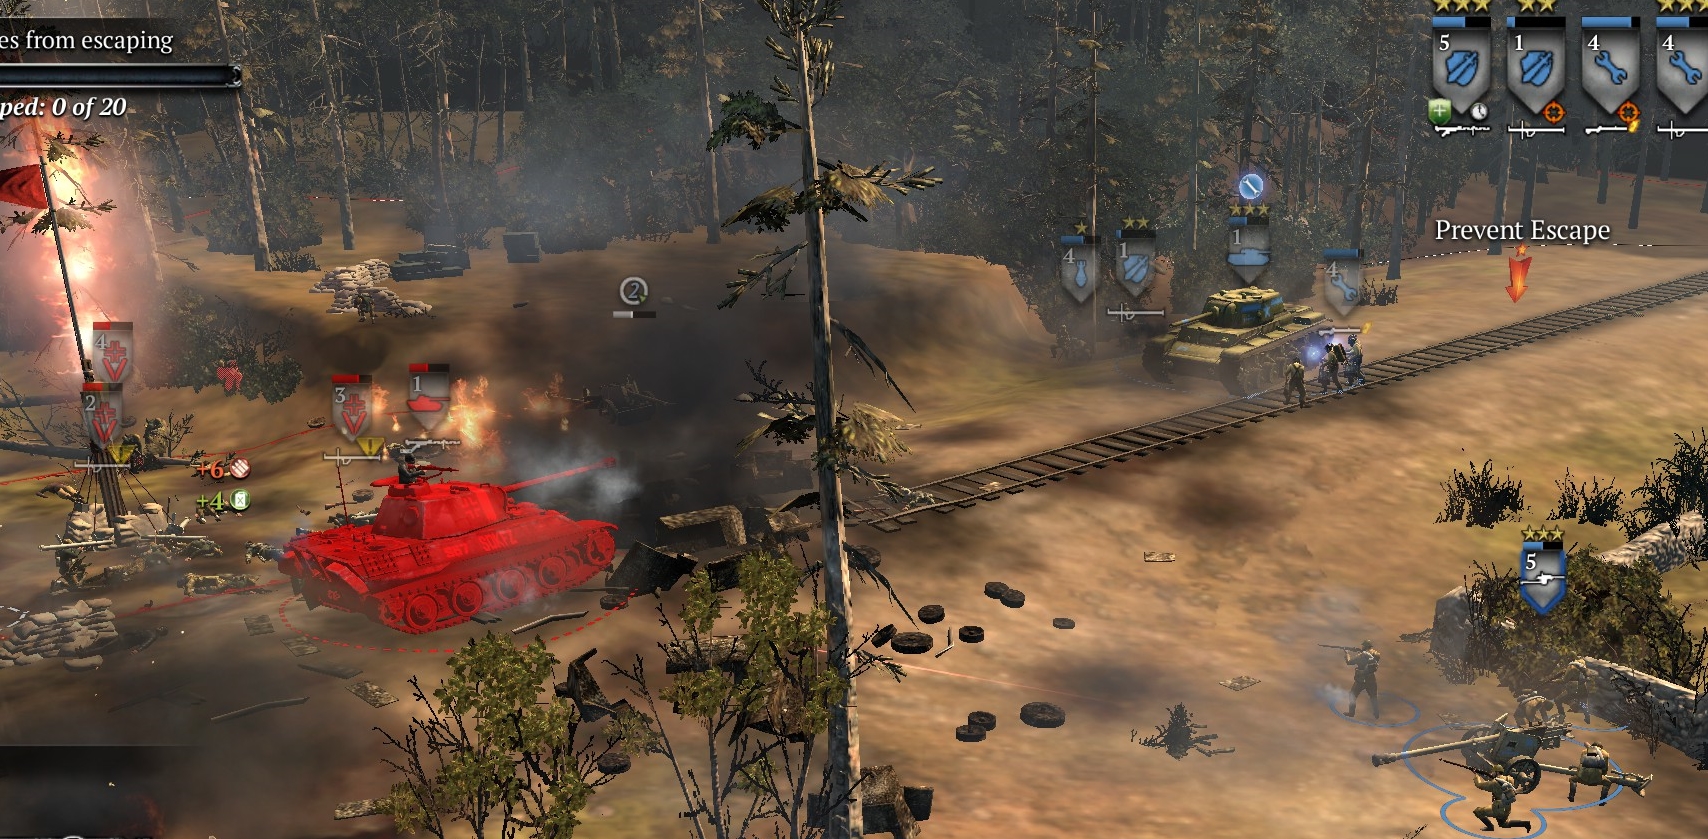
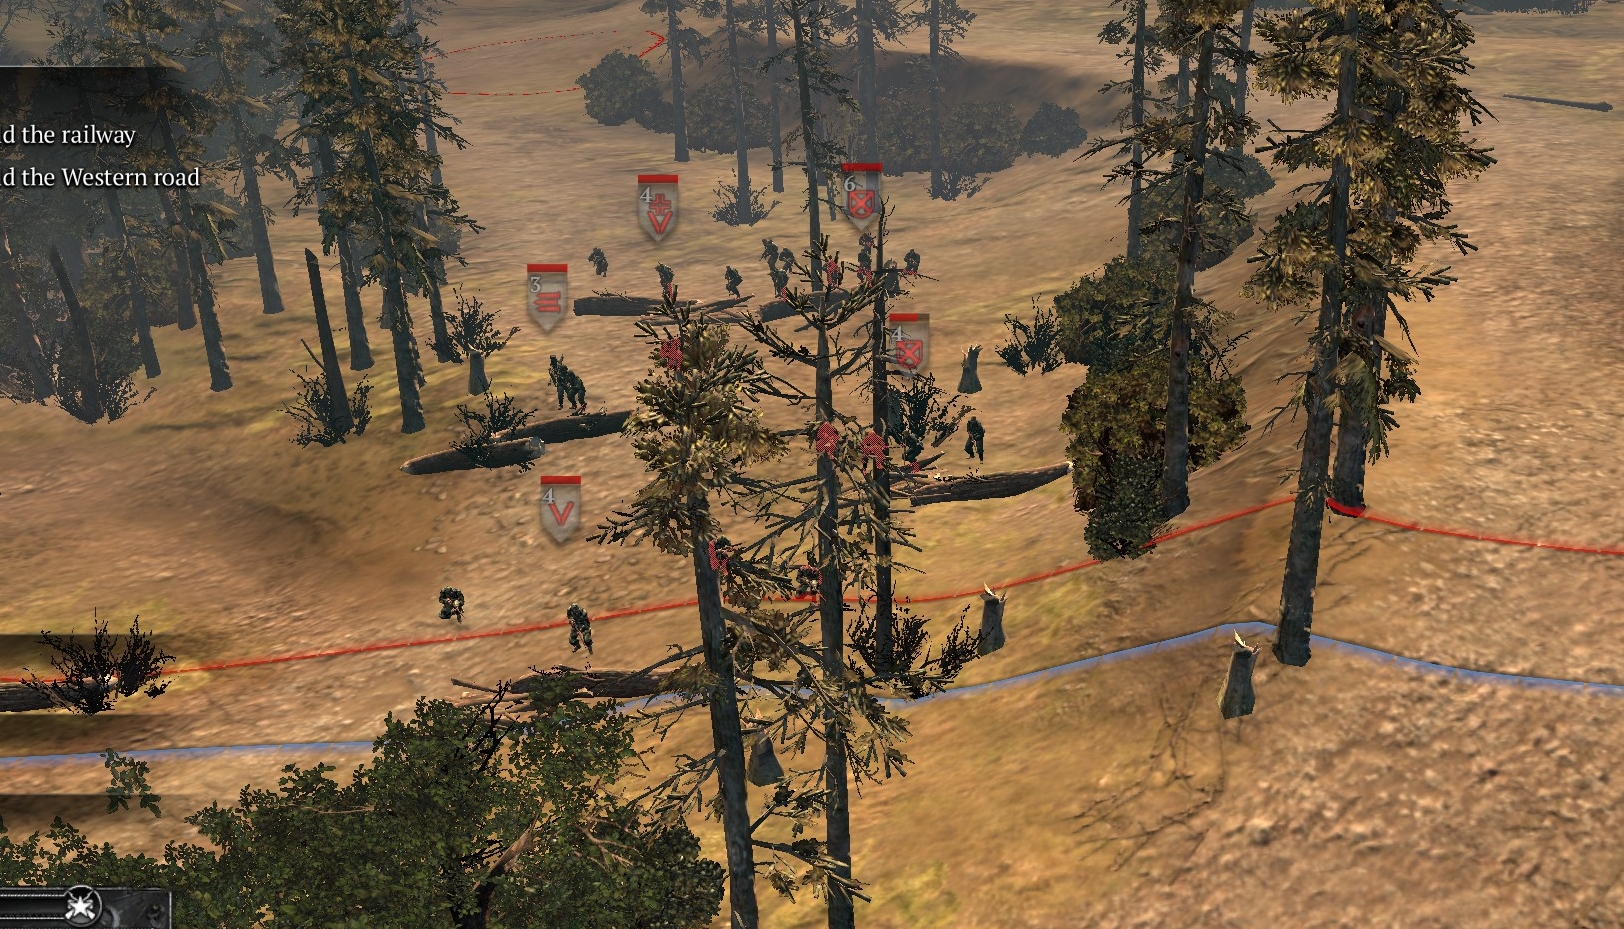
W2 DEFENSE AGAINST BREAKOUT
Note that at the western breakout point, the Germans will make at least a few attempts to get around your right flank and escape that way. They also will send some grenade-throwing panzergrens through the woods where shock troops are shown above. Be ready for both.
If you let a lot of German infantry units and vehicles escape at either point, you lose the mission. Aim for zero escapes.
***