This is all about snipers, and, as noted in the writeup on a previous mission, COH2 doesn’t handle snipers very well. As the player you have a very hard time estimating your snipers’ (surprisingly high) visibility to the enemy, and the dotted-line circle showing a sniper’s range doesn’t always work properly—you tell a sniper team to fire from within their apparent range, and often instead of firing they start moving toward the target—which immediately gets them killed. The biggest problem with COH2 snipers is that they are terrible shots. Even at ranges a sniper should consider “point blank” they miss most of the time. So this mission probably is the worst one to play, for many players, even though it is very winnable and, at least, conceptually very different from other campaign missions.
Here is the tac map with numbers and arrows showing the order and directions in which I suggest you should attack different points.
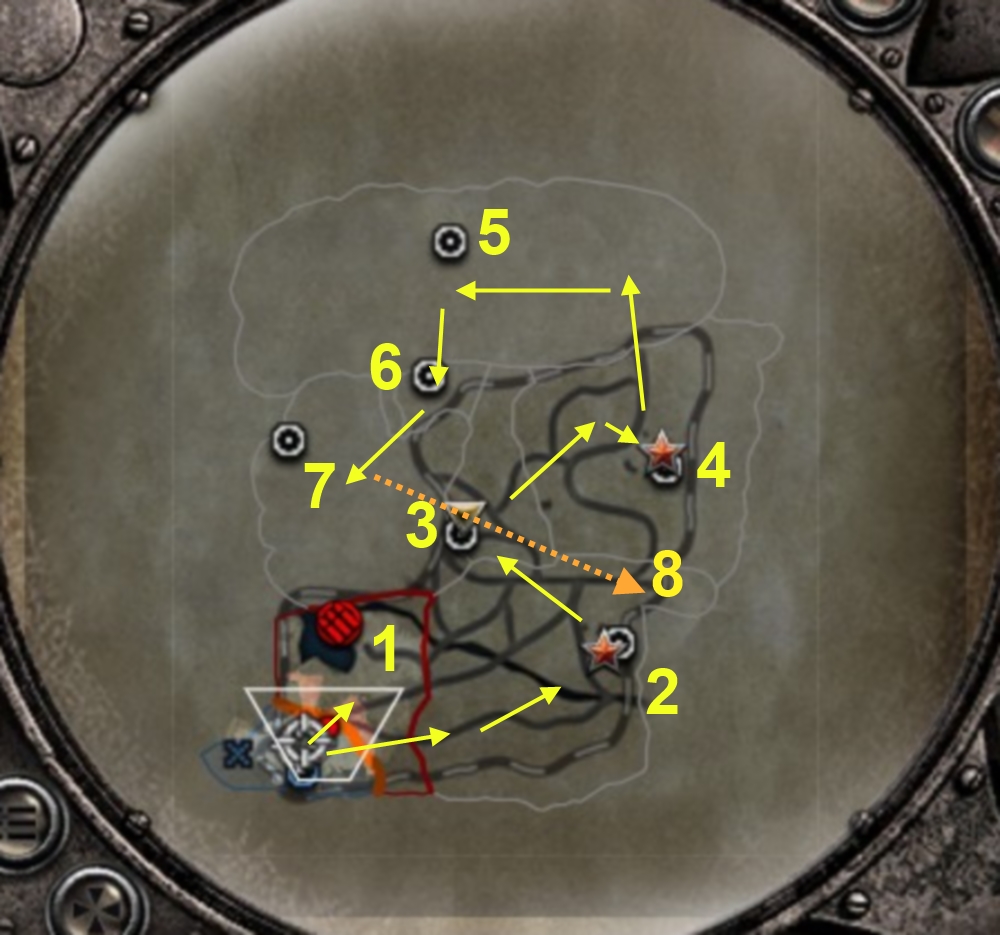
There is a general strategy you should pursue when you approach these points: Keep the snipers in “hold fire” (i.e., stealth) mode, which makes them invisible unless they have just fired or the enemy is close. If they plan to fire more than once or twice from fixed positions at an enemy that can fire back, they should use the “prepare cover” function to reduce their visibility. As much as possible have them fire together at the same target squad; in this case, Ania and her two partisan sniper teams make a total of five snipers, which when vetted can kill multiple soldiers in a targeted squad per volley (usually one KIA, often two, rarely three, never four or five). Approach targets very, very carefully, always firing from near max range so the target (unless it is an enemy sniper) cannot fire back immediately. Retreat or at least back away quickly when an infantry target charges, as you have no ability to heal in this mission, and get no reinforcements until point 5. Repeat those steps—approach, fire, back away—as needed. Since German defenders on this map are mostly static and have no armor, a small set of snipers can relatively easily kill them all—it just takes time, patience and focus.
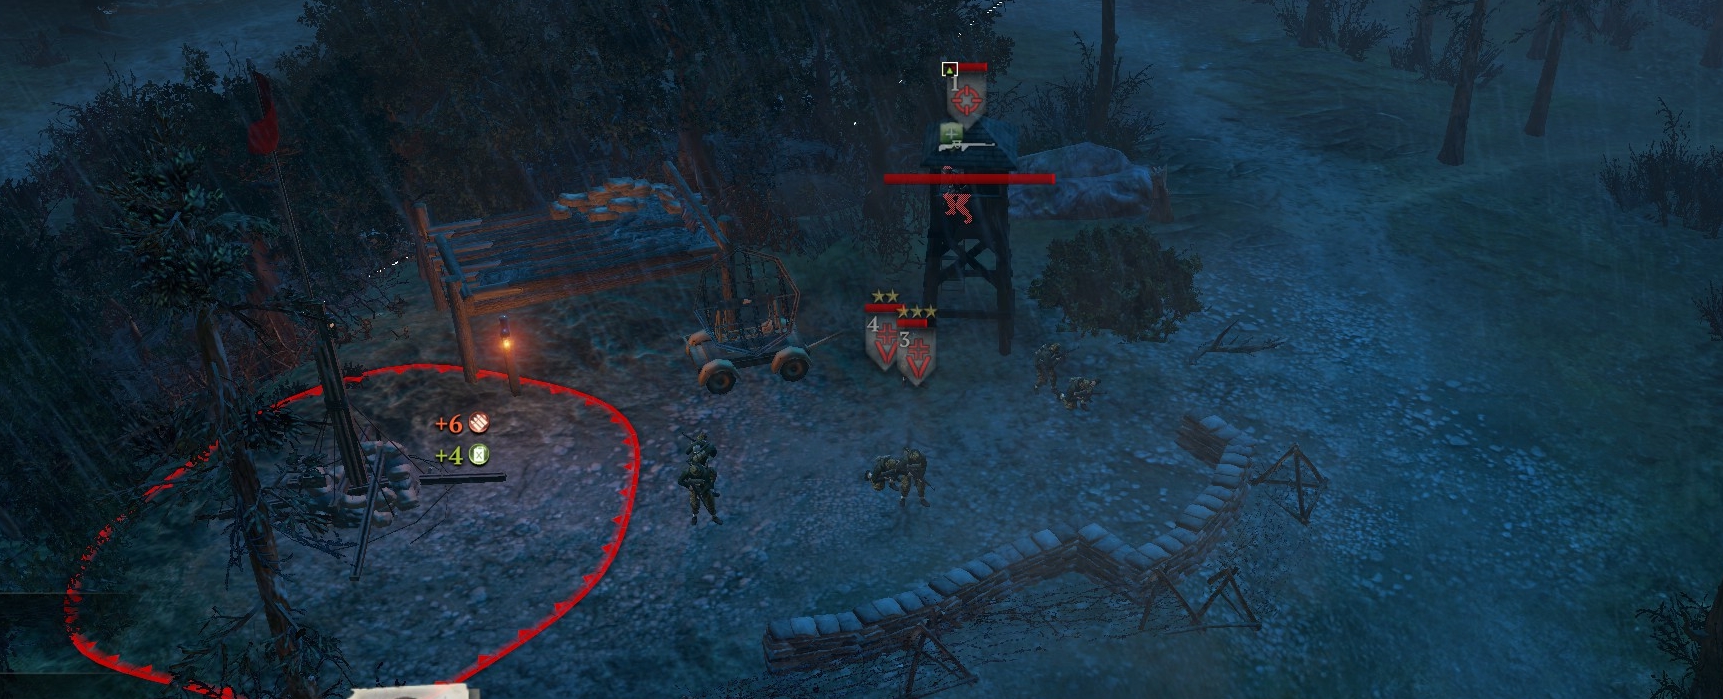
Note that at three of the points on this map there are German officers that must be killed quickly. This is easy (especially for Ania) if the officer is in range. At other points there are mortar teams, which you should terminate with extreme prejudice, though if they have put mortar shells in the air, your snipers should run away (to avoid being under the incoming shells) instead of firing.
Your snipers here can lay demo charges. Use these for the munitions cache at point 1, the radio tower at point 3, the approaches to the cabin (point 5) with the informant, and the gate at the prison at point 7 in the last phase. It’s tempting to put demo charges everywhere on the roads, but you generally have no visibility when your units are not nearby, so any such demo charges are just wasted munitions points.
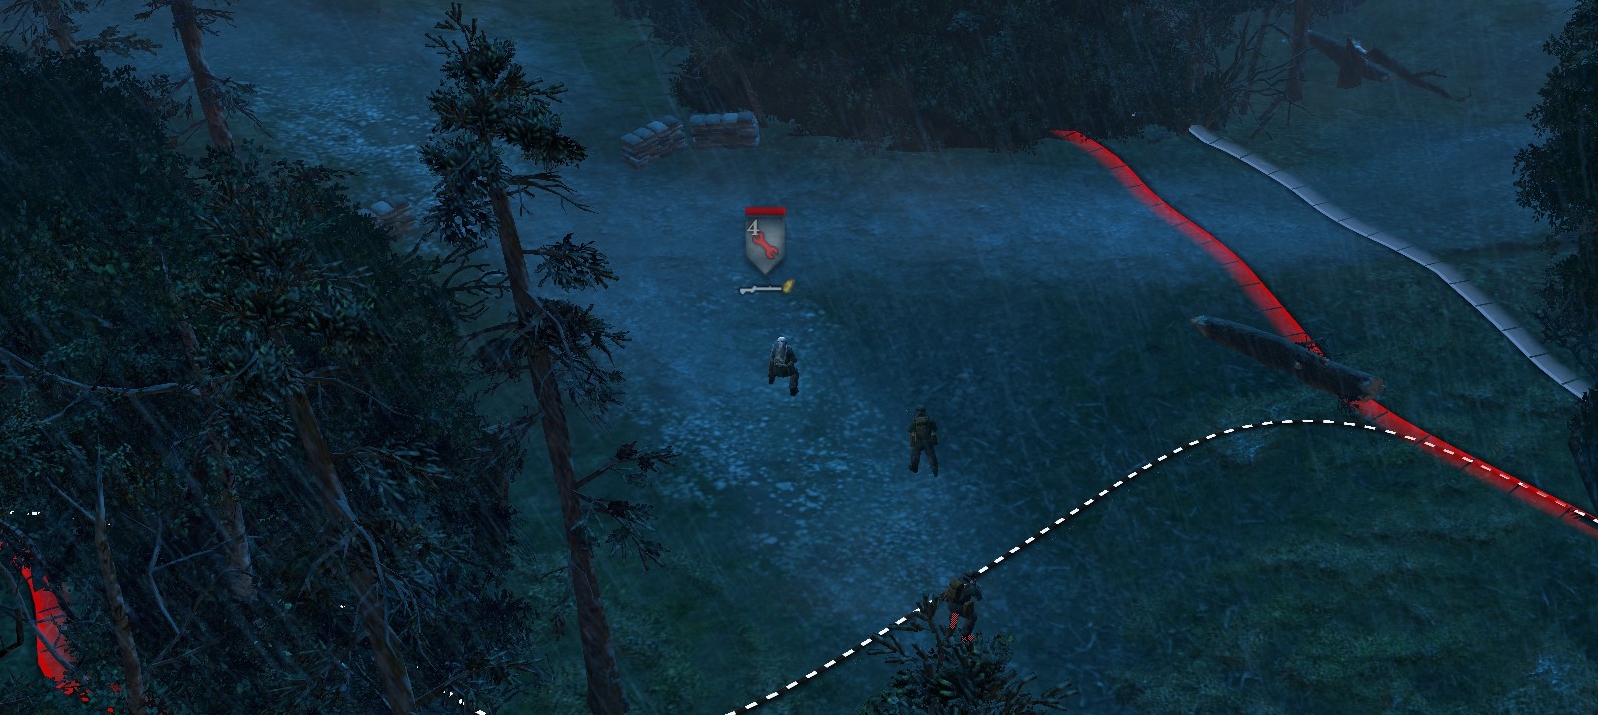
There are munitions caches all over the map.
Look for fire pits—Ania (by right-clicking them) can light a fire in one of them and back away, so that she and the others can then snipe, from cover, German units that walk to the fire to investigate.
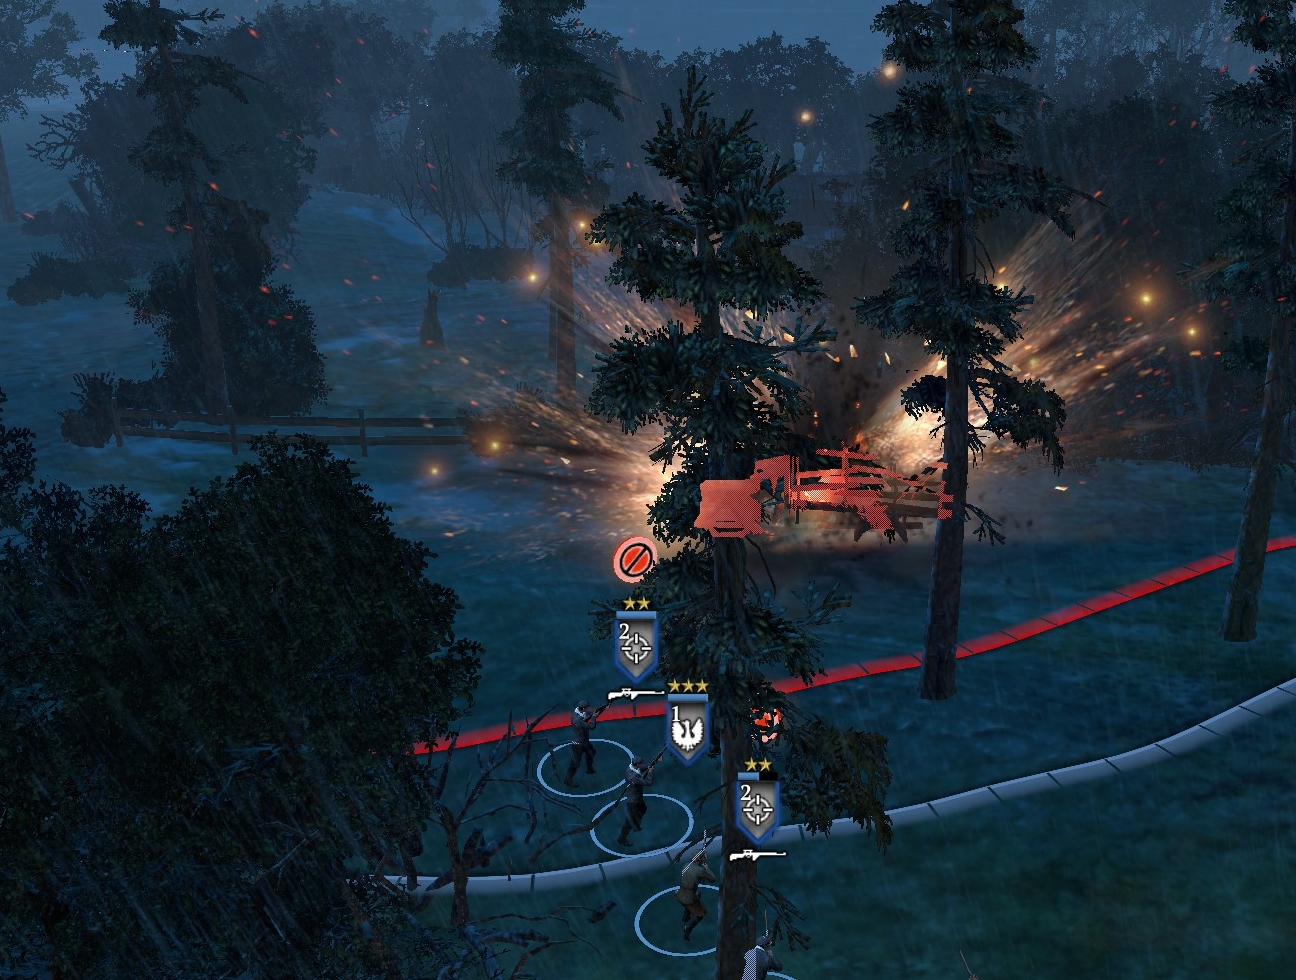
Your snipers can destroy trucks and even 251s. Don’t ask me how, but they can.
POINT 1
BETWEEN POINTS 1 and 2
POINT 2
POINT 3 (RADIO TRANSMITTER)
POINT 4

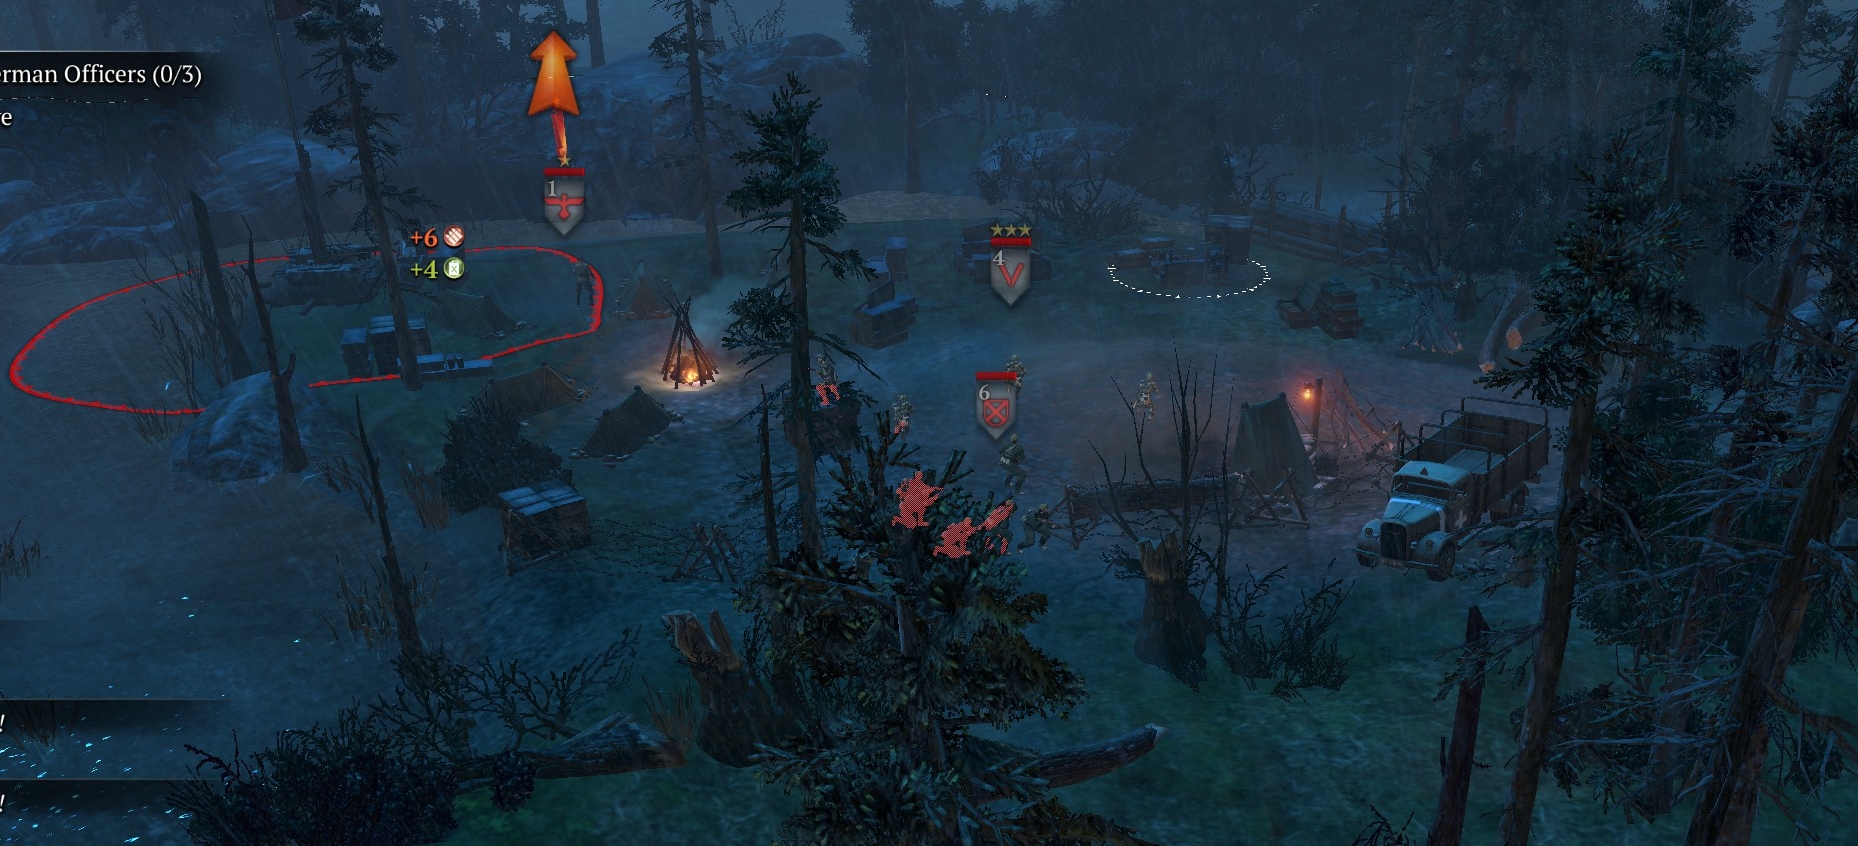
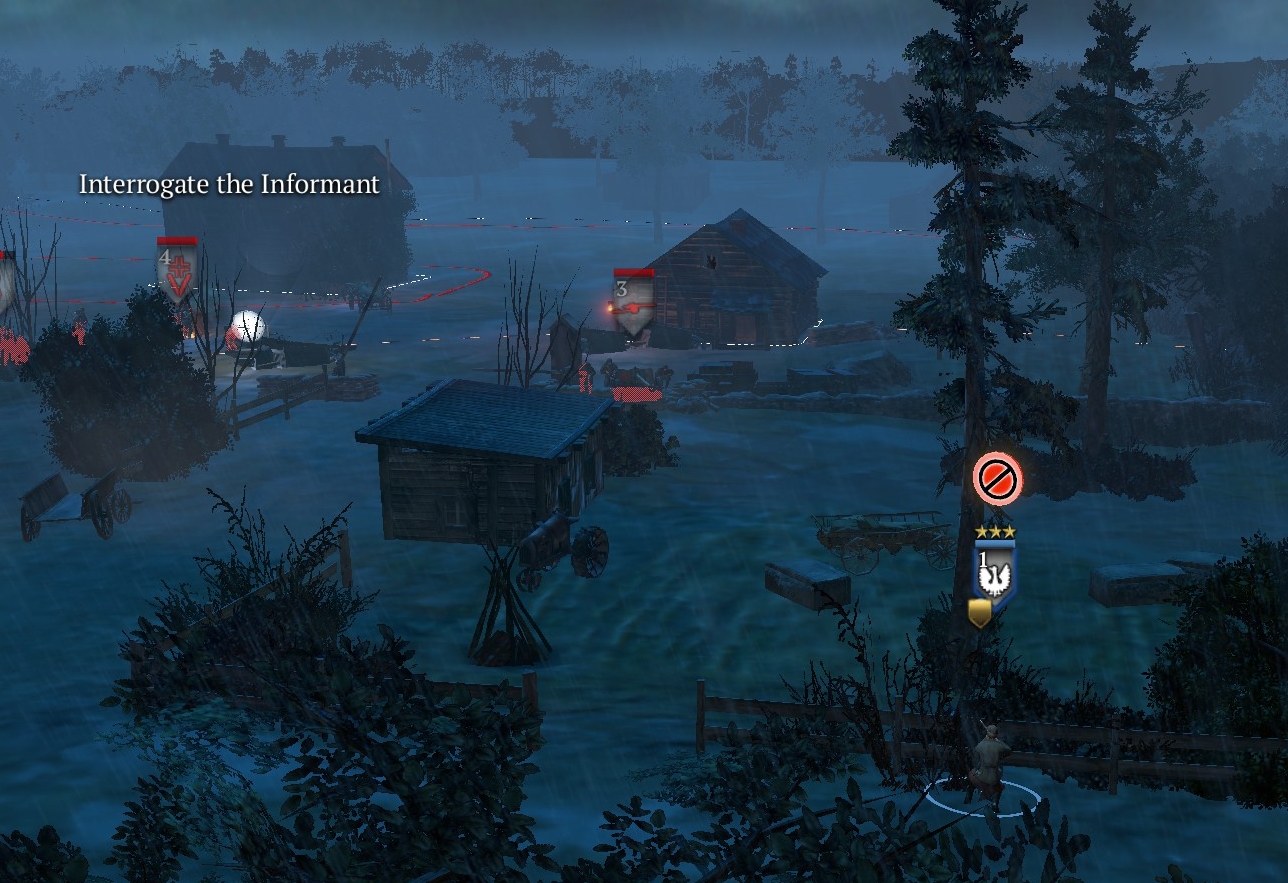
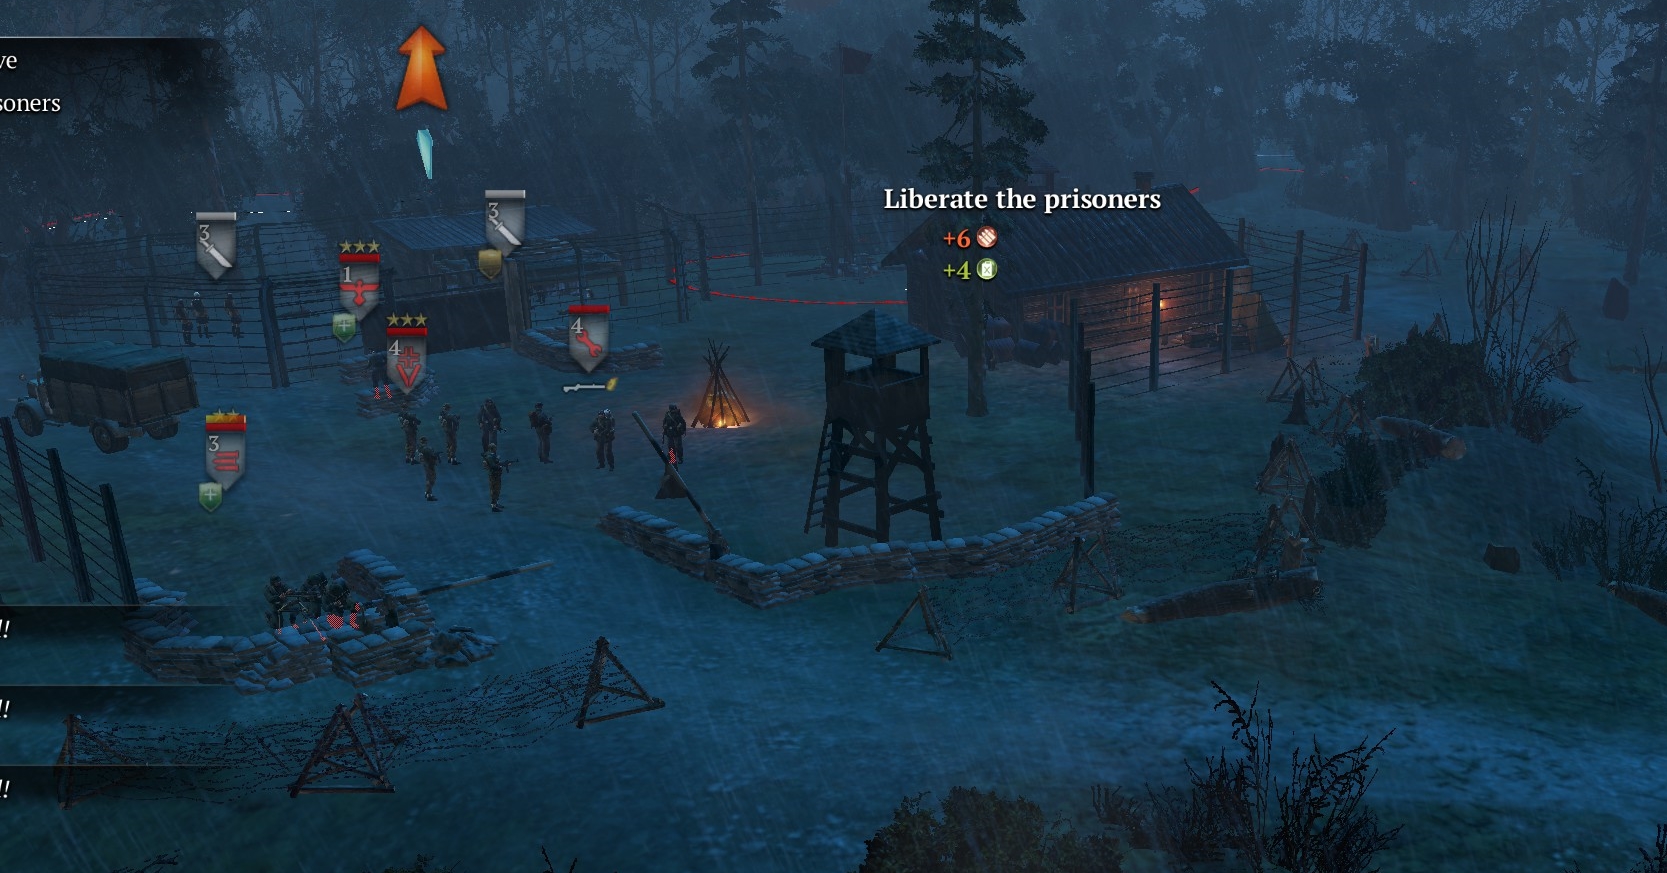
INFORMANT’S CABIN
This is the most formidably defended point.
On your approach to it, you are likely to see a truck passing. Kill.
You won’t be able to see much as you approach, but there are two infantry squads, a sniper, a Pak-40, and two 2-strength mortar teams. (All but the Pak and grenadier squad spawn only as you approach.)

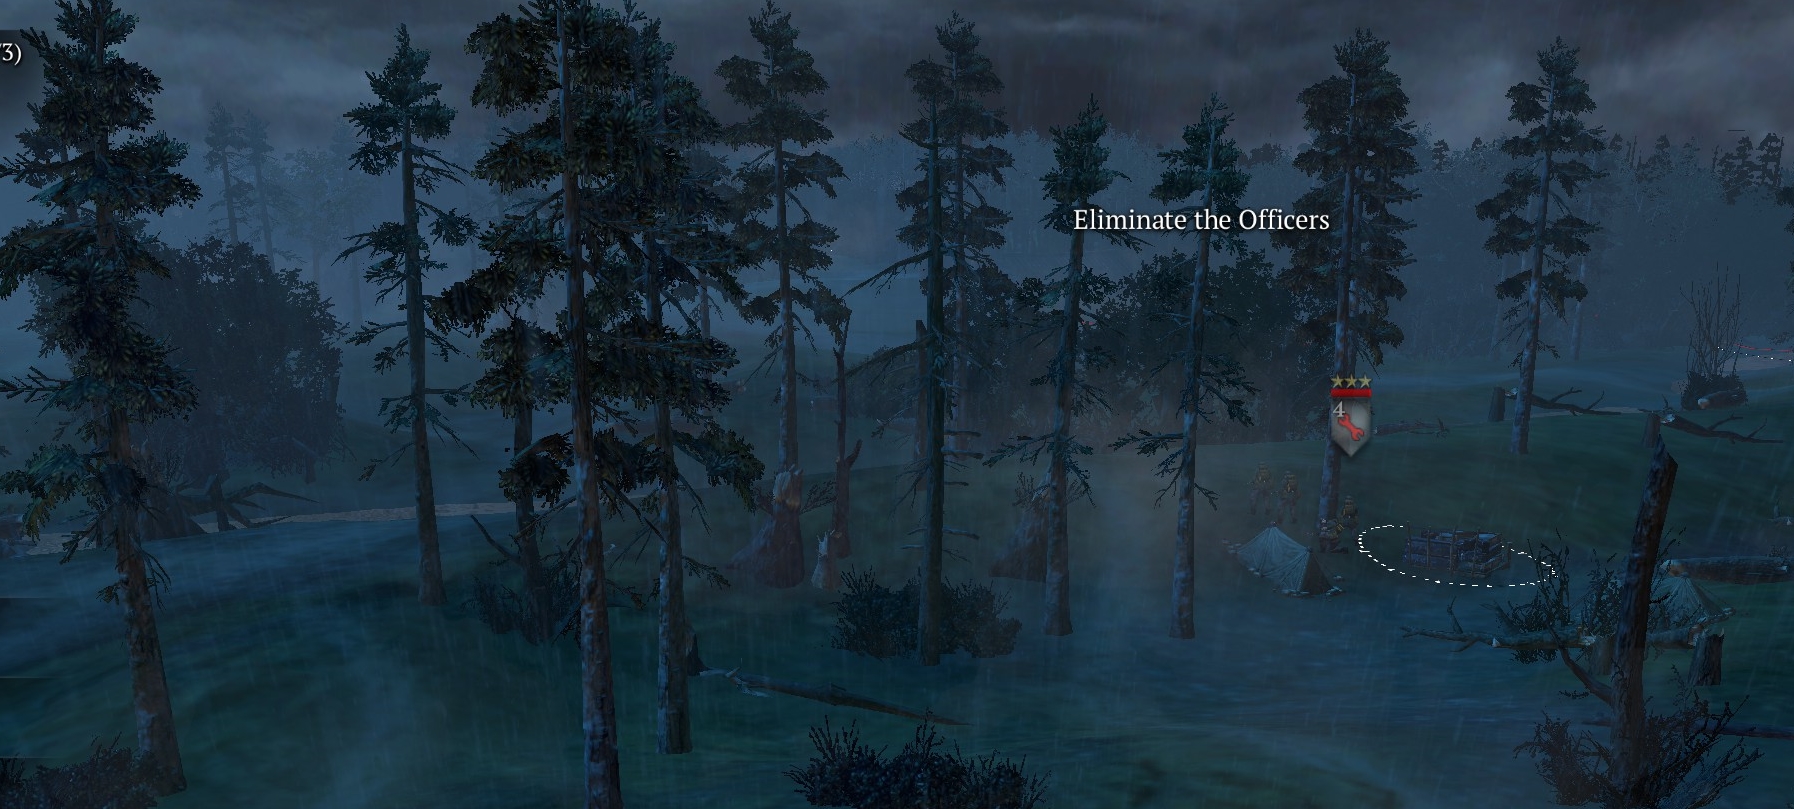
Your first priority is the sniper, and Ania has the range and accuracy to do this job.
The Pak will fire at your snipers, and the panzergrens will charge, so they are your next priorities, though you have to keep moving because the mortars will be firing too. You can maneuver Ania to the right, to stay at max range as she takes out the Pak crew and the panzergrens, while your other two sniper teams move left and down the other road/path close to the mortar teams, to take them out, and then the remaining gren squad.
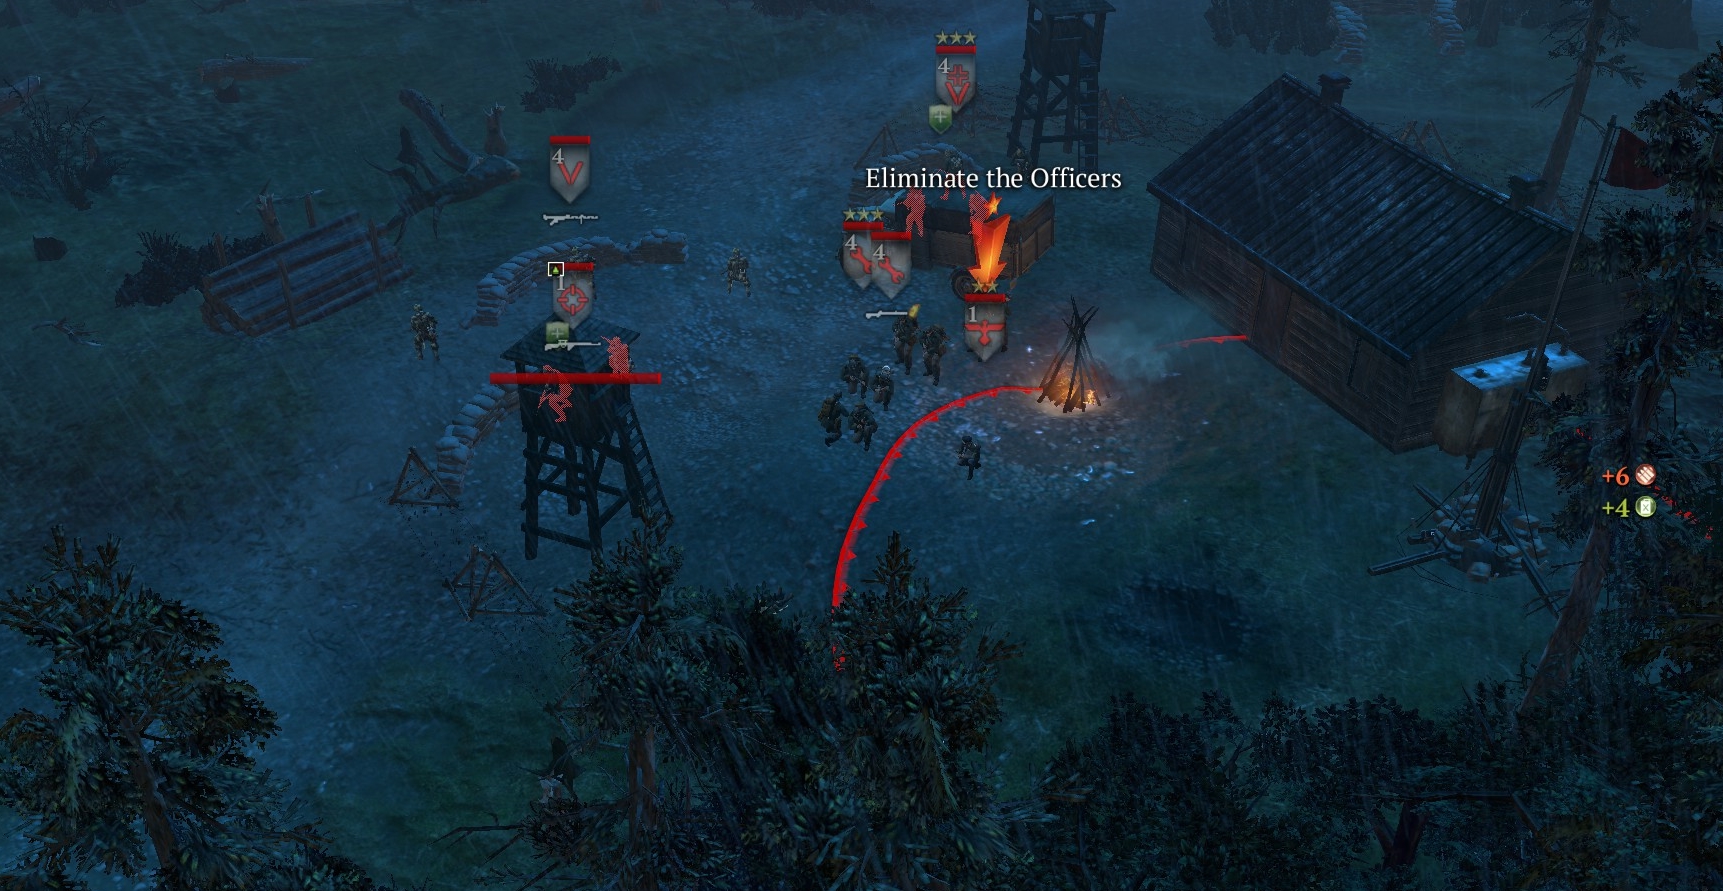
When you kill all the defenders, STAY CLEAR OF THE CABIN. If Ania gets close to it, she will automatically enter it and trigger a phase-change. You don’t want that now.
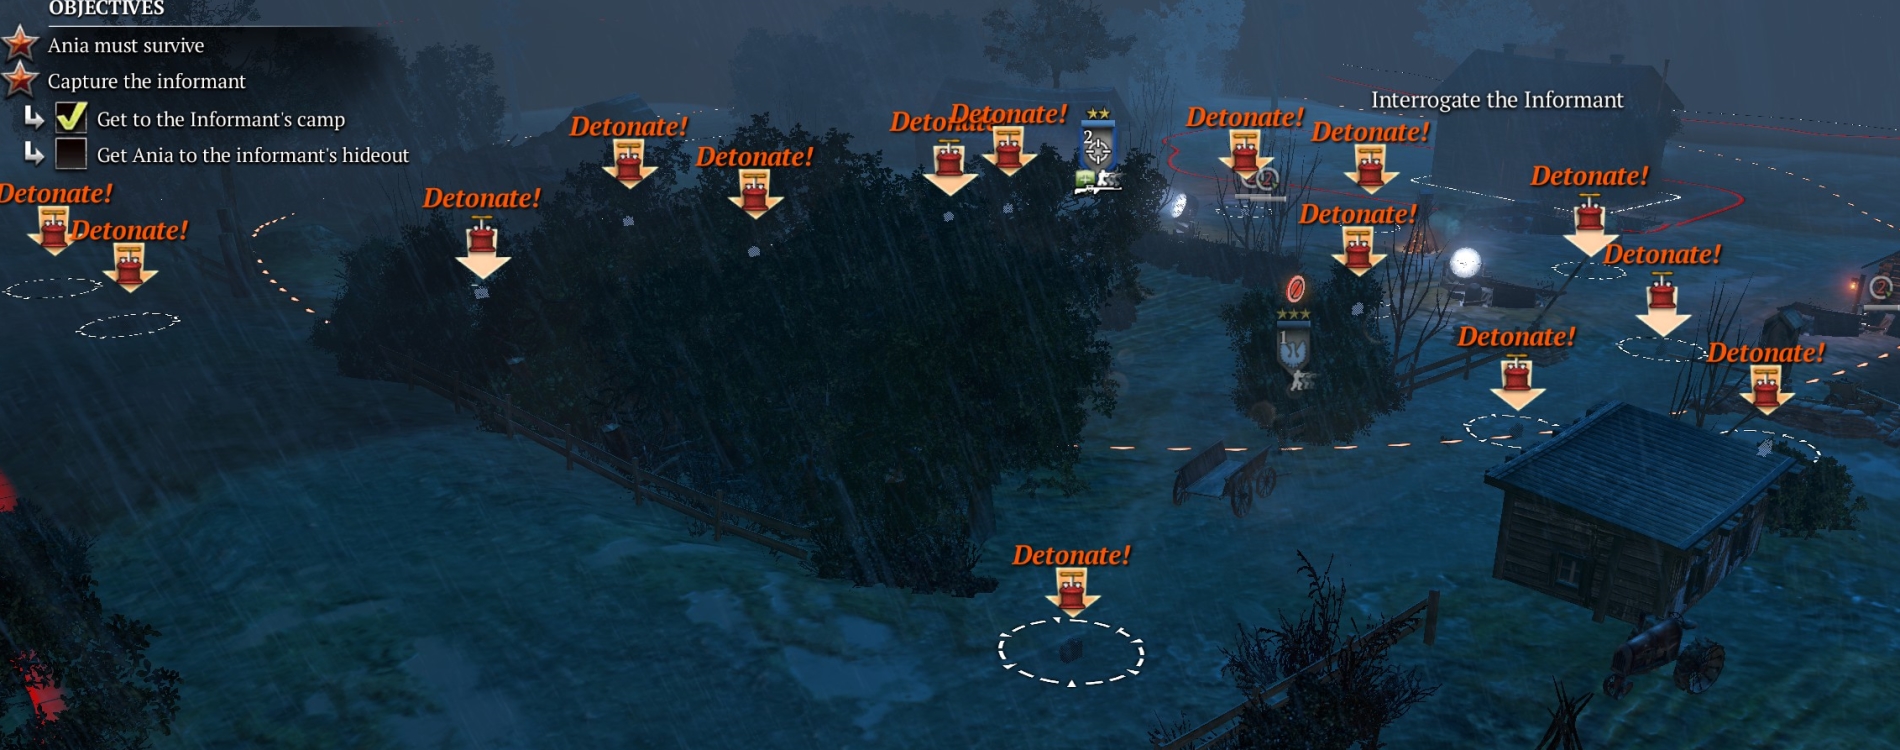
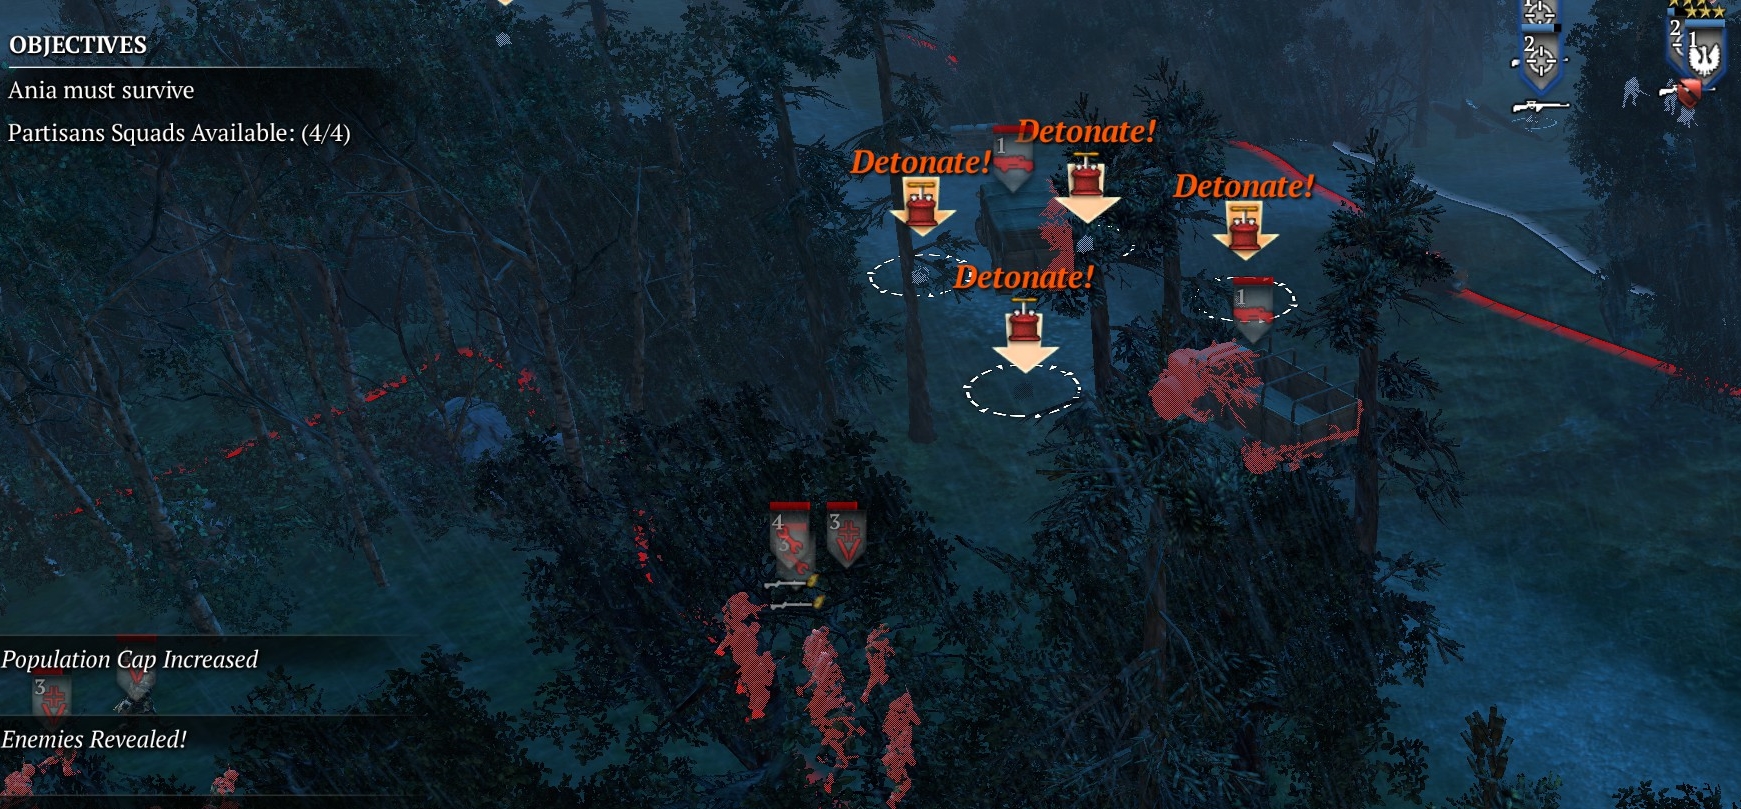
What you want to do now is lay demo charges on all the approaches to the cabin, more or less as shown in the image below—leaving enough space between them that one doesn’t trigger others. Your snipers are much too slow and inaccurate to cope with the counterattack that will come with the phase-change—they need demo charges to do most of the work.
Position your sniper teams—have them make cover—where they can see the approach roads with demo charges. Now have Ania go to the cabin.
With the phase-change, you will get an increase in pop cap to 11, and can bring in more sniper teams up to that limit. Remember that these are green snipers who will struggle to hit anything at any range.
When the counterattack comes, you will have to micro the demo charges carefully to make sure you maximize the kills. Use your snipers mainly against trucks (including 251s) and any German troops that get close to the cabin.
A timer bar at upper left of the UI shows how much time is left until Ania comes out and the counterattacks stop.
POINT 6 (EMPTY POINT) AND POINT 7 (MAKESHIFT PRISON)
Cap point 6, which should be empty, and snatch any muni stash within reach.
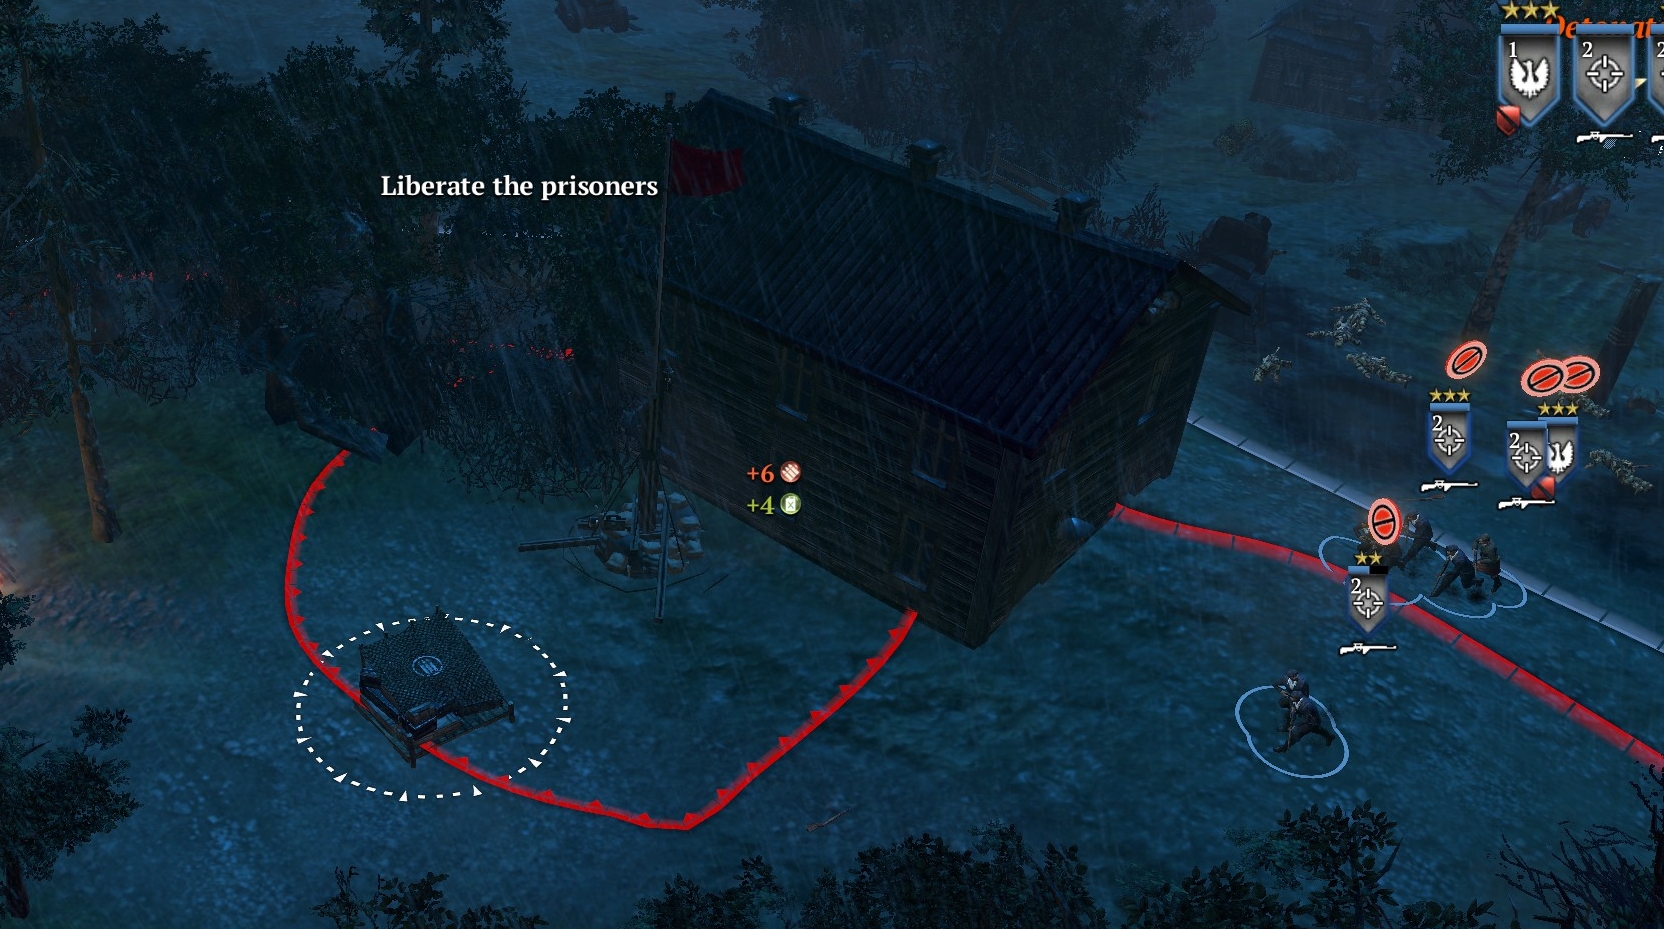
Next, move to the east (right) of point 7 and kill the guarding HMG crew, infantry and officer from max (Ania) range, then set (but do not yet detonate) a demo charge outside the prison gate.
ESCAPE
To succeed in this mission, your snipers (at least Ania) have to move across the map to the road NE of point 2 and “exfiltrate” down a path there. But the path doesn’t open up until you blow the demo charge at point 7 to free the prisoners. Also, just outside that exit point stands a German pio squad with flamethrower.
So what you do is bring all your snipers over there, by first moving east and then south (to avoid a truck and German infantry midway along the straight-line route), then wipe the pios and lay another 4 to 6 demo charges around where they were standing. Then your snipers should move clear to the east, blow the demo charge at point 7 to trigger the final phase-change (ignore the reinforcements that become available at point 7), and finally blow the demo charges at point 8 when the German squads that enter the map run across them (see image below). Kill any survivors/trucks in the way with volleys from your massed snipers, switch on “sprint” mode for them all, and exit for the win.
CUTSCENE
There is another charming postscript in the cutscene that follows. I’m surprised they didn’t bring up Katyn.
***