[29 August 2023]
The Ouren (“Village on the Border”) mission would be a suicide mission in real life, because of the huge mismatch between your force and the German forces it will face. That is true even on level 1 mission difficulty.
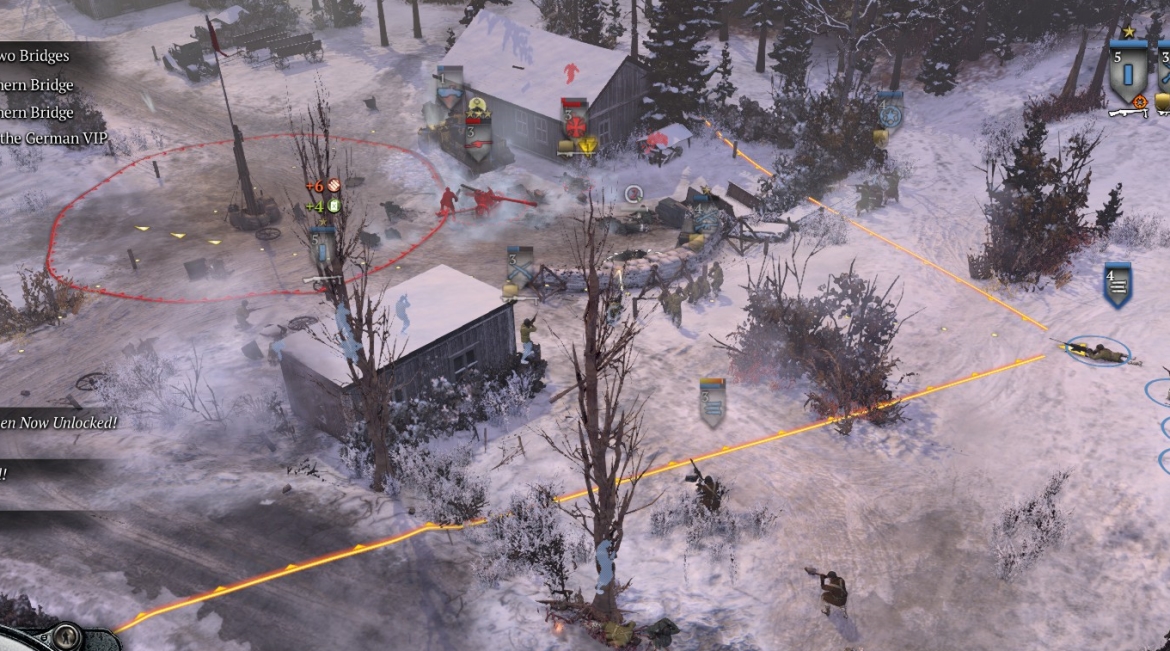
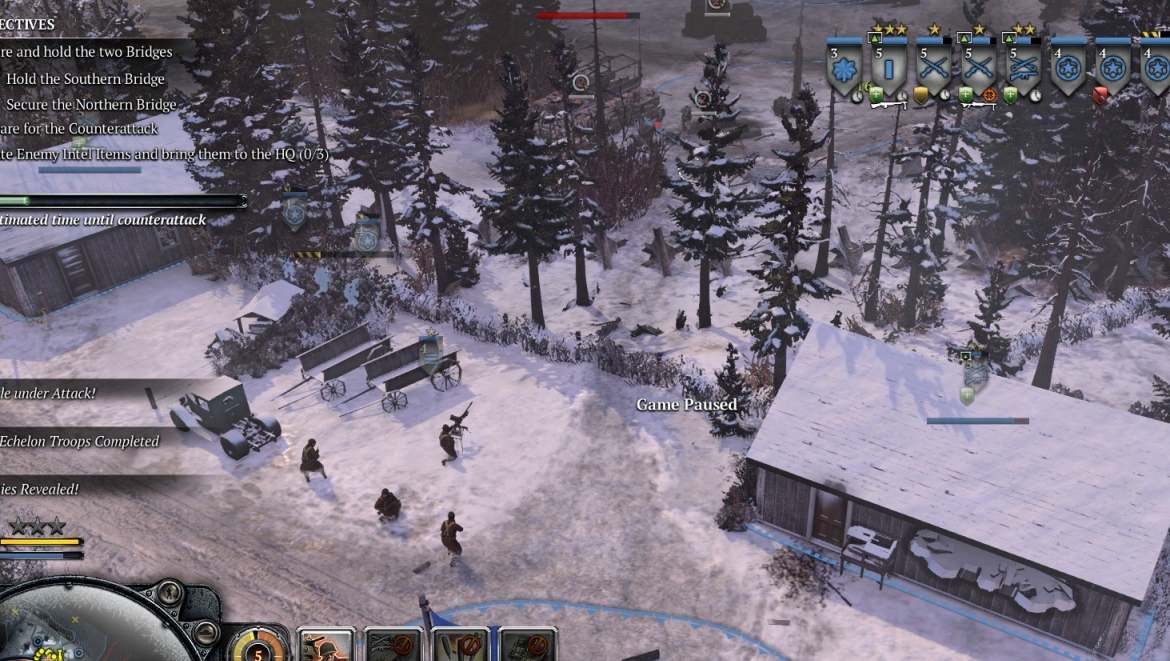
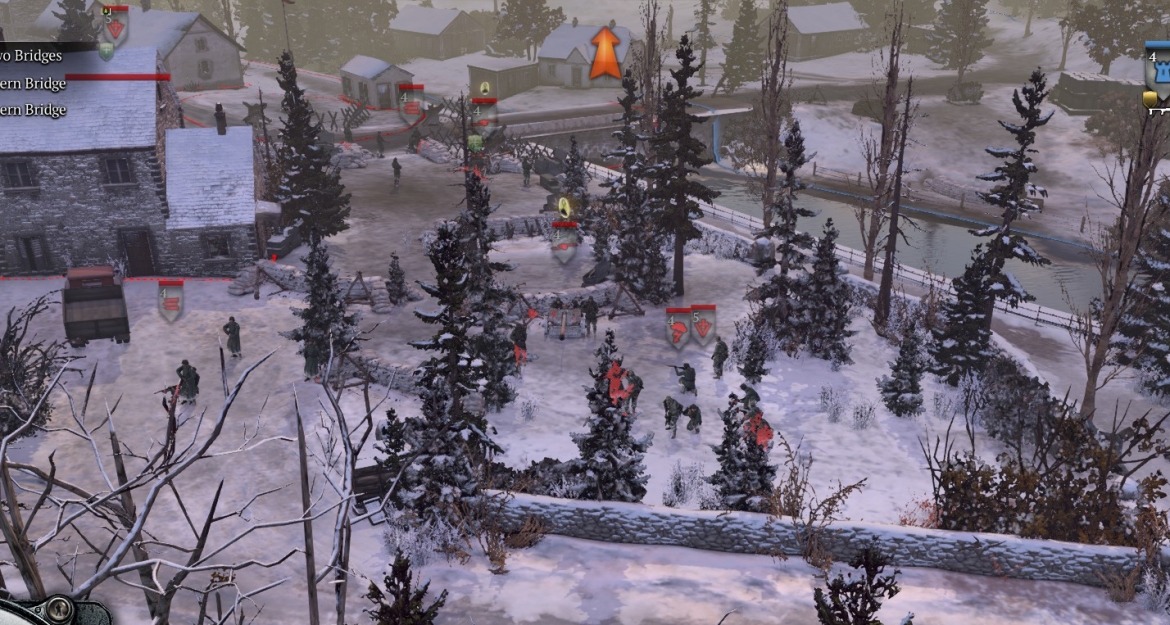
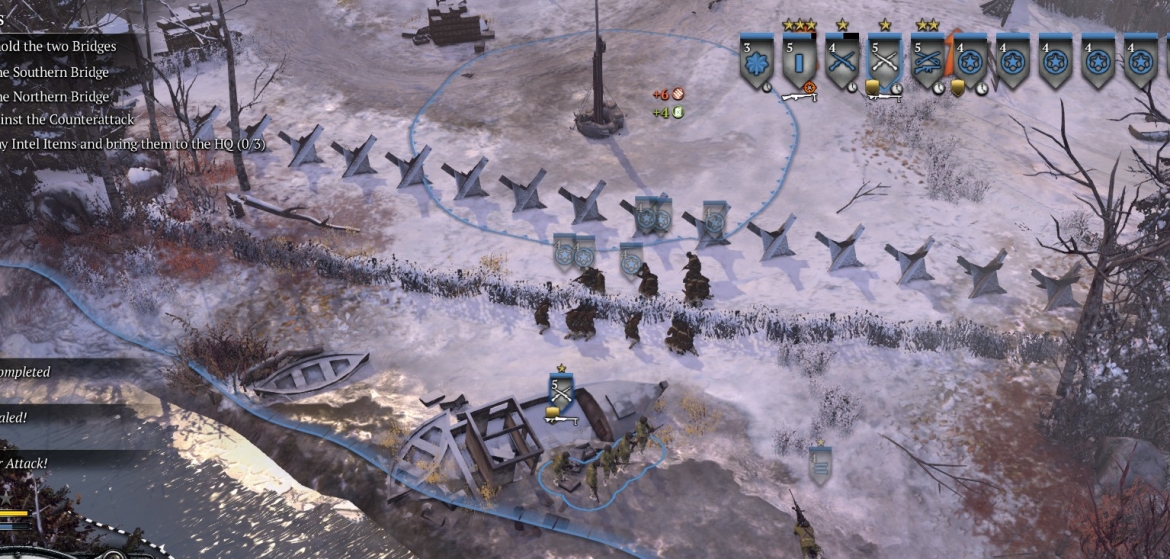
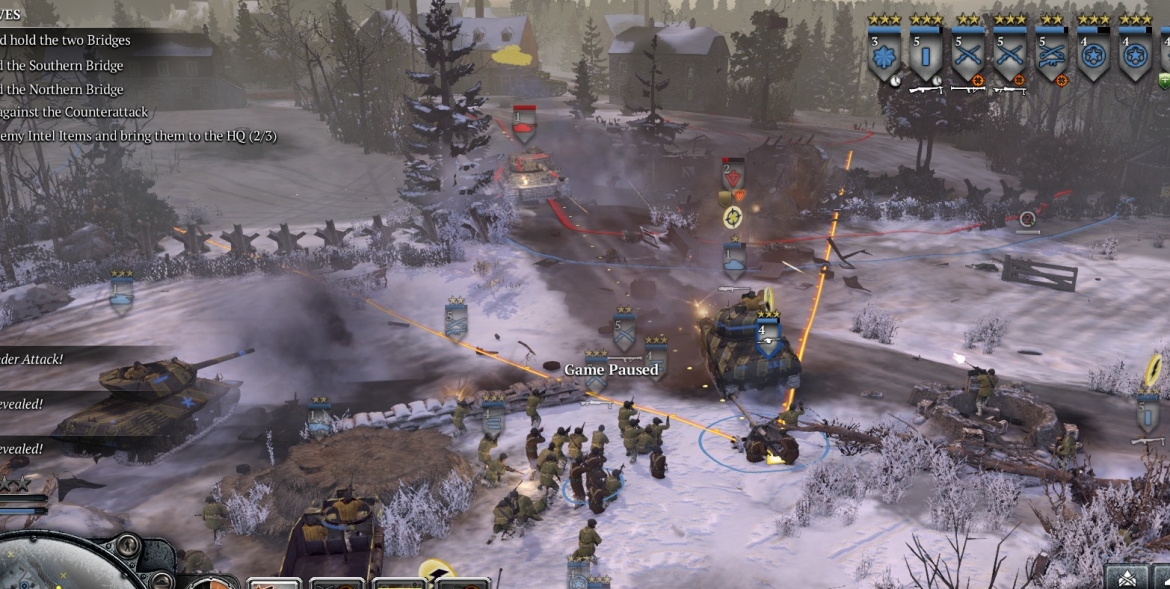
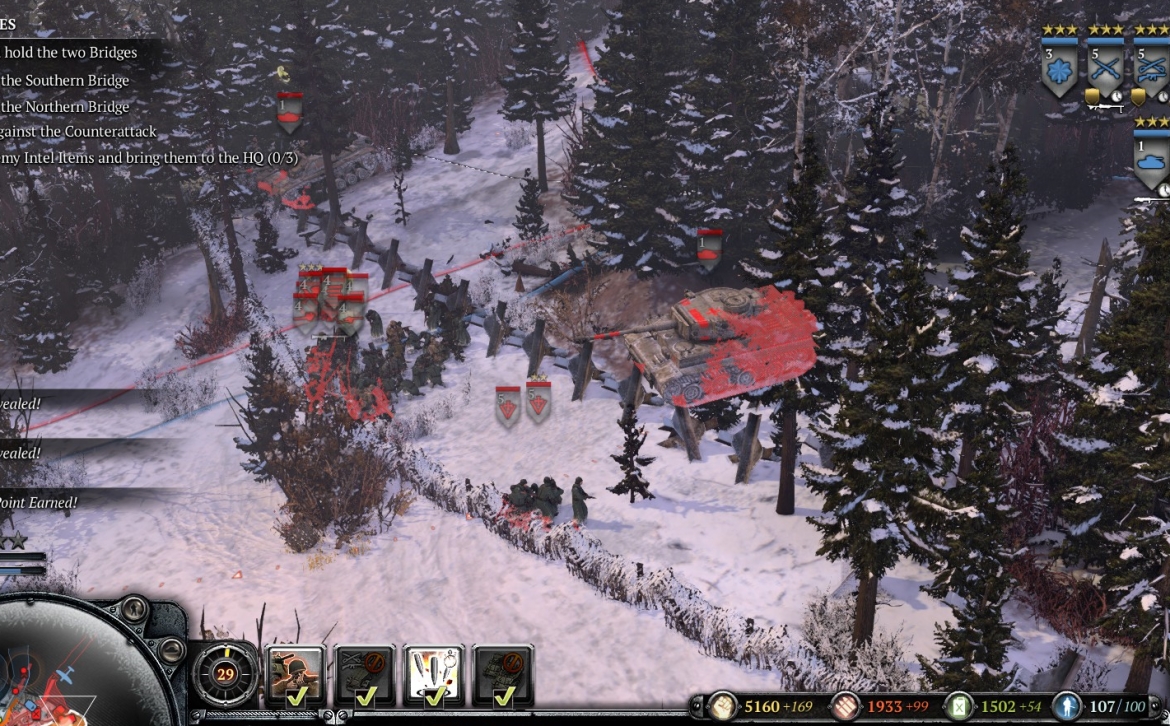
The UI briefing implies that you should prepare an assault team during a few-minute initial prep phase, then quickly fight your way up the map, more or less in a northerly direction, taking four territory/fuel points plus a point at the top of the map at a bridge (“North Bridge”) and a nearby strongpoint on/near a road. You are then supposed to build up defenses in time to deal with a German counterattack from the eastern edge of the map. The counterattack will be very strong, and, at difficulty levels 3 and up will include a Tiger, Jagdpanzer, StuGs, many Pumas and scout cars, elite infantry, infantry support guns, and so on. It will come in from six access routes—four forest paths and two roads—on the E map edge.
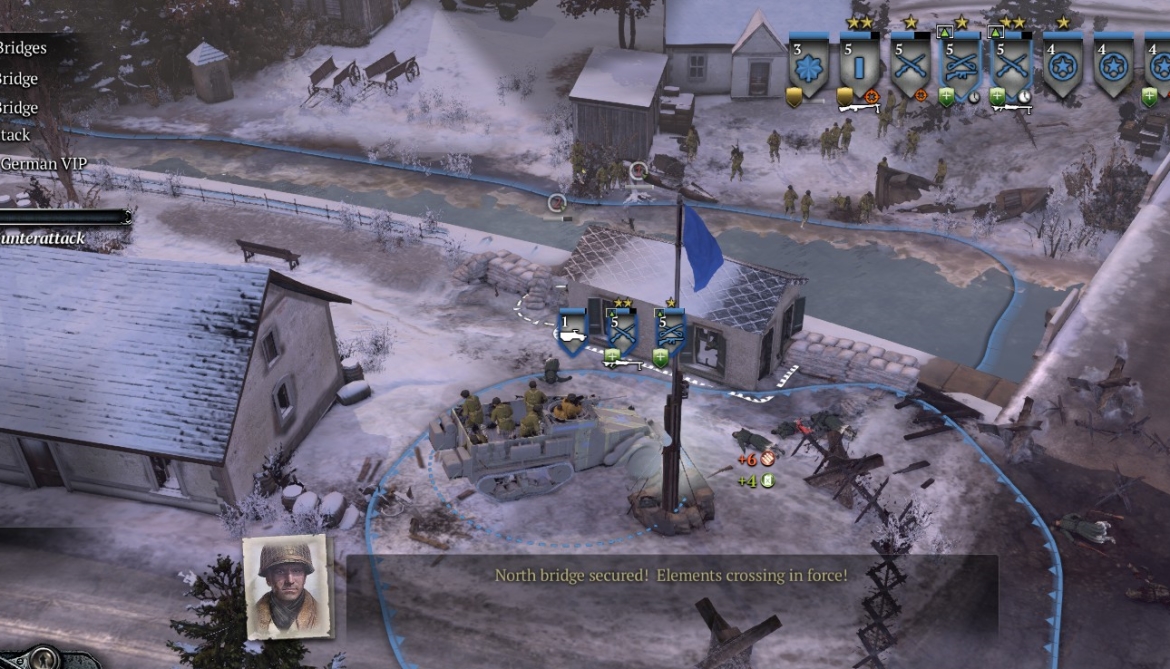
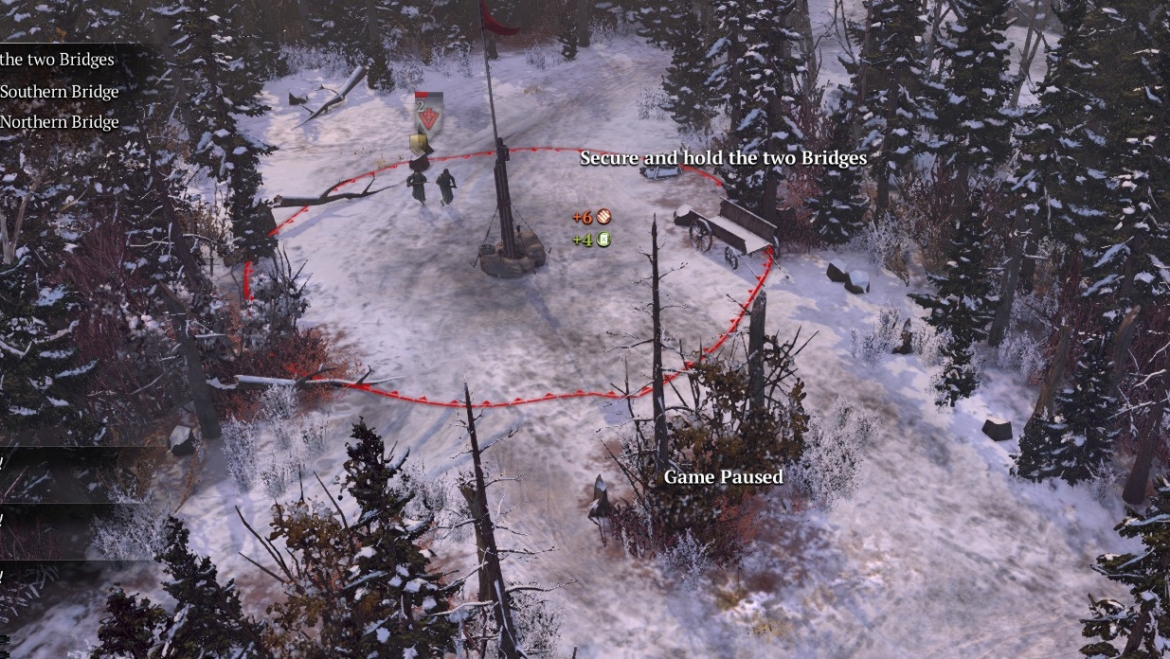
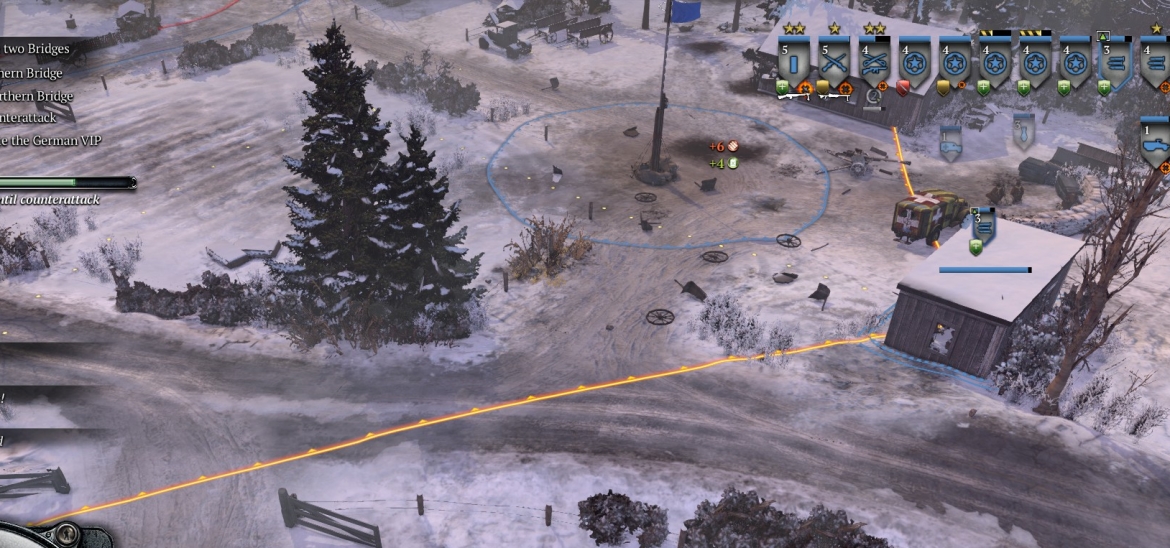
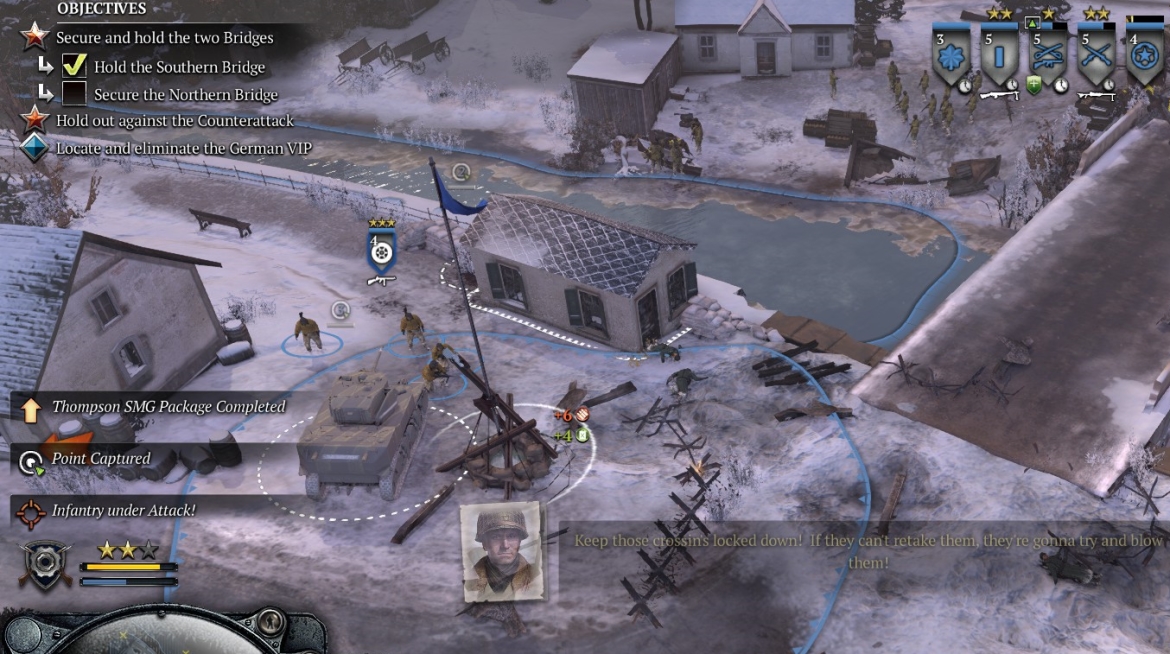
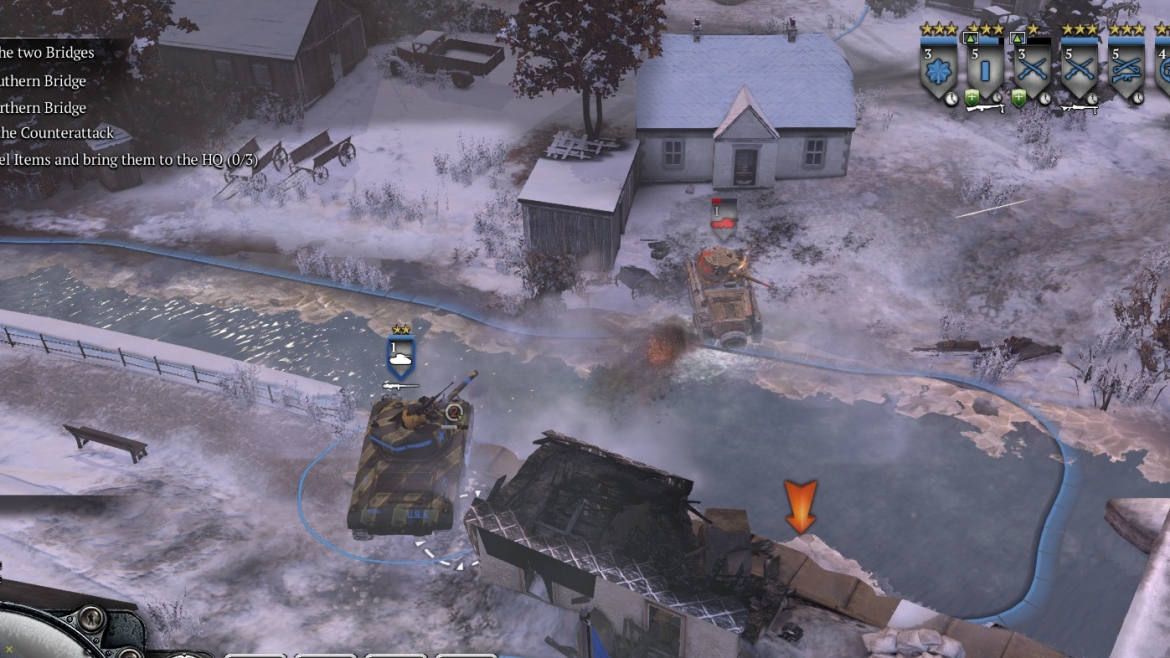
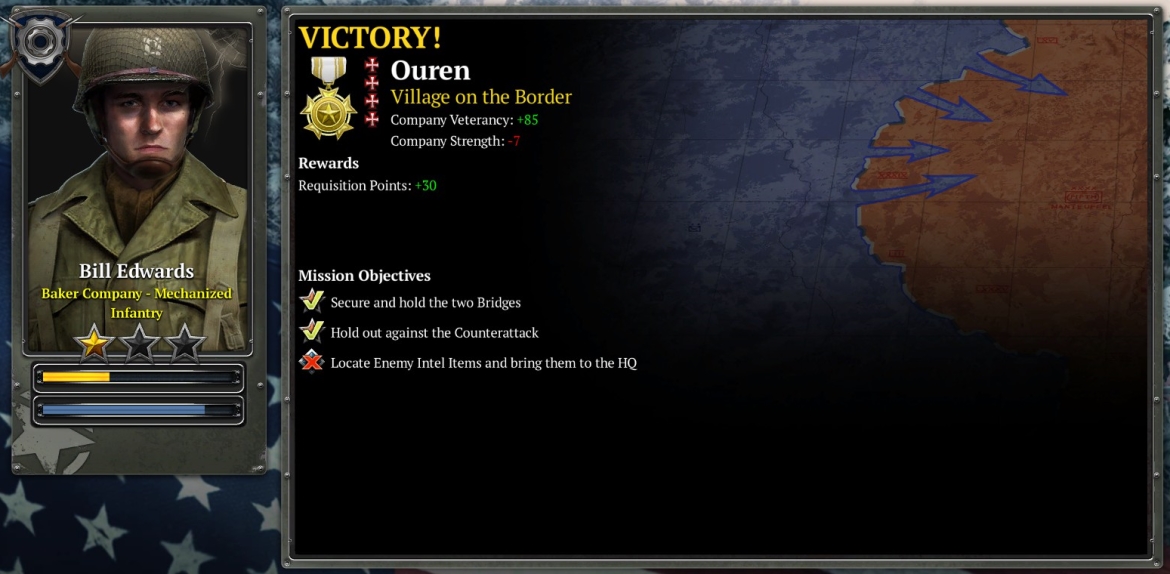
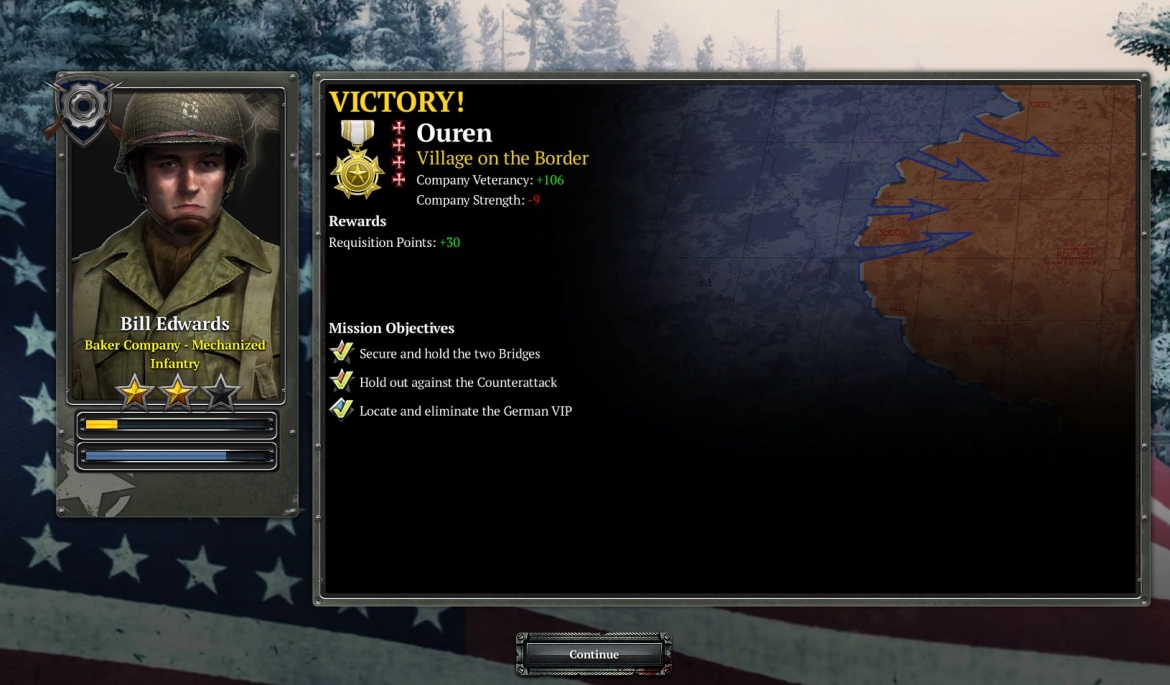
To win gold, three things must be true at the end of the mission: 1) you control points 2 and 3, which are at either end of a bridge (“South Bridge”) near your starting base; 2) either you or your ally must have secured the North Bridge crossing, either by capping the territory point at the bottom of the bridge, or by killing all nearby German units (once it’s “secured,” as stated by a UI voice, you don’t have to guard it); 3) both bridges must be mostly undamaged. None of these condition is particularly difficult to achieve. The real difficulty on this mission is avoiding major casualties.
If you’re feeling ambitious, and are starting with a high-vet, upgraded company, you can fight your way up the map as the devs apparently want you to, and then do your best to defend (mainly at point 3 which is your critical, must-hold point) against the lengthy vehicle-plus-infantry counterattack without resorting to wire or TTs.
Alternatively you can rush to lay wire/TTs to block some or all of the six access routes before the counterattack starts, and then, when the counterattack forces are fully built up behind your barriers, destroy them, mainly with artillery, one group at a time. This strategy sometimes works very well. The problem with it, though, is that your CPU ally will suicidally attack the pent-up German forces, eventually causing the destruction of the wire/TTs you have laid and letting the Germans through prematurely.
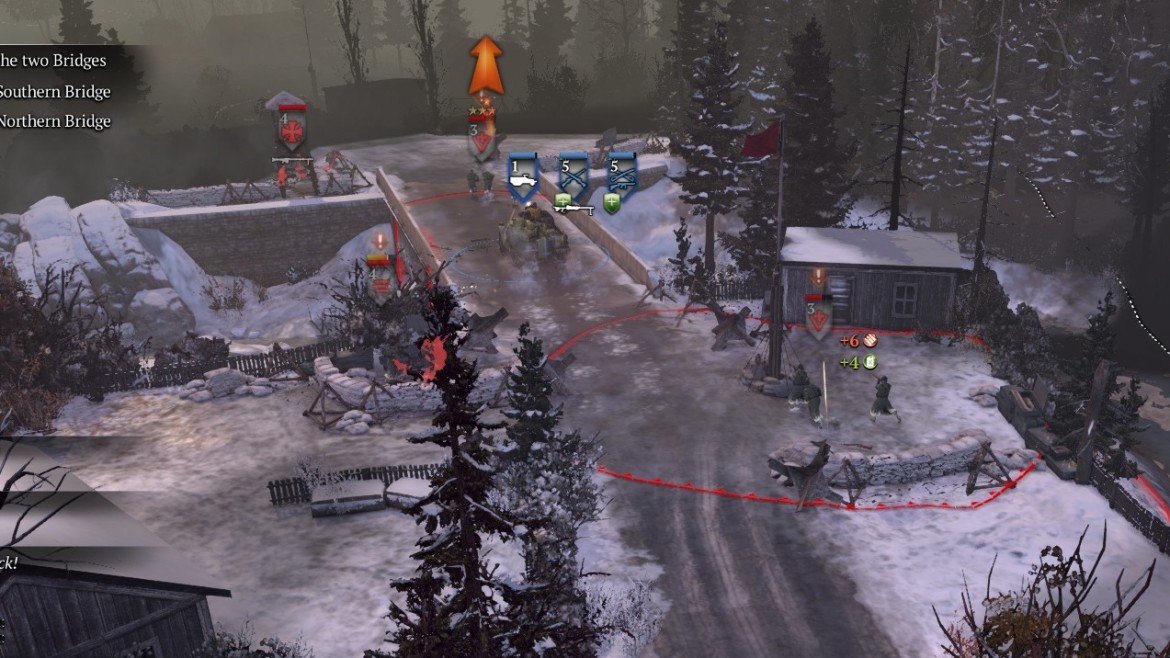
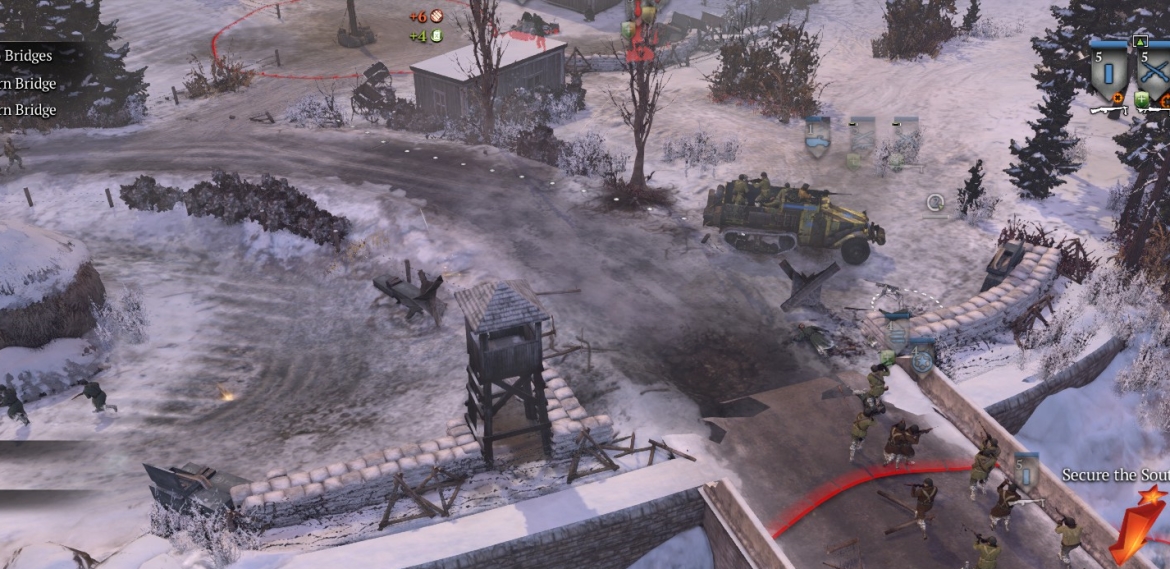
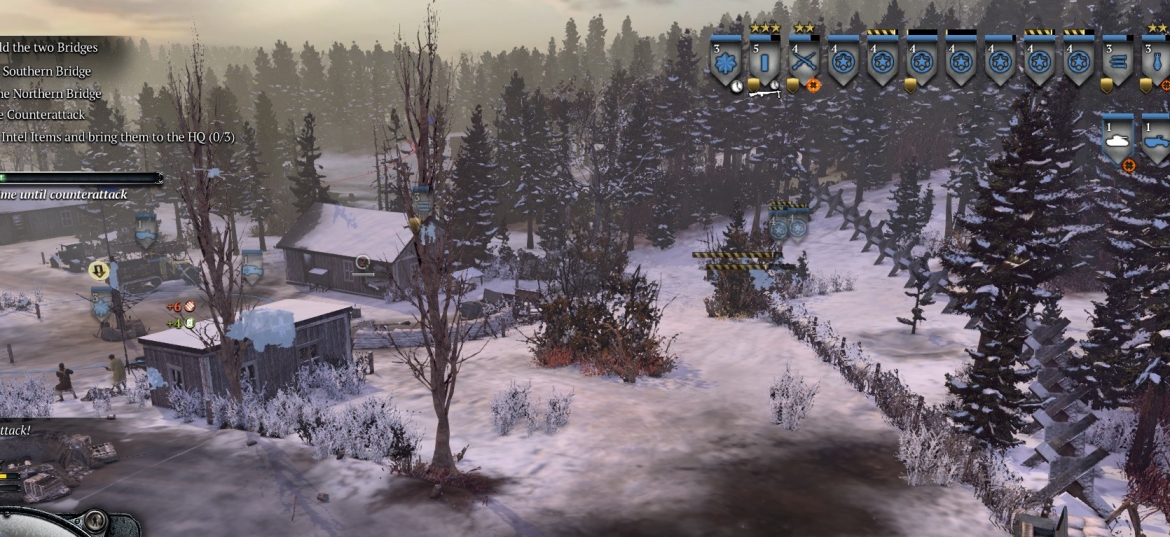
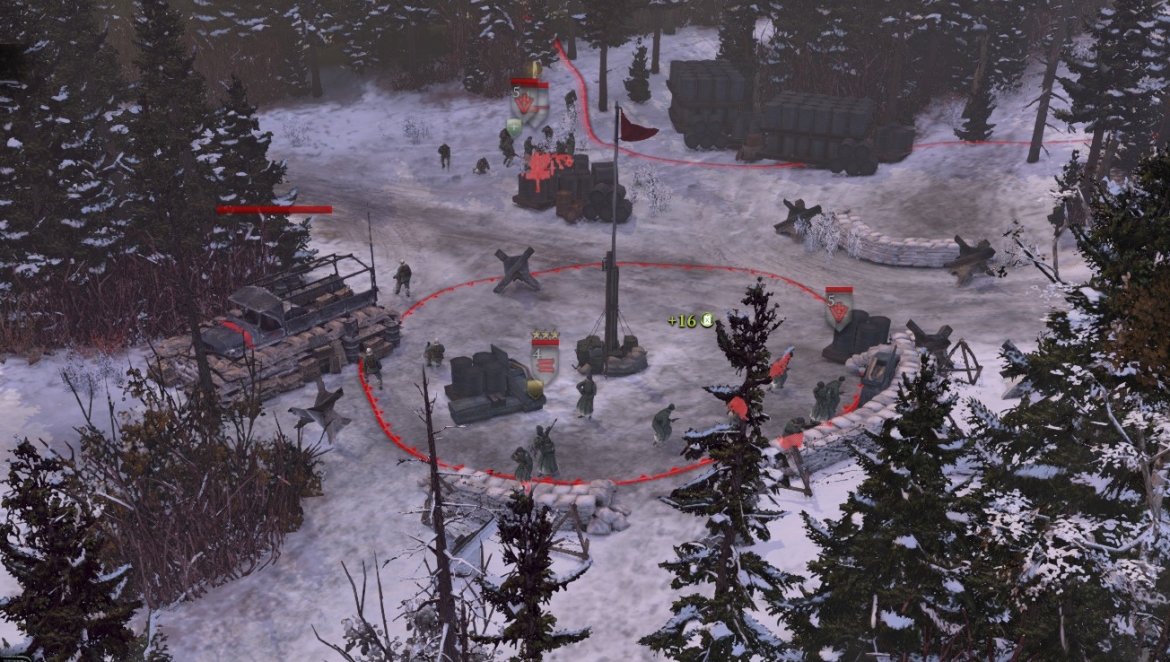
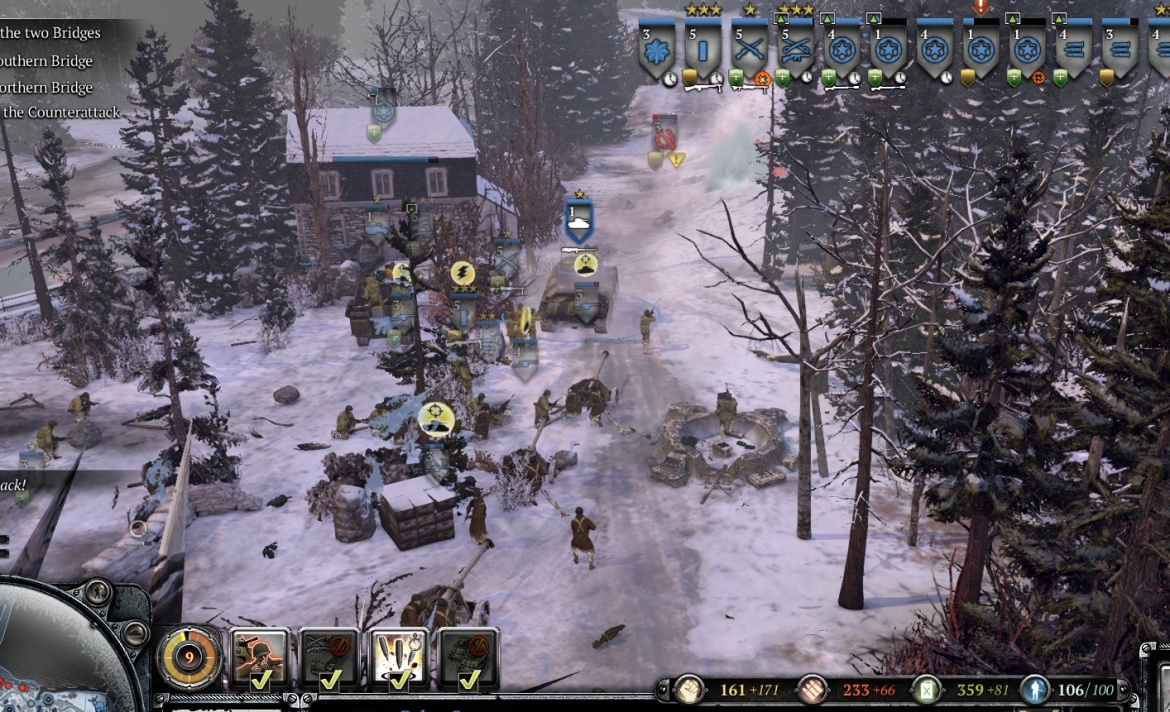
The strategy I favor is simply to take points 1 to 4, and then lay wire/TTs to the N and E, and also well to the W of point 3 to seal it off completely from the German counterattack and keep out the CPU ally (which is effectively the Germans’ ally). At the same time, before the counterattack starts and before finishing the TT-laying, send a Sherman to the North Bridge to kill some German squads and cap the point there. As the barriers are completed, move most of the US force to the SW edge of Ouren town (i.e., outside the barriers around point 3), to take points, kill German base buildings (including one with a flak gun), capture MGs and Paks, and generally speed up the mission. A small “inside-the-barriers” force, including an RE squad, an HMG and LMG-equipped riflemen, should move to a small space below point 3 and out of sight of all the barriers so the German units trapped behind wire/TTs will not fire at them and break the wire/TTs. The job of this inside force is just to terminate any German infantry that somehow, through AI cheating or by exploiting some tiny gap in the wire, get in to point 3.
Eventually, as the outside-the-barriers force does its work, the number of German units on the map will dwindle. There will probably also be some infantry bunched up behind the wire N of point 3, and another large group of infantry, sometimes with tanks, behind the wire/TTs to the east of point 3. Usually once the armor on the rest of the map is kaput, the mission can be completed by targeting artillery, with recon spotting, onto the bunched infantry N of point 3 (with the Sherman standing by to lend assistance as needed), then the bunched infantry E of point 3 (with an M10 from the US base standing by to lend assistance).
Using this strategy you should be able to win with only a handful of casualties and 70+ XP, even with vet-0 Baker Co. Your initial assault team should consist of at least a cav rifle squad with M3, two riflemen squads (one with LMG), a lieutenant unit (with LMG plus the standard BAR), an HMG, and a couple of RE squads, with an ambulance ordered. Vet-2 Baker starts with a Stuart as well as the M3, plus other resource-related advantages, so that is always a safer choice.
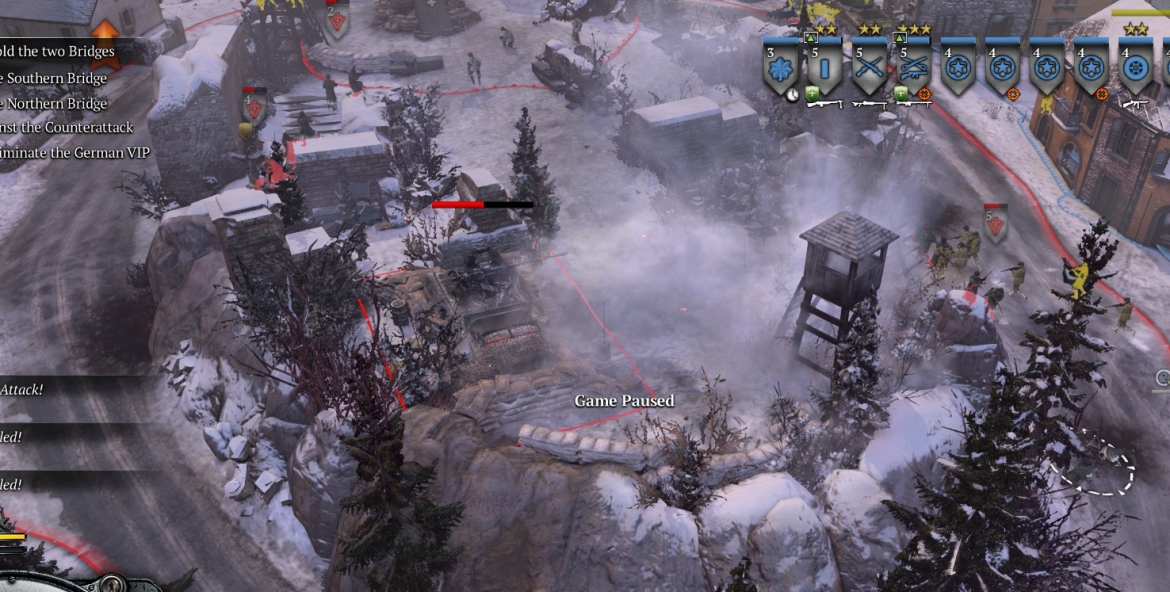
Here are some illustrative images from a level-4 difficulty mission:
Further notes:
- Beware of potential mines (I think on level 5 difficulty) in the two territory points to the W and NW of point 3.
- Infantry pathing on this cluttered map is sometimes very erratic. There is also a bug that can trap RE squads in wire and TTs; if the unit can’t retreat, dismiss it and bring in another.
- Some TT- and wire-laying, especially to the west of point 3, will necessarily take place after the first attack wave has started. Just keep your RE squads working, and guard them with infantry, and armor if you can. The first German counterattack wave is fairly mild.
- Do not build any firing position or muni/fuel cache within sight of where German units will be trapped behind your TTs; the units (including tanks and Paks) will shoot at such structures and, in so doing, destroy your TTs/wire.
Side-missions:
- VIP-kill: This can be left to your allies to achieve after you have secured the north bridge—they generally get it done.
- Tank-kill: You can leave this to your CPU ally, or accomplish with your Sherman plus artillery.
- Intel-gather: Not very do-able unless you have substantial control of the town before finishing your TT/wire-laying.
***