[13 August 2023]
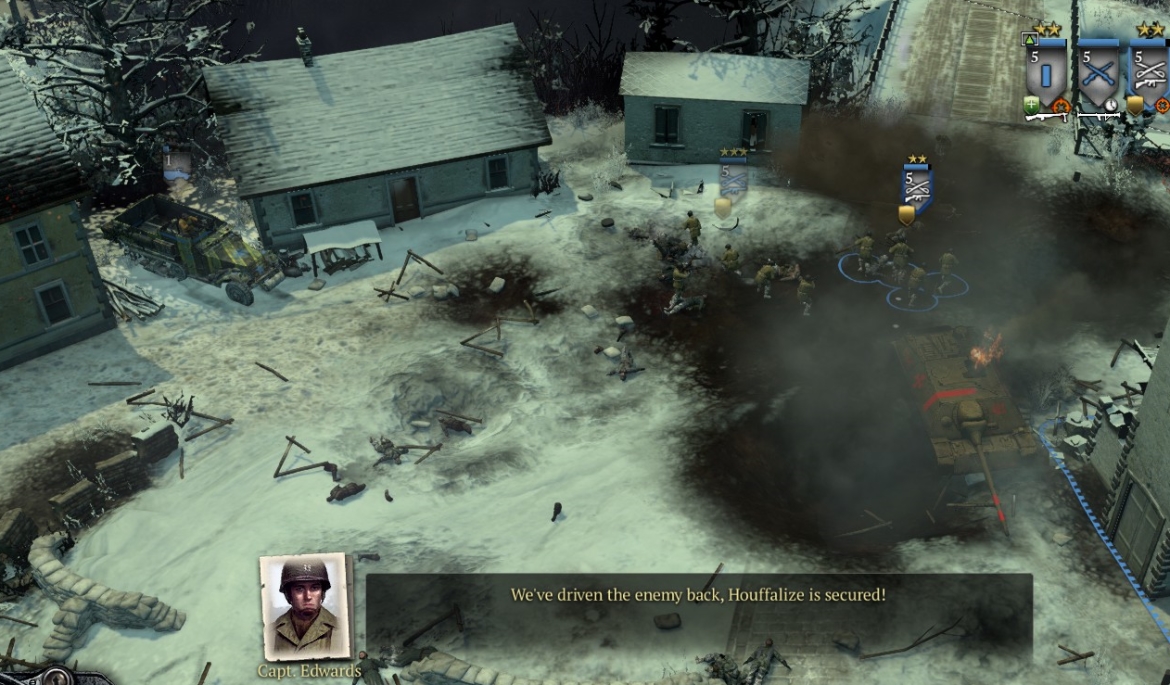
The Houffalize fight-your-way-up-the-map mission (“The Linkup”) is easy enough to do with any company, especially on the usual level-2 difficulty, although the initial availability of an M3-mounted cav rifle squad makes Baker probably the best choice. This guide assumes Baker.
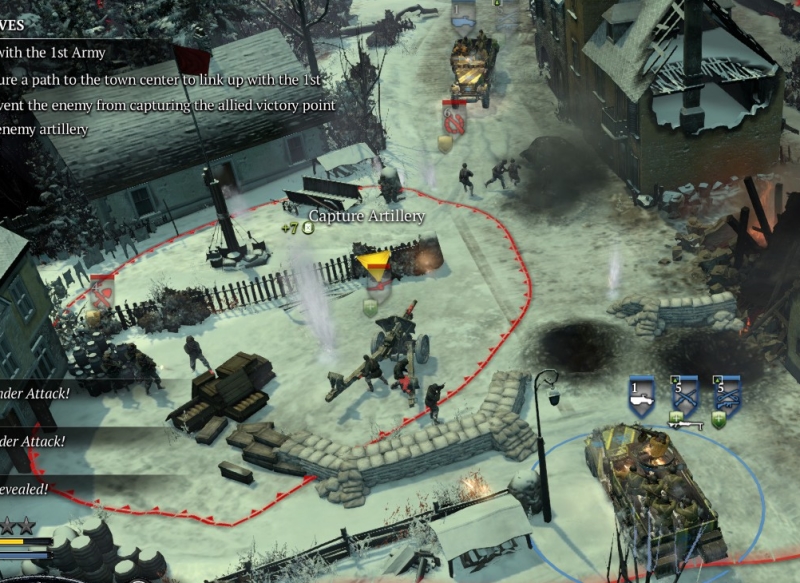
Winning gold on this mission means capturing two German artillery pieces intact and then (with the help of their fire) fighting your way, within a certain time limit, to the top of the map, ultimately breaking German resistance at a river crossing and letting your allies there move into the town. I don’t know what the exact time limit is, and there is no mission timer anyway, but I have only rarely failed to achieve gold on this one, so it isn’t hard. Just don’t waste time!
Taking the first two points
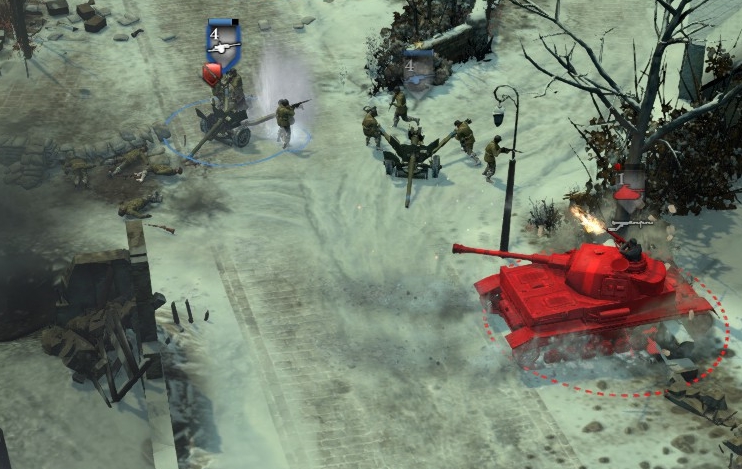
Call in a rifleman squad, but head immediately with your starting units from your base to the territory point that is just N of the right fork in the road. Kill the single infantry squad (on level-2, sturmpioneer) guarding it. Cap it, and use your RE squad to build a munitions cache.
The next point to the N has an artillery piece (firing at your allies at the N of the map) and two or or three German squads guarding it (on level 2, a sturmpio and panzerfusilier squad). Equip your incoming rifleman squad with an LMG from the base, and send it up to join the cav rifle squad in the M3. When that is done, the M3-mounted squads can assault this next point. When the M3 is damaged, your squads should dismount but stay mobile to avoid being grenaded.
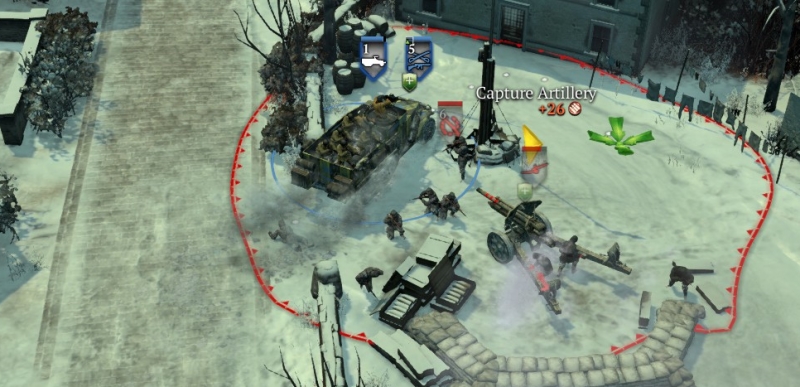
When the firefight is finished, use your RE squad to crew the artillery piece. Cap the point. Reinforce the RE squad. Call in an ambulance. Call in a lieutenant unit and another M3-plus-cav-rifle unit.
The side-mission will now be announced. Sometimes this is a rescue-allies mission at a house to the E of this point you just took, across a small bridge—now is the time to do that mission, if you can (your squads may have to go on foot if the M3 is damaged/destroyed).
If the side-mission is instead a tank-kill or VIP-kill, the tank/VIP will be at a point about halfway up the map, at the W edge. Use your first artillery salvoes to target the tank/VIP until it’s killed.
Thereafter use captured artillery to target 1) German units facing your allies in the N, and 2) the areas around the two topmost points on the map, which have relatively strong defenders. However, do not use your first captured artillery piece to shell the point to the W that has the other piece. You want to capture both guns intact.
Taking the second artillery point and the point above it
Coming up from two directions (from the S via the road-fork near your base, and through alleyways from the E), assault the other point that has the artillery piece. Crew it and cap the point. Heal/reinforce with the ambulance.
The next point N on this left branch of the road is, on level 2, guarded usually by three infantry squads. On level 3 or 4, these can be more numerous and include fallschirmjaegers and an HMG.
To the left of this point, across a bridge, is the area where the tank-kill and VIP-kill side-mission targets are situated. The intel-gather mission also usually has intel items here. Clearing that area is difficult, though, even on level 2, because of fallschirmjaegers, HMGs, etc. You will need artillery support. It may not be worth it.
At the last point you’ll be taking in this mission, you’ll need some AT power. Now is the time to prep for that. Call in 1-2 AT guns and equip at least one of your rifle or RE squads with a couple of bazookas.
The next point to the NE
This point, just below the VP at the top of the map, is better guarded than the last ones. On level 2 it usually has a volksgren squad with panzerschreck and two sturmpio squads. On level 3-5, expect fallschirmjaegers as well. If you go in with M3-mounted infantry, be ready to dismount your SMG-equipped squads and attack the schreck squad first. Consider also placing some of your longer-range units (LMG-equipped riflemen, BAR-equipped lieutenant) in buildings here. On level 3 and up, this point may also be covered by a mortar halftrack, a raketenwerfer unit in the building N of the point, a Puma, and an HMG—which is why you should soften it up a lot with artillery first.
The VP at the top of the map
This one you should be sure to hit with at least a couple of artillery salvoes before attacking. On level 2 there will be a Pak-40 and an HMG within the point, plus some volksgren and panzerfusilier squads, and a Panzer IV lurking behind buildings just to the NW. On higher levels, there will be a Pak-43, two HMGs, more elite infantry, and two Panzer IVs.
Generally, to take this point requires artillery beforehand to kill the HMG(s), Pak crew, and most infantry, and then a well coordinated assault in which your AT guns come up, guarded by the rest of your infantry, to kill the Panzer(s). It can get pretty hairy, since your unvetted AT guns will move slowly, and the Panzer IV will always try to get behind them. Bazooka-equipped infantry are useful here because they are more nimble than AT guns, even if they are more fragile.
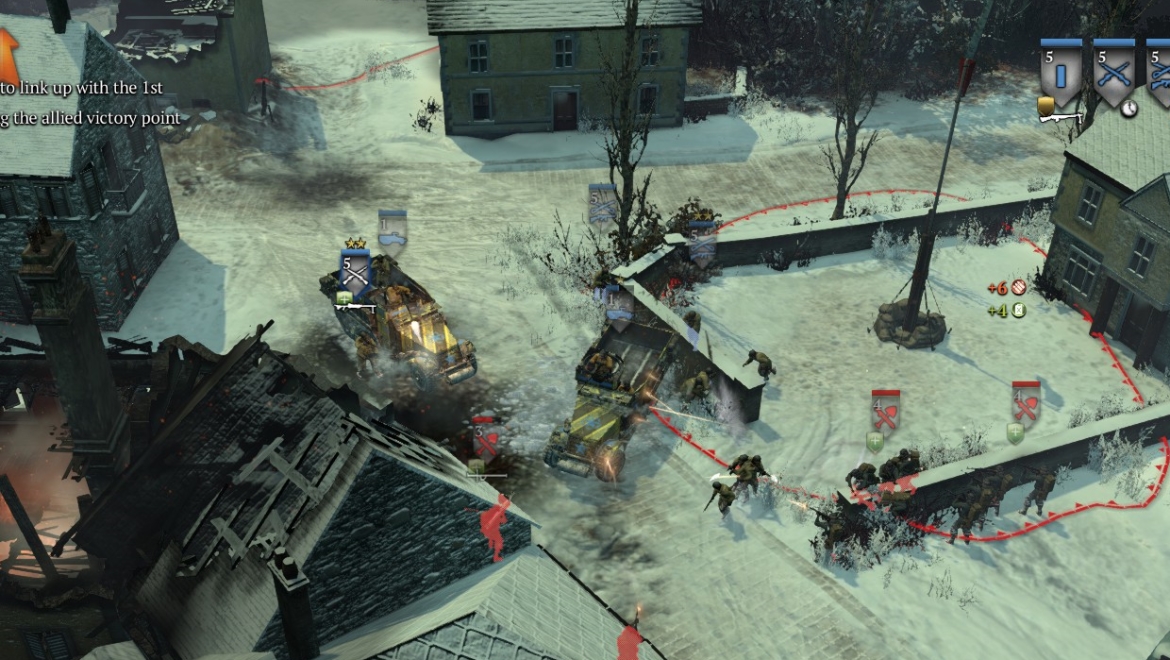
Killing the remaining German force
As you cap the VP and heal/reinforce squads, crew any remaining HMG and Pak here and set them up with your American AT gun(s) and other infantry to cover German assaults (elite infantry, Panzer IV, Jagdpanzer) from the area around the church to the N, and the riverside positions to the NW.
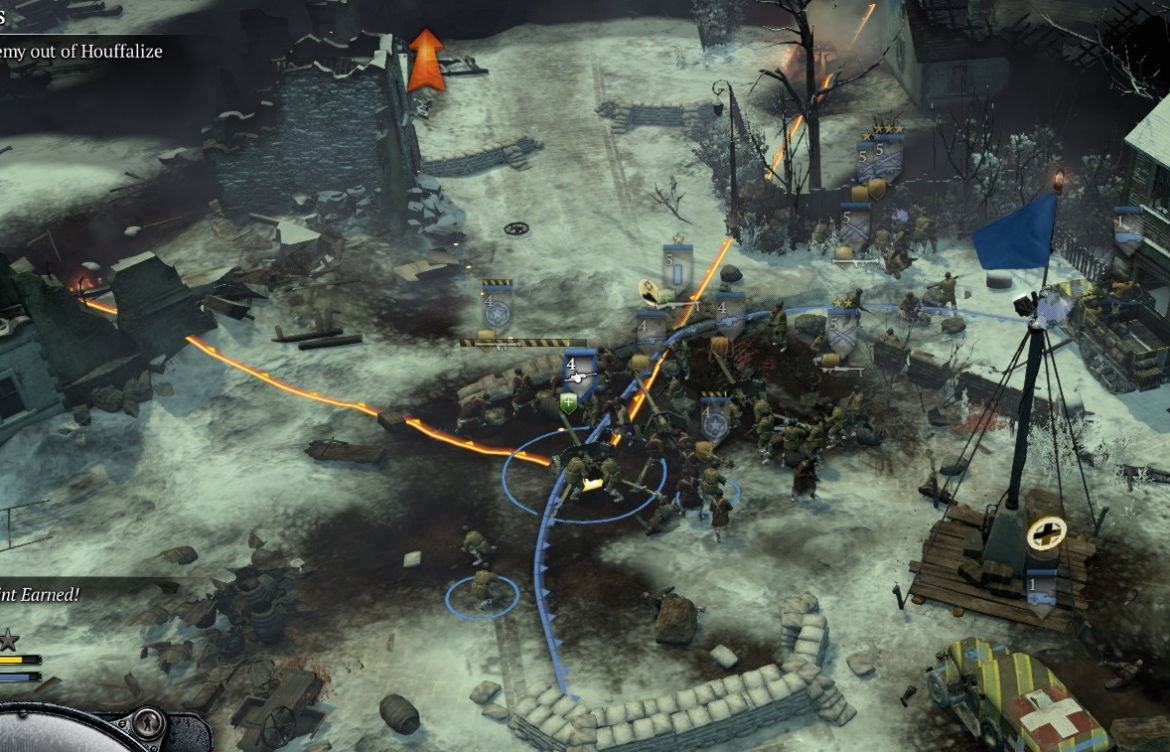
Use your captured artillery and your company artillery to blast these remaining German-held areas. When the German armor is destroyed, you can go in with M3-mounted cav rifles to mop up remaining German infantry, priority targets being the HMGs guarding the river crossing. Once the German vehicles and HMGs are gone, your allies will advance across the bridge into the town, and your mission will be accomplished.
♠♠♠