[14 August 2023]
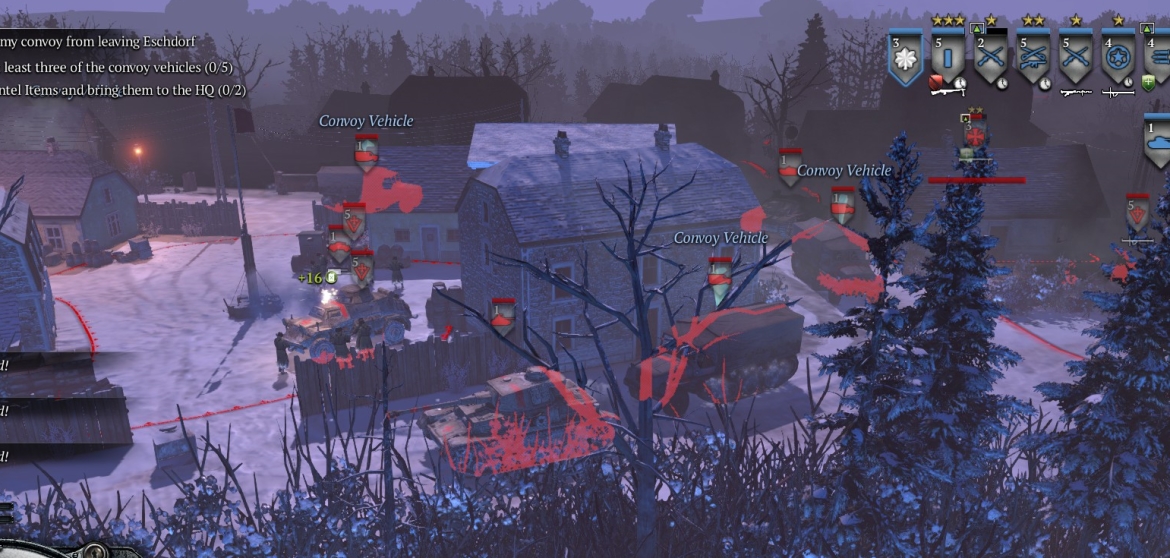
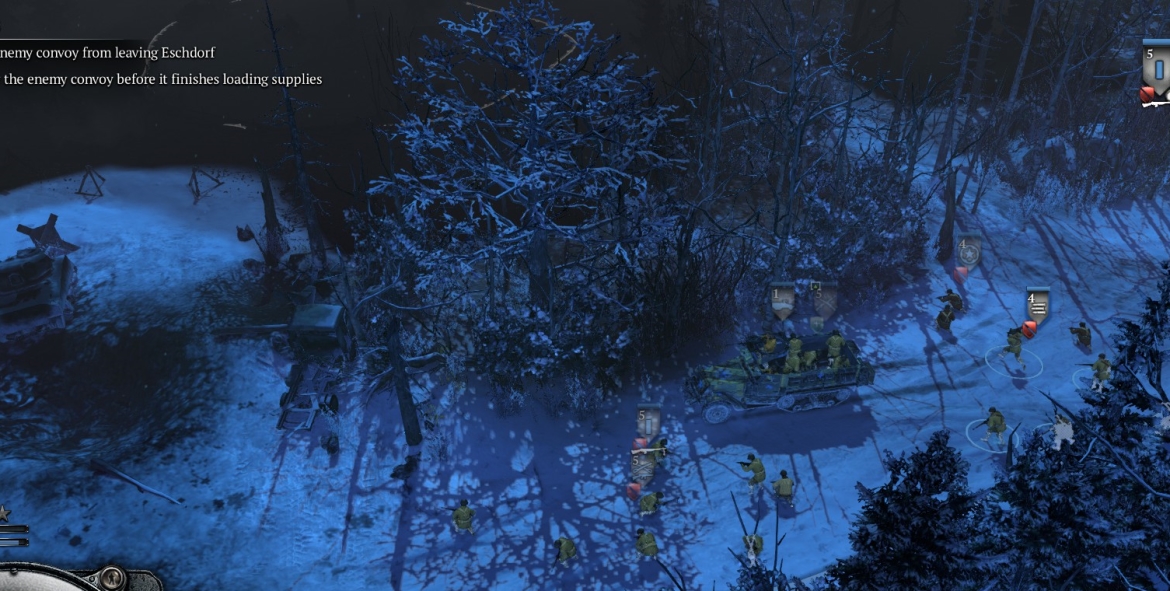
For the Eschdorf mission, you start from a base at the S of a long map. Your task is to move up the map, capturing several key points, until you are near the top of the map, in position to destroy five supply trucks as they leave a depot. The central road that runs north from your base into the town with the depot is very well guarded with HMGs, Paks, and elite infantry, so heading up that road really isn’t a viable option. Your only viable options are to make your way up narrow, forested paths on the left or right side of the map. I find the left one much easier. A timer bar at the top will appear several minutes into the game, and you will need to strike the depot when there is at least ~40% of the time left on that bar, and then kill all five trucks as they try to move out of the town.
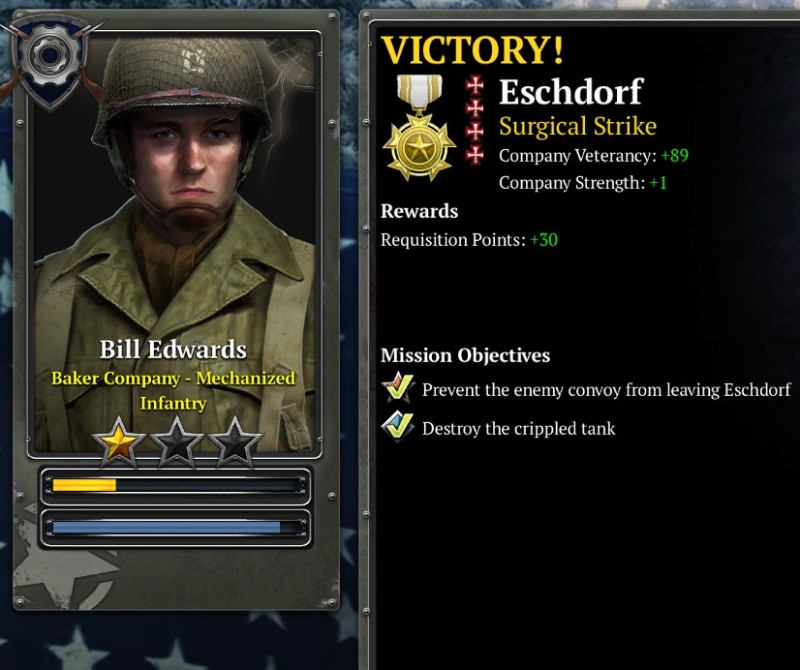
This mission is challenging but very winnable, with the gold medal, on any difficulty level, and with any company, although Baker Co. seems best suited for it. This guide assumes you’re using Baker.
Remember that time is of the essence on this mission.
Initial assault force
Typically you start with an RE squad, a cav rifleman squad, and a halftrack. Add a rifleman squad, a Lieutenant unit, and an HMG and you’ll be good to go.
First fight: fuel point
Move your force down to the road (via the wide and thin access paths) and a bit left. Your force will now be just S of the first point you have to take, a fuel point. The defenses at this fuel point vary according to the difficulty level, but expect volksgrens and at least two panzerfusilier squads. The latter are especially dangerous because of their AT-nades and anti-personnel grenades.
From where your force stands on the road, there are two paths to the fuel point, one to the left and one to the right (see image above). Send the halftrack with the rifleman squad, followed by the Lt. and the cav rifles, in via the left path, and the HMG and RE squad by the right path. The first group should go straight in along the left side of the fuel point, at the same time the HMG sets up behind sandbags at the lower right of the fuel point. Basically the HMG should suppress the German units while the cav rifles (equipped with Thompson SMGs) and the Lt. unit (equipped with BAR) shoot them down. The halftrack with rifleman squad is mainly a decoy to distract the panzerfusiliers, who will AT-nade it and may destroy it (riflemen should dismount asap after getting into the point area). Keep everybody moving to avoid grenades.
When you’re done, crew the AT gun the Germans left at the point, bring in your ambulance, and heal/reinforce. Upgrade your rifleman squad now with an LMG at your base. Call in another cav rifle unit with halftrack—cav rifle firepower is very useful for the close-quarter firefights on this mission.
Second fight: territory point on slope
The next point in your journey is NE from the fuel point. A halftrack with two cav rifle units should do. Usually as you move into the point a fallschirmjaeger squad comes out from the wooded path just to the N of the point. SMG-equipped units in a halftrack at close range are about the only thing in COH2 that can reliably make short work of a fallschirmjaeger squad.
Don’t move your halftrack far into the point, or the fallschirmjaegers will run back down the path to the W, and then S to attack your units still in the fuel point. If that happens, use your HMG to suppress the Germans as they come out of the woods, and other units to kill.
Third fight: path to next territory point
The next territory point to cap is not the one immediately NE of the just-taken point. It is the one that lies a bit further away to the NNW. It can be accessed by a narrow forest path running straight north of the fuel point, or via the wider (vehicle-accessible) path that runs W from the territory point you just took. When you have capped that territory point, send your HMG and a supporting rifleman squad up the narrow, infantry-only path, as your halftrack with cav rifles/Lt. takes the wider path in a W direction from the capped territory point. There is usually a vetted panzerfusilier squad at the intersection of these paths, and another one, schreck- or LMG-equipped, about 10 meters north. Use your HMG to suppress the first squad, and your other units to kill both squads. This can be a tough fight and you might lose a halftrack at least. Remember that panzerfusiliers carry antipersonnel as well as antitank grenades.
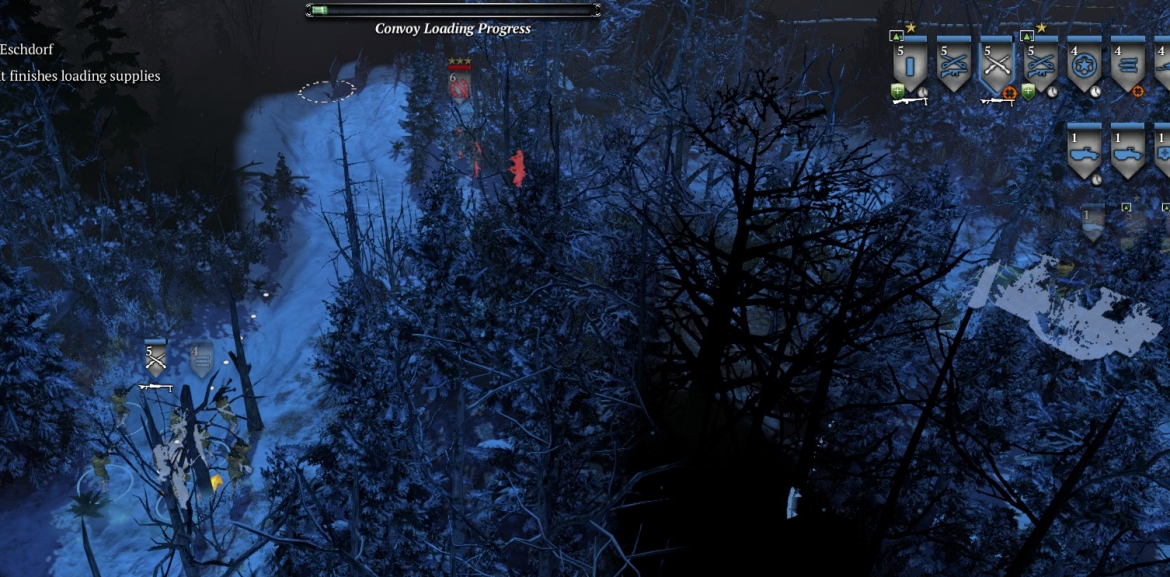
At the end of this firefight you may find an LMG or a schreck on the ground where the last panzerfusilier unit died. Have your Lt. or rifleman unit pick up the LMG, and your RE squad take the schreck.
Now bring the rest of your units, including the ambulance into this path area, and heal/reinforce. Use your RE squad (bringing up the rear) to build a munitions cache on the capped territory point.
If you already have the manpower/fuel points, order in a major.
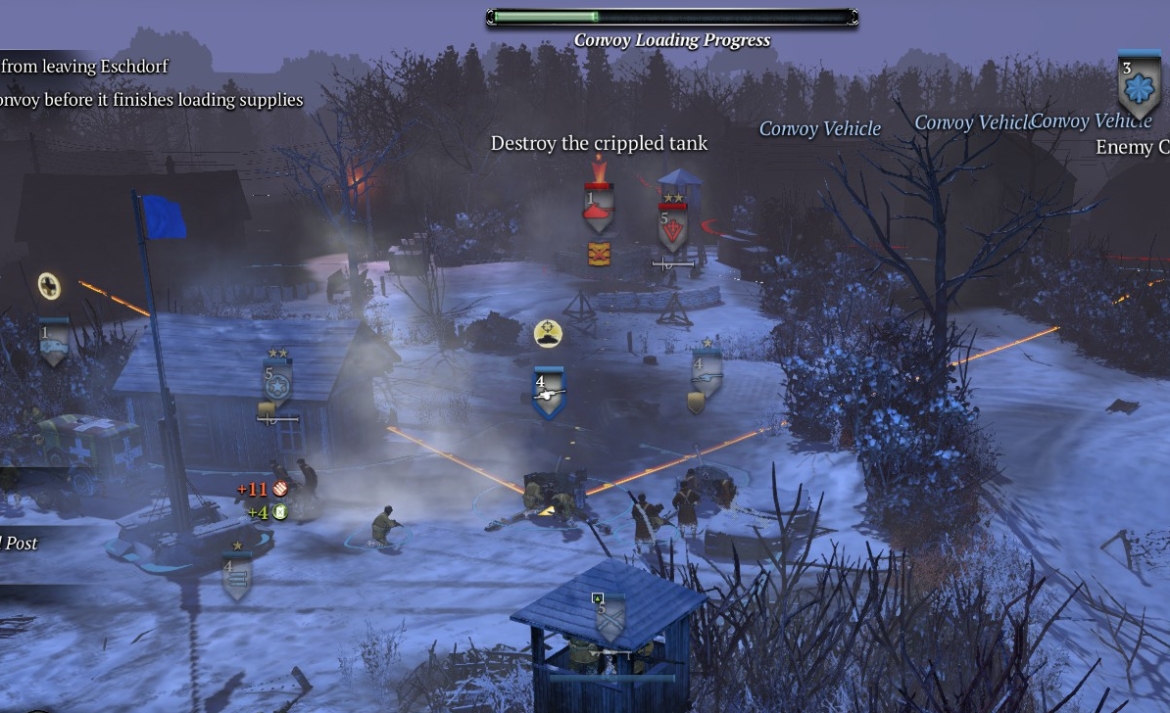
Fourth fight: next territory point
Get all your units into position about 10m from the next territory point.
The defenders here include at least two panzerfusilier squads and a volksgren squad.
First, send your halftrack with cav rifles around the right to crash through the hedge into the territory point. Do not venture into or near the main road immediately NE of the point.
As your halftrack is entering the point, your other fighting units, including HMG, should run into the sandbagged area by the watchtower to set up and start shooting.
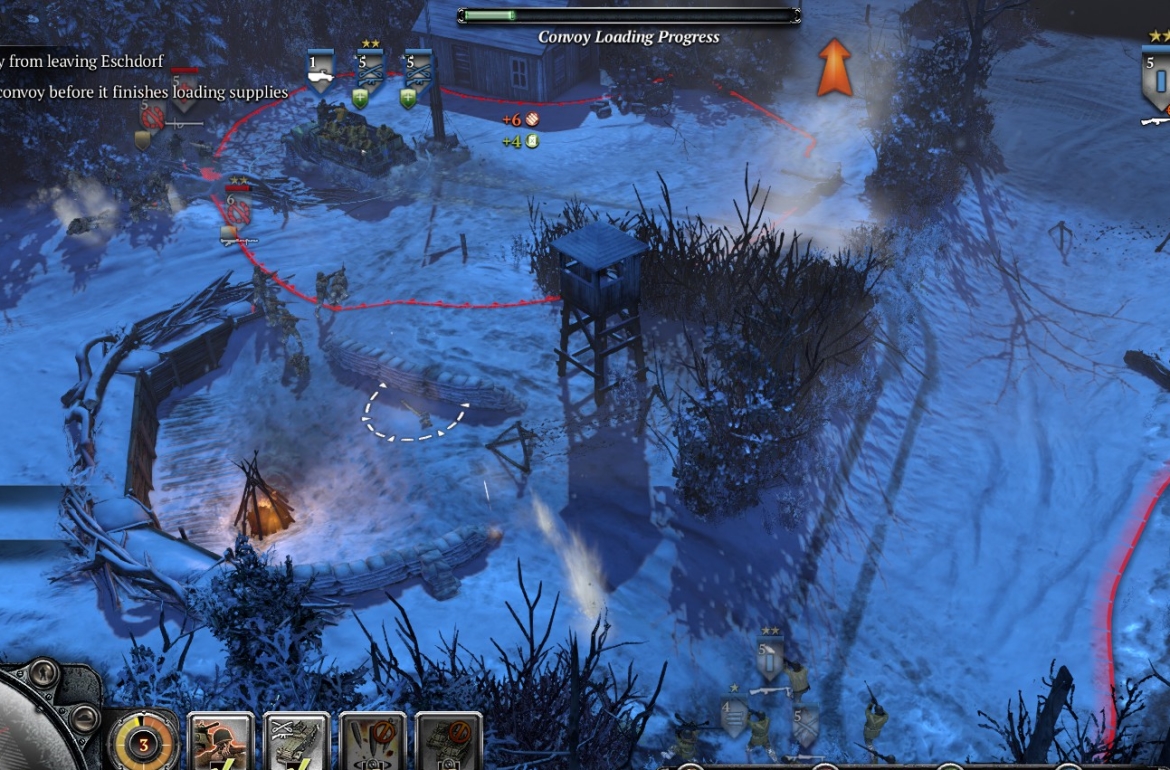
Dismount the units in the halftrack as soon as they are well inside the point, and have the halftrack move away if it can (not into the road), so it doesn’t get destroyed. The cav rifles at short range should kill lots of German infantry quickly. Keep your (non-HMG) units moving , as much as you can, to avoid being grenaded, and focus fire on units that could grenade your HMG.
There is an abandoned schreck by the sandbags and watchtower at the bottom of the point. As you’re taking this point, your RE squad should grab that schreck. Quickly bring up your AT gun through the gap in the hedge made by your halftrack, and point it towards the road. As soon as the point is capped, or even somewhat before, a StuG will attack from the road. It moves slowly and won’t do much damage, but it is absurdly insensitive to your point-blank AT fire.

As you are killing the StuG, you may get fired on by the Pak-43 (guarded) that is just about 50-70 m to the E, across the road. You can see it if the hedge is broken and you man the watchtower. The Pak-43’s fire may also illuminate its position. Either way, nuke it with call-in artillery.
Often there will be a side mission in which you have to kill a crippled tank in the field across the road from this point. Bring in another AT gun, and with two AT guns you should be able to do the job. The tank and a schreck-equipped volksgren squad will fire at your crews as they work, your AT guns will struggle to hit/damage the tank (scripted B.S. as usual), in part because they have less range than the tank (!), but with luck, your casualties will be light by the time you finish off the damn thing.
Meanwhile, heal up/reinforce. Set a rally point in the newly capped point. Get the major in if he hasn’t joined you already. Order in a Sherman, then an M8A1 75mm howitzer motor carriage, and make sure you have two AT guns.
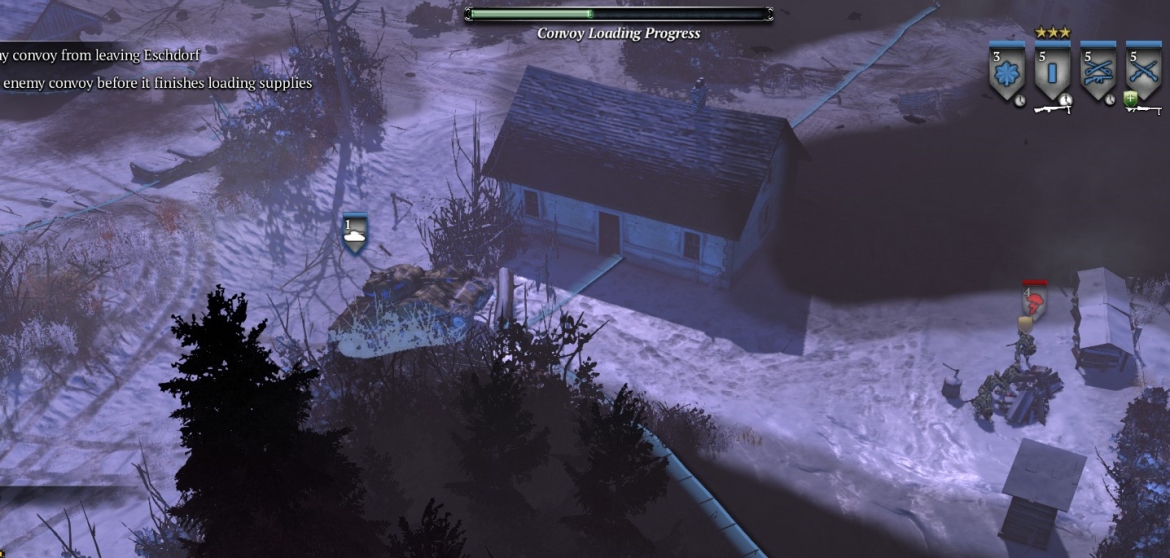
Fifth fight: territory point on main road
This last fight isn’t absolutely necessary, but you’ll get more XP if you do it, and it ensures an easy kill of the supply trucks.
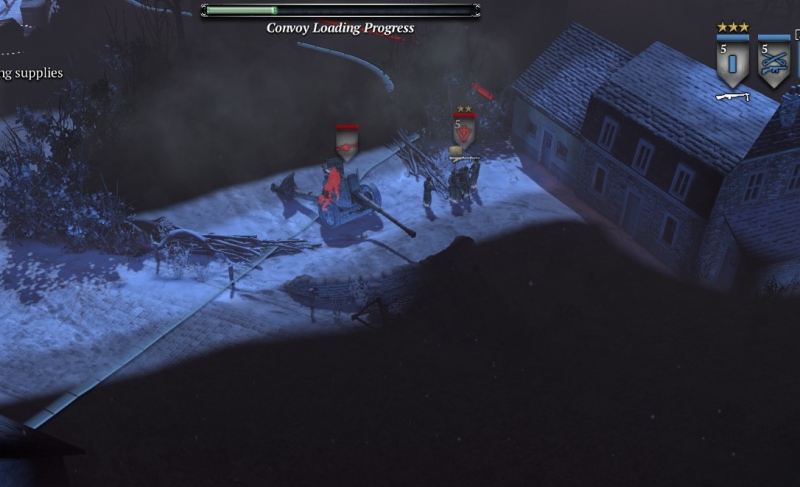
When ready, send your Sherman E through the broken hedge beside the last point, across the sunken lane, and up behind the small house across from the (de-crewed) Pak-43. There will be some panzerfusiliers and maybe a fallschirmjaeger squad 10-15 m in front of the Sherman (keep its front armor pointed toward them always).
Bring up your cav rifles, LMG/BAR-equipped units, and HMG to help against these units. When they are dealt with, bring your entire force into the area where those German infantry were. (Make sure they do not wander out onto the road as they go—COH2 has atrocious path-find coding.) Ahead to the E lies a territory point that is well guarded, though some of its defenses (panzerfusiliers with schrecks, fallschirmjaegers, HMG, Pak-40, also a Pak-43 on level 5 difficulty) may be pointing the other way. Put your HMG and LMG squad in the house just W of the point, use artillery (ordinary call-in and/or major’s artillery), and if possible have your CQB infantry run into the two buildings lining the road to wipe the last defenders.

Almost done!
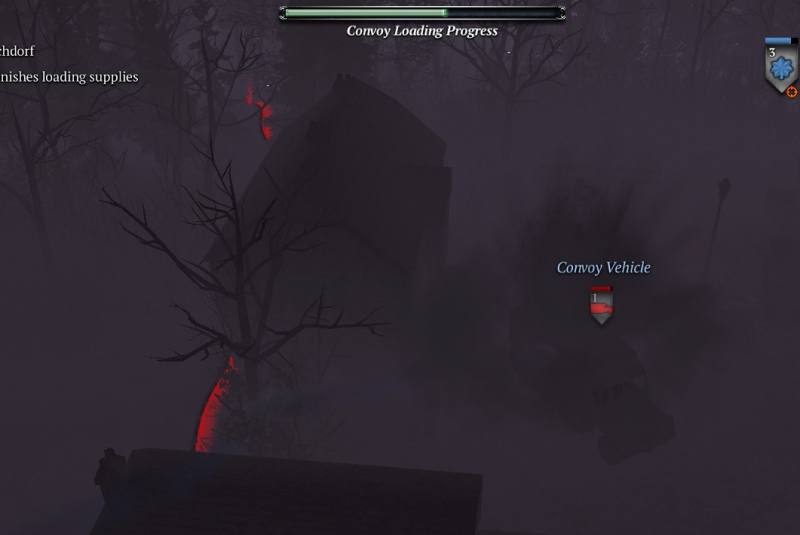
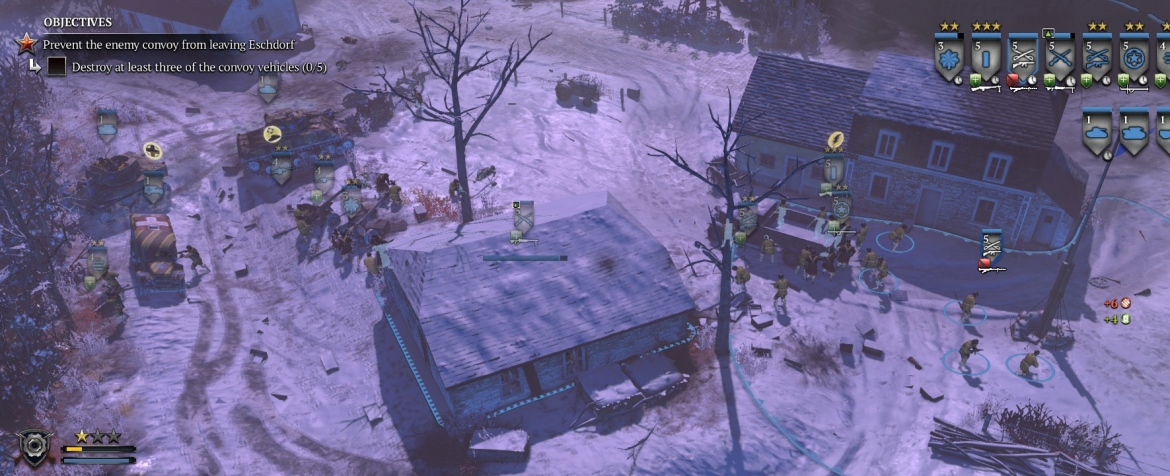
Sixth fight: destroy the supply trucks
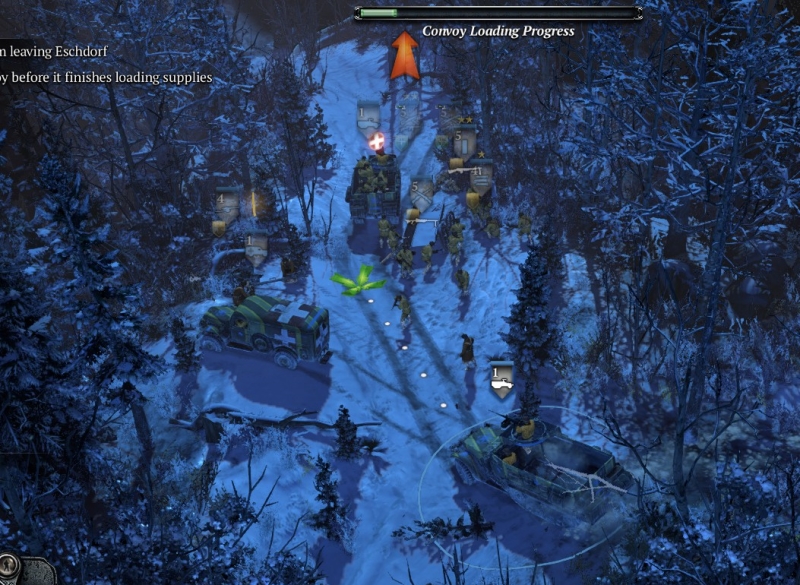
Assuming you’ve killed any unit accompanying a crippled tank, send your M8 across the road onto the edge of the field (N of the penultimate point you took). From there it should lob a shell or two at the nearest truck on the left side of the supply depot. Even though you can’t see inside the depot, the locations of the trucks are indicated for you. When a shell hits or comes near enough to the targeted truck, you will get a warning that all the trucks are now leaving the depot and you’ll have to hit them on the fly. No worries—this is what you want.
Line your AT guns and your Sherman (and you may be able to bring in another Sherman or M10 TD) along the road (set back 5-10 m) between the last two points you took. Keep your infantry including schreck-equipped units behind the buildings to shield them from the road. If any other German units attack (there may be a Panzer IV lurking across the road), deal with them, but avoid using your muni points if you need them for a kill-VIP side-mission. For the latter, use your major’s recon capability and your artillery to accomplish that—and now is a good time to do it.
Skip any side-mission requiring you to find intel—not practically achievable on this map and with this strategy.
The supply trucks will come out of the depot. Usually they will wind through the town, eventually parading from E to W on the road in front of your units, as in a shooting gallery. Sometimes (maybe if you cause too much ruckus in the area beforehand) the supply convoy comes straight S at you, then turns right on the road. Either way, there is a Panzer IV in front, but against your two AT guns, Sherman, maybe M10, and captured schrecks, it won’t last long.
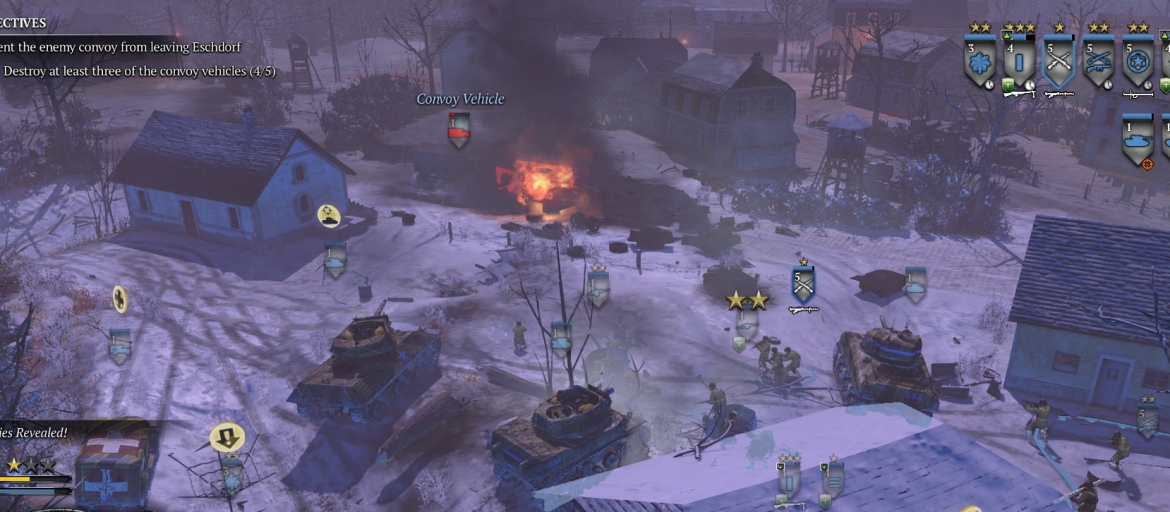
The trucks should be much easier to kill than they are, but you have ample firepower anyway. The only real risk is that a truck or two will escape due to low visibility (smoke) from all the shooting. If one starts to get away, you’ll have no choice but to chase it—use the Sherman because it has the greatest ability to withstand hits from German units, which are inevitable in this situation.
A very high veterancy score and gold medal with minimal casualties (even reinforcements for some reason) is very doable here.
♠♠♠