[14 August 2023]
The Stavelot mission is a good one for building XP/veterancy (usually 80+ points), though it’s best not to attempt it while unvetted.
The goals of the mission are 1) to fight your way up the map, 2) to get in the way of, and destroy, fuel trucks that are leaving a well guarded fuel point and trying to drive by a certain route off the map, then 3) to close in on and capture the fuel/truck depot, and finally hold it for a few minutes against furious counterattacks. You may also attempt one of four possible side-missions.
It’s a moderately difficult challenge to win with the gold medal. Gold requires killing all fuel trucks but one, i.e., you may let the first one go but you must kill all the others. (It is possible to stop even the first one, but that cannot be done every time.) Much depends on the level of difficulty, which starts at 2 but can go up if nearby battles send German units fleeing to Stavelot.
Here’s one way to do it. I suggest using vet-2 Baker Co. because it starts with a Stuart.
Step 1: Take the first territory point on the road N of your base.
You should start with a Stuart, an M8 scout car, a rifleman squad, a cav rifle squad and an RE squad.
Have your rifleman squad grab an LMG at the base.
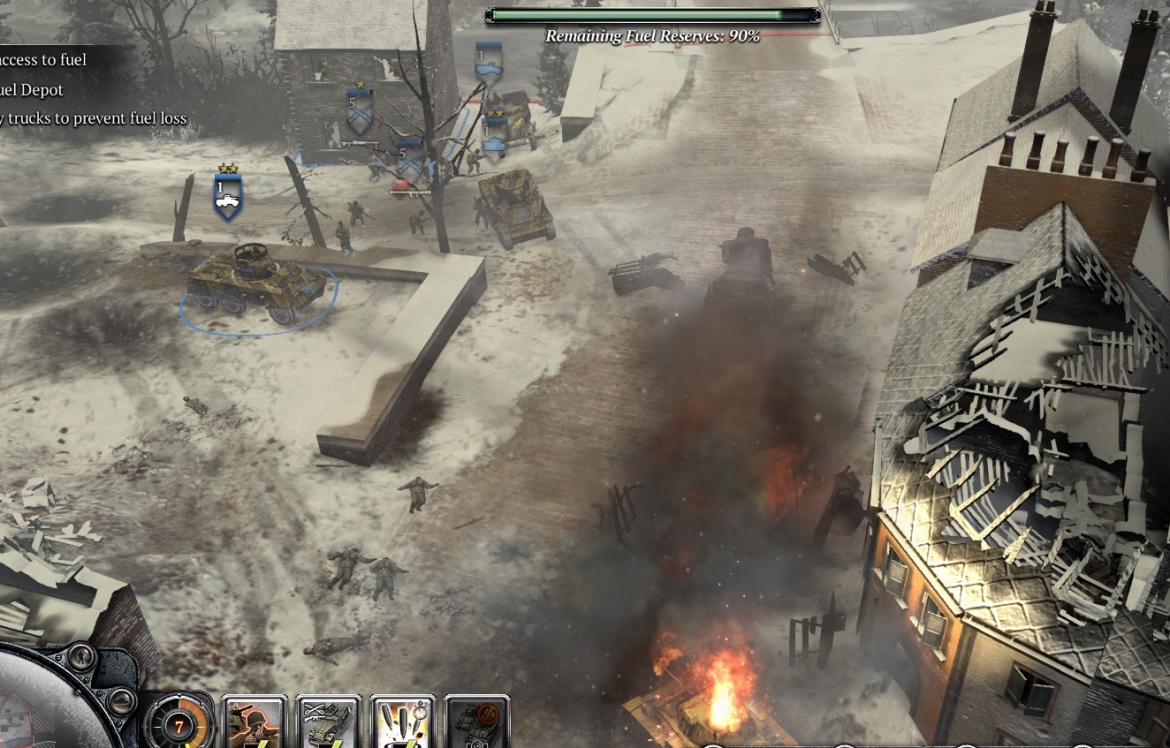
Send the RE squad about 75m NW of your base to grab an ammo box. Send the rest of your force, led by the vehicles, to take the first point on the road N of your base. Normally you’ll face two or three German infantry squads. Watch out for the panzerfusiliers’ AT-nades. On level 4 and up, the Germans will also have a flak-halftrack here, so be ready to kill that with your Stuart and M8 before letting your infantry get into its range.
As soon as the German infantry units are fleeing, and assuming your Stuart and M8 are in good shape, send them asap N to the top of the road below the bridge (see Step 2).
Call in another rifleman squad, then a lieutenant, then an M3, and open the weapons rack at your base.
When you cap the first territory point, your RE squad can grab an ammo box there and also build a fuel cache.
Your incoming rifleman squad should get at least one bazooka at the weapons rack. Your incoming lieutenant unit should get an LMG to complement its BAR.
When your RE squad has built the fuel cache, it can return to base, grab one or two bazookas when muni points are available, and then head back to the first (capped) territory point.
Step 2: Get in the way of the fuel trucks.
You should have been watching the path of the first fuel truck on the map to plan your ambush site for subsequent trucks. Usually this site will be somewhere along the S bank of the river, W of the bridge at the top of the main road.
Hopefully your Stuart and/or M8, which headed north immediately after the first firefight, will make it past the infantry guarding the second territory point. On Level 2, these are usually (at the first encounter) just a panzerfusilier squad and a fallschirmjaeger squad, which are deadly enough. On level 3 and up, there is also an infantry support gun in the NW corner of that point area. In an extended firefight, another panzerfusilier squad and a Luchs may show up.
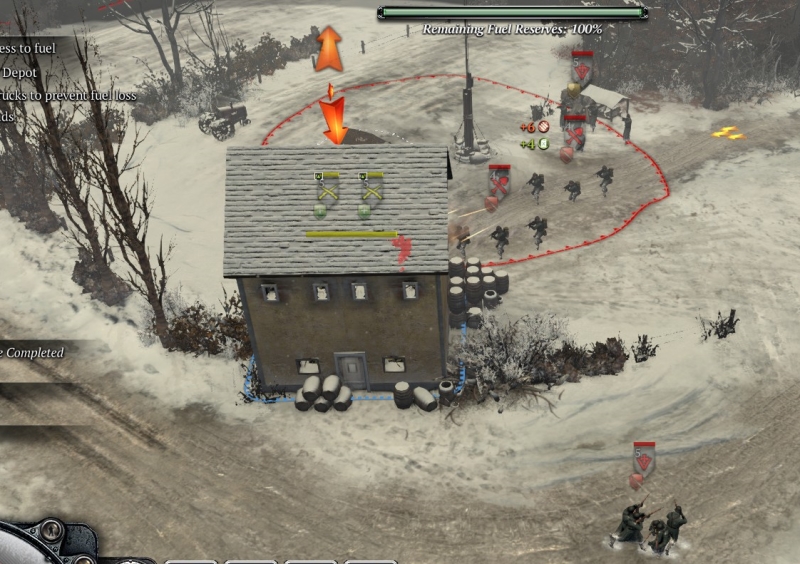
At the top of the road, just below the bridge and to the left, there is a house. Usually you can start ambushing the fuel trucks from around here—almost all the possible truck exit paths pass by that house. A fuel truck will take 3-4 rounds from a Stuart, for example, or I think 3 bazooka rounds, before being destroyed. Once you kill a truck, the others will often come out with escorts, usually in each case a Luchs tank or a flak halftrack.
Note that when the trucks are coming from the fuel point on the E side of the map, German infantry and a Puma will sometimes poke out aggressively from that area if you have a force by the above-mentioned house. Back away to the W if you don’t want the confrontation. Note too that if the Germans have an infantry support gun at the 2nd point up the road from your base, then any German unit spotting your units will allow that gun to fire at those units. Obviously, de-crewing that gun or getting away from its spotters is an early-game priority in such cases.
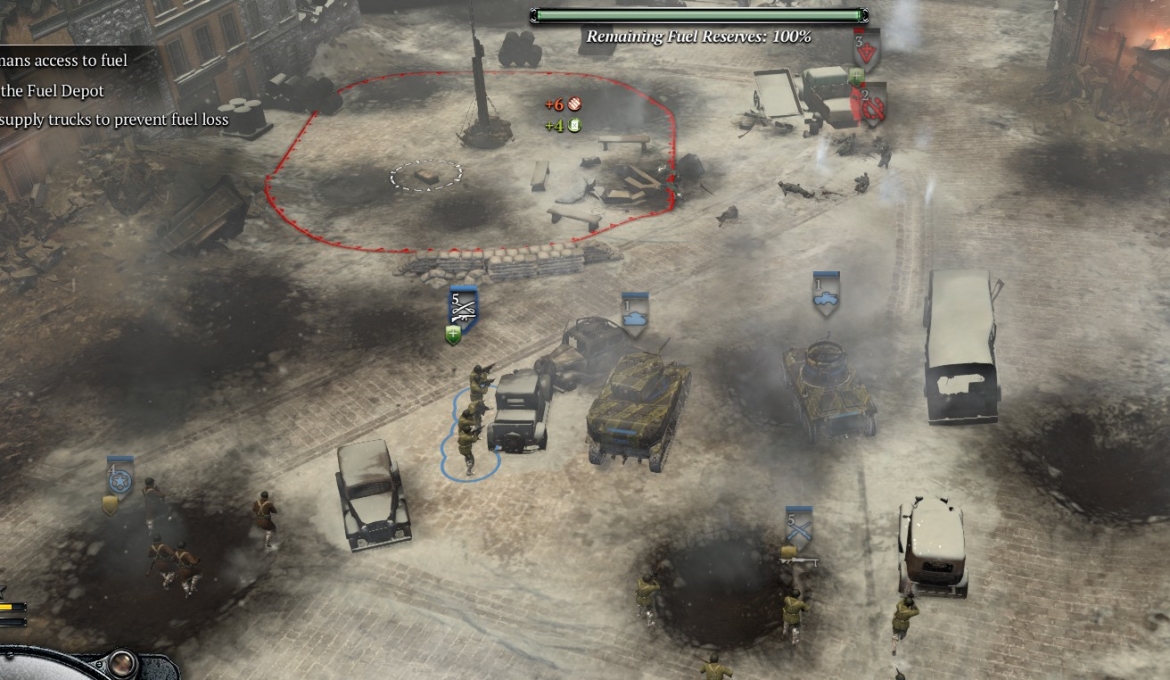
Step 3: Take the second territory point on the road N of your base.
Bring in an ambulance.
Assemble your force just below this second point. You should have a rifleman squad with bazooka(s), RE squad with bazooka(s), rifleman squad with LMG, lieutenant squad (BAR, LMG), cav rifle squad (SMGs), and an M3.
With your lieutenant and cav rifle squad in the M3, and the other infantry following closely, move into the point and do your best to kill the German units there. These usually include a fallschirmjaeger squad, one or two panzerfusilier squads, and, perhaps after a short delay, a Luchs tank. As noted, there may also be an infantry support gun in the NW corner of this point area.
When you have finished this firefight, heal/reinforce with the ambulance, cap the point, grab any fuel/ammo boxes and abandoned LMGs/schrecks, build a fuel cache at the point, and re-crew any infantry support gun.
As your units are healed/reinforced, send them to join your tank(s) at the ambush point.
Bring in a major, and set him up as a retreat point, beside the ambulance, in a safe spot near the rest of your force.
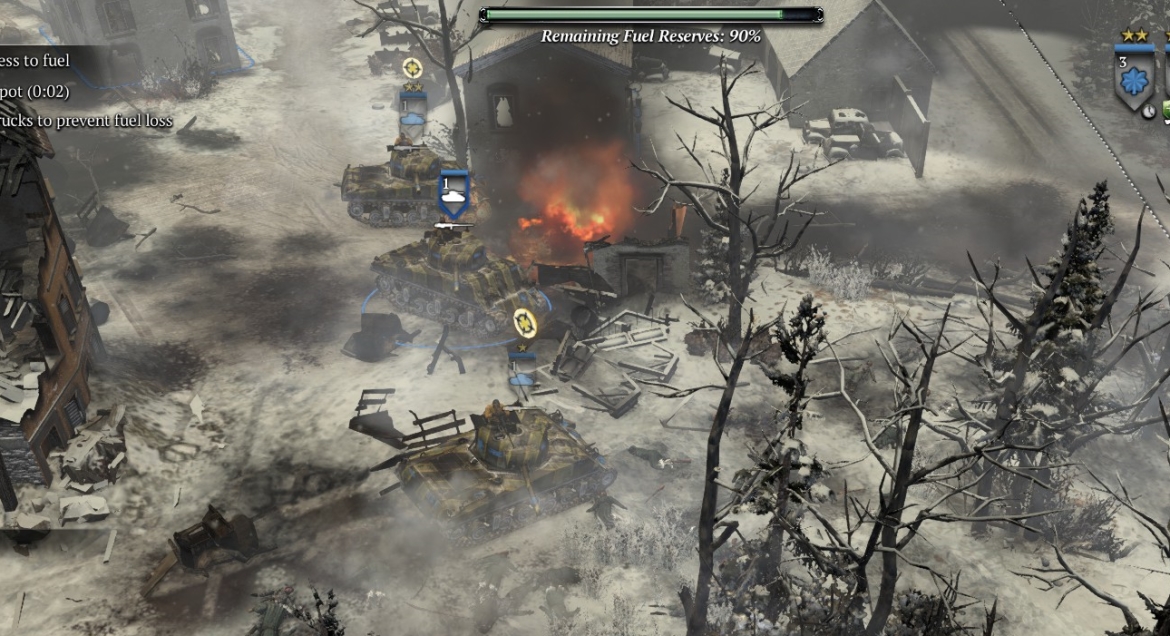
Step 4: Assault the fuel point where the trucks are originating.
Stay at the ambush point, destroying trucks and escorting vehicles as they come, until you have brought in a total of three Sherman tanks. (There is no time-limit on this mission.) If necessary, dismiss other units (the M8, Stuart, rifleman squads) to free up pop points.
When you have the three tanks, move on the territory point just north of the targeted fuel point. This will usually be guarded by a few German infantry squads and maybe also a Puma.
Once you have that point, move your forces closer to the fuel point. The latter will be well guarded with units that include elite infantry, schreck-equipped volksgrens, HMG, Pak, Puma, and (on level 3 and up) another infantry support gun. Poking with your tanks to lure elite infantry to charge, and then hitting them with your LMGs and tank HE rounds, is one strategy that works pretty well here. Your major’s recon ability also enables you to use artillery on the Pak, HMG (which may be hidden at first) and infantry support gun around the fuel point. Anyway this is all about basic tactics.
When you take the fuel point, small waves of Luchs + infantry (including fallschirmjaegers and schreck-equipped volksgrens) will start coming from off-map nearby, to retake the point. Position your forces accordingly.
After you have held the point for a couple of minutes, you win the mission.
Side-missions
Kill-VIP: This is usually at the northern territory point across the map from the fuel point where the trucks are originating. Guards include infantry and maybe a Luchs or Puma. Recon plus artillery is the easiest way to do this, but a full-on assault with tanks and infantry works too.
Kill-tank: Same, except there’s a tank at that spot instead of a VIP officer.
Gather-intel: You can do this after setting up a couple of tanks on the truck route. It may require taking points and engaging in firefights that you wouldn’t ordinarily bother with.
Rescue-allies: This one is the toughest by far, because it has to be done almost immediately, i.e., long before you have enough forces to do it comfortably while also killing the fuel trucks. One way to do it is to use your Stuart and M8 in the interval between destroying one fuel truck and the next. Usually you will face four or five volksgren and sturmpio squads, plus maybe a Luchs tank.
♠♠♠