[14 August 2023]
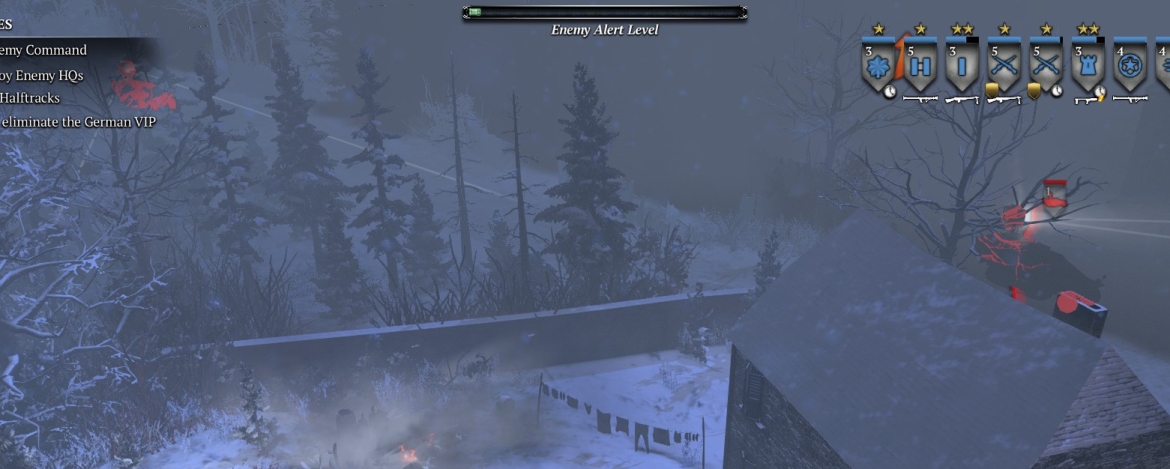
The Espeler mission is a lengthy one requiring a specific sequence of movements around a large map, with more than a dozen firefights. The main goal is to destroy three well guarded command trucks. The trucks are guarded not only by German infantry and armor, but also by eight infrared searchlight halftracks (IRHTs), which supposedly use scanning IR beams to see through obstacles and detect approaching enemy units (i.e. your units). If you kill all eight of the IRHTs before you kill the last of the command trucks, you win gold.
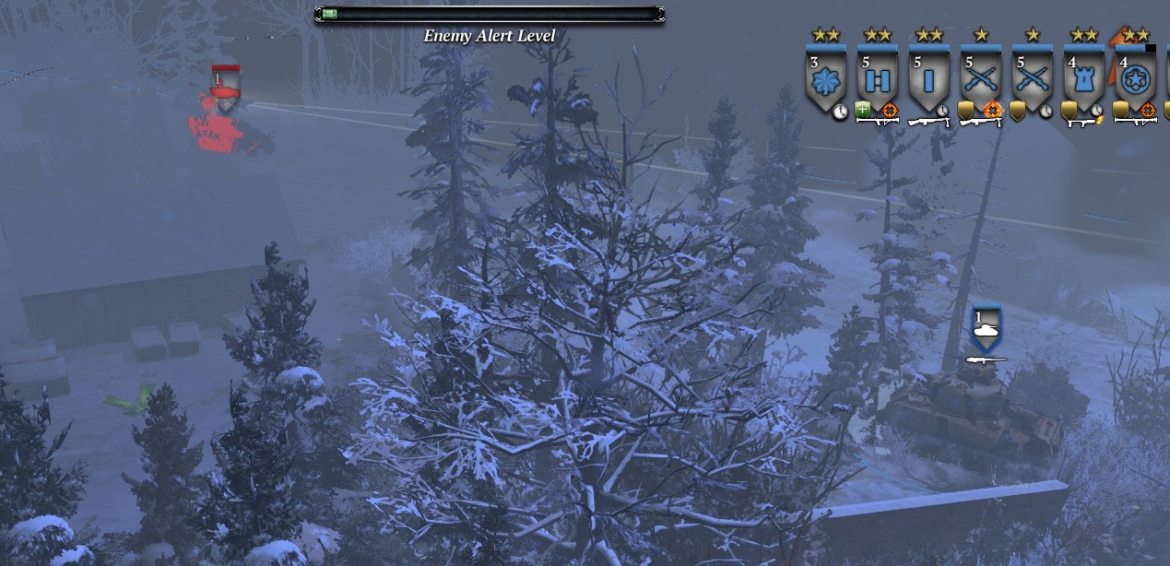
The catch is that you’re not supposed to use indirect fire on the IRHTs, or get into their beams, or fly over them with (recon or paratroop) planes. If you do, the German “alert level” will go up. (This doesn’t always happen with recon flights, particularly if the flight path doesn’t go over an IRHT, so you can start to use recon more as you eliminate IRHTs.) The UI provides a useful meter of this alert level, and when it reaches its maximum level, the command trucks will flee the map and you’ll lose the mission. (Sometimes when the alert level rises, a couple of German infantry squads run out and attack you, but most of the time nothing happens.) So, before you can attack the German forces and their command trucks at any given point on the map, you should first sneak up on all the nearby IRHTs from the back or side, and destroy them without ever getting into their beams.
Overall the mission is not that hard if you have your basic tactics down, and apparently there is no time limit, so it is pretty doable even at level 5 difficulty, with any company. If you use Able Co., though, you shouldn’t use paradrops until you’ve killed most or all of the IRHTs.
I tend to use Dog. Co. because they have good artillery and because it isn’t a mission that requires super-duper infantry.
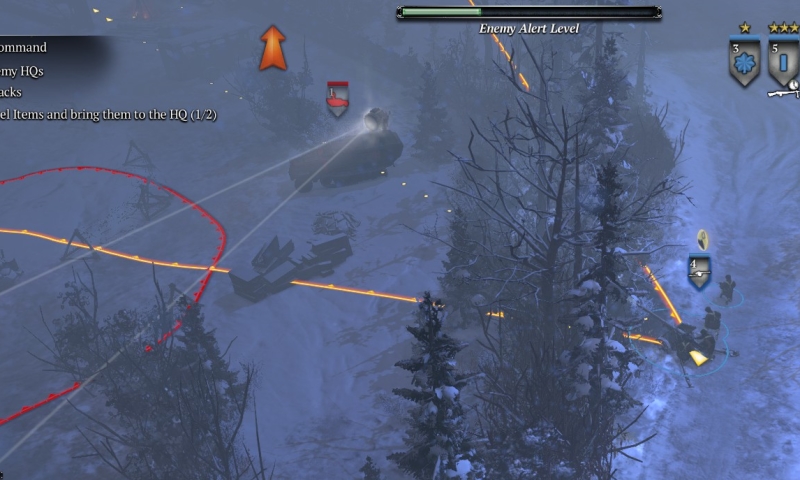
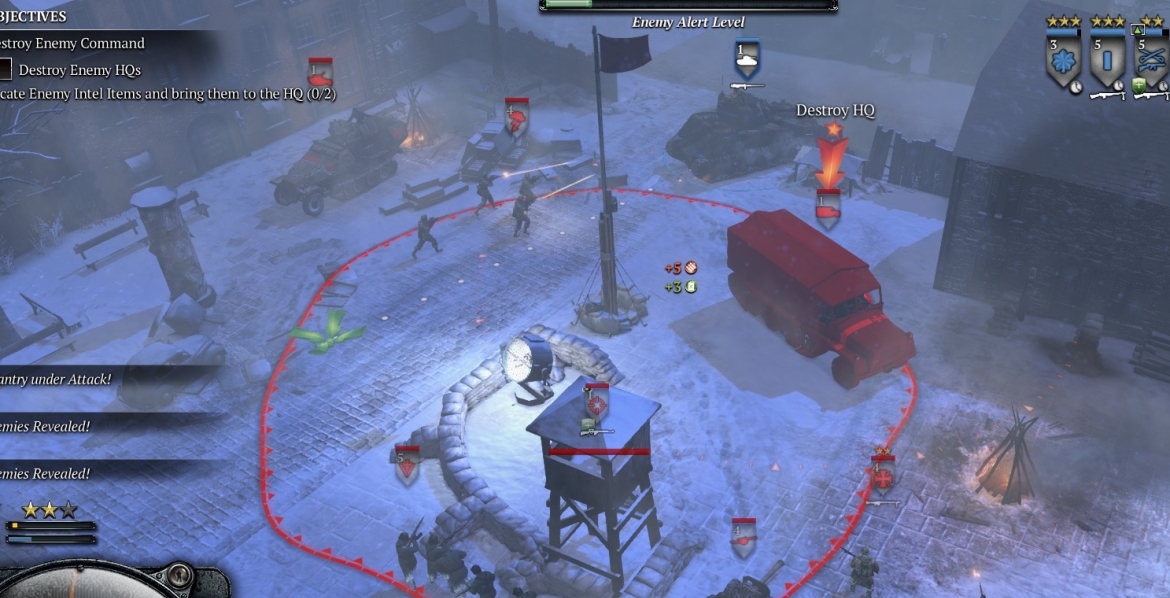
Here’s an image of the tactical mini-map, with the points you have to take numbered in the order you should take them.
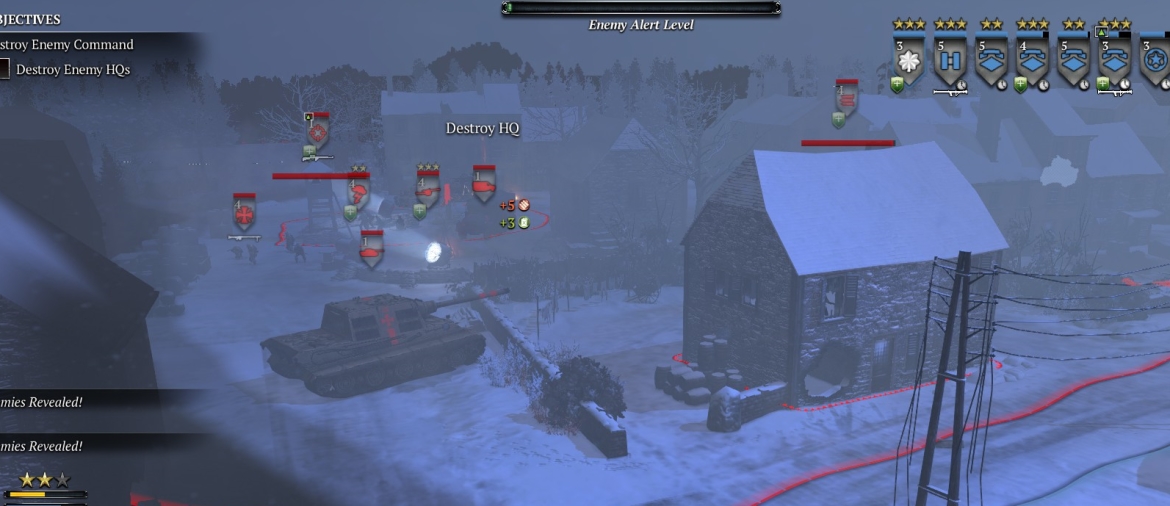
Point 1
This is just an ordinary territory point sitting out in a field immediately NNW of your base. There are IRHTs nearby to the SW and NE, but you should be able to avoid their beams as you approach. The defender is usually just one sturmpio or panzerfusilier unit. An HMG to pin and a couple of rifleman squads to kill, and whatever else you start with, should be plenty. Use an RE squad to build a fuel cache after you cap the point. If you have a mortar unit, be sure to keep it where it won’t automatically fire on an IRHT in range (the toggle for auto/manual firing often does not work, so keep the mortar team out of IRHT range always).
Point 2
You have to approach this one carefully from the south. An IRHT is next to the point, facing W. You can kill it with an AT gun or even an HMG, provided you stay to the south and don’t venture into the beam. There are usually two or three German infantry units at the point, so have some infantry on hand to support the HMG. Again, build a fuel cache at the point once you’ve capped it. Your units should retreat to base before trying to take Point 3.
Point 3
Upgrade your assault engineers with flamethrower if you have the muni points. Upgrade your riflemen so they can throw grenades. Bring in a lieutenant.
Point 3 is a fuel point covered by an IRHT situated about 50m to the W, so you first have to take out the IRHT.
To do that, take the road that heads SW from your base, along the lower edge of the map to the space below points 3 and 4. There will be a few German infantry units, but with your HMG, assault engineers, riflemen, etc., you should have no trouble.
There is an abandoned Pak right next to where the German infantry were standing, so when those infantry have been dispatched to Valhalla, use your RE squad to crew the Pak (if you don’t already have an AT gun) and use the AT gun to take out the IRHT, which is in the field just to the north. Have your HMG set up to cover German infantry approaching from point 4, which they will do aggressively on higher difficulty maps.
Once the IRHT is gone, you can send any unit from your base out to point 3 to cap it.
Bring in an ambulance and heal/reinforce your squads. Upgrade your riflemen with BARs. Bring in a captain, and a mortar team if you don’t have one already.
Point 4
This munitions point is relatively well guarded, with several infantry squads including panzerfusiliers, an HMG, and a scout car. If you have your basic infantry tactics down, you can manage it with minimal casualties, but you’ll do much better if you have a mortar team to support (taking out the German HMG is a priority). You also can play it safe and wait for a Stuart to lead your attack. Remember that if you have a mortar, you need to keep it out of range of any IRHT.
Point 5
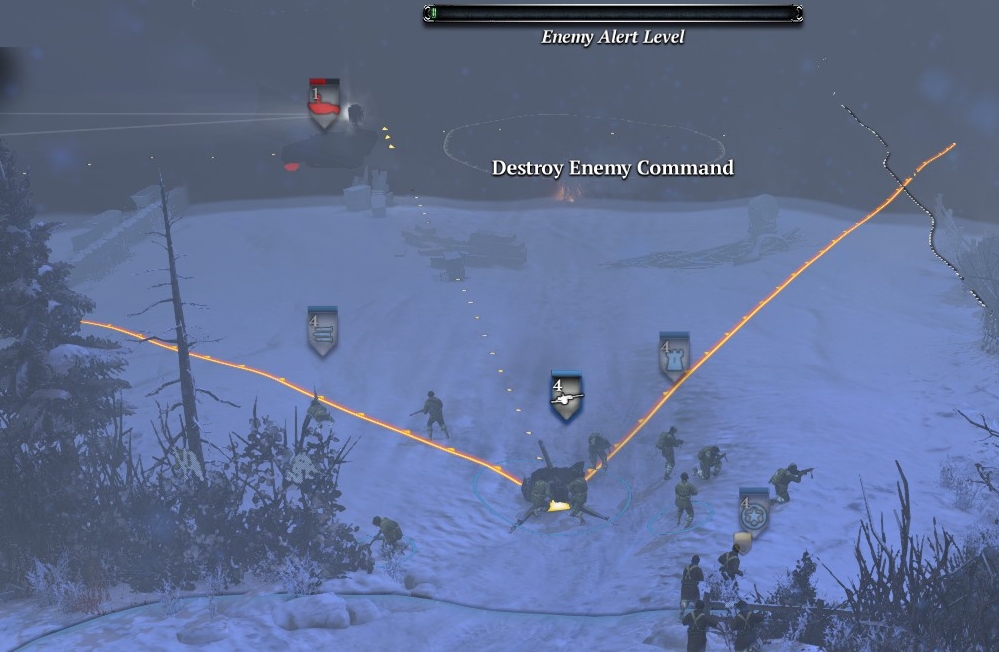
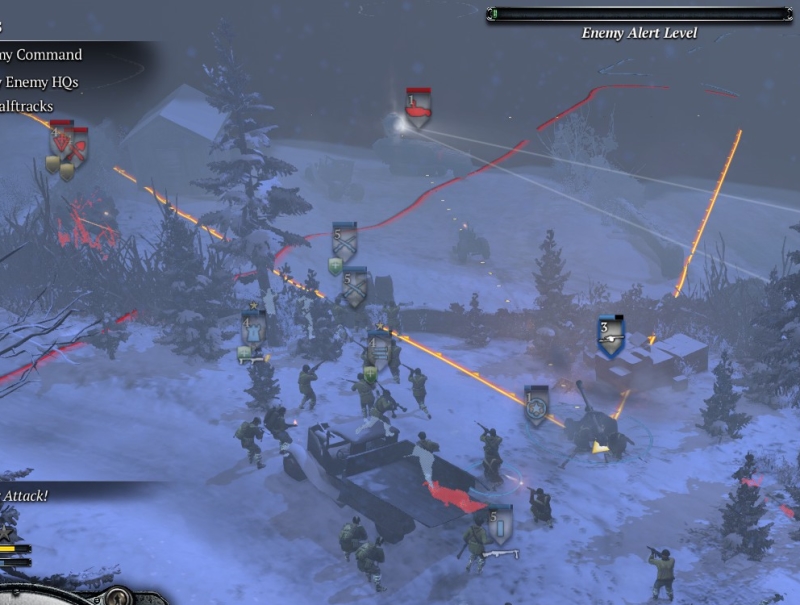
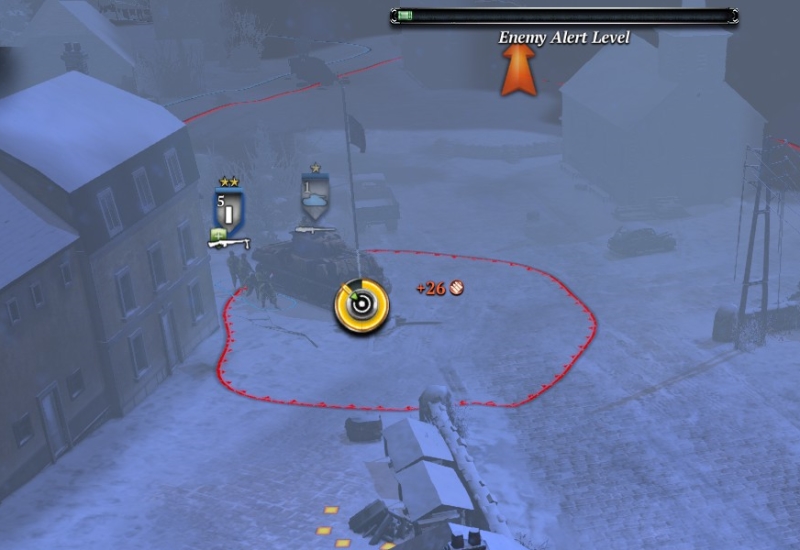
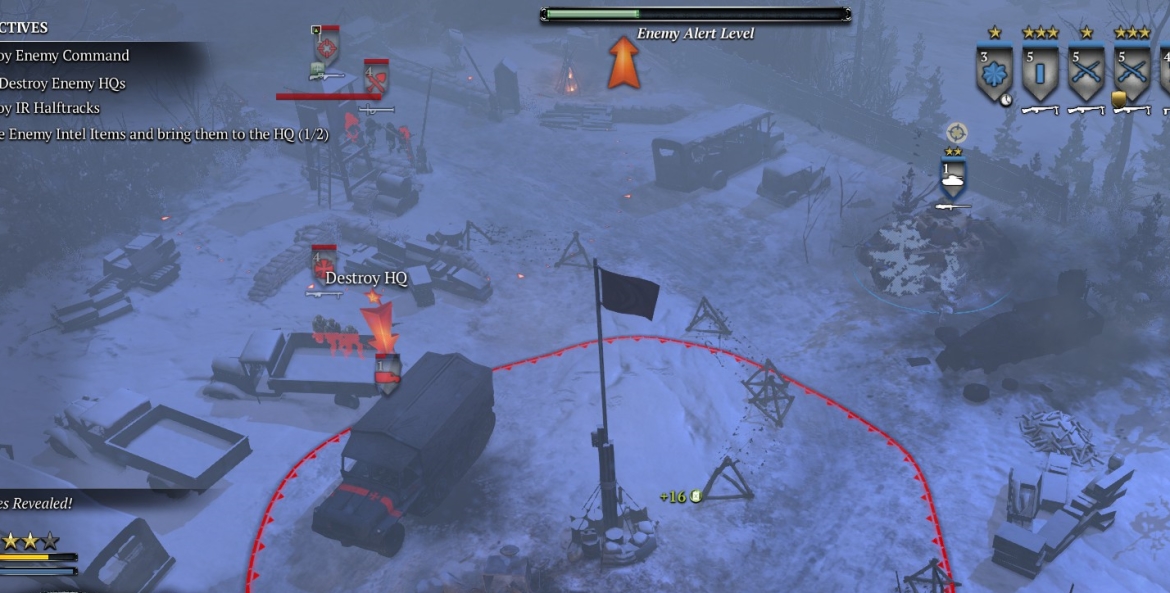
Point 5 has both a command truck and an IRHT. After healing/reinforcing your units following the point 4 firefight, kill the IRHT in point 5 with your AT gun by firing through the bushes (use attack-ground command) as shown in the image. Be sure to stay clear of its beam!
Alternatively, you can place your Captain unit in one of the buildings next to the IRHT, and take it out with bazookas.
Now get a Sherman (dismiss the Stuart if necessary to free up pop points) to lead your assault on point 5 from the S. You’ll need a Sherman for everything that comes after the taking of this point, so you might as well do it now. But if you want to attack point 5 even before you get the Sherman, you can put your most effective units (HMGs, flamethrower- and BAR-equipped infantry) into the buildings overlooking the point, with support from the mortar team on the E side of the buildings. Don’t put anything in the northernmost of that line of buildings, because it will be illuminated by the IRHT nearby.

Once you have killed the point 5 defenders, set up your HMG (and crew at least one abandoned German one) near the E edge of this point to cover counterattacks from that direction. Use your Sherman (busting through walls as needed) to blast the two nearby IRHTs. Mind the IR beams! Note that to get to the IRHT N of point 5, against the map-edge, your Sherman has to time its attack by the swings of the HT’s IR beams, and then come in from the W side. There is sometimes a kill-crippled-tank or kill-VIP mission here, too (can’t use artillery on the tank/VIP until you’ve killed the IRHT, because the latter is so close).
Point 6
When the IRHTs around point 5 have been destroyed, and associated infantry and Luchses dealt with, your Sherman can move into point 6, taking care to avoid IR beams, as there may be an IRHT not far away along the road to the E (just NW of point 7). There is sometimes a sniper in a church across the road from point 6, so the Sherman should take that out with HE rounds—or use artillery. Other German infantry units typically approach from the SE of the point, so keep the Sherman crew mounted and bring your Lieutenant unit or some other decently armed infantry unit in to cap the point.
Once you’ve capped point 6 and killed all German infantry in sight, you can move your whole force S and then E to your base again. Dismiss less valuable units, including any Stuart, and bring in another Sherman.
Point 7
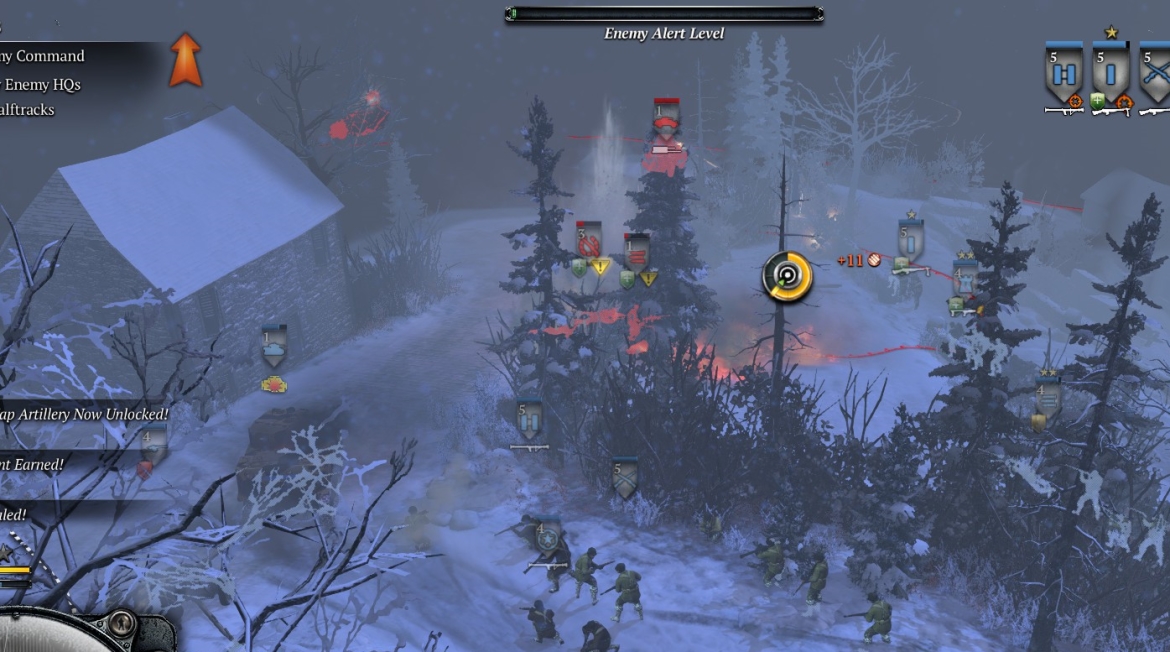
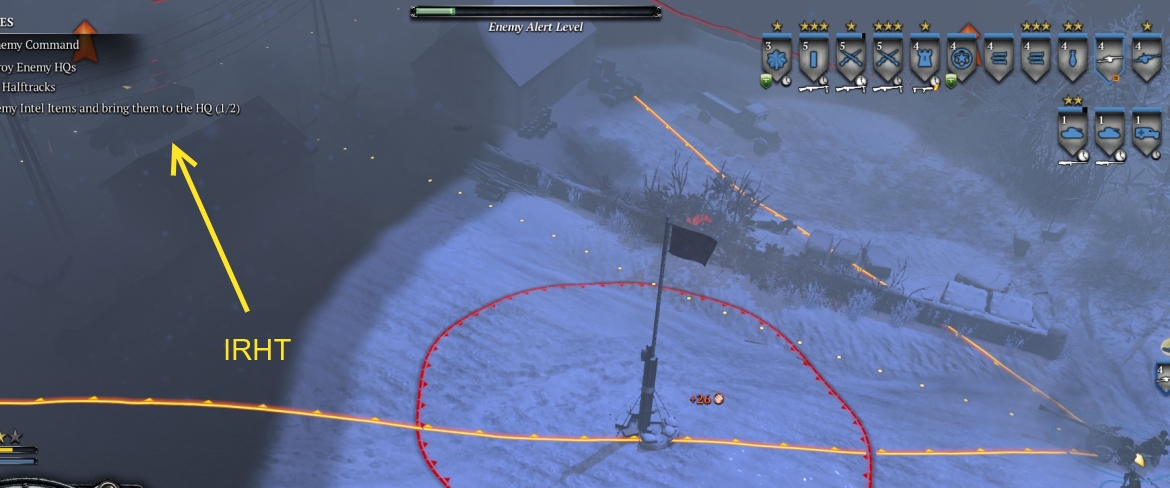
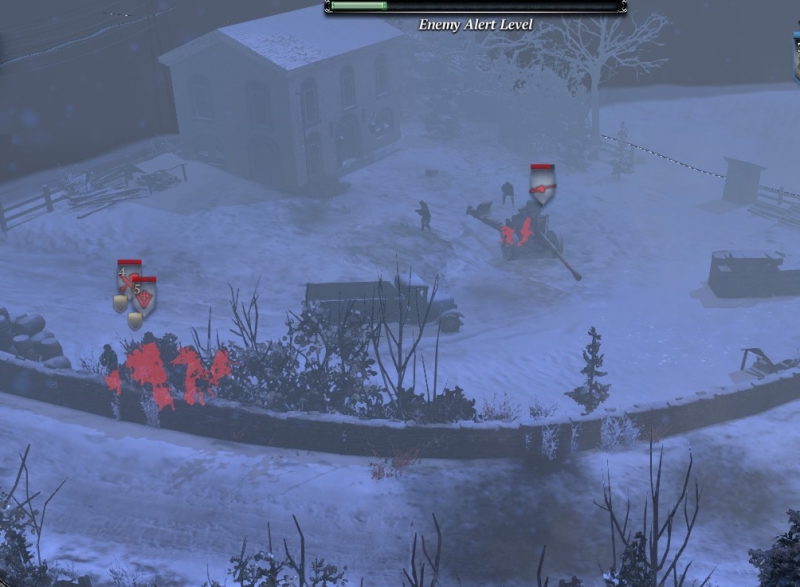
Approach this one from the SE. There are one or two German infantry squads to the SE of the point, which you will have to dispatch first. The goal here is not only to cap the point but also to kill the IRHT just NW of the point, on the road. German infantry, including schreck-equipped infantry, may approach when you get into the point. Beware also of the giant Jagdtiger TD about 30 m to the NW of the IRHT, near point 9. To keep out of its range, your Shermans should not venture closer than about 5m from the SE edge of point 7. Use an AT gun to take out the IRHT (see image below for an example), and infantry/HMG to support and cap the point. The big TD will fire at your infantry when they are in range, but most (!) shots will be absorbed by nearby buildings. Once you’ve capped the point, carefully back away to the E to point 2.
Sometimes the IRHT at this point moves back to a location between points 8 and 9. If that’s the case, approach it in a similar manner after you have taken point 8, and kill it with an AT gun from the road to its E, or from point 8.
Point 8
Dismiss weak/useless units as needed (also dismount your Sherman crews) to free up pop points and get a third Sherman. Start by sending your Shermans into the churchyard E of point 8, to blast infantry there and take out the HMG in the church. Then use one of your AT guns, firing through the fence on the lane to the E, to destroy the IRHT inside the point.
Now use basic tactics, including tanks poking and shooting (HE rounds), mortar and artillery, to destroy all the units at this point. Take your time. Also, keep your tanks on the E edge of the point area, out of range of the big TD. It’s generally a good idea to keep one tank on the road SE of the point, to cover German infantry and kugelwagens that may try to flank you. Use an infantry unit, not a dismounted tank crew, to cap the point.
Now bring all your units into the space just NE of the point, W of the church. Heal/reinforce as needed. About 100m to the NW, there is a Pak-43 with supporting infantry. Use artillery or mortars to de-crew it.
Follow up with your tanks and HMGs to kill remaining German infantry in that area. Bring all your forces into the area where the Pak-43 is/was, reinforce/heal, and get ready for the final stretch.
Often at this point in the mission, you can get away with using your major’s recon ability to reveal the units north of point 9, including the infantry support gun that may already be firing at your units. Kill that support gun with artillery, if you can spot it.
Point 9
Use your Shermans and AT gun, and Pak-43 if you want (minding any IRHT beams, and the distance to the giant TD) to kill the flak halftrack across the road to the W from where your forces have gathered. One of the Panzer IVs stationed north of point 9 might now come out and attack your Shermans, but they, and your AT gun(s), should handle the panzer quickly
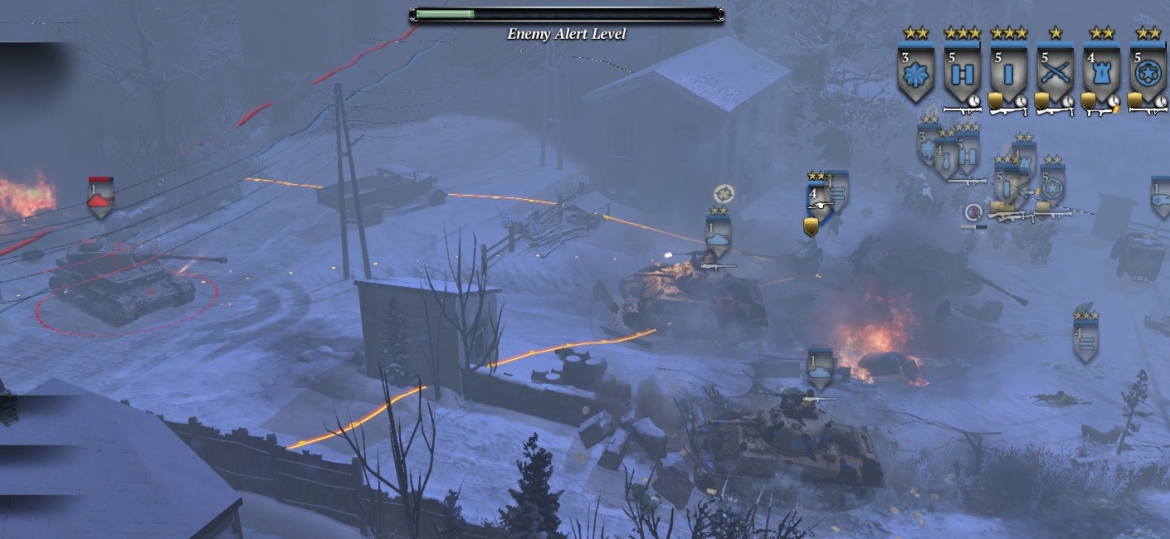
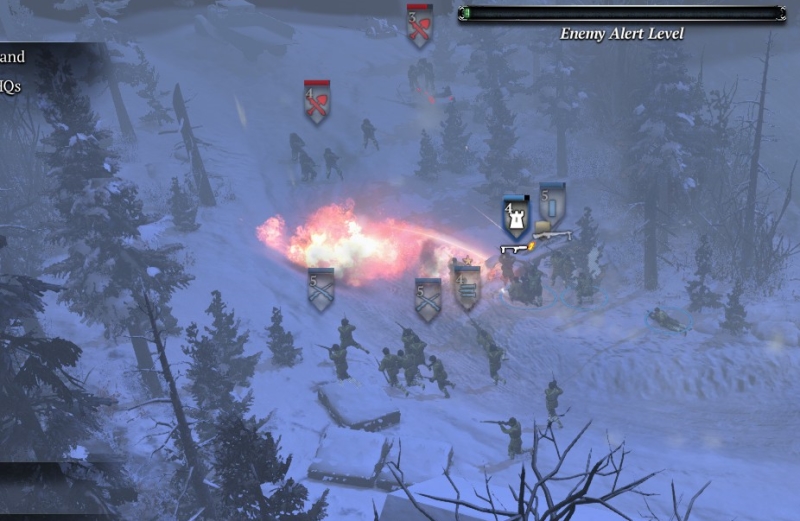
Your Shermans (with support from your AT gun/guns) should then circle carefully N, W, and then S into the top of the open space above point 9. There will be at least one other Panzer IV here with supporting infantry, usually including an infantry-support gun and fallschirmjaegers. Kill the tanks, then the infantry, in this area. Remember to keep out of the big TD’s range, which extends about halfway up this area, roughly to where the Panzer IV is shown in the image below.

Bring the rest of your force to the top of this area, to help against any German infantry or Luchs counterattacks. Use an AT gun at max range to kill the last remaining IRHT at the bottom of this area (Shermans can’t do it without getting into the range of the big TD).
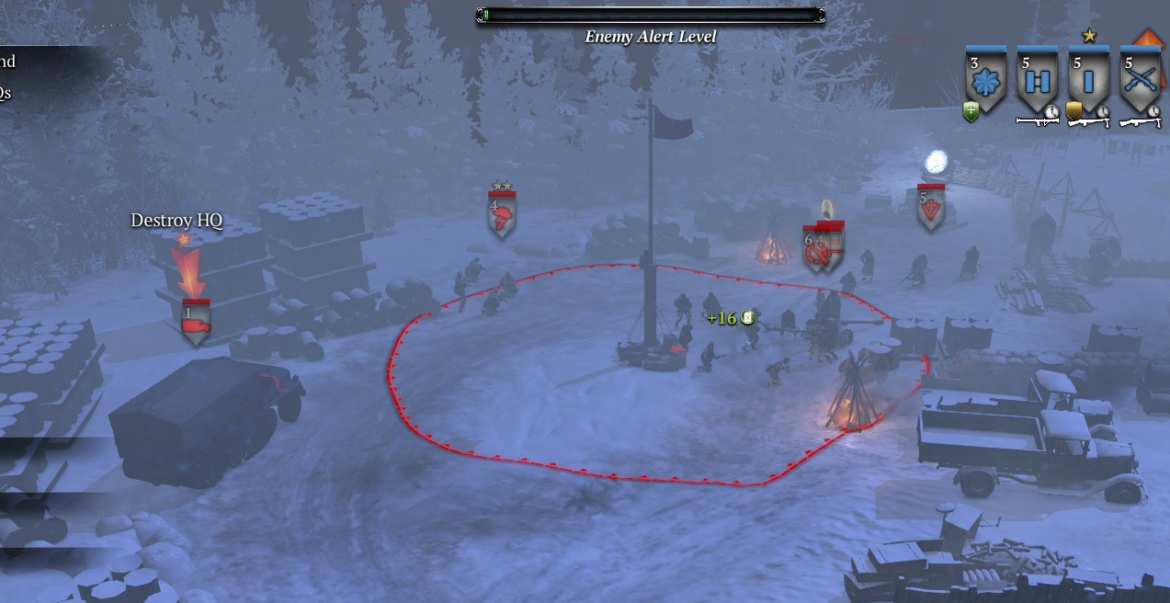
Once you have killed that last IRHT, use your major’s recon ability (you should have >1000 munitions points) to reveal the big TD, and your AT-artillery to hit it. Should take just two or three salvoes to do the job. Once that is done, you can keep using artillery this way (or your Shermans if you prefer, though the remaining German units are very AT-capable) to kill other remaining German units. The destruction of the command truck in point 9 will end the mission.
Side missions
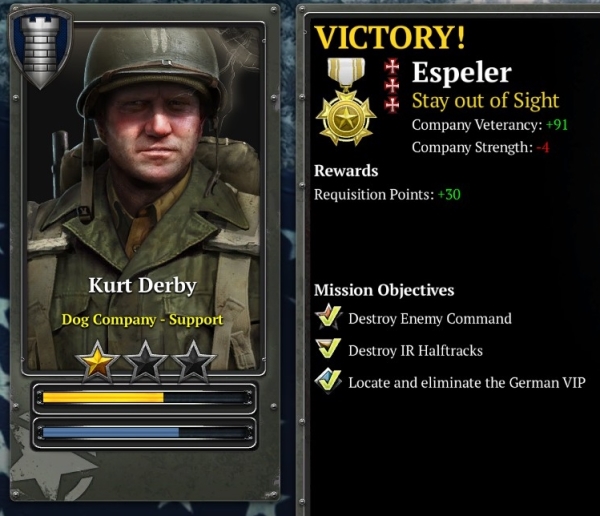
The possible side-missions here include the kill-crippled tank, kill-VIP and gather-intel missions, which are all easy since you have no time limit and will eventually get full map control. If memory serves, the side-mission rarely is rescue-allies, which is not feasible to achieve and makes little sense in the overall context of this mission. With or without the side-mission, you should get 80-100 veterancy points on this mission, and should not incur major casualties.
***