[20 August 2023]

“Rescue the Wounded” is done automatically as the second mission in the campaign, after “Hold the Line.”
You’ll do this mission with Baker Co., unless Baker is not on your roster, in which case you’ll have to do it with Fox Co. This guide assumes Baker Co. and assumes you want to maximize veterancy points.
Offensive Phase
You start with two Shermans and a little M8 scout car, plus two Thompson SMG-equipped cav rifle squads. Your goal in this offensive phase is simply to cap four points along a road, within a time limit of six minutes—though to be sure of a medal, you should take only five minutes.
Immediately—assume haste in all the instructions that follow—switch your Shermans to fire high-explosive shells and send them to the first territory point (point 1), nearby along the main road. They can blast away at the volksgrens and sturmpios there without fear of damage. Your M8 scout car and cav rifle squads can follow. Your tanks should kill most of the defenders of this point by about 5:30 on the countdown timer; your infantry can mop up. Have one of your cav rifle squads grab the box of ammo in the territory point and cap the point.
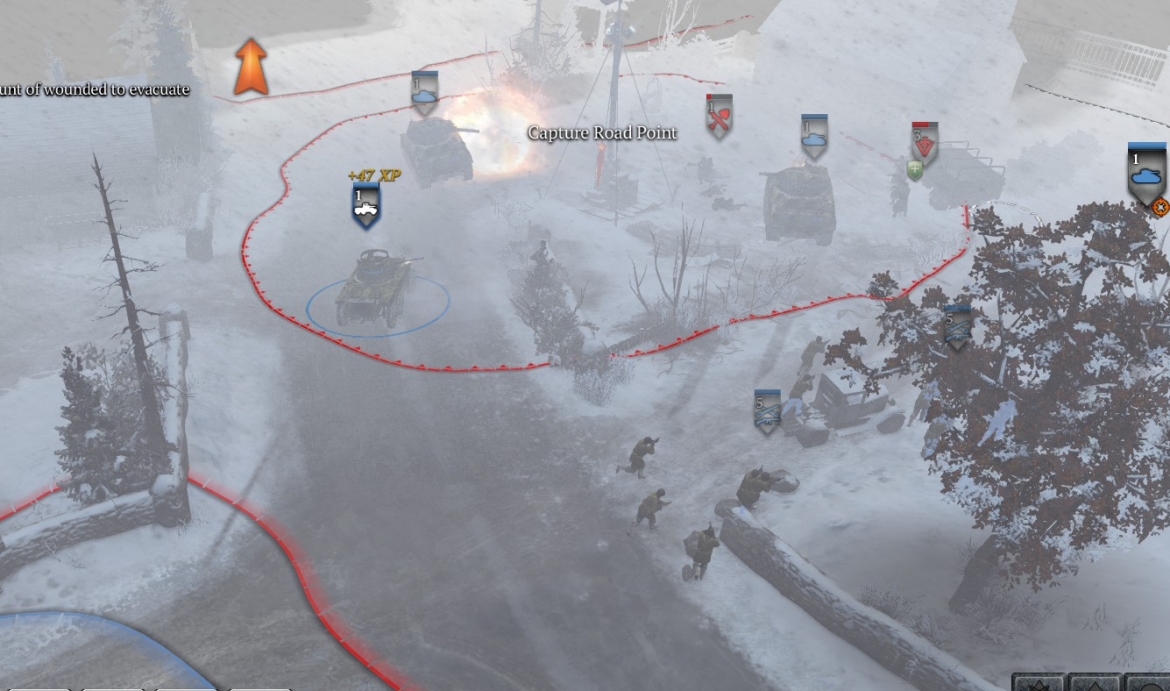
Apart from your point-capping squad, all your units should now go to the next point (point 2) up the road—starting with the area just below it (creek, bridge) where two or three volsgren/pio squads can be found.

Again, your Shermans can blast away without fear of damage, and your cav rifle units, with their SMGs, can mop up quickly. With about 4:30 left on the timer, you should be finished clearing defenders at this point, and there should be a cav rifle squad in a halftrack ready to call in—so call it in without delay. While you’re waiting for it, cap the point and repair any damage to your scout car.
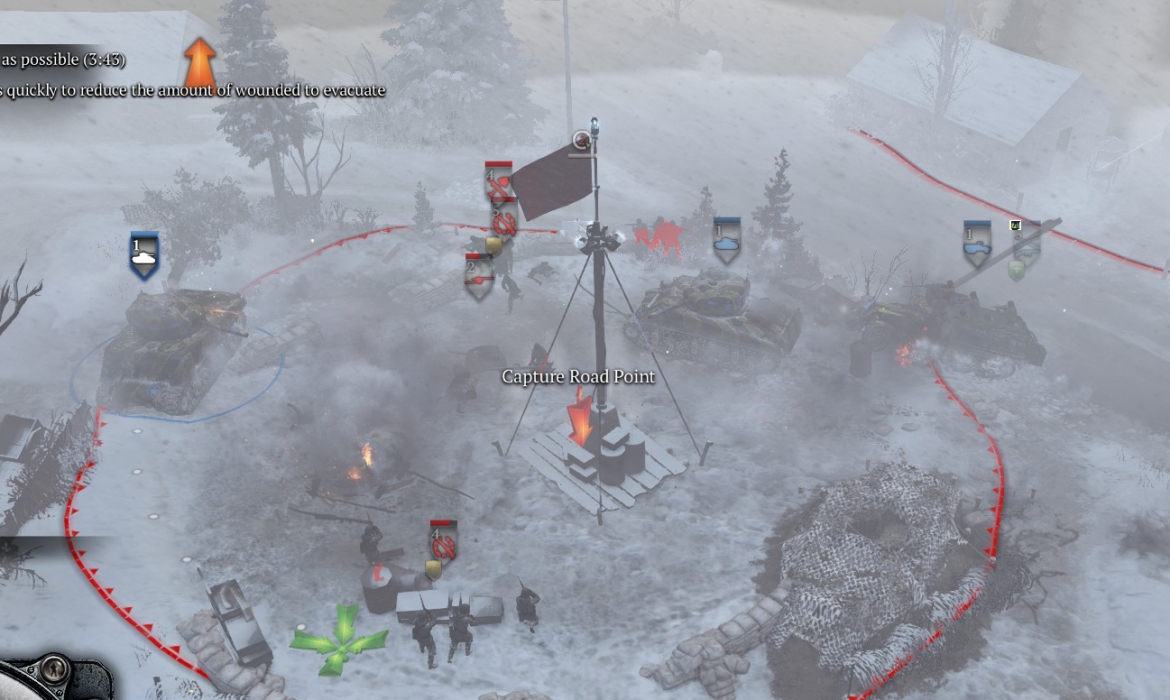
When your halftrack arrives, put one of your starting cav rifle squads in it. It’s time (~4:00 left on timer) to attack the next point (point 3) up the road (left side of road)—but this one is much more heavily defended, with units that include a Pak and two panzerfusilier squads.
Run your Shermans up the road until they are abreast of point 3, then run them up the side road north of the point, then have them swerve into the point and attack. At the same time, your other units, led by the halftrack full of cav riflemen, should be coming in from below the point. Your targeting priorities (in case it’s not obvious) are the Pak, the panzerfusiliers (who have AT-nades) and then any volksgrens and sturmpios. Use the pause button frequently so you can micro your way to a casualty-free victory (by ~3:20 on the time) in this quick but intense firefight.
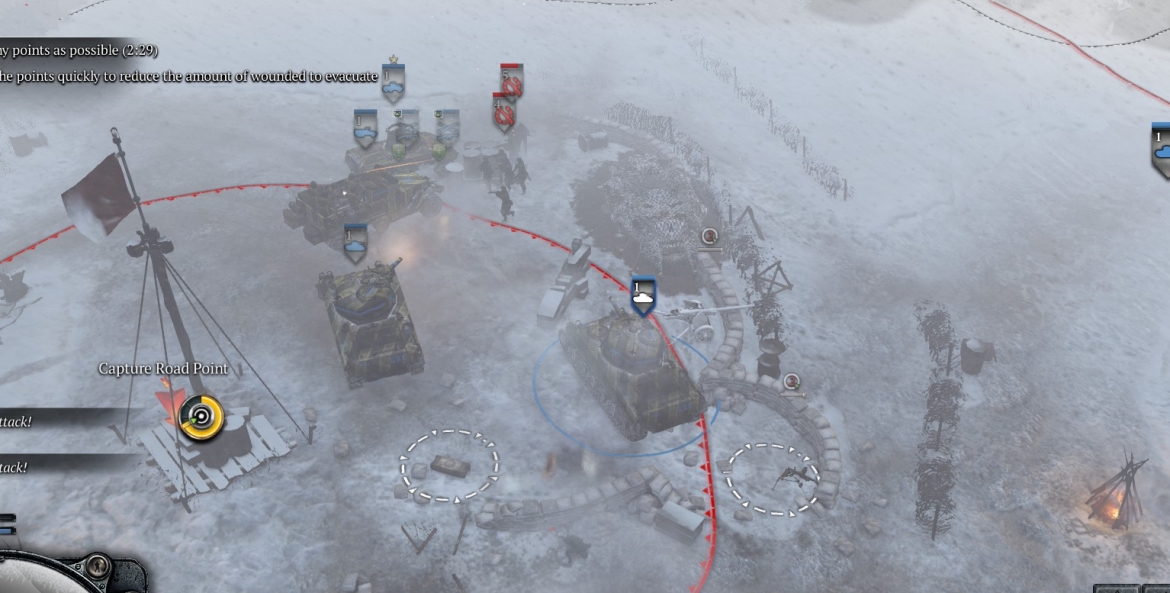
Leave one unit to cap the point, and repair any damaged units, then (should be at least 2:30 left on the timer) send the rest up to the last road point (point 4), where they will face even more AT-capable German infantry, including four or five panzerfusilier squads (some arriving during the fight). Use your mounted cav riflemen to screen your Shermans from the AT-nading panzerfusiliers.
To get gold, you need to cap all four points before the countdown timer gets too low. I’m not sure of the cutoff (it might be 0:00) but I’m sure that if you end with more than a minute to spare you’ll get the gold. With experience, this is easy—I have done it with more than three minutes remaining.
Defensive Phase
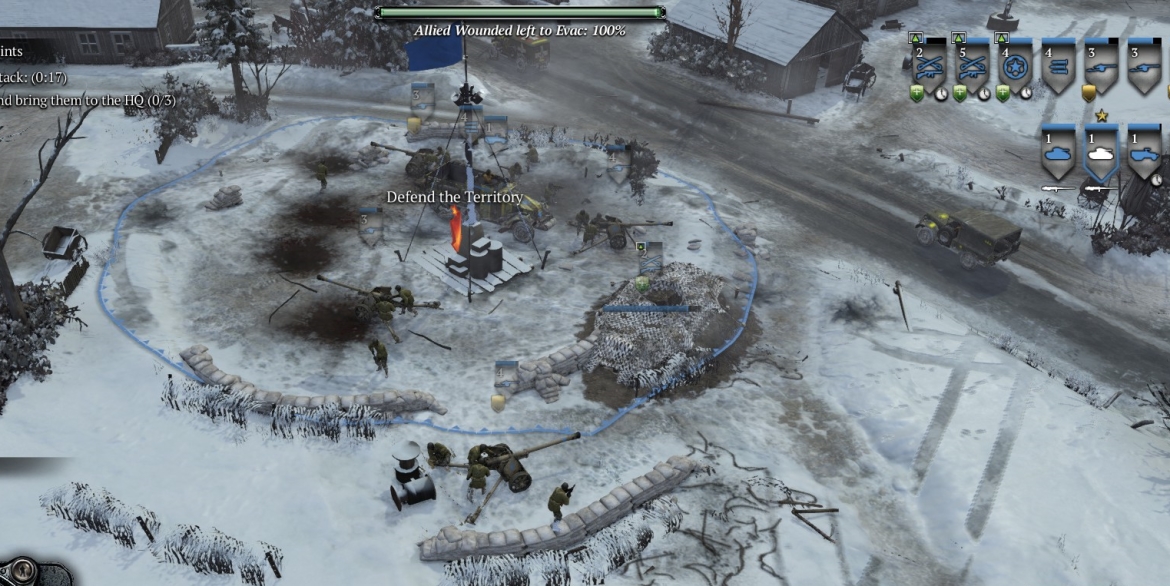
Your object in the defensive phase is to defend the two middle points, points 2 and 3, against small German infantry-plus-vehicle counterattacks, which can come from either side of the points. There will be three attacks in all. There will also be a side-mission. There is a countdown timer to let you know when the German attacks will start.
This phase really starts before you have capped point 4. When you have eliminated all or nearly all the opposition at point 4, so that your cav rifles can handle the rest, send your Shermans to the two territory points at the east-central edge of the map, away from the road. There are lots of German infantry to attack here (not because you need to, just to build XP), and you can grab at least one ammo box while capping two points (which can give you an early warning of attacks from that direction). Your scout car can go to cap the fuel point on the E side of the map.
Meanwhile, back in point 4, your cav rifle units (reinforced by the halftrack) after killing all opposition should be crewing the abandoned HMG and two AT guns. Bring these (via the road—do not short-cut over German-held territory) down to point 3, where your defense will be based. There are also two AT guns in point 3; crew these too. So now you have 4 AT guns and an HMG. Position the HMG towards the WNW (road coming in from the left, just above point 3)—although be ready to swivel it around if an attack comes from the opposite side. Face two AT guns to the WNW to cover that side-road, and point the other two SE across the main road to the mouth of the side-road opposite.
At your base at the bottom of the map, you’ll now have another halftrack with a cav rifle unit and an RE squad. Bring these up to point 3 asap. Use the RE squad to build, as soon as possible, a firing position (upgrade with HMG) below point 3 and facing E to the just-mentioned side road. The RE squad can go into the firing position to toss grenades.
One of your Shermans, once it has finished blasting random German squads and capping points on the right side of the map, can head more or less directly W across the map to the two territory points on the left-center edge of the map. Three of the possible side-missions (tank kill, VIP kill, allies save) will be situated here.
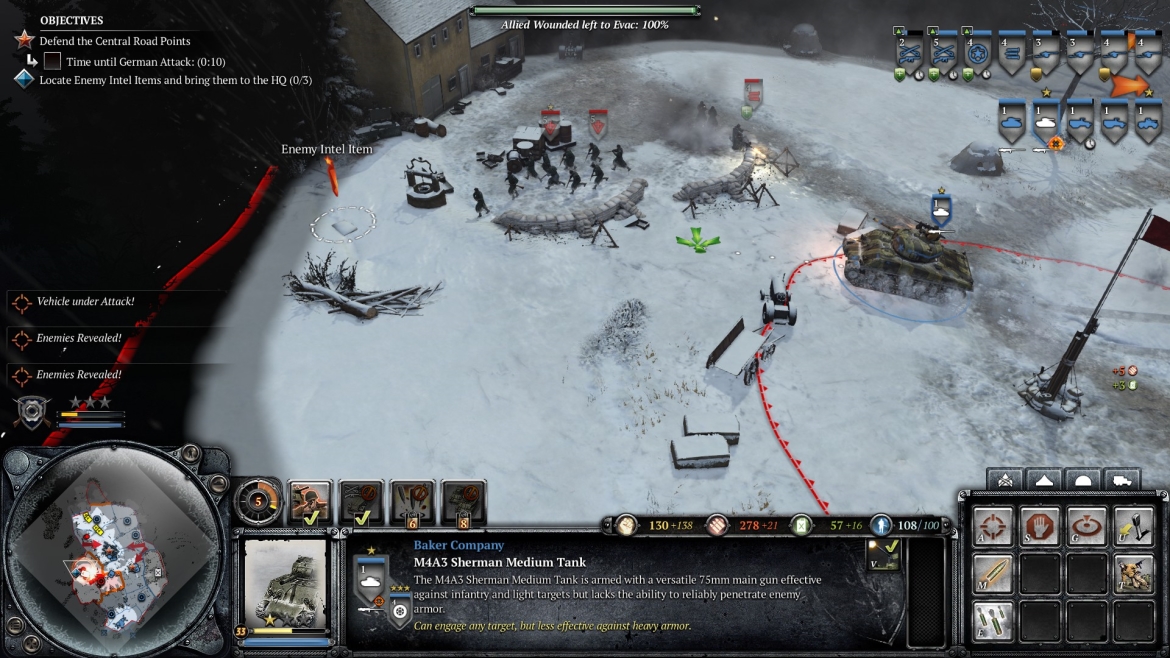
If you get the fourth possible side-mission (intel gather—usually very hard to complete before the mission ends) you will find 1 or 2 of the 3 bits of intel here (the other is often near the fuel point). Your Sherman’s task for this side-mission will be to destroy any opposing units so that your infantry units can carry the intel items back to base (go via main road—there are well-equipped German units in the woods just above your base).
The other Sherman should go to defend point 2 from within/near the point. Try to have at least a partial-strength cav rifle squad on foot or in a halftrack at point 2 as well, to help prevent German infantry from decapping it while your Sherman tangles with German vehicles. For the first attack, the Sherman can still use HE rounds, but for the second and third, it should begin with AP rounds to deal with the scout cars, Luchs and Pumas that will be coming.
The Sherman that was attempting or helping with the side-mission can return, when finished, to the area between Points 2 and 3 to lend assistance during attacks.
Note that the attacks usually will come from the side for which you are least prepared, i.e., the one opposite the side where you have all your weapons pointing.
The last attack will include fallschirmjaeger squads firing FG42s—very dangerous to any of your infantry units in range (hem in or destroy the fallschirmjaegers with armor asap).
You have artillery that can help with wiping German infantry and even vehicles.
Watch out for the icy ditch across the road from point 2. Somehow it is extremely deep and your tank will sink into it and disappear if it runs onto it and breaks through the ice.
It is possible (I have done it) not only to cap every point but also to wipe every German unit from the map, the last ones being the infantry in the final assault. Note that there are usually at least half a dozen units in the woodsy SW portion of the map.
You should finish this mission with 40-60 veterancy points, and zero or near-zero casualties—even an increase in your force if you achieved the allies-save or intel-gather side-mission.
♠♠♠