[21 August 2023]

The Stoumont “Fuel Drain” mission is buggy. German vehicles—which are supposed to play a starring role in this mission—typically take little or no damage until they reach their destination, a sanatorium complex they are trying to retake from you. Even when they reach the sanatorium they are sometimes unusually hard to kill. This makes it problematic to engage them, so you need to block them with lots of tank traps (TTs). But the TTs, if laid optimally, will block German vehicles before the vehicles are seen by your forces, which leaves them in a suspended animation state that prevents the progress of the mission—until you go out and “see” them with your units or recon.
Fortunately the mission is still do-able, and there is a fairly easy strategy for winning the gold medal and lots of XP/veterancy without many casualties or an hours-long ordeal.
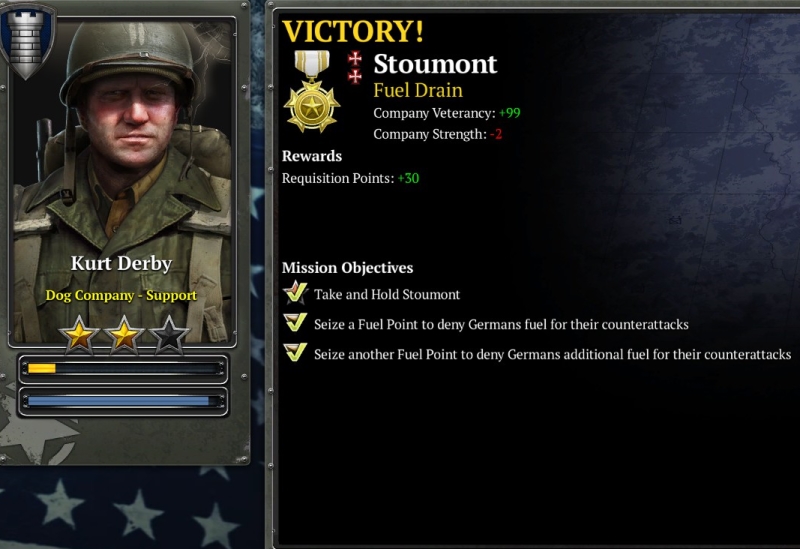
First, the mission objectives:
To complete the mission, you must take the sanatorium complex, and then set up defenses to hold the point against five armor-and-infantry attack waves.
If you want also to win a silver or gold medal, which I’m assuming you do, you must send most of your force out to cap one or two other fuel points on the map—tasks involving increasingly challenging firefights for the control of these and other points along the way. If you cap one fuel point, you get the silver medal; if you cap both fuel points, you get the gold. (You don’t have to defend them after capping them.)
Capping the fuel points also helps you a lot with the rest of the mission. Why? Because German vehicles, once visible on the map, will run out of fuel within roughly 10-30 seconds, and that interval will be shortened depending on the number of fuel points you control.
You can use any company for this mission. Units with good close-quarters-battle capability can be very useful, since you’ll sometimes face fallschirmjaeger and vetted volksgren and panzerfusilier squads. But I always use Dog Co. because it has decent artillery even when un-upgraded, and though Dog artillery seems a bit nerfed on this map, its still better than any other company’s artillery.
Assaulting the sanatorium
Usually you start with at least an HMG, two rifleman squads, an assault engineer (AE) team, and an RE squad. Order in two more RE squads and the Lieutenant unit.
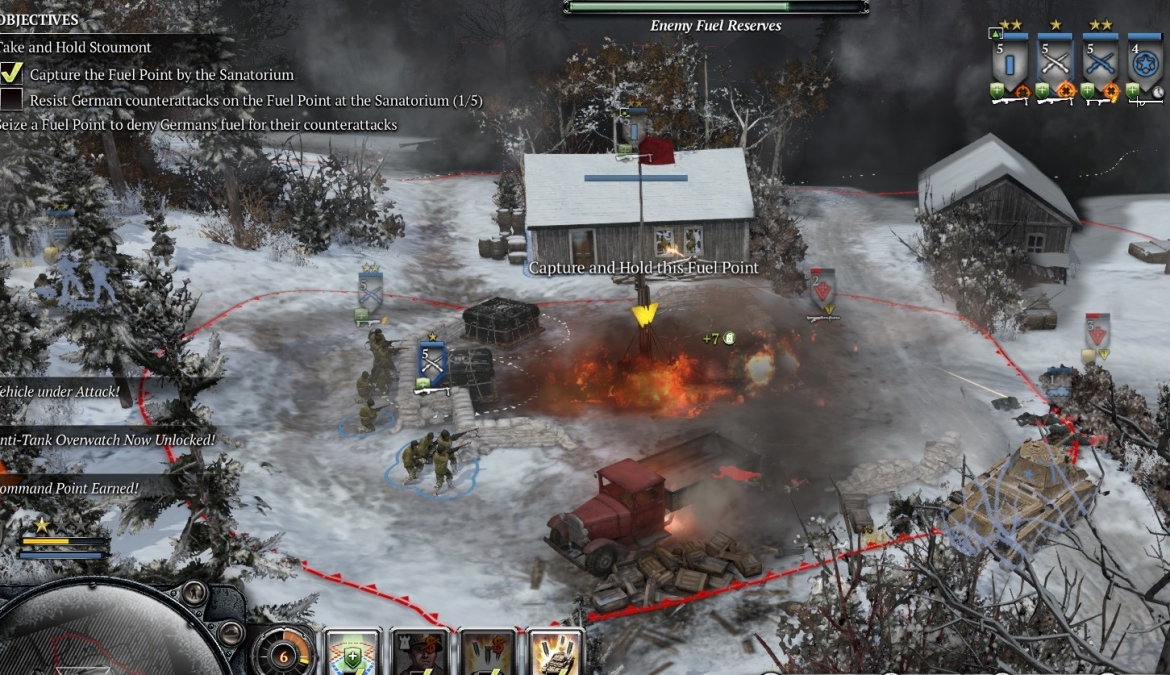
Your RE squads should start laying TTs along the right side of the road at the right side of the map. The rest of your force can assault the sanatorium building. The images below illustrate:
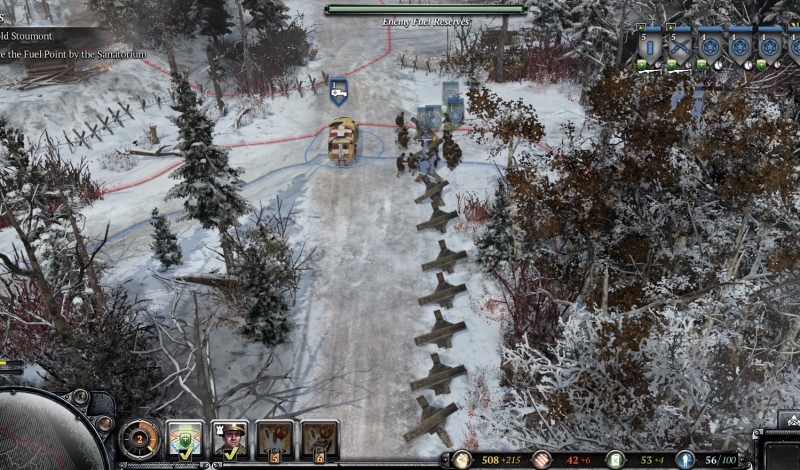
Capping the sanatorium
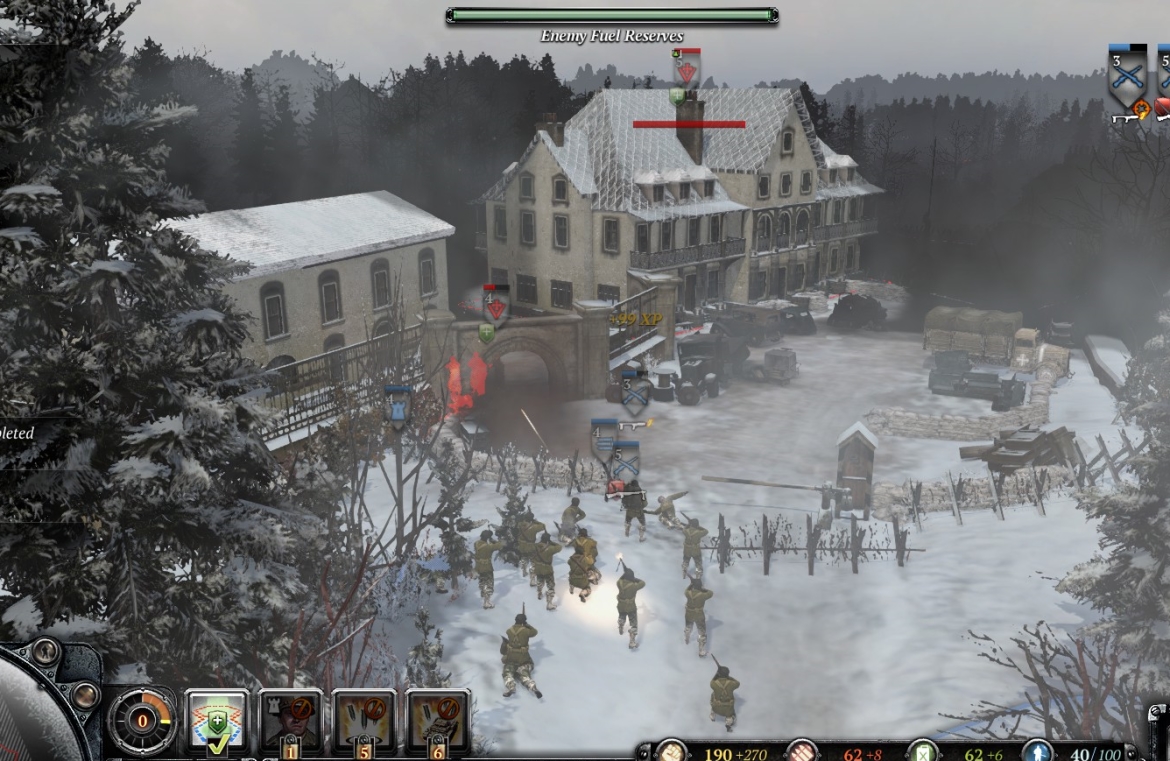
A basic exploit you can use here is to hold back from capping the sanatorium VP until you have built up your forces, laid a lot of TTs, etc. But on lower difficulty levels you don’t really need to wait very long, or at all.
What you will need to do almost immediately, in any case, is terminate all the German units in the sanatorium point—usually there are three or four, including a volksgren squad out of sight in a bunker on the right side that will soon start sniping your RE squads as they come up the road. Send in your Lt. and flamethrower riflemen, as always with HMG support, and they should finish the job pretty easily.
![]()
You can now cap the point, or wait a while and let your muni/fuel build up and your RE squads lay TTs. Note that once you have capped the point, and the map expands, you need to quickly send some RE squads around to the road to the left of the complex, and lay TTs to block access to German tanks, which will otherwise bust through the west fence of the complex (in the second or third attack wave) and wreak havoc. In general, whether you do it before or after capping the point, you need to get TTs down to block all access to the sanatorium point by German vehicles. As the map opens up, you should lay new TTs further out, as you are able, so German tanks can’t get close enough to shoot into your sanatorium defenses.
Defending the sanatorium and taking the fuel points
Apart from taking the sanatorium point and laying TTs, you should do the following things:
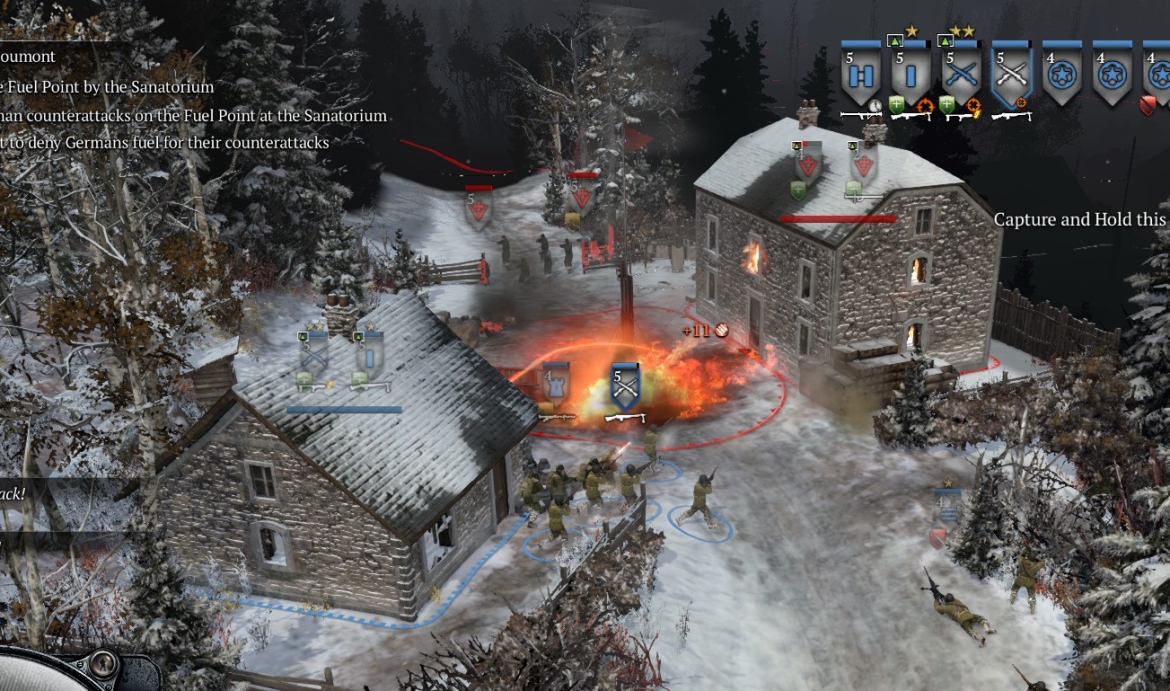
- Defend the sanatorium point from an initial, scripted attack by a Puma and two infantry squads.
- Defend the point from later waves.
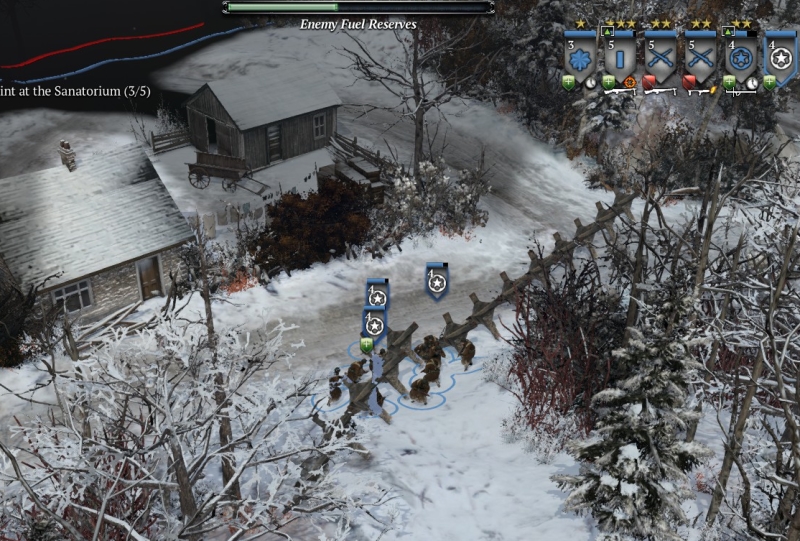
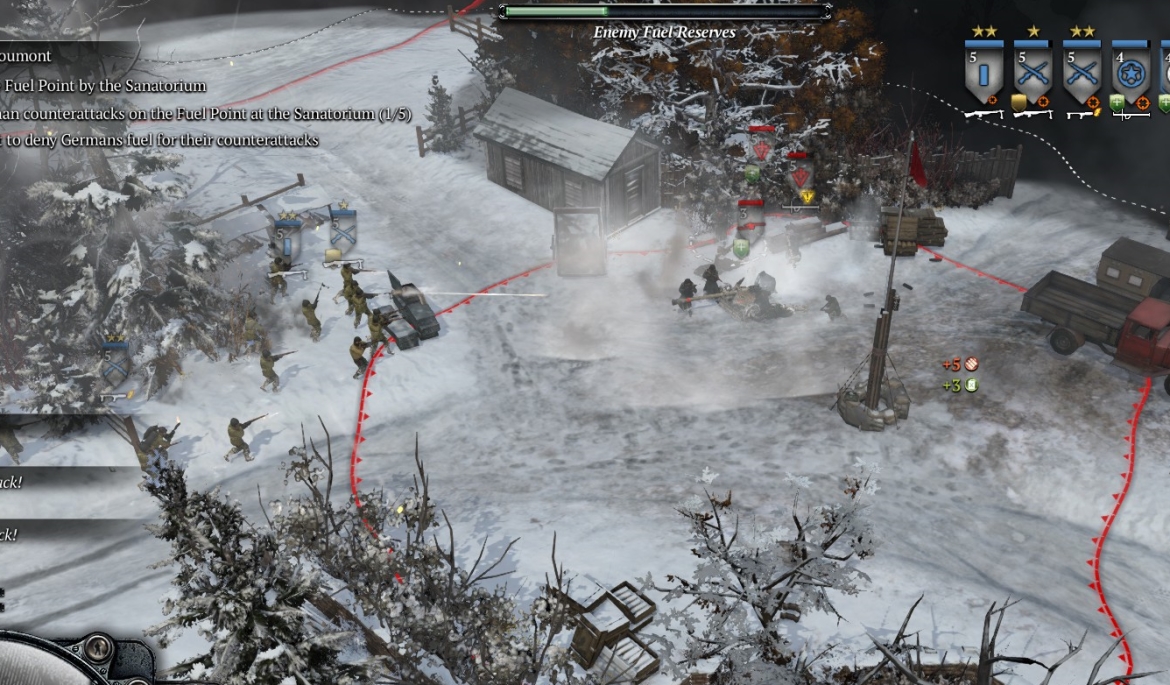
- Attack and take the muni point north of the sanatorium (starting within a minute or so of the Puma attack).
- Attack and take the fuel point just east of the muni point.
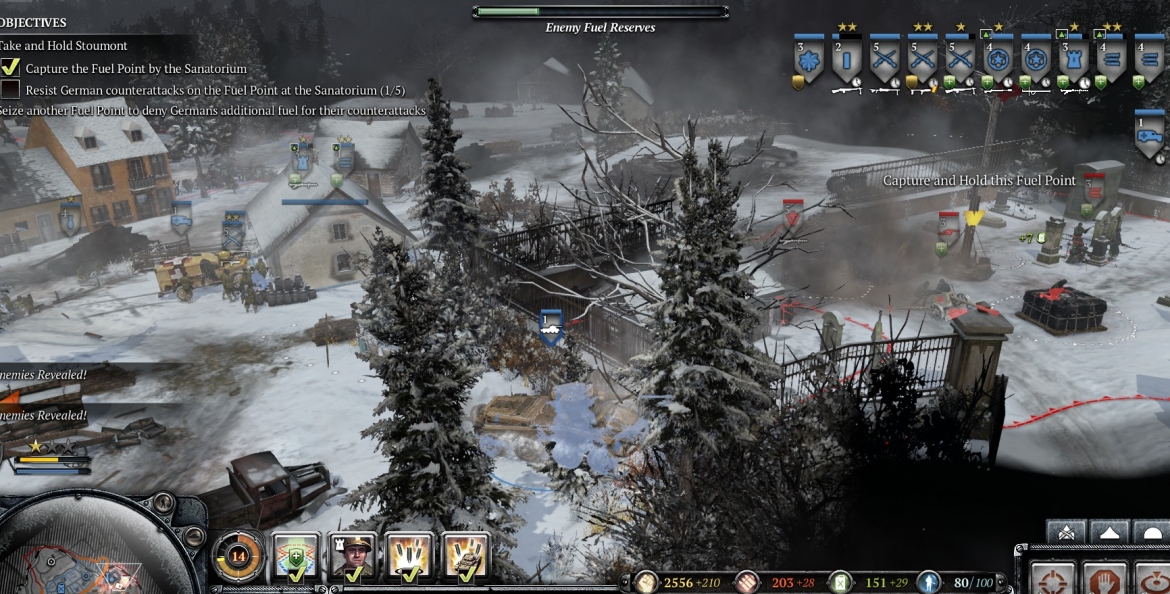
- Attack and take the territory point east of the fuel point, then send your roving force across the road to the SE.
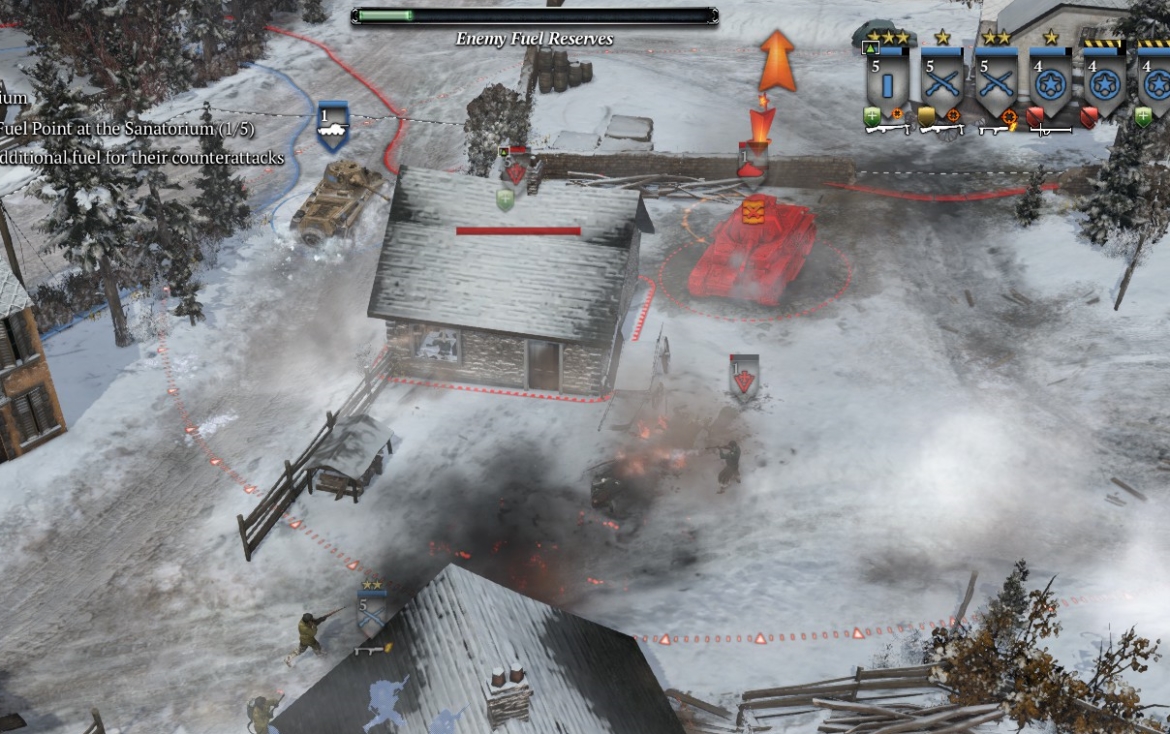
- Kill the crippled tank if that side mission applies.
- Attack and take the last fuel point.
- Attack and take the remaining muni point.
- Return to base to deal with the final waves.
To defend the sanatorium point, one or two RE (or AE) squads, equipped with BAR/LMG and backed by an ordinary HMG, should be enough initially. As muni points become available, the RE/AE squads can add firing positions to cover the approaches to the VP. Another RE squad can scrounge abandoned German LMGs, with which the map is littered.
If you have blocked German vehicles with TTs, you shouldn’t have anti-tank weapons at the sanatorium point, because they will break TTs when used. Also do not crew the abandoned AT gun at the sanatorium. RE squads that are going out to lay TTs can carry schrecks, though, in case they run into a German vehicle and can find a chink in its Miracle Armor.
The initial Puma attack will occur a minute or two after you cap the sanatorium point; focus on the infantry because the Puma cannot be killed—it will almost immediately run out of fuel and you are supposed to refuel and re-crew it.
For the sake of brevity, most of the rest of the tasks/events are shown in images below:

Once you have capped the muni point, dismiss your ambulance, since it can’t get back through the TTs. Bring your infantry units back to the sanatorium to join the defense, being careful to avoid any incoming German units.
The Puma can, with the help of artillery, continue around the map assisting with side-missions or just building up veterancy by wiping German infantry.
When the mission stops progressing
When German vehicles/infantry are blocked by TTs/wire, and haven’t been spotted by your forces, they usually just hang there, and the mission doesn’t progress (normally it moves pretty quickly). To un-stick the mission, you can send your Puma, or an RE squad, or use your major’s recon power, to spot the vehicles; this will make them run out of fuel (after a short delay), and you can also use AT-artillery on them (but you shouldn’t if they are close to TTs, because the artillery will break them). Stuck German infantry will have to be killed, although sometimes when their accompanying vehicles run out of gas they will retreat off the map, or will back up and look for other paths to the sanatorium. Indirect fire from your base, using the Puma or major/recon to spot, is one way to handle stuck German infantry; white phosphorus mortar rounds cause less damage to TTs than normal HE rounds.
Other notes:
It’s tempting to crew lots of abandoned German armor. From the way the mission is designed, it seems that the devs really want you to do that. Don’t do it! You would only be playing to the German strengths—their attack waves have enormous anti-vehicle power, and (of course) German vehicles when crewed by you will be highly vulnerable to AT fire, not immune the way they are when crewed by Germans. The sanatorium area is also too small for lots of vehicles.
There is no German base you can attack. You can gain extra XP/veterancy by hitting the territory point at the top of the map, but it has strong defenders (including a Pak). The point at the lower right of the map has a fallschirmjaeger squad that is hard to kill—even Dog Co. artillery will often leave it unscathed.
American mortars are often bugged and won’t fire automatically at targets in range. Dog Co.’s 75 mm pack howitzer is a more reliable alternative.
You should finish this mission with 75+ veterancy and few or no casualties.
♠♠♠