[updated 15 August 2023]
First mission (left flank):
This is done with Fox or Able Co., depending on which one you have in your lineup. I’m assuming Fox Co.
Move all your forces to the far lower left corner of the map and then run up the hill on the far left edge of the map. It is easy to flank the Pak and German infantry there. Then run across the German line from left to right until you’ve killed all the units on that front line. Reinforce your squads, using the halftrack.
If you’re using Rangers on this mission, and intend to use them for the final assault, you should now bring in more Ranger squads. You will need them immediately at the start of the final assault. Bring in as many as you can while otherwise conducting this mission normally. Also—important!—use your RE and rifleman squads to crew all the Paks and HMGs they can grab on this map (reinforce with M3). These crewed weapons will be badly needed in the final phase of the assault, if you are using Rangers (as I recommend) and they are not upgraded to carry schrecks.
Use the passing US planes to spot for your artillery (Fox Co.) or CAS (Able Co.) to de-crew the three artillery pieces at the fuel point to the north. Try for a shot that kills the crew but spares the gun, so you can use it later. Not essential, but nice to have.
If you prefer, you can rush the VP here with your squads, but you will take a lot of casualties from the Puma, HMGs, fallschirmjaegers, obersoldaten, Paks, and other German units there. Artillery should do most of the work for you on all four of these Siegfried Line missions.
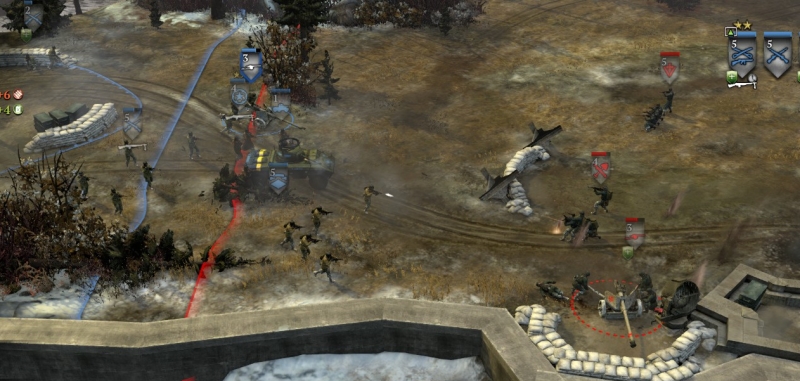
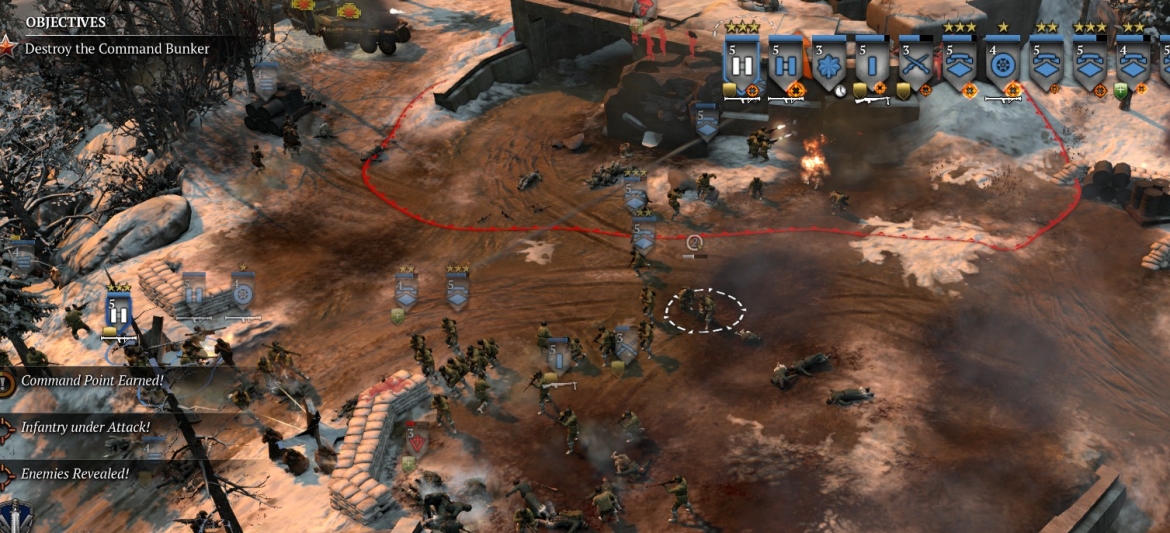
Second mission (middle/road):
Take the AT gun and move it up 20 meters or so, until it’s just in range of the Panzer IV across the field. Leave it to kill that tank automatically. The rest of your force sweeps left to take the first territory point with help from an immediate artillery salvo. When healed/reinforced and artillery is recharged, blast with more artillery and then charge the defenders of the point just ahead across the ditch. Grab Paks and other weapons there. Use your tanks on the lower side of the barriers for support as your infantry moves across from W to E. Use your Paks and M10 on the Luchs that appears. Use passing US planes to spot for your artillery as needed. Once you cap the point at the far right, behind the concrete barrier, or kill the Luchs and supporting German HMG, the mission ends.

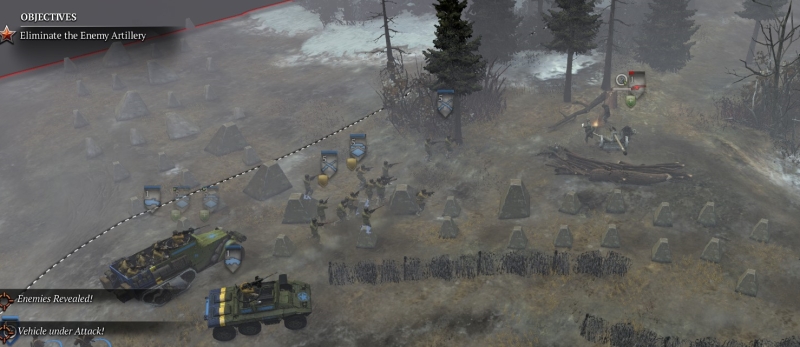
Third mission (AA emplacements):
Use the US aircraft overhead to spot the two German AA emplacements, one on the right and one on the left of the German position. When you spot each one, pause and call in artillery on that position. If you’re impatient—the planes sometimes take a long time to fly the route over the left emplacement—you can send your Sherman down to that left emplacement to spot for artillery. The Sherman can just run as quickly as possible past that AA position to the back of the surrounding yard, to avoid damage from your artillery.
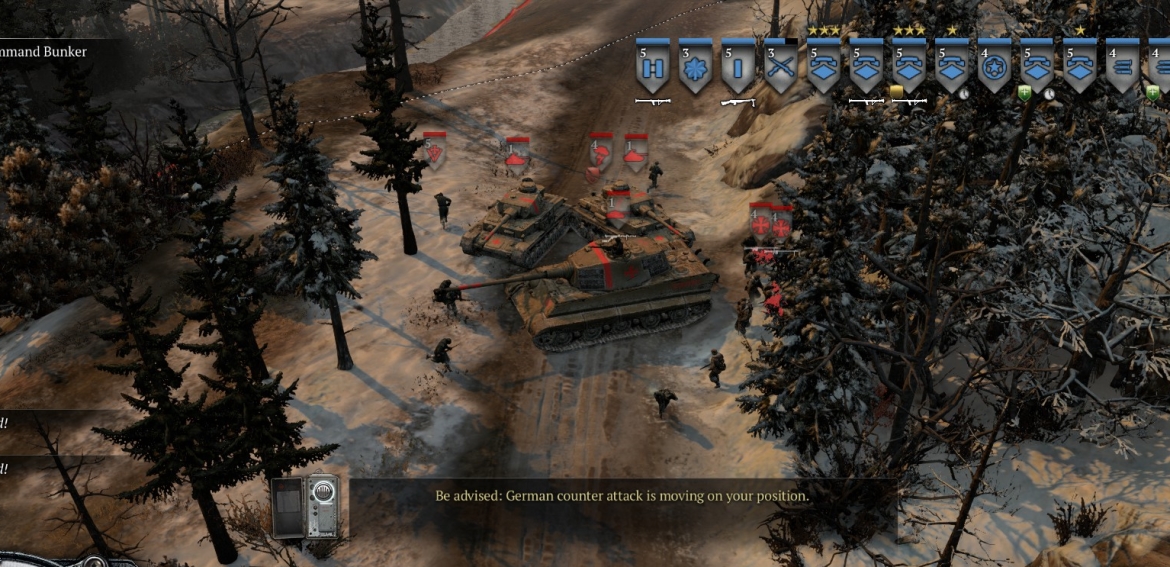
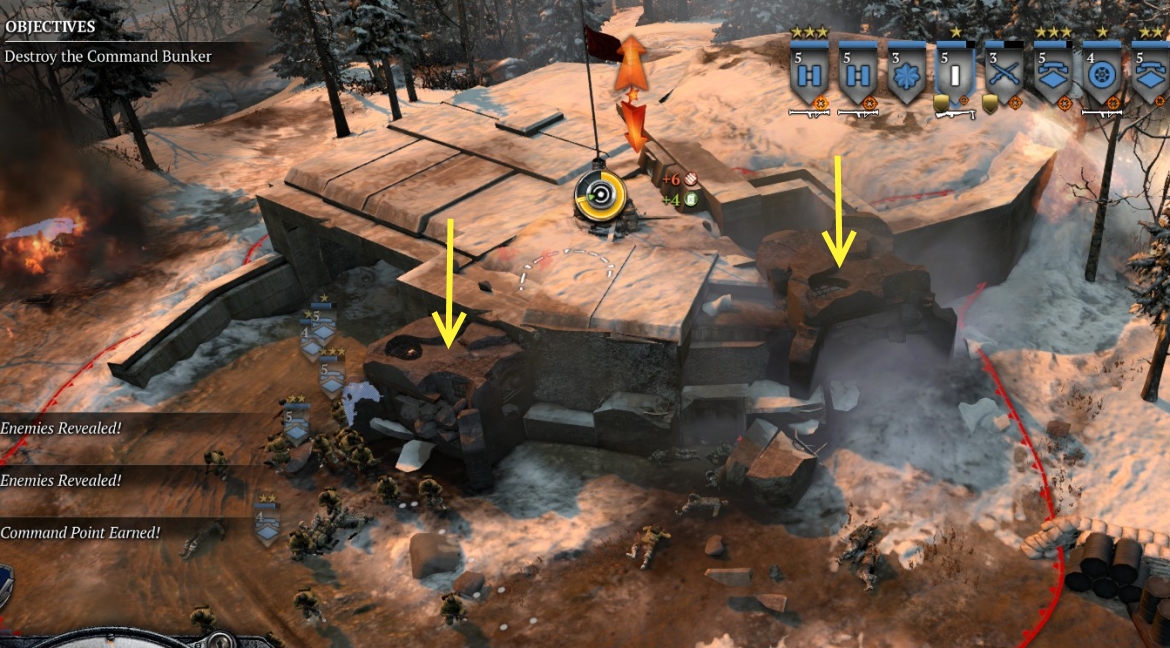
Final mission (hilltop bunkers):
Easiest to use Fox Co. here, since the other companies are less able to deal with the German armor and elite infantry they will face. I’m assuming Fox is not upgraded so that Rangers always carry panzersschrecks.
Time is of the essence here, as the Germans only 1-2 minutes into the mission will make a monster counter-attack with their remaining armor, led by a King Tiger.
The first step is to unlock the weapons rack, while moving most of your Ranger squads to your new base. Everything else, including HMGs and Paks, should go immediately to the fuel point above the base, and set up against the imminent German attack from across the creek to the E. Your RE squad, with following M3 for reinforcement, should crew the surviving artillery pieces and immediately start shelling the area just E of the creek near the fuel point. Use your M20 to quickly get to the fuel point, grab fuel and ammo, and, if possible, lay a mine on the slope before the creek. Meanwhile equip some of your Ranger squads with two bazookas each and then have them run to the fuel point to help in the defense. Call in an ambulance. Be sure your M3 is close to your defenses, inside the fuel point, so depleted crews and squads can be reinforced immediately.

After you have defeated the German counter-attack, heal up and reinforce, while your artillery pounds the area to the E, including the bunkers at the bottom of the hill, and the Panther tank that is usually a bit S of that. Use Fox. Co. artillery and passing planes as spotters to kill German mortar units and bunker-dwelling elite infantry at the top of the hill.
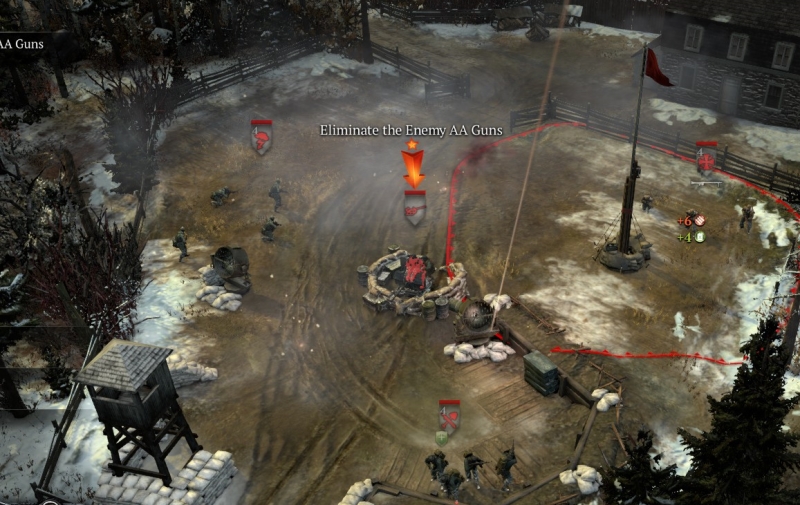
When the bunkers and infantry at the bottom of the hill to the E of your position have been taken out, have your entire force move across the creek and N, then up the path that enters the main hilltop bunker area from the N. Use your anti-infantry capability, including HMGs, to deal with the elite infantry here, while your Paks and a few bazooka-equipped units take out the two bunkers. The moment both bunkers are destroyed, the mission—and the campaign—will end.
Note that if you are using Able Co., their rocket CAS often can destroy the two bunkers, without the need for an infantry assault on the bunker position.
If you want, you can pause this final assault until a Sherman and an M10 arrive, though they shouldn’t be necessary.
As far as I can tell, this final mission doesn’t affect your companies’ strengths or veterancy levels.
♠♠♠♠♠♠