In my opinion, this is one of the worst COH missions, because it is heavily scripted and forced in the way the action develops, with a lot of artificial drama and no real risk of losing. Essentially it concentrates and showcases all the bad game-design ideas found throughout the COH franchise.
At the start, you are hustled to move from your base to attack forces guarding a railroad bridge and blow up the bridge.
Send most of your forces to the left of the rail line to flank the bridge defenders (British commandos, sappers, MG42s and Bren carriers) with your scout/armored cars, AT halftrack, mortar halftrack, Goliath-dropping 251, and supporting infantry (only one needs panzerschrecks). Some other units can at least put some pressure on the British on the right side of the rail line.

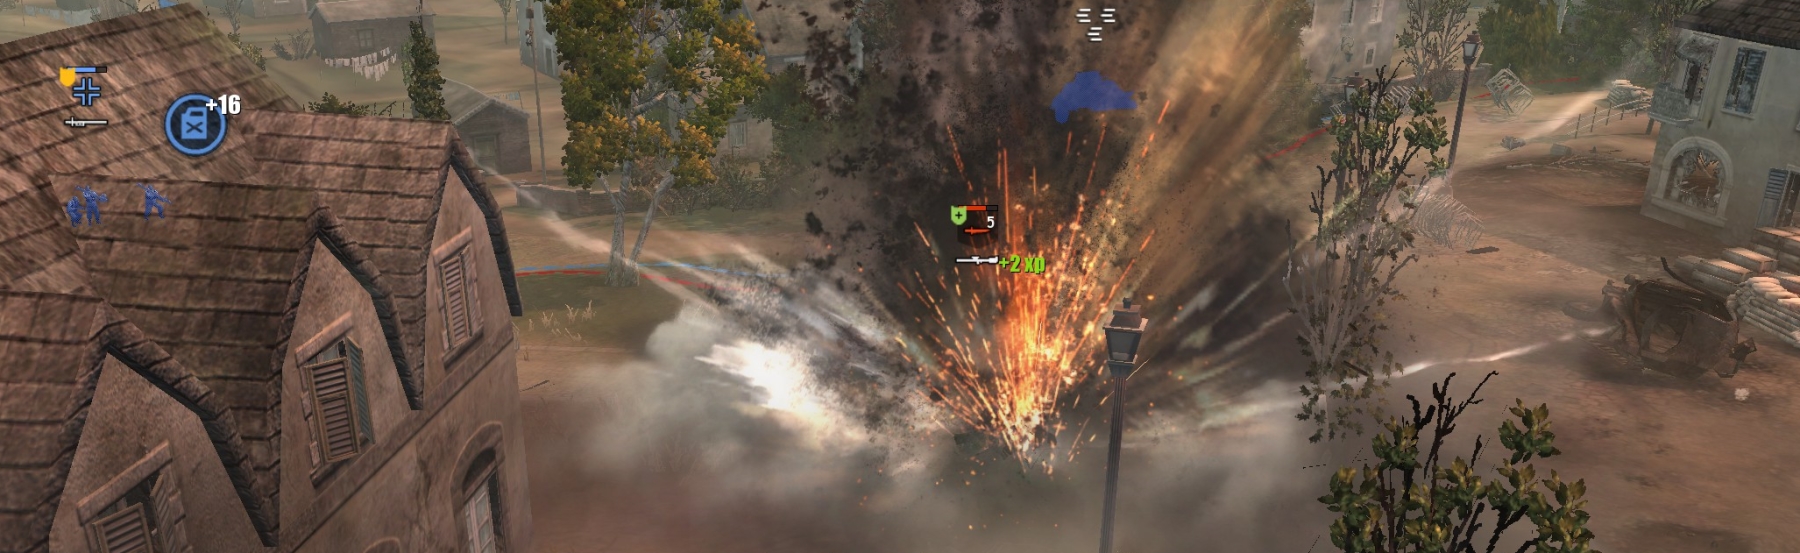
When you have reduced the defenders sufficiently, drop a Goliath and send it out onto the bridge, detonating when it is over water.
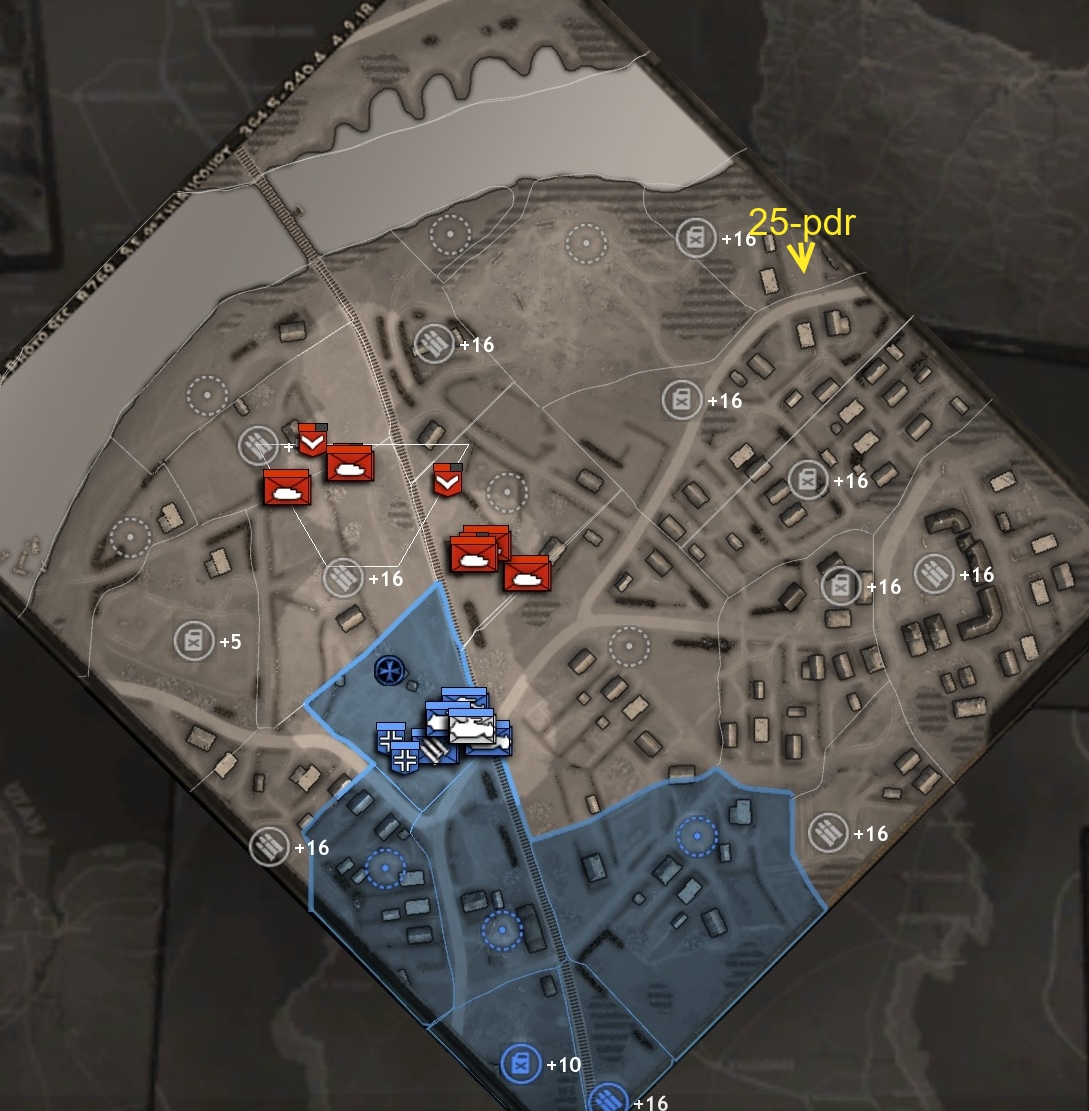
Now you want to cap points on the left side of the map with one or two weak units, while the rest of your (growing) force moves—not directly but via the main road—to the site (see tac map above) where the British are building or have built a 25-pdr emplacement. A couple of armored/scout cars can destroy the emplacement (wait till it is finished, if you want to be credited with this as a secondary objective) while your other units take on the small number of British commandos you will encounter on the way. Also, there are MGs and entrenched sappers just uphill—at the VP that is another secondary objective—from the 25-pdr. Usually you can re-crew the 25-pdr, though its range is ridiculously short and the British present few static targets.
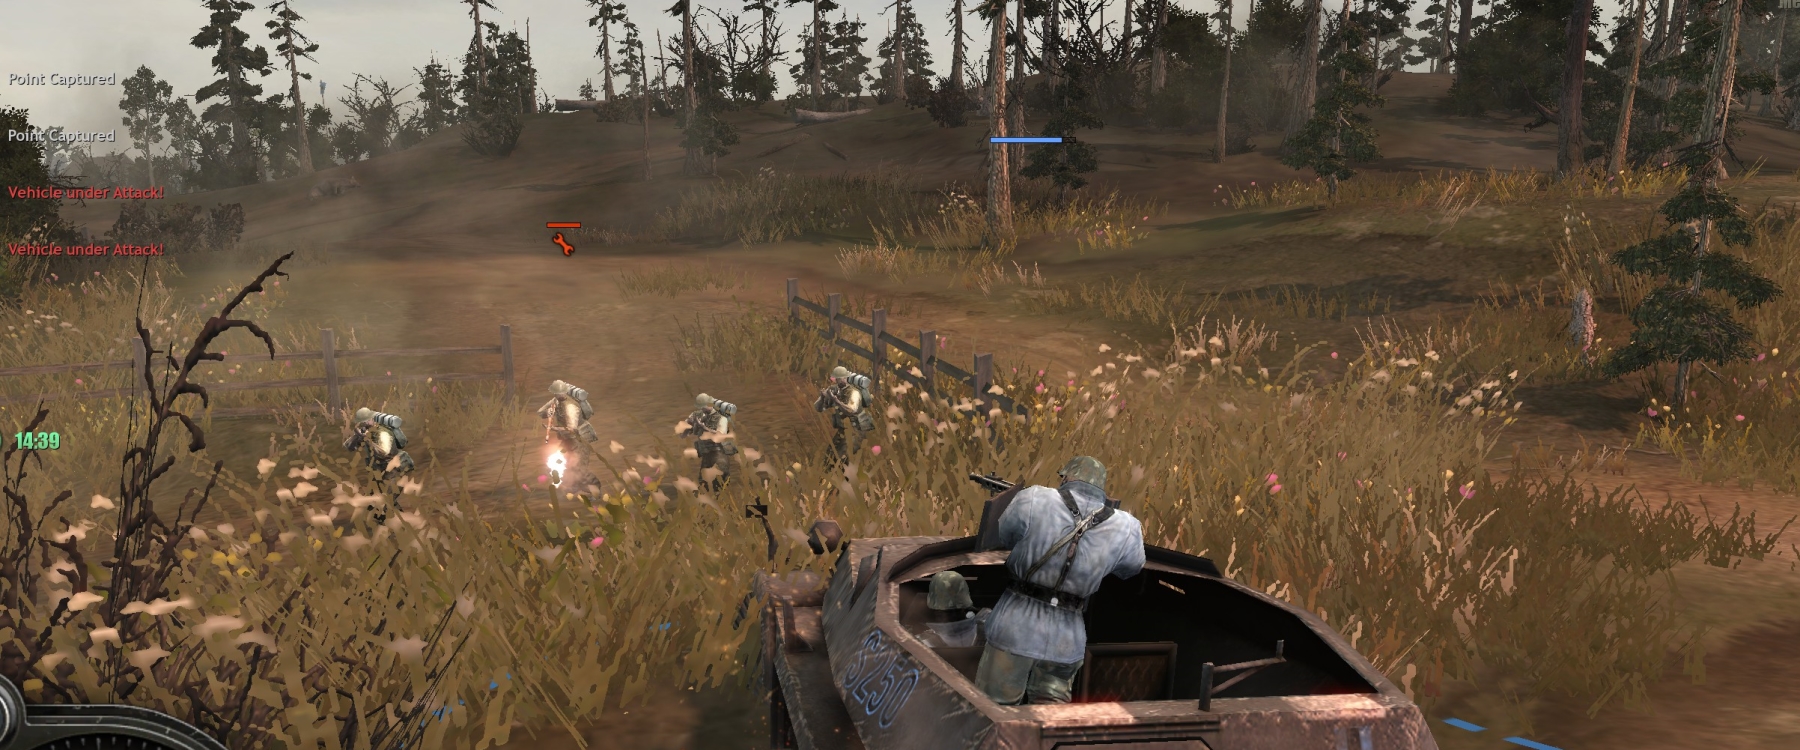
When you have capped the points on that upper part of the map, you can, if you choose, follow the UI instructions and take the central VPs to “establish a defensive line,” then defend that line (for 15 minutes) against the British counterattack that will start immediately. The British force will be modest and mostly defensive at first—see tac map (with fog-of-war switched off) below:
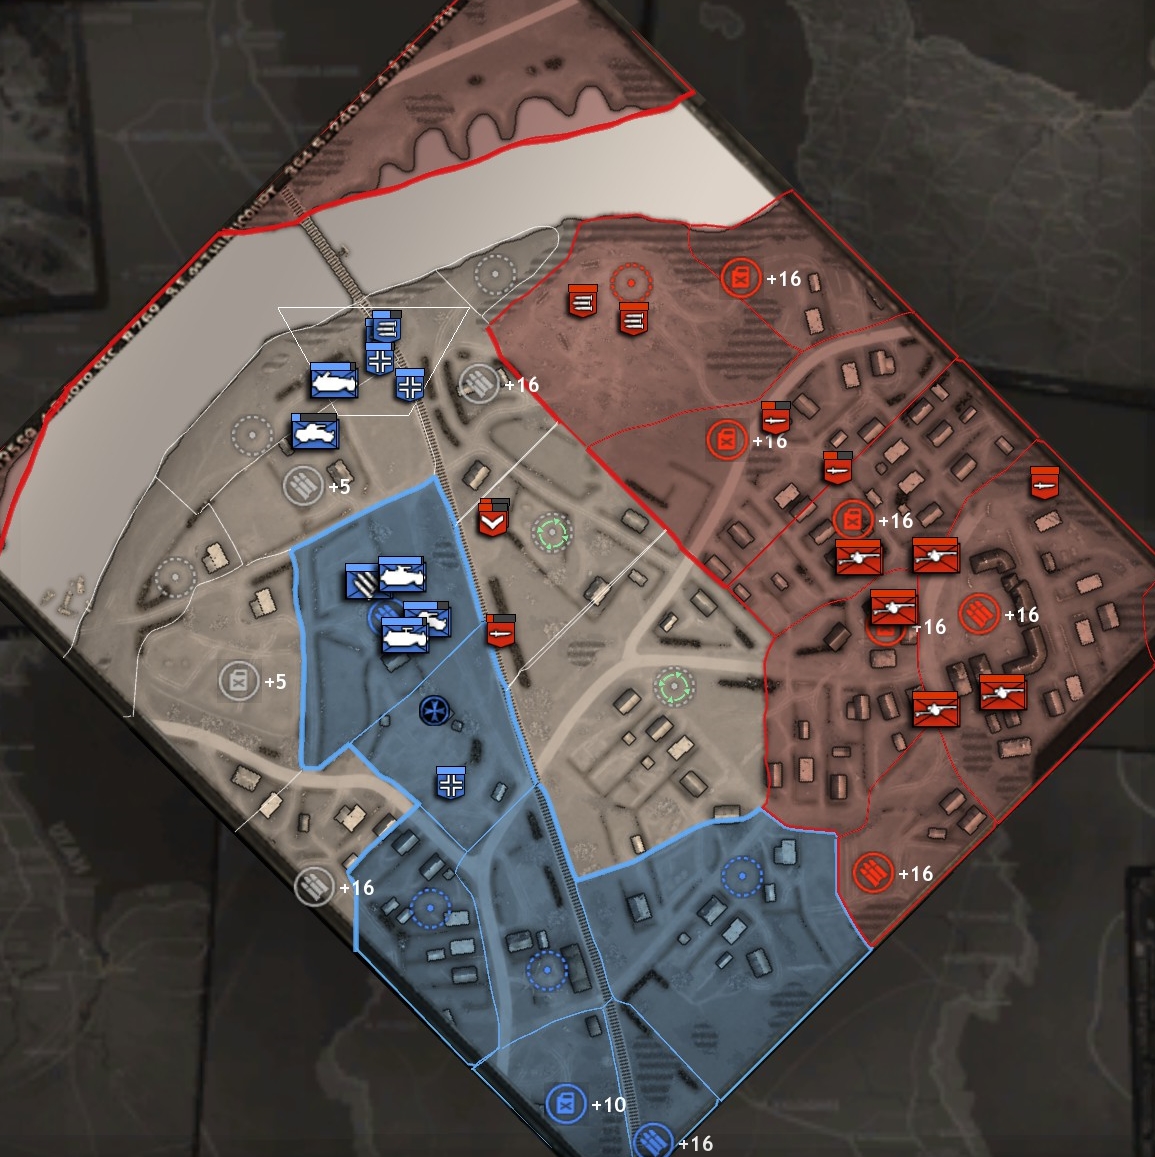
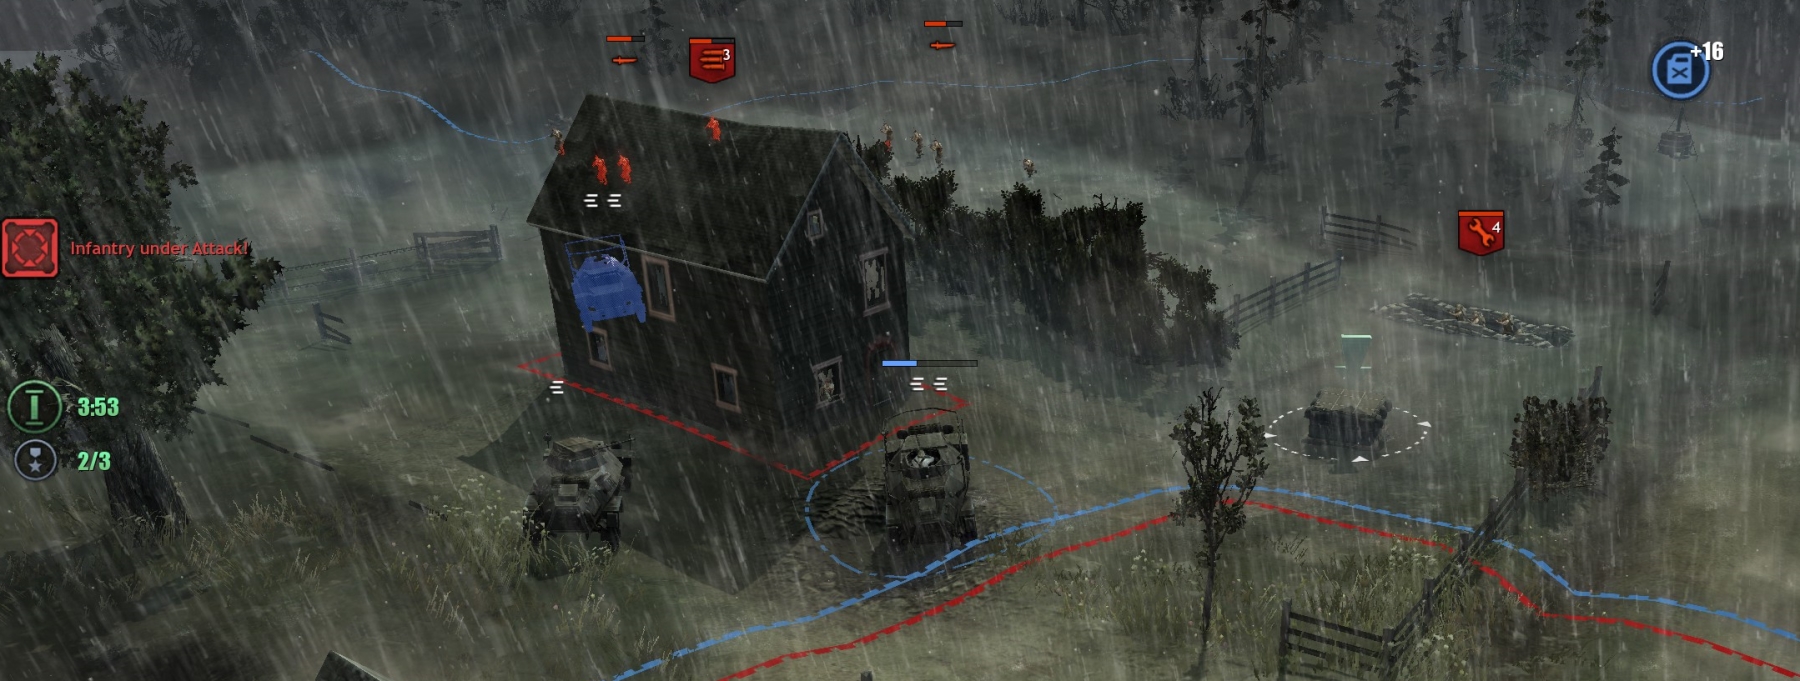
The assault will steadily gain strength, though, and there will be a flood of reinforcements from off-map and by glider (including Tetrarch mini-tanks) in the last ten minutes. You won’t be able to stop the British from breaking through your line, with all they will throw at you, but if your defense is competent, the attackers won’t get near your base until very late in the mission, and your base is the only thing you really need to defend to win. After you take the central VPs you will get a 4/5 strength Luftwaffe infantry squad, which can set up Flak-38 (20mm) guns—your most effective weapons. Fallschirmjaegers, mortar halftracks and Goliaths are pretty good too (they need some micro-ing, though).
Be aware that the British have some hyperpowered (or just bugged?) units, such as recoilless-rifle-equipped commandos that will often take little/no damage even from a Goliath going off one meter away.
The Brits will bring lots of mortar teams too, and those will tend to be much more accurate than German mortar halftracks and at longer ranges (the enemy is unaffected by fog of war). You will need to send units out regularly to take out those mortars, and the enemy will be waiting for you with those invincible recoilless rifle teams.
To win the mission medal, you have to capture three British supply drops during the last ten minutes or so. The UI tells you where they are, and they’re always in the same place, so normally it’s not much of a challenge—normally.
As an alternative strategy, you can ignore the UI and those “defensive line” VPs, and instead start taking points on the right side of the map, in British-held territory. You will encounter regular commandos, the hyperpowered commandos with recoilless rifles, mortar teams, sappers, and lots of AT guns. Before you are able to cap all the points on the right side and wipe the British from the map, the UI will declare that you have established your defensive line (even though you haven’t), and new British units will start materializing all over the right side of the map, including next to your units. (If you had just sat back at your “defensive line” that still would have happened, only you wouldn’t have seen it.) Advancing like this, instead of staying on the defensive, is something that the devs clearly didn’t want you to do. Sometimes it will be clear that “perfect counter” enemy units are materializing opportunistically to protect points or units you are targeting. In any case, by advancing into their territory you will take the initiative away from the British and delay their ability to move to your base. They will regain the initiative in the last few minutes, but it will be too late for them.
***