This mission is pretty crazy, and unfortunately a bit bugged. If you come to it with no idea what to expect, you can easily lose.
If you are prepared, though, you can win, and earn the mission medal, fairly reliably.
Here’s how you do it:
Defeat the British advance force
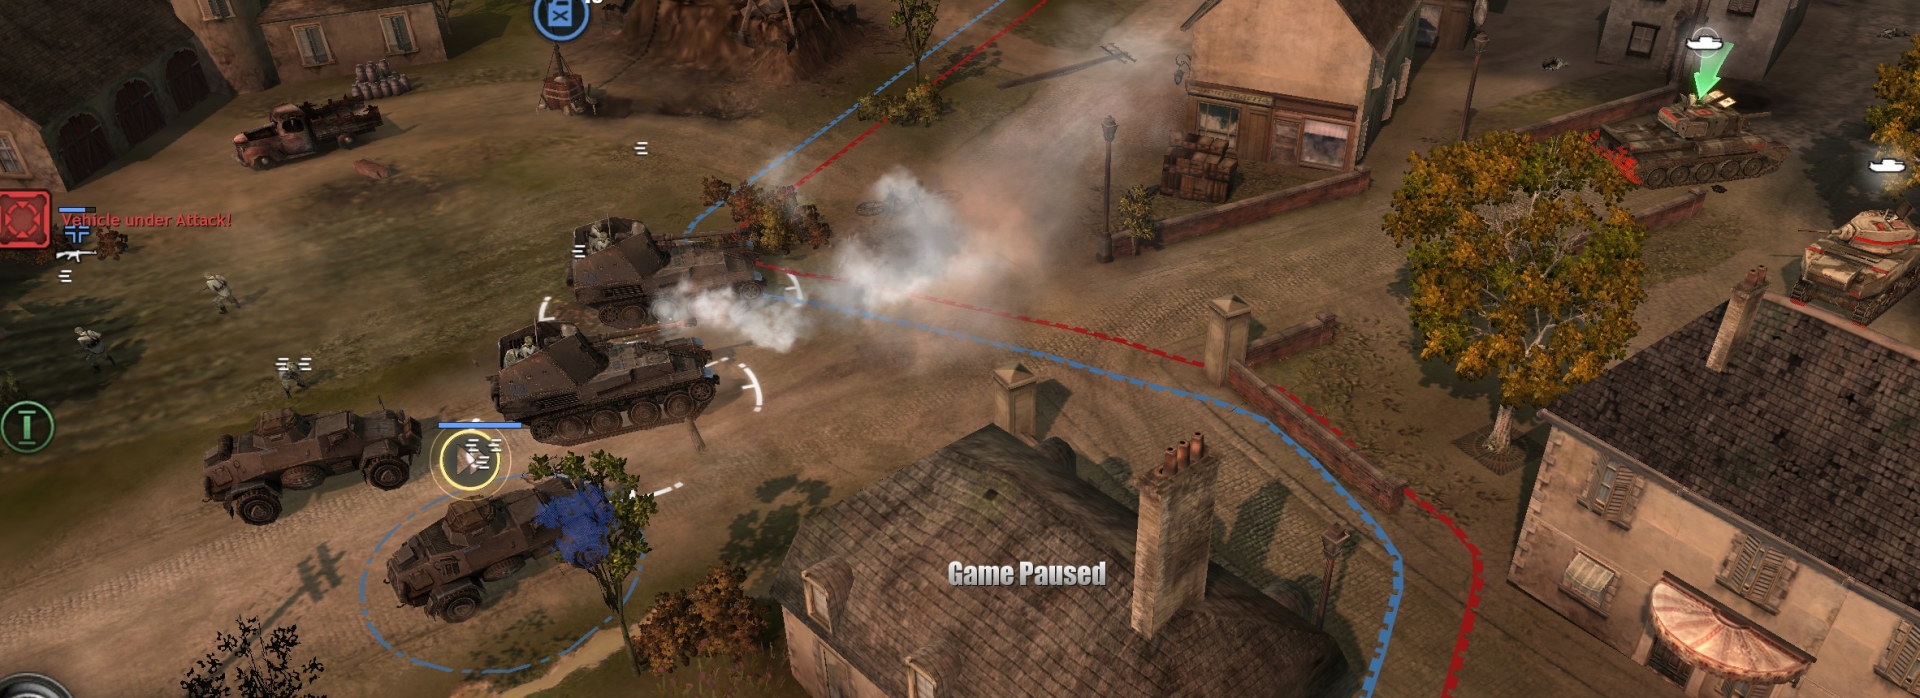
In the first phase, you have a small force on a highway outside a town. Your mission is to clear the town of a British advance force, basically by destroying the tank of its commanding officer. But you have to get through several skirmishes first.
Here is the tac map:
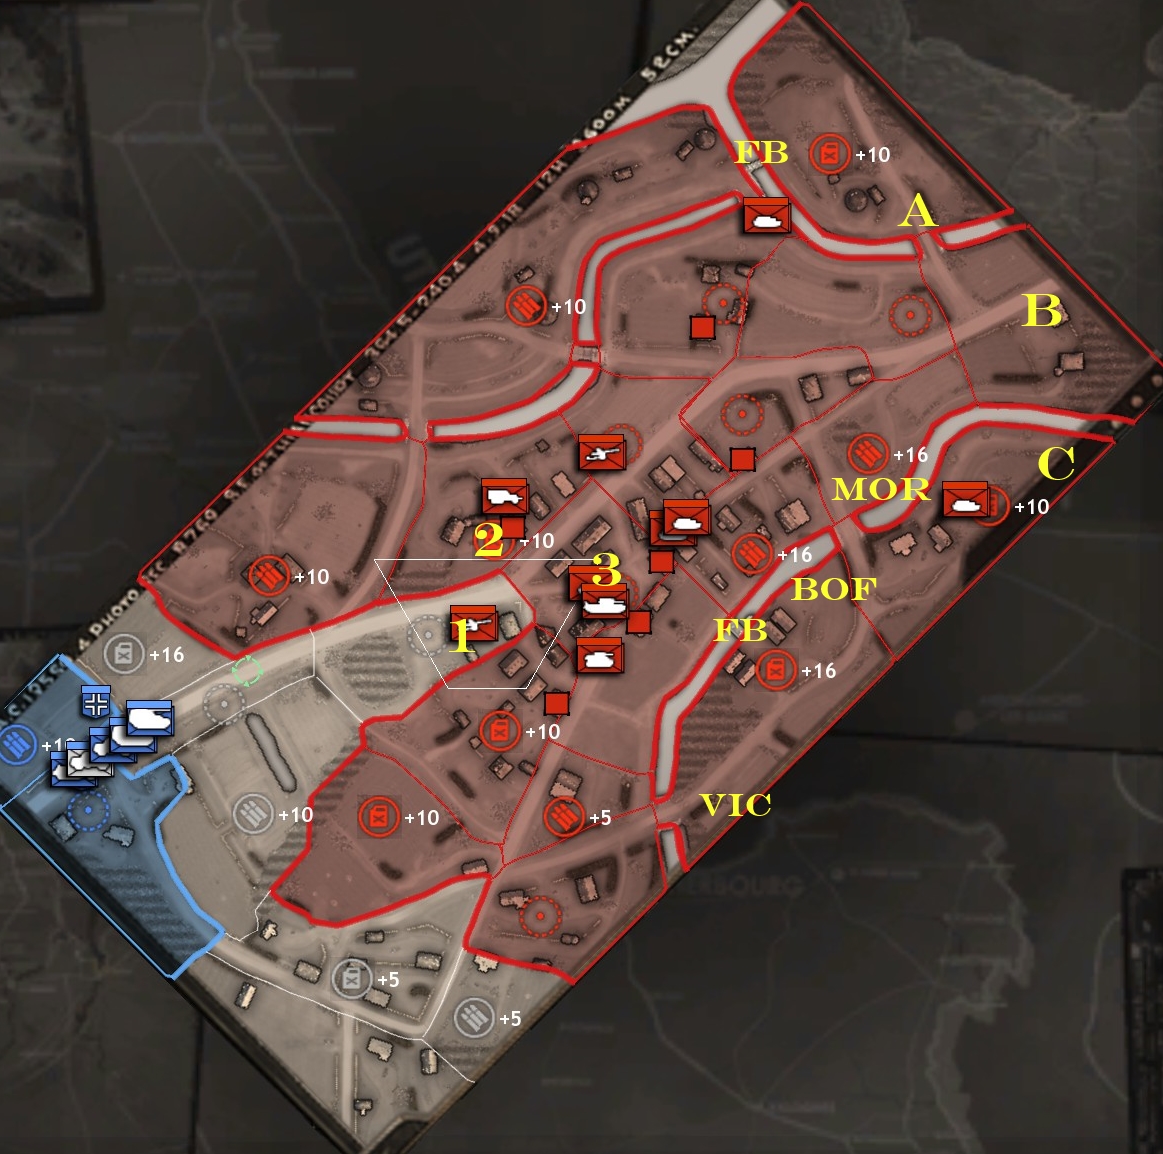
On the UI view, a green arrow pointing to a spot on the highway beckons you forward.
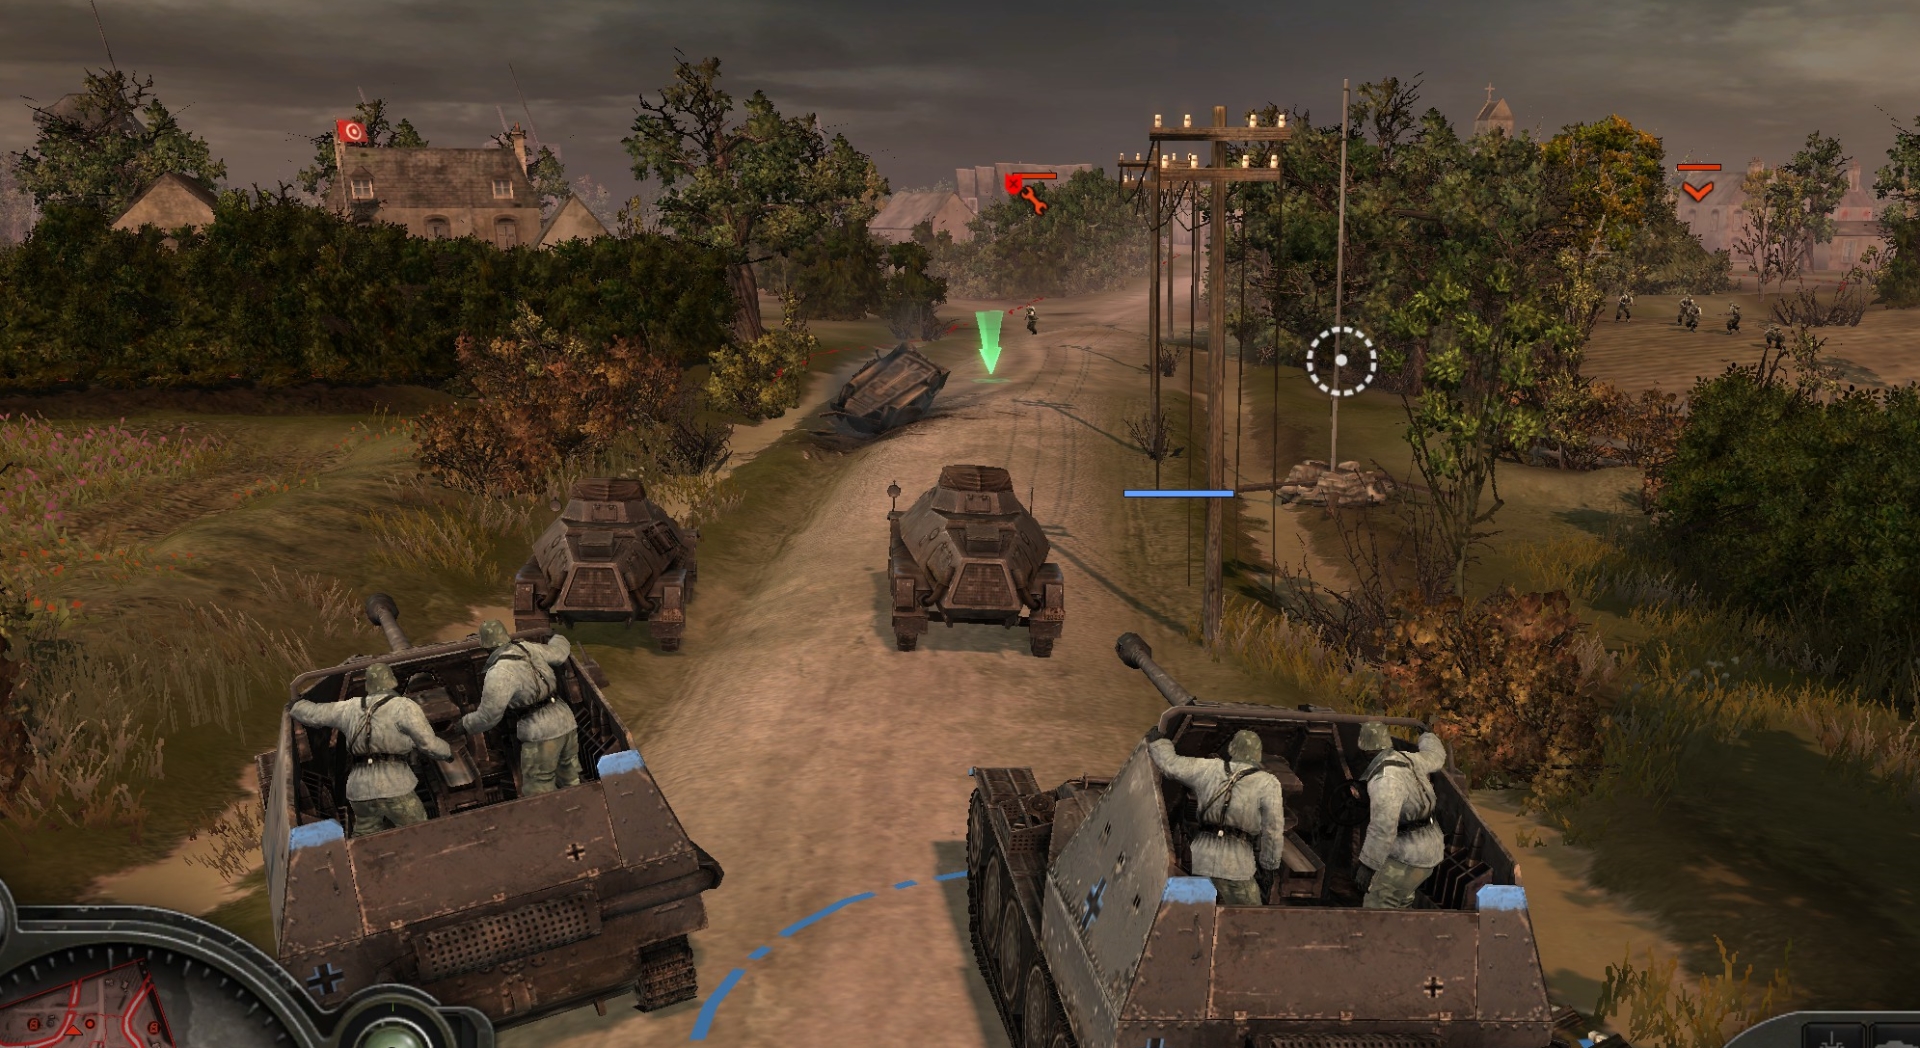
Move forward with your two armored cars in the lead, and stop them about 15m to the “west” of the arrow, with your two Marders close behind, leaving room for the armored cars to escape backwards if they take damage. (They are very fragile.)
Your assault-rifle-equipped squad can start capping points nearby above and below the road (not further “east,” though). Your schreck squad in the MG-equipped infantry halftrack can move forward to assist your other units.
A small British force, usually sappers on the road and an infantry squad just off the road to the “south,” will attack you.
After your armored cars have dispatched the initial attackers, you’ll be hit by a couple of Bren carriers, an MG team, Bren infantry and sometimes PIAT-sappers. You should be able to manage, even though your anti-infantry capability is weak. Back your armored cars away when they start to take heavy damage, and use an infantry squad to repair them. Always pin or “site” your Marders—it improves their power and accuracy. When you have repelled that second attack, cap the closest road point and send a unit to cap the muni point on the “north” side of the road.
Don’t be in a hurry in this phase. You’re not on the clock yet.
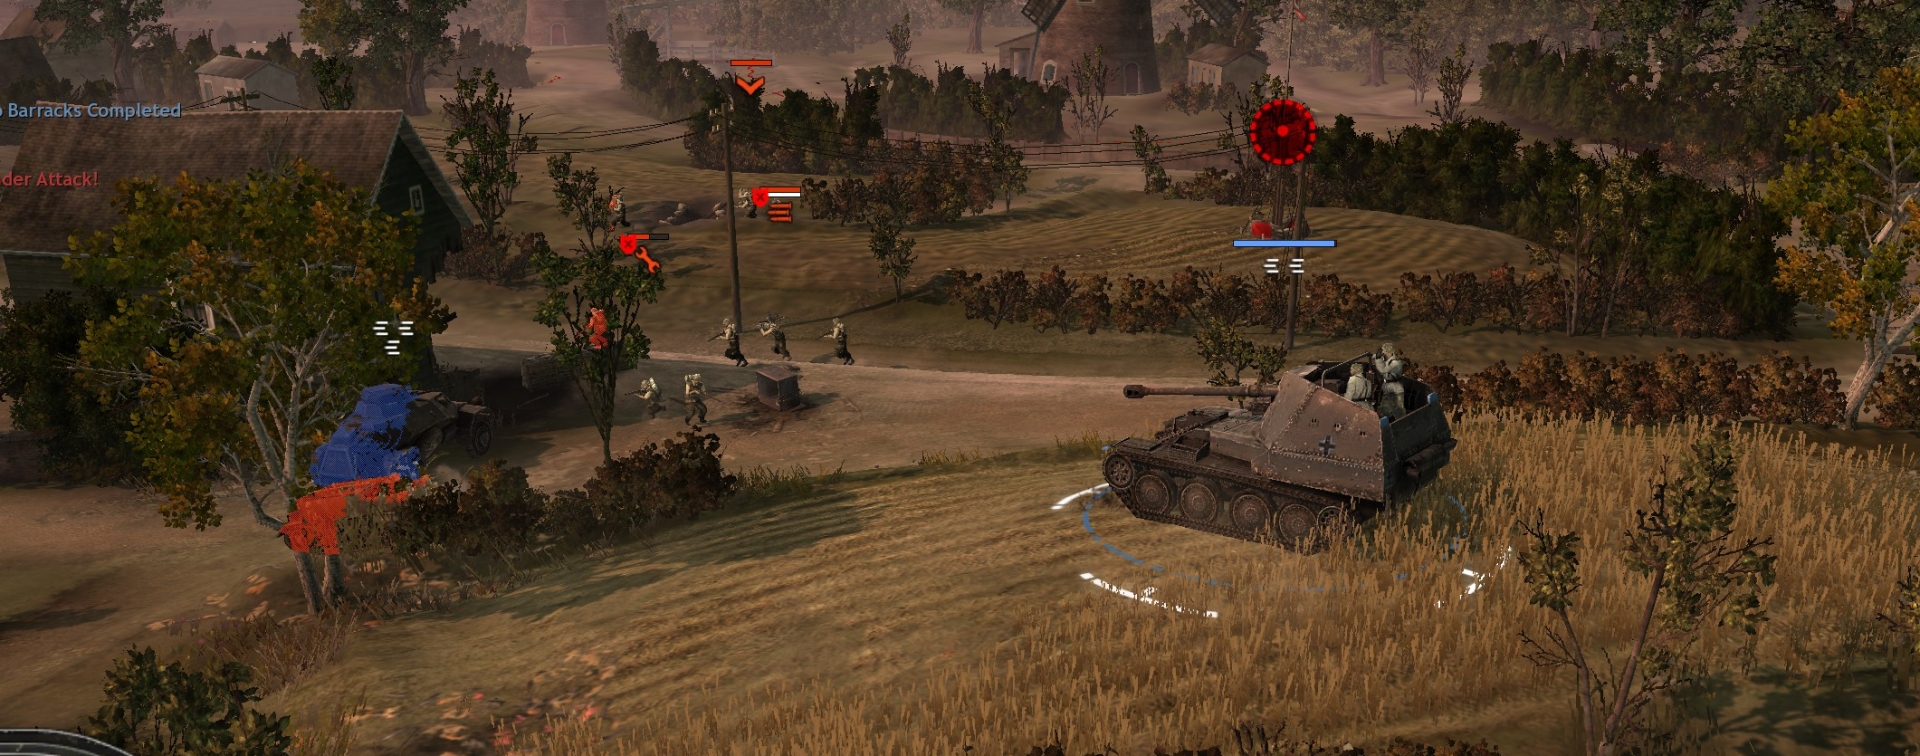
After you have capped the just-mentioned muni point north of the road, move your assault-rifle squad and the infantry halftrack to flank the AT gun at point 1 (on tac map) from the “south.”
On your way, you will run into some sappers laying wire about 40m “southwest” of point 1, but you should have no trouble routing them.

Around this time, a third small British attack force may come along the road or may try to re-cap the muni point you just capped north of the road. Take it out.
After your assault-rifle unit de-crews the AT gun with grenade and assault rifle fire, and takes the nearby road point, your Marders can park in the road in front of point 2 and destroy the building with the MG.
While you are capping that point, arrange your Marders nearby so they are pointing toward point 3 in the town.
Send an armored car “east” up the road towards that point 3. It should almost immediately encounter a Bren carrier and maybe also a Stuart. Your armored car should back away quickly. The Bren carrier, Stuart, and Cromwell command tank will come out after your force and your Marders and armored cars should destroy them swiftly.
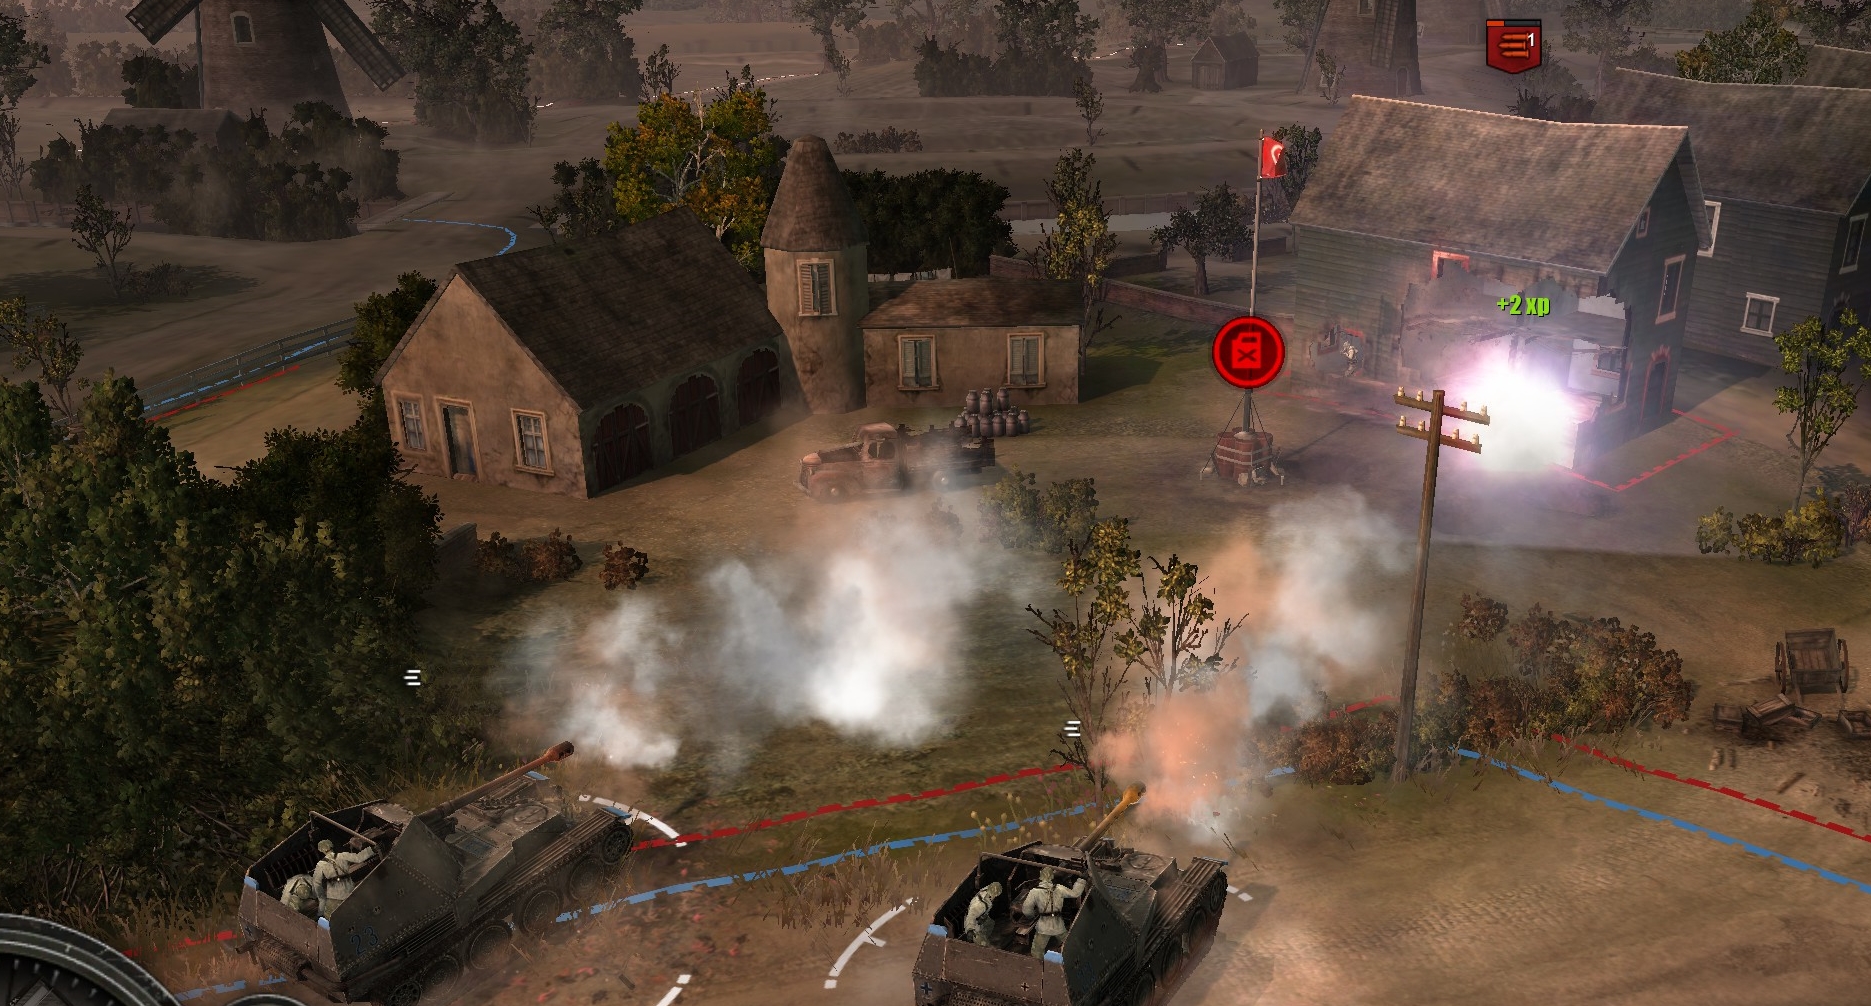
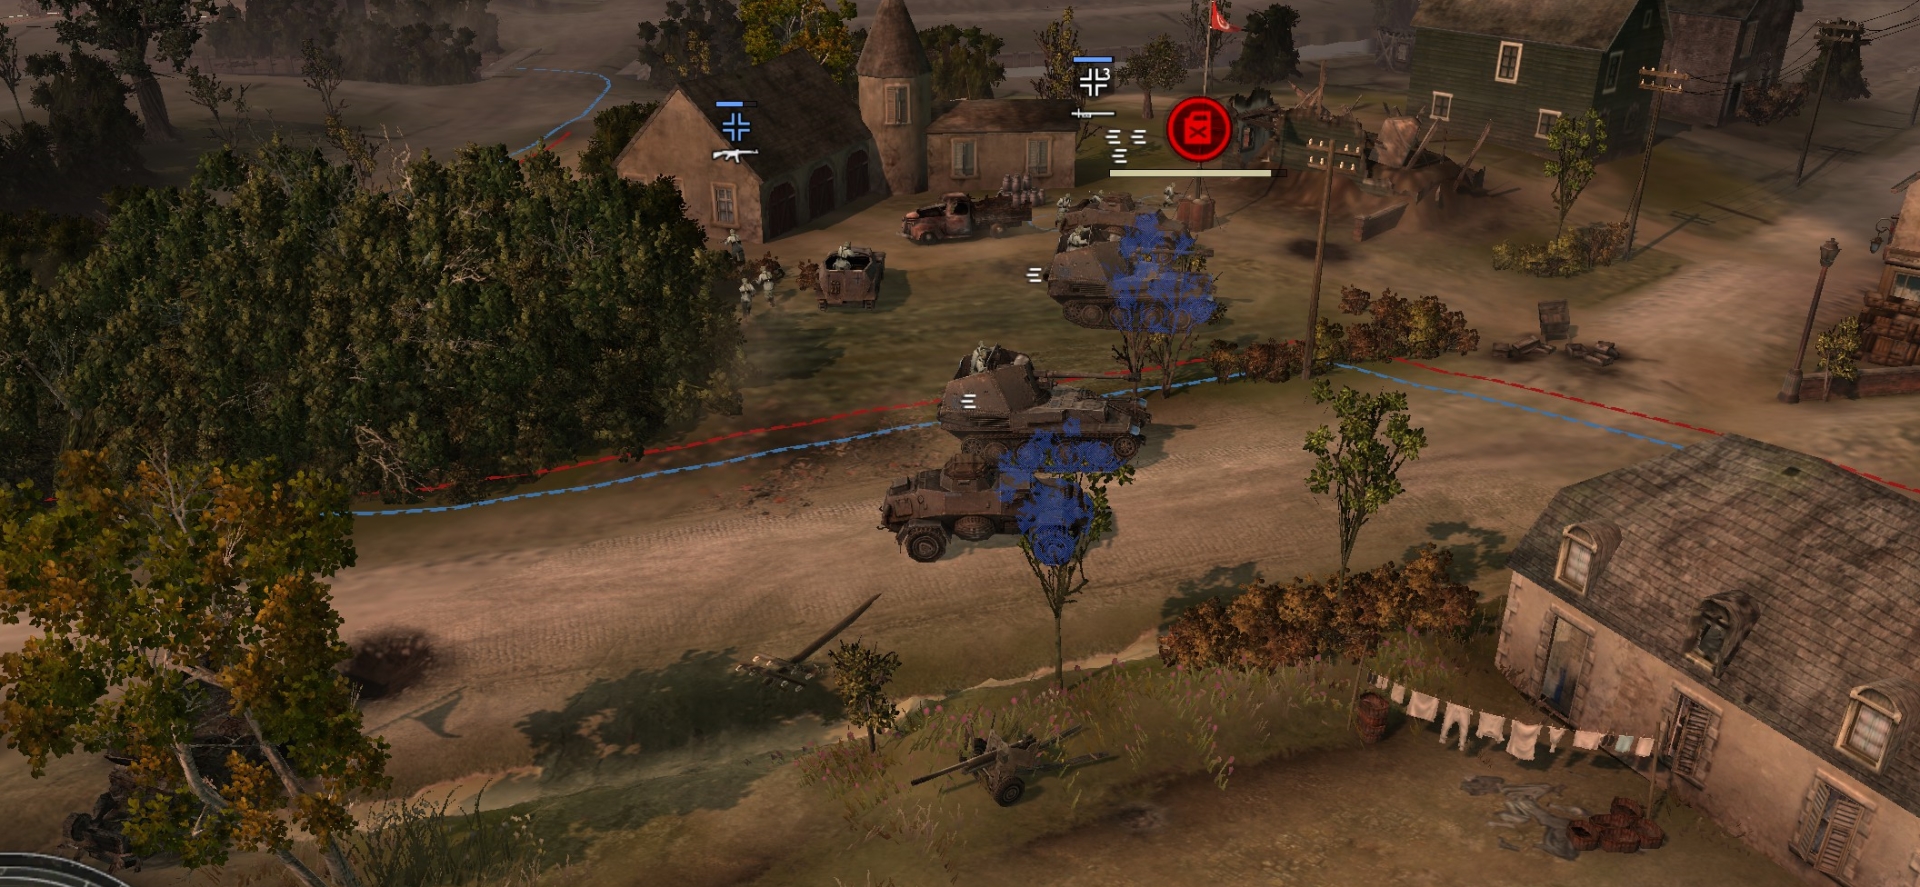
When the Cromwell (a command tank with non-working main gun) dies, the UI will make clear that the British are retreating from the town. Immediately send your infantry/infantry-halftrack to cap the town square point and garrison the church. This will trigger a cutscene/phase change and initial construction of your base. (Note that due to a bug, cutscenes terminate all active commands to your units, so any units on the move will have to be re-ordered to move after the cutscene ends.)
Prep for 30th Corps’ attack
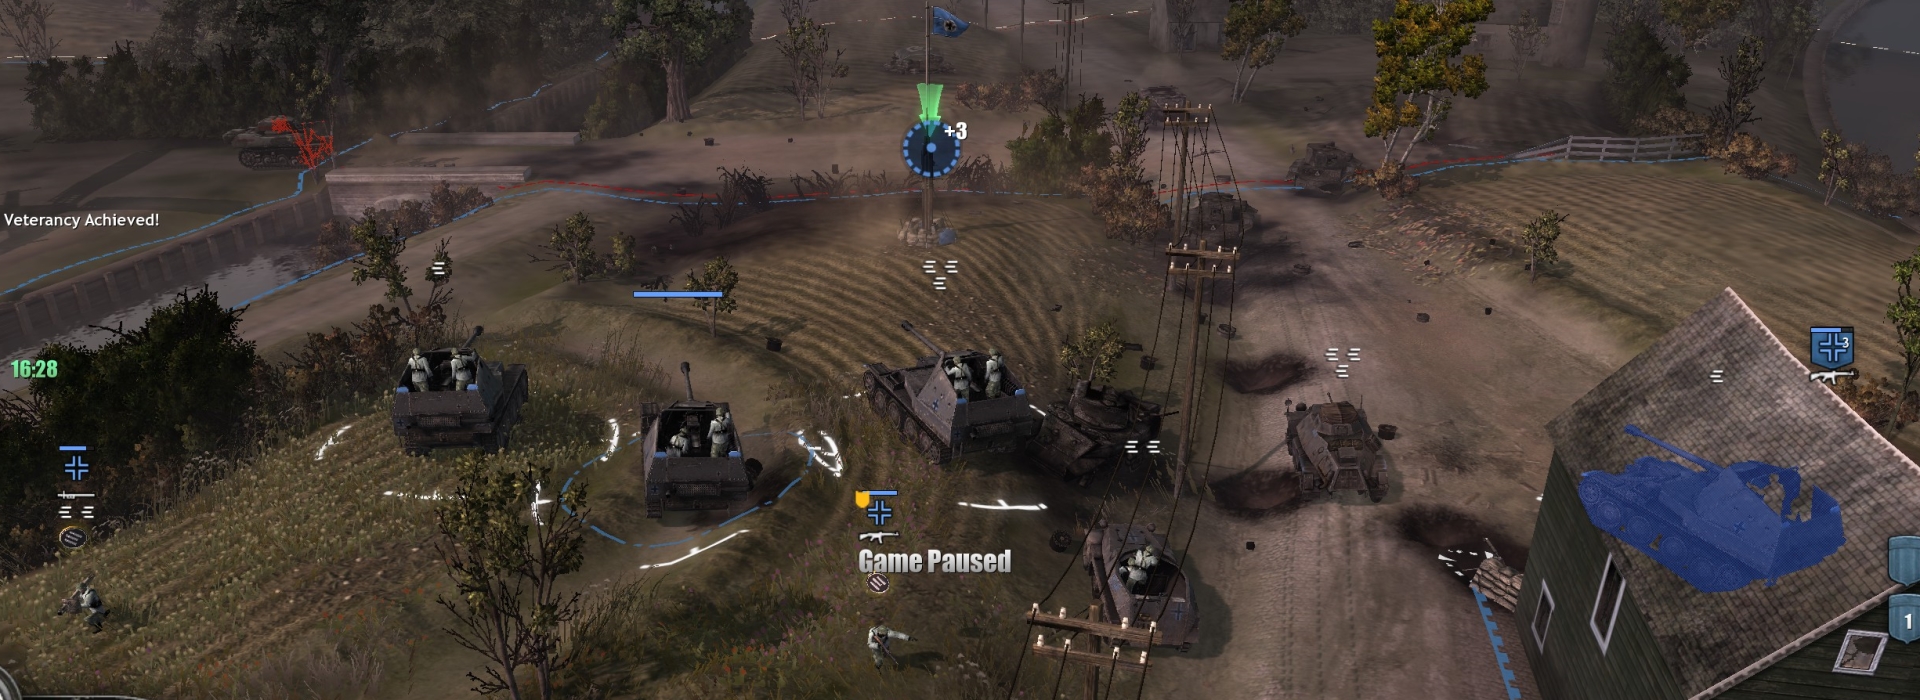
At some point around this time, apparently triggered by the departure of all or almost all the British units from the map, a timer appears, counting down from five minutes. You have that long until a large counterattack, the main event, starts from the “east” side of the map. It will involve at least several dozen tanks including Stuarts, Cromwells and Churchills, cockroach swarms of Bren carriers, lots of OP infantry, and even a couple of Priest SPGs.
In your base, when the first two buildings are auto-built, use the two basebuilder infantry squads (without delay) to build a Panzerjaeger command building. When that is done, bring in Marders from that building, also an ammunition halftrack (which can drop Goliaths) and a mortar halftrack. Don’t bring more infantry—on this map they are not good for much besides repairing your vehicles.
While the base is being built—in fact, immediately after the British start retreating to end the previous phase—you need to send your armored cars and two starting Marders to destroy some emplacements the British will build. VIC and MOR (on the tac map above) are Vickers MG and mortar emplacements, jobs for your armored cars. BOF is a Bofors emplacement, which your Marders can take out firing together from range from across the canal. Any slit trenches in that area can be removed by your Marders or armored cars. Watch out for retreating Bren carriers which will fight back if encountered.
Your ammo halftrack can drop Goliaths first to take out the two footbridges marked FB, then to clear away hedges between points A and B (enabling a single line of Marders to handle both British attack routes). Once that is done, the ammo halftrack can lay some Goliaths for later use, then suicide itself to free up pop cap if you are otherwised maxed.
At a building in (what should be) German territory on the road just “west” of point B, British sappers will try to build a sandbag wall, and then a Vickers MG team will spawn nearby. Destroy them with an armored car—your Marders will soon be lining up across the “east” end of the map, with their backs to that building.
You won’t max your pop cap with Marders before the attack starts, but try to distribute the few you will have evenly so they can cover British entry zones A/B and C. Ultimately you should have 5-6 Marders covering A/B, and 4-5 covering C.
Don’t forget that you have to manually click to vet up your units once they’ve earned promotions.
When this mission phase begins, you will get a scout car from the “west” side of the map. Use it to cap points, the initial priority being munitions points. (When it is done capping every available point on the map, suicide it to free up pop points.)
You can crew one of the British MGs lying around, but I have found that they are not very effective. An armored car, with an infantry unit nearby to keep it repaired, should be more effective and costs about the same in pop points.
Defeat the attack
Keep your Marders repaired so they can vet up—you can easily lose the mission, or anyway the medal, if the British start destroying your Marders faster than you can make new ones.
Move up your armored cars and infantry units to help when there are infantry attacks. Send a couple of Marders forward (zones A and C) to kill the Priest SPGs when they appear. Use an armored car and/or Goliath to kill any infantry units that get behind you. Also use the Goliaths against British tanks (at least to distract them) and infantry in buildings.
That’s pretty much it, for 20 minutes of attacks. The key is having enough Marders, and just enough additional anti-infantry power (from vetted armored cars, well-equipped infantry, and occasional call-in artillery) to cope with infantry swarms too.
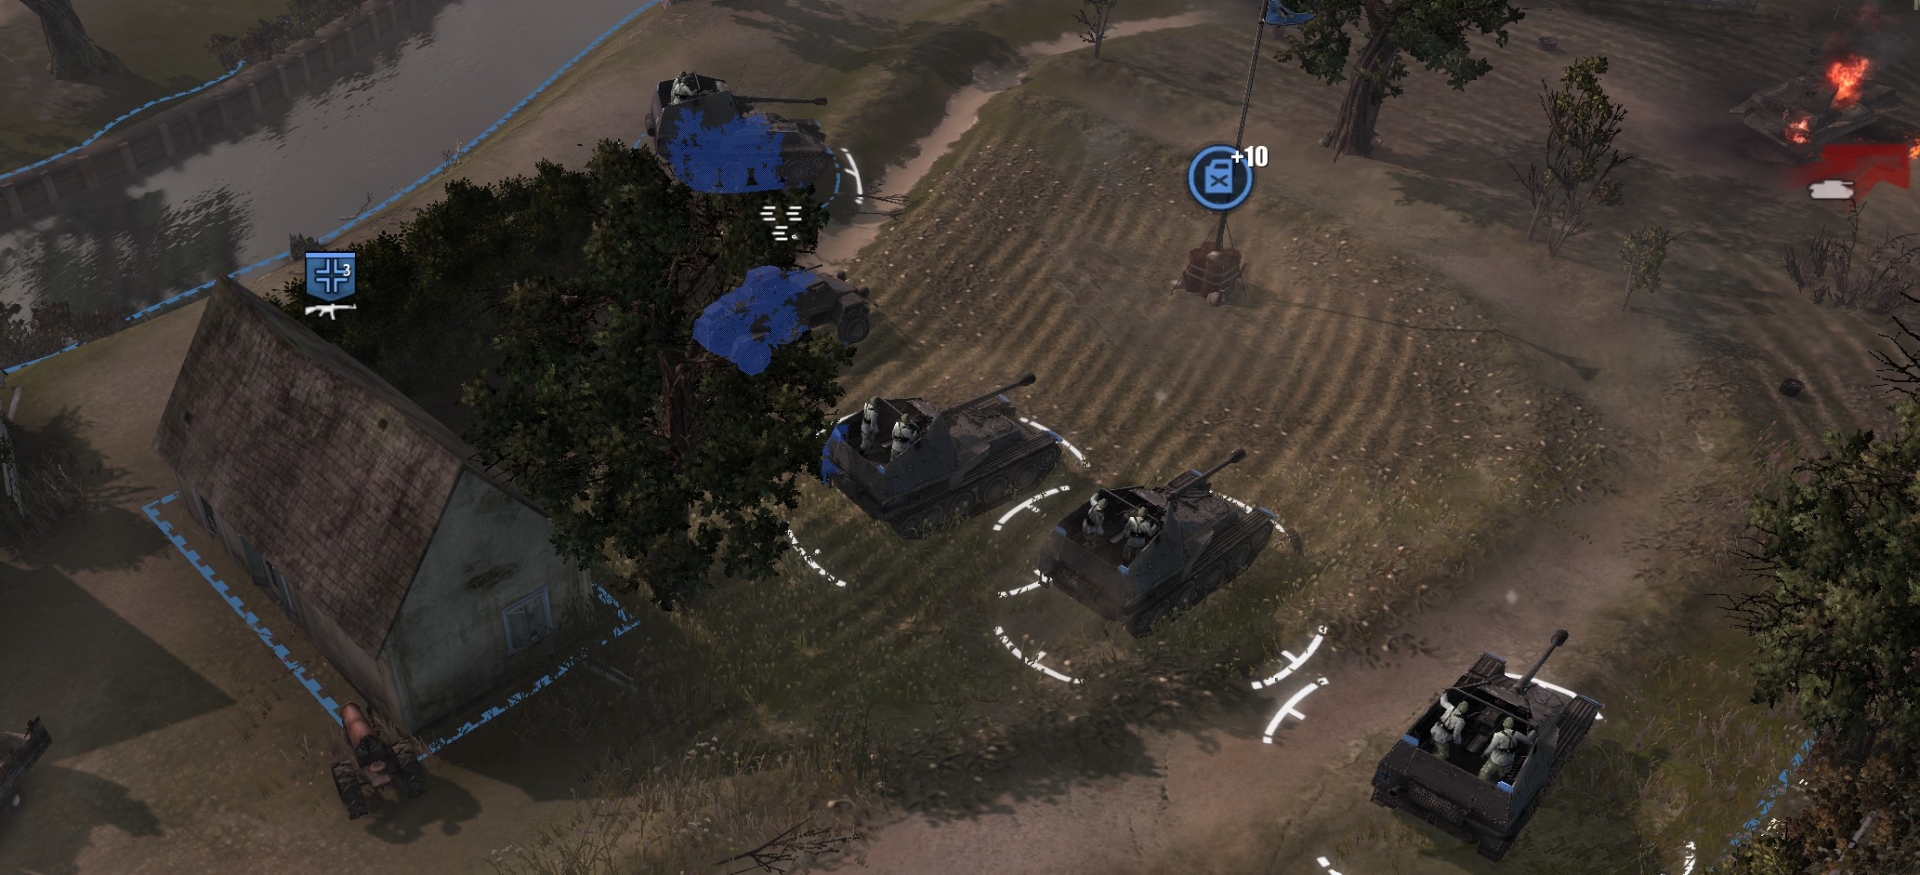
Here is what your mid-game defense line should look like at zones A/B:
And at zone C:
You get the mission medal for holding the road points at the mission’s end, which should happen as a matter of course in this strategy if your defense lines don’t fail catastrophically.
Other notes and suggestions:
- The only useful commander ability is the sector artillery ability, but it’s not all that powerful for its price. Late-game you will also get a CAS anti-vehicle airstrike ability, though it too is expensive and anyway you shouldn’t need it.
- Ignore the UI’s suggestions that you block roads. The only place a roadblock would be useful, in the strategy outlined here, would be at the small bridge at point A, but if you try to build a roadblock there (or anywhere the AI doesn’t like) the blocks will spontaneously explode, killing the units that are laying them. (The magic of Relic…)
- Ignore the UI’s suggestions that you booby trap buildings or road points—totally unnecessary, and anyway AI-Britain knows where all booby traps are and will avoid them.
- The AI cheats in many ways, for example by spawning various units in the first mission phase, by spawning emplacements as the British are retreating, by spawning units opportunistically at the edge of the map if the AI sees vulnerable targets on your side, and by buffing infantry (e.g., PIAT sappers) and slit trenches to a really extreme degree.
- A bug sometimes prevents Marders from causing any damage to a building despite their firing round after round into it.
- Incompetent coding means that cutscenes cause the loss of any active unit commands, e.g. when the cutscene ends you’ll find that any units that were moving have stopped before reaching their destinations.
- Frequently the AI cheats in a way that allows a British infantry squad to get into your base—don’t let it distract you; even if it has a Bren gun it won’t do significant damage.
- I don’t know if this is a general experience, but for me this mission crashes often, unlike all other COH missions.
***