Another “classic” COH mission in which the enemy on the map outnumbers and outguns you by a long way, but is relatively immobile and distributed among disconnected strongpoints, so you can just move around from point to point and defeat him in detail. The game engine tries to add suspense in the usual artificial ways, e.g., by materializing enemy units opportunistically, “anticipating” your moves, giving enemy units miracle capabilities, and nerfing your own capabilities. Here the only big deviation from that standard format is that, as you move around attacking strongpoints, you have a time limit and need to get to a certain bridge and at least prevent the enemy from forming a bridgehead on your side of it—until you can establish full map-control and then blow the bridge.
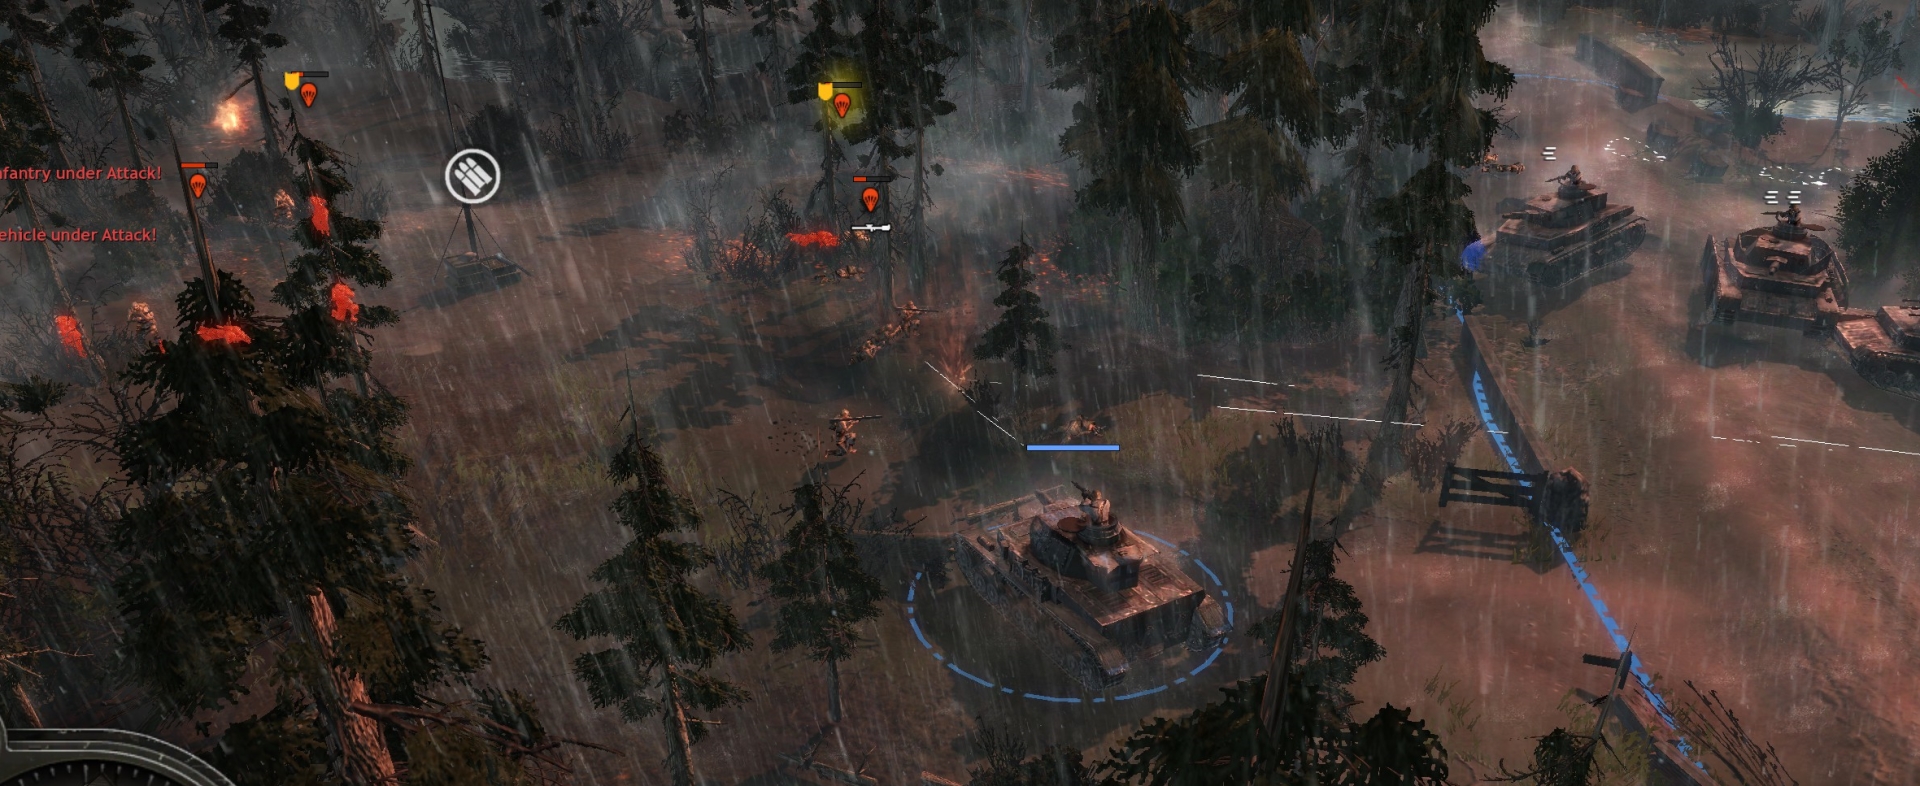
In the first, short phase, it is night and your forces are in Best, which looks like some kind of holiday camp with canals all around. You need to crew / pick-up all the weapons lying around (20mm flak, MG42-LMGs, MP44s) and get your guys into buildings where possible, as an “airborne assault” by American paratroopers is starting.

While you’re fighting, bring in one or two extra panzergren squads, otherwise only Panzer IV infantry support tanks until you have five, then one of those motorcycle-like units for capping points, then Marders when/if you have available pop cap. Around halfway into this phase you will also automatically get a Wirblewind. Use your ammo halftrack to drop Goliaths, and use the Goliaths to destroy the right-side canal bridge next to your base buildings, and the canal footbridge at the north-center part of the village.
Toward the end of the phase, the action will shift to the west side of the village and the bridge there, and by then you should be able to use your massed tanks to quickly take out even the OP paratroops sporting M18 recoilless rifles (which IRL performed poorly head-on against German tanks and did not even enter service until March 1945).
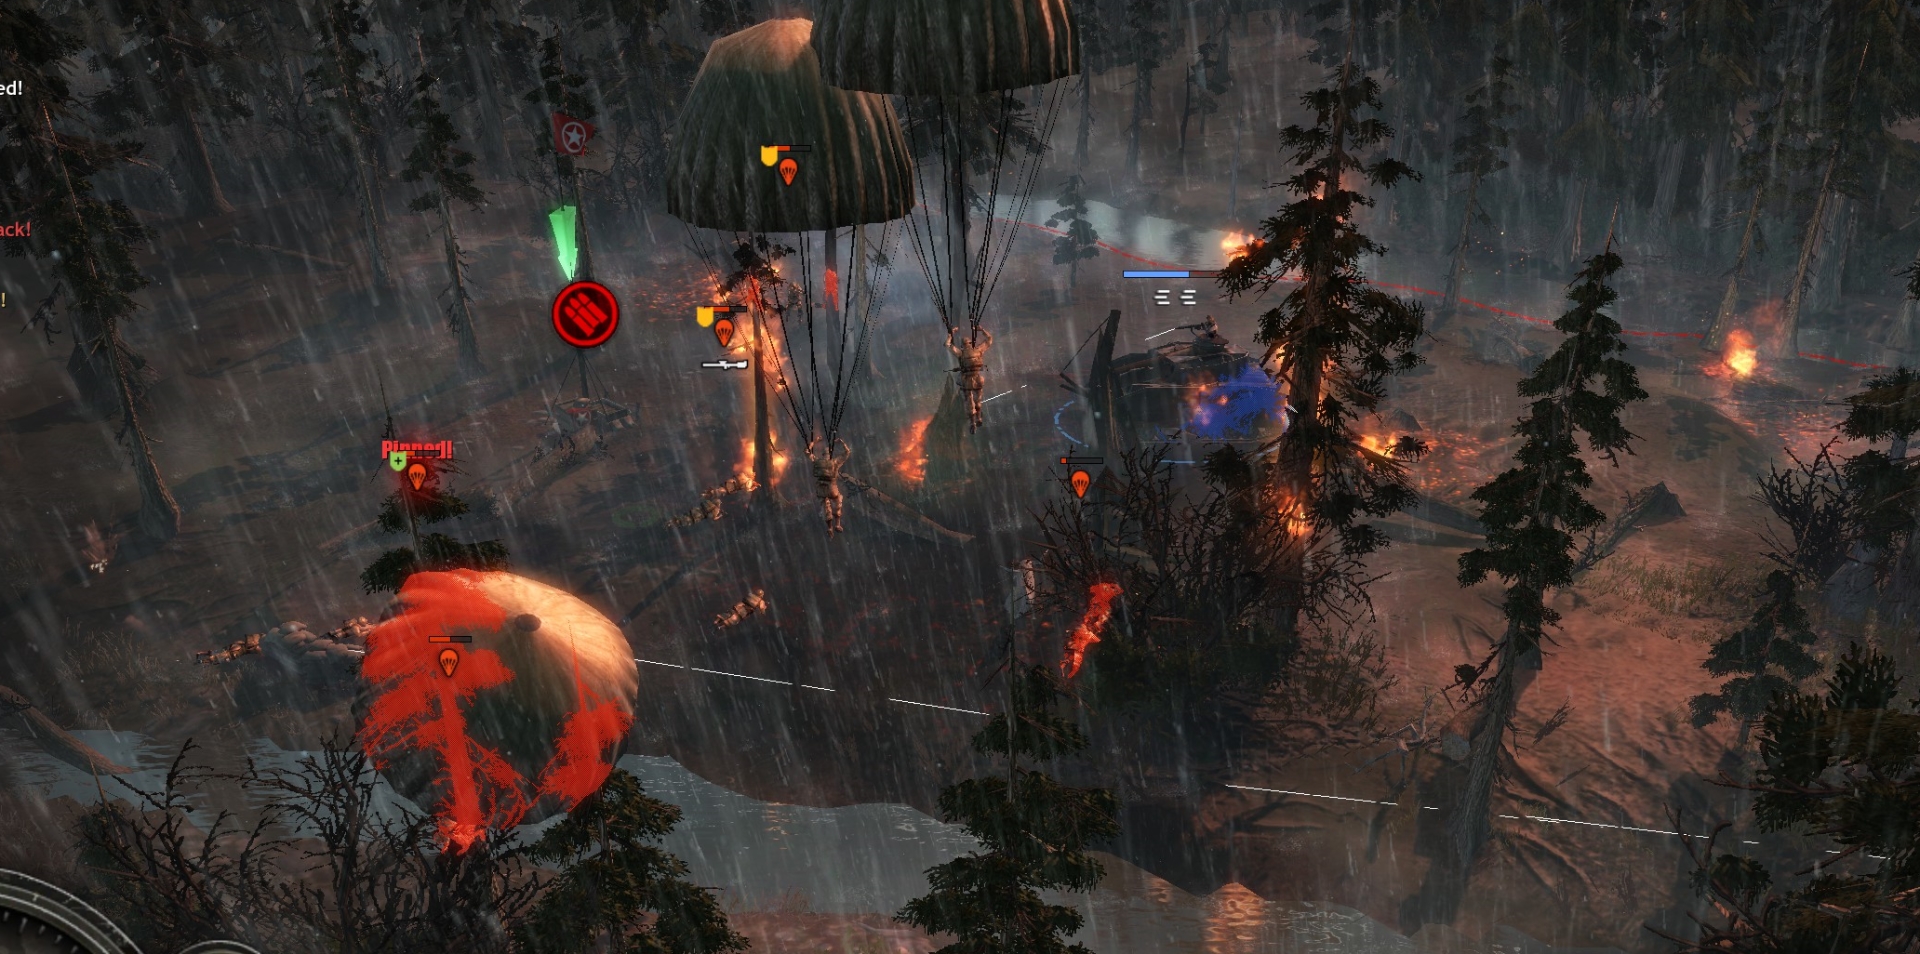
In the next phase, you have to go around and fight at various strongpoints to the north of Best, including five points you must cap to win the mission medal. Your massed tanks should be adequate at the task of clearing the enemy (paratroops, paratroops with M18s, HMGs, mortars, rarely AT guns) from these points, and the enemy AT power is not as huge as on other COH maps. But your tanks will take damage and you can’t afford to lose many of them or let them get bogged down, so keep them repaired. First priorities are the points nearest the top of the west bridge at Best, then the top point (with artillery gun) along the river in the middle section of land on the map. In that middle section you will have to keep moving to avoid being blasted by that artillery piece/
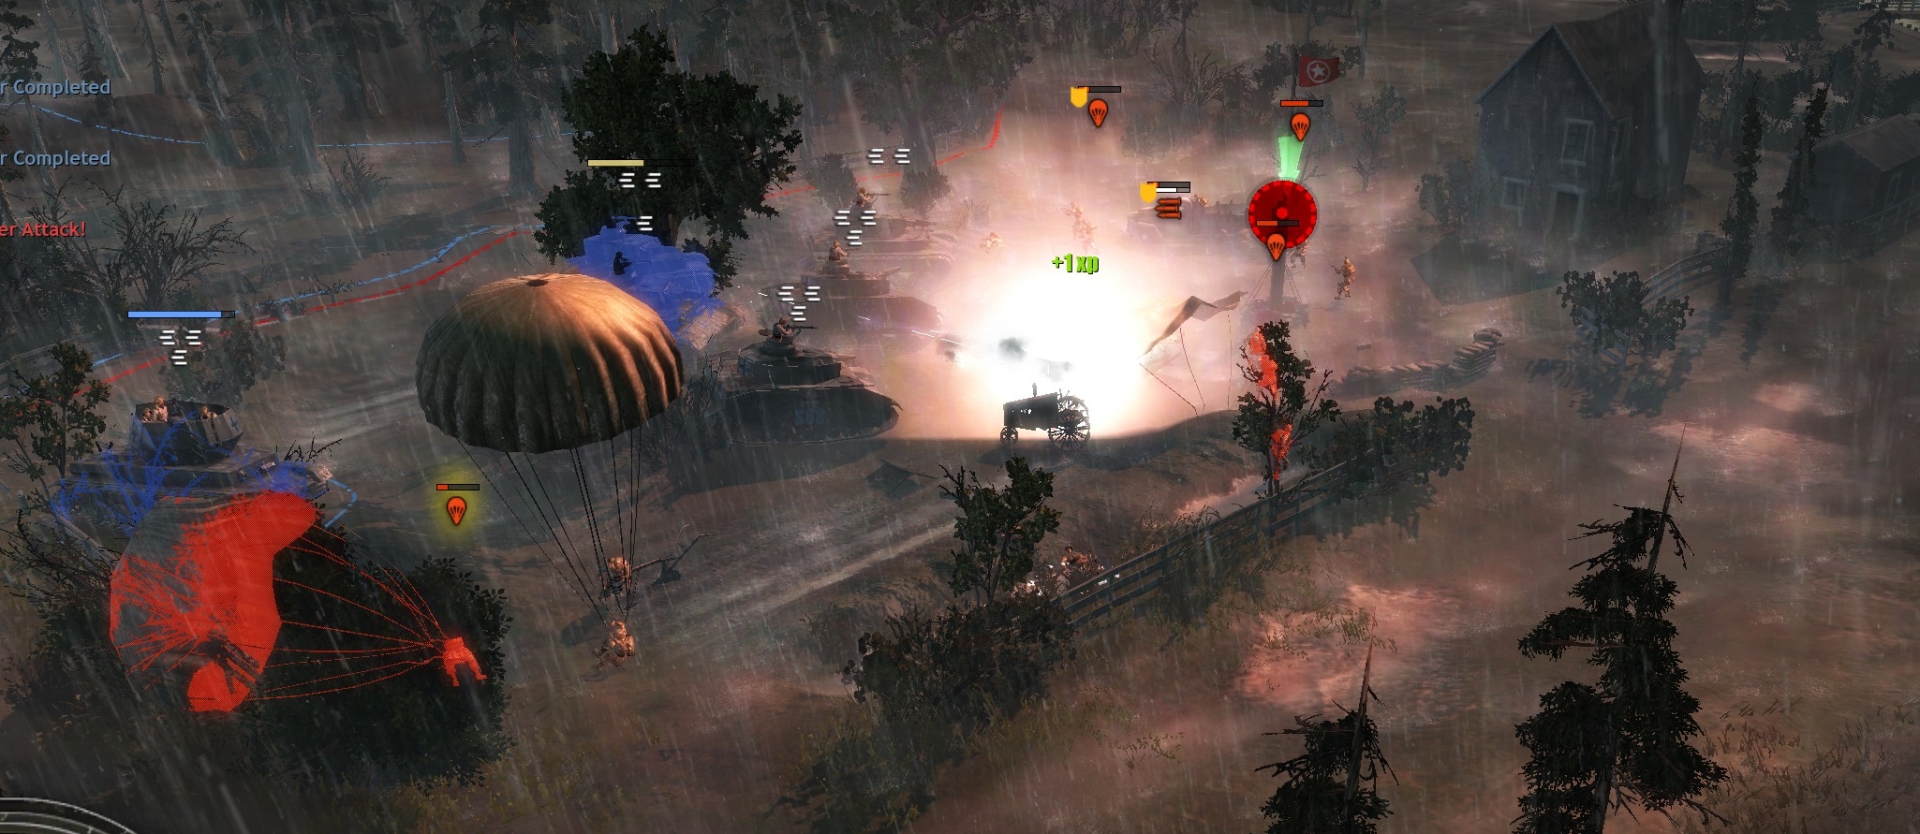
Leave the area around the main river bridge at the NW part of the map until last, but take out the MG and AT gun guarding (on the road) the southern approach to that bridge, and bring two or three Marders to roughly the same position facing north, to cover any British tanks coming across the bridge and down that road. If no enemy is in front of them, they should keep moving forward until they are at the bridge, and they need to avoid the M18-wielding paratroops in the building just SE of the bridge. The latter paratroops you should take out with your PzIVs when you’ve established map control everywhere else below the river and have blown the footbridge that crosses the river on the east side of the map. When you have capped all five of the UI designated strongpoints, you get the mission medal.
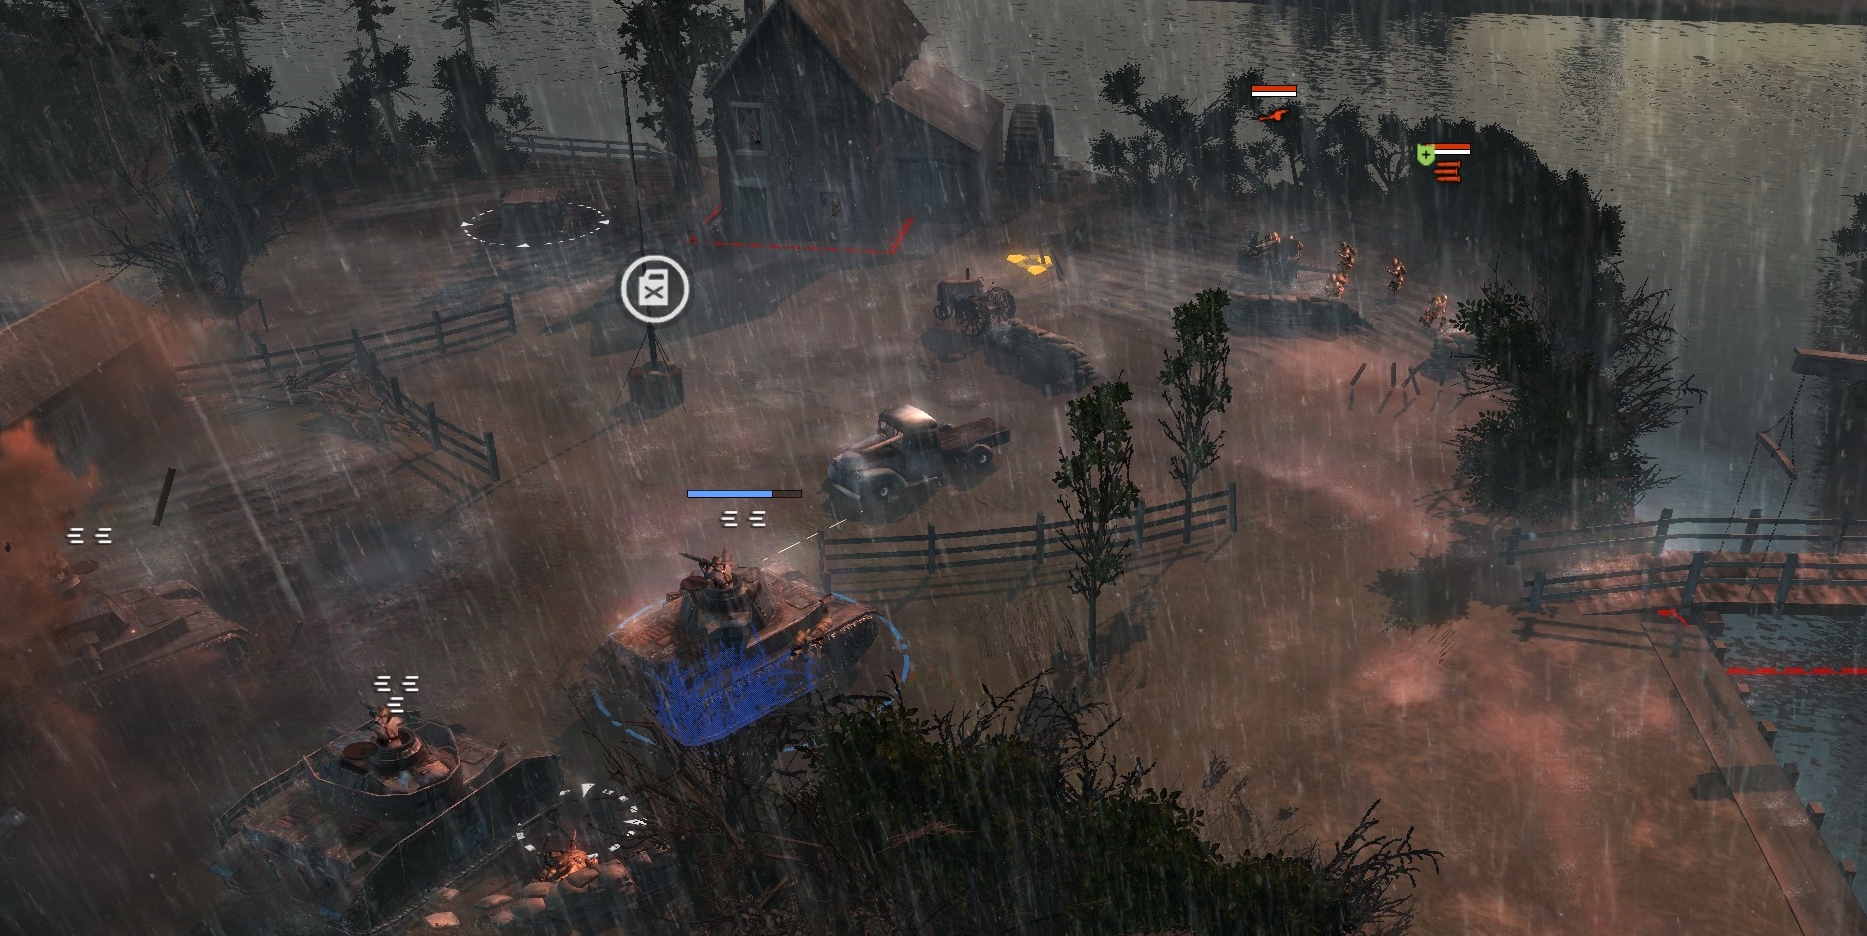
In the last part of the mission, you send all or almost all your armor across the main river bridge to attack 1) the Sherman Calliope N of the bridge that is raining rockets on your forces, and 2) the mortar team E of the bridge that is doing something similar.

Once you’ve done that, post at least one PzIV and 2-3 Marders at the north end of the bridge to wipe all comers. Alternatively build a couple of 88s at the south end of the bridge, and use a Goliath or infantry squad to spot at the north end. When you have secured the bridge, have one of the special pioneer squads you’ll be given wire the bridge with explosives. The bridge can’t be damaged let alone destroyed by any other means, because, as I’ve written before, this is not even a simulation; it’s a simulation of a simulation.
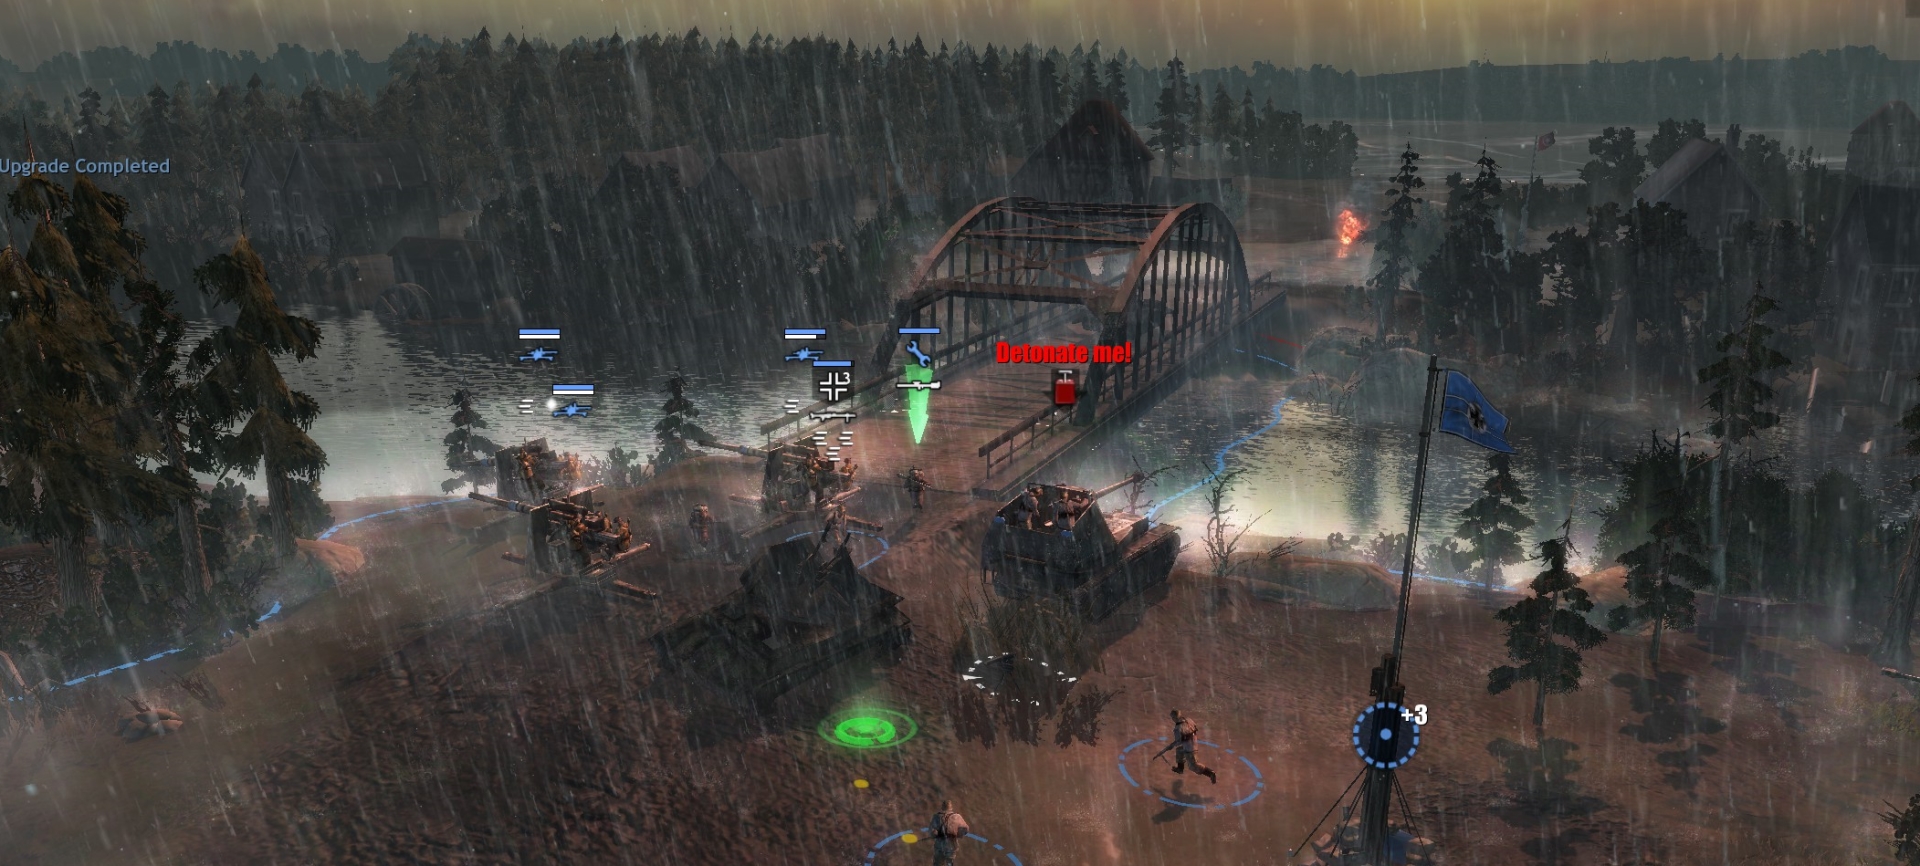
Once you click on the “Detonate me!” symbol on the bridge, a cutscene shows the bridge blowing, and … fade to black: mission accomplished.
Other notes:
- Commander abilities are mostly useless, but Luftwaffe infantry are nice because they can build 88s—good for emplacing at the bottom of the main bridge to wipe any enemy unit that attempts to cross the bridge.
- There are too many cutscenes, and sometimes when they happen they delete active orders to your units.
- Ignore the hectoring UI voices, but keep in mind that you will need, by the time your special bridge-blowing pioneers turn up, to be in position at least to terminate all enemy tanks coming over that bridge and to prevent the British 30th corps from capping the bridge point and setting up HQ trucks.
- US paratroops will reinforce from the sky amid battle, usually via parachutes but sometimes with gliders. The magic of Relic…
***