The task here is to clean out British resistance in the city of Arnhem on the lower Rhine river. Specific tasks are to cap two key munitions points to weaken the Brits supply-wise, cap some road points including one on a bridge (the “Bridge Too Far”) for the win, and sink four barges on the river wharf for the mission medal.
There is no quick way to accomplish the mission. The British at Arnhem IRL were paratroops with light weapons, XXX Corps tanks never got close to relieving them, and the Germans were able to shell them almost constantly. Here (thanks to the Magic of Relic…) the British have all the artillery including nebelwerfers, plus captured 88s, plus a couple dozen Pak 38s, plus snipers, plus HMGs, plus mortars, plus Bren carriers. Also, as you near the bridge (or cap the upper right muni point), suddenly a bunch of Shermans and Stuarts come charging over the bridge from Nijmegen to the south—another fantasy.
The tac map at the start with fog-of-war turned off (though many British units have not yet materialized):

As ridiculous as this mission is in its conception, you should not find it too hard to proceed anticlockwise around the map, sticking pretty closely to the map edge, starting from the base at the bottom.

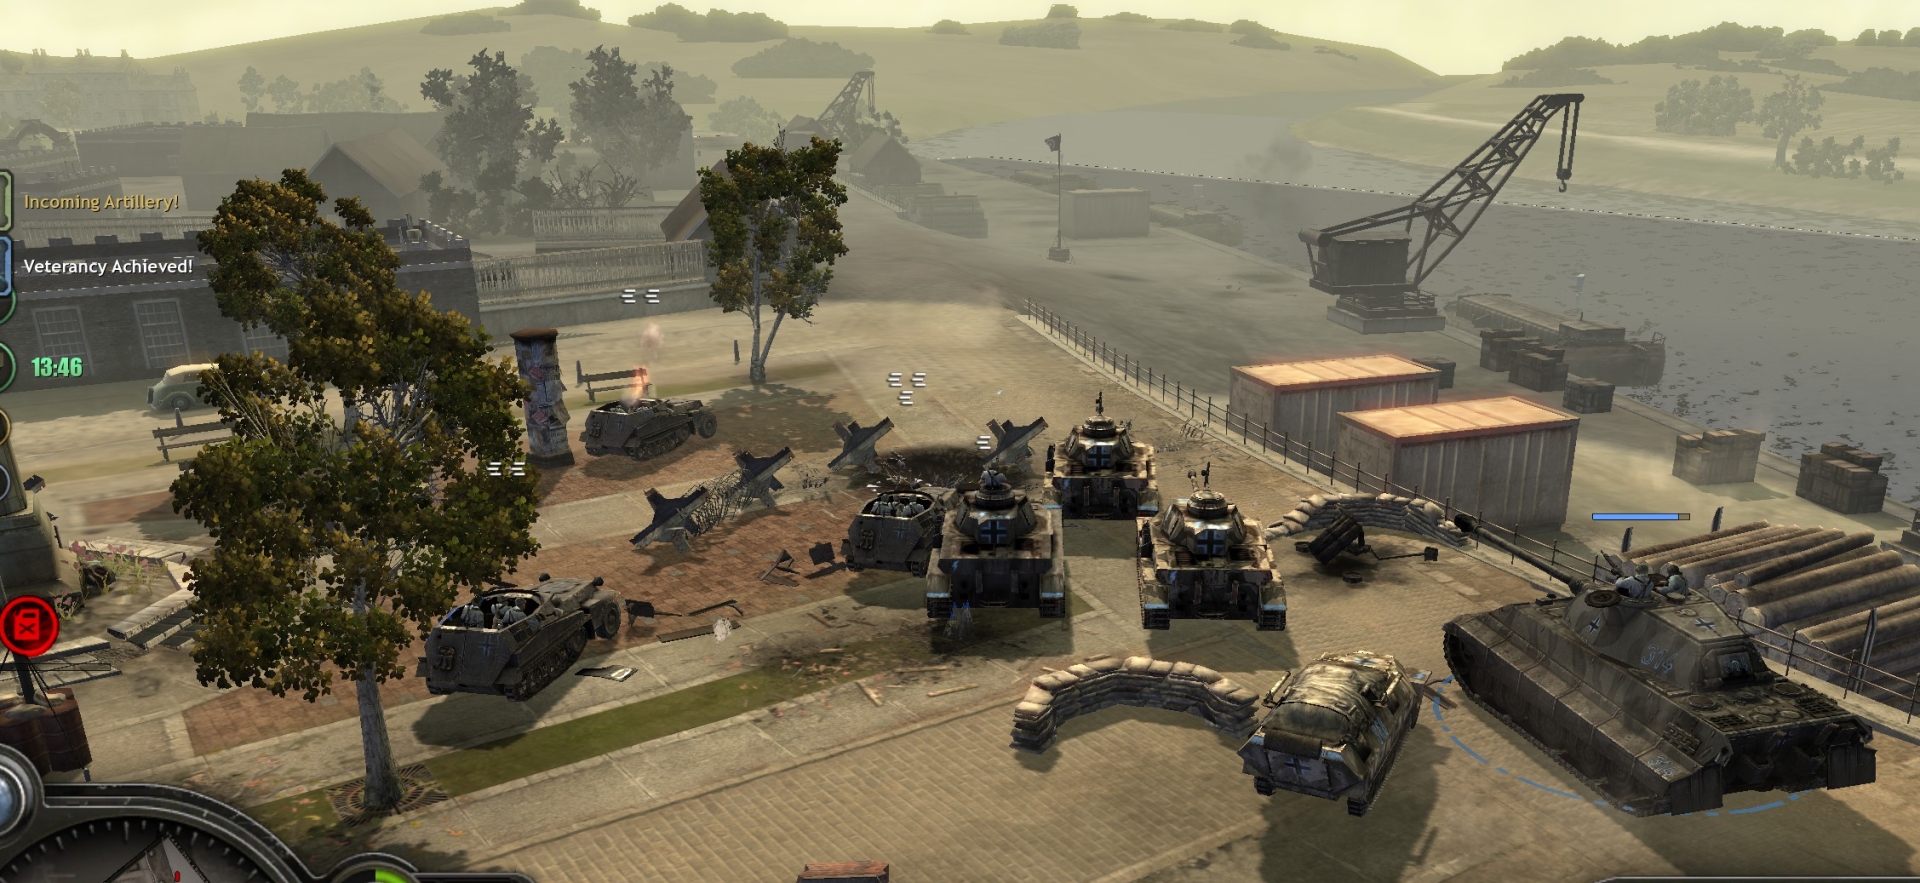
You start with a nerfed King Tiger and Panzer IV infantry support tank, plus two panzergrens and an infantry halftrack. Bring in 4-5 mortar halftracks, which will be your only artillery. Reinforce as needed to keep two infantry squads on the map, and get a kettenrad for capping points. You will get a lot more stuff automatically as the mission goes on. Late-game you can bring in a Birgetiger tank repair/recovery vehicle—very useful.
Basically you need to clear a swath around the edge of the map, going right-top-left. Key points include the road point north of your base (when capped you get two regular Panzer IVs) . . .

. . . the 88 just below the church near the top of the map, the muni point at that church (you get a Pz4-is and flamer-251 when you cap) the area around the 88 on the bridge (don’t cap that point till the very end), the muni point below the bottom of the bridge (greatly reduces British muni supply when you cap), the right side of the wharf area (multiple British-controlled Paks, schreck infantry, mortars, a 20mm flak gun), and then the road point below the wharf area (you get a Hummel when you cap—though seconds later you should cap the bridge point for the win).
The units you will face: commandos, commandos with schrecks, mortar teams, snipers, Paks, 88s, flak-36 20mms. The map is dense with them, so in general use tough (King Tiger) or fast and cheap (kettenrad) units to scout, your massed mortar halftracks to wipe out revealed targets, and your Panzers to guard the mortar halftracks.
Other notes:
- The enemy will attack your base if you leave it undefended; usually the attackers are just a couple of half-strength commando squads, one with schrecks, but late-game they may include armor if any gets across the bridge.
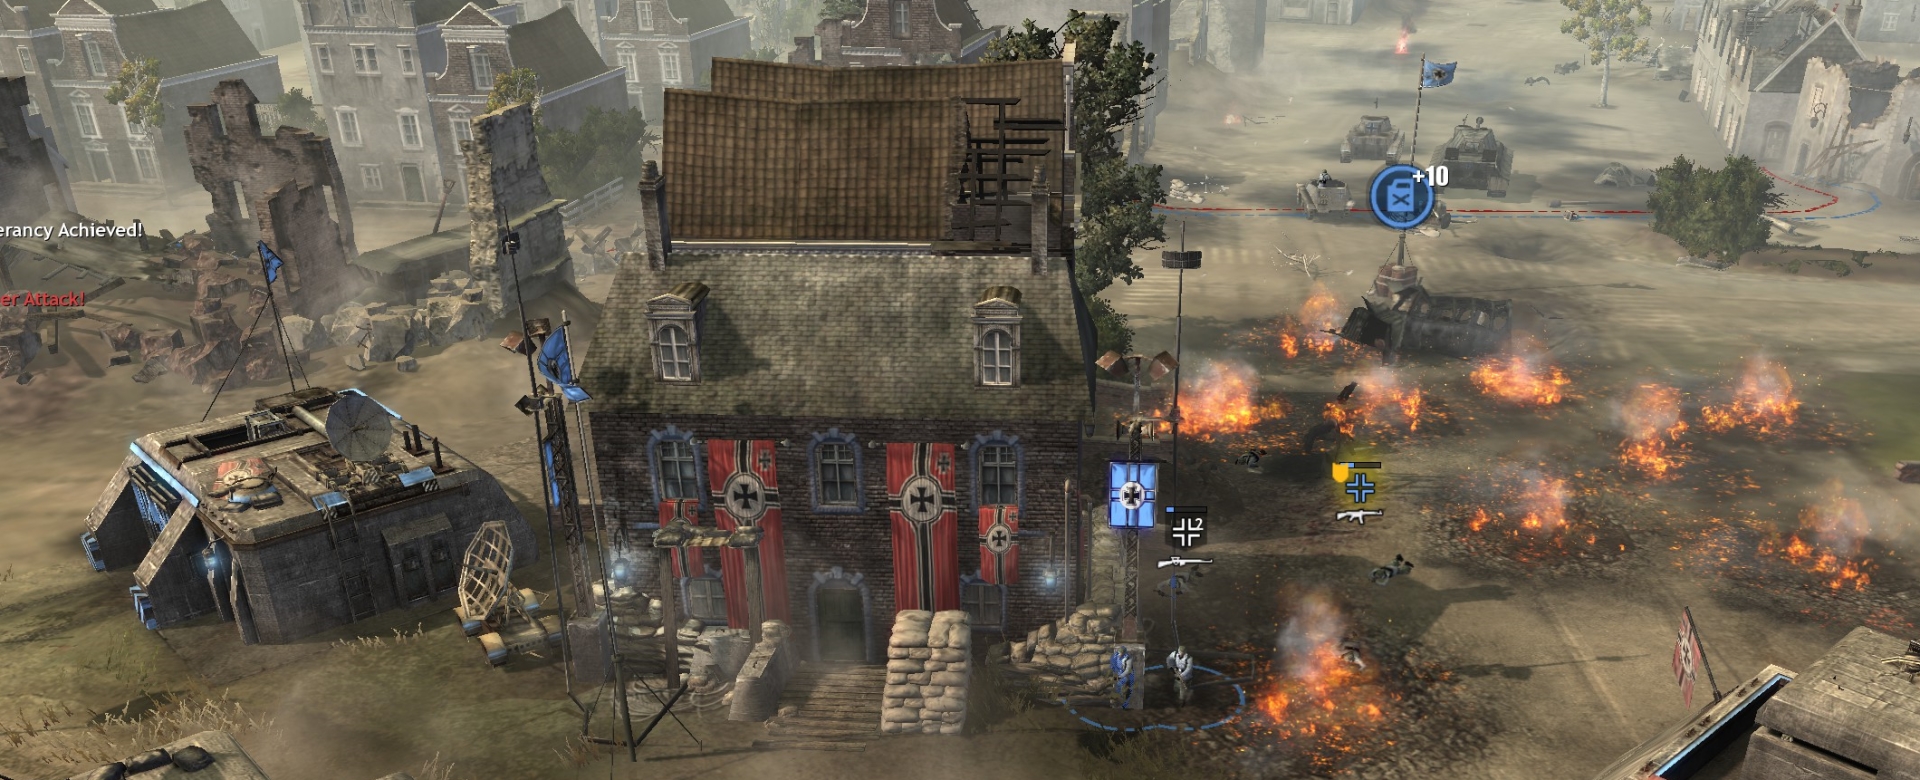
- The British have two garrison buildings near the bridge, which you should bring down or de-garrison (select one of your nearby infantry units, right click on the building).
- Commander abilities are almost entirely useless.
- British-controlled nebelwerfers will attack almost constantly especially early-game. They are very accurate despite being at max range and will frequently, in a salvo, hit multiple targets, especially exposed infantry, directly (almost as if guided…).
- 88s can fire through ground—a very striking feature of the one near the top of the map.
***