Your task in this mission is to defend, against a German counterattack, the hilltop fort that you captured in the earlier “Hill 112” mission.
This is a sprawling mission, definitely scripted and structured, but also designed to be somewhat variable—thus requiring some flexibility and mobility in defense. But if you follow the instructions here, you should find it easy.
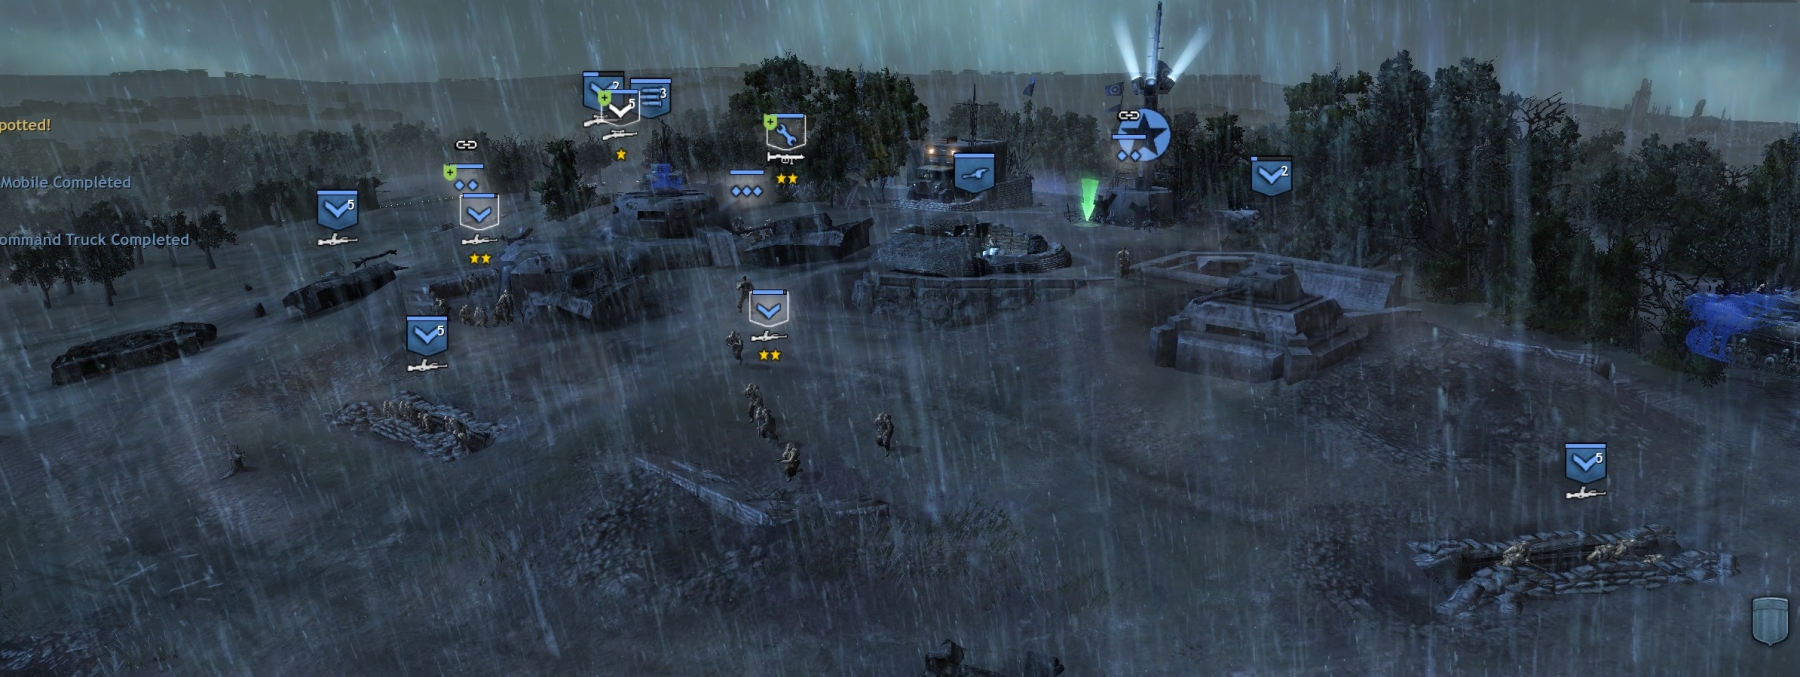
At the start, you have:
- weak infantry units scattered around the map,
- two Stuarts defending points above the river in Tourmauville and Baron,
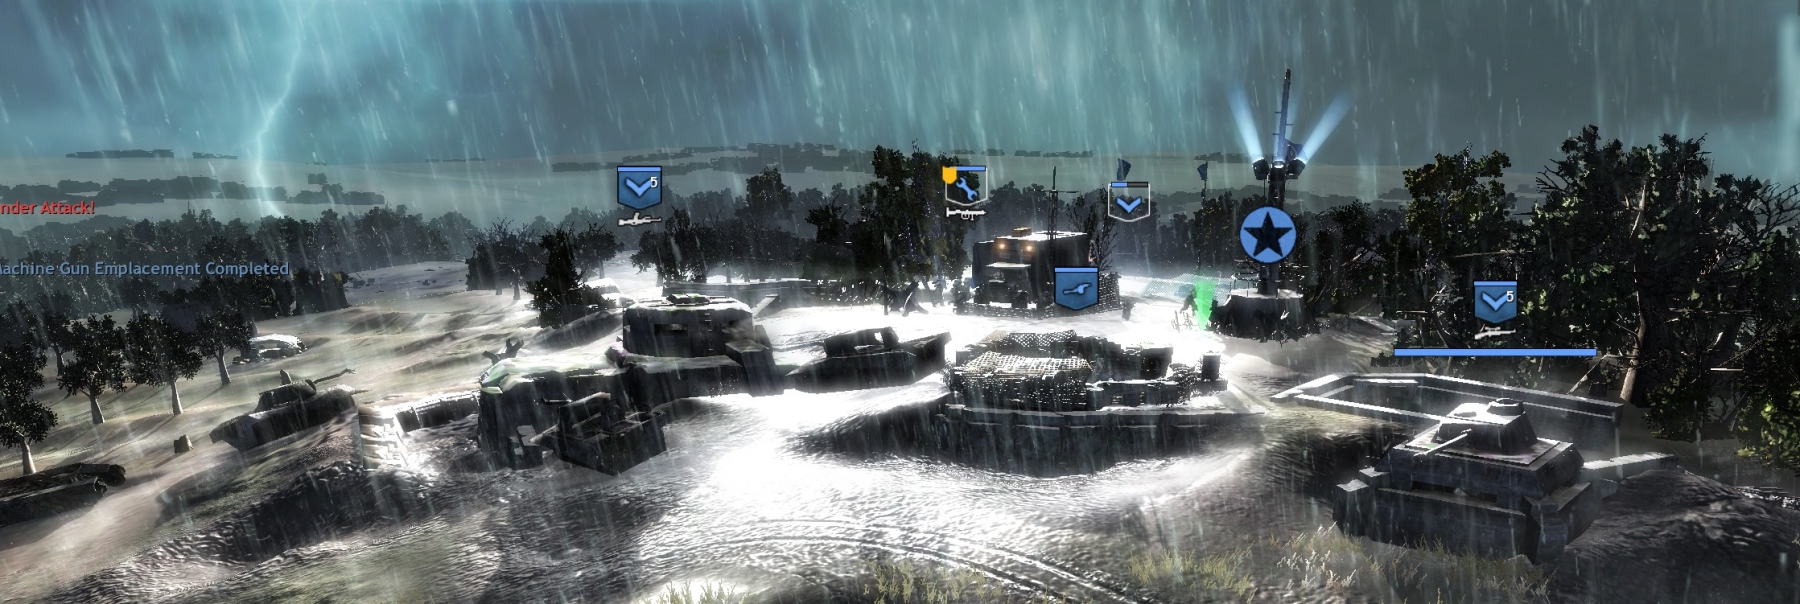
- two Cromwells at your hilltop fort,
- a 25-pdr emplacement, a crewed mortar tower and an uncrewed AT tower in the fort.
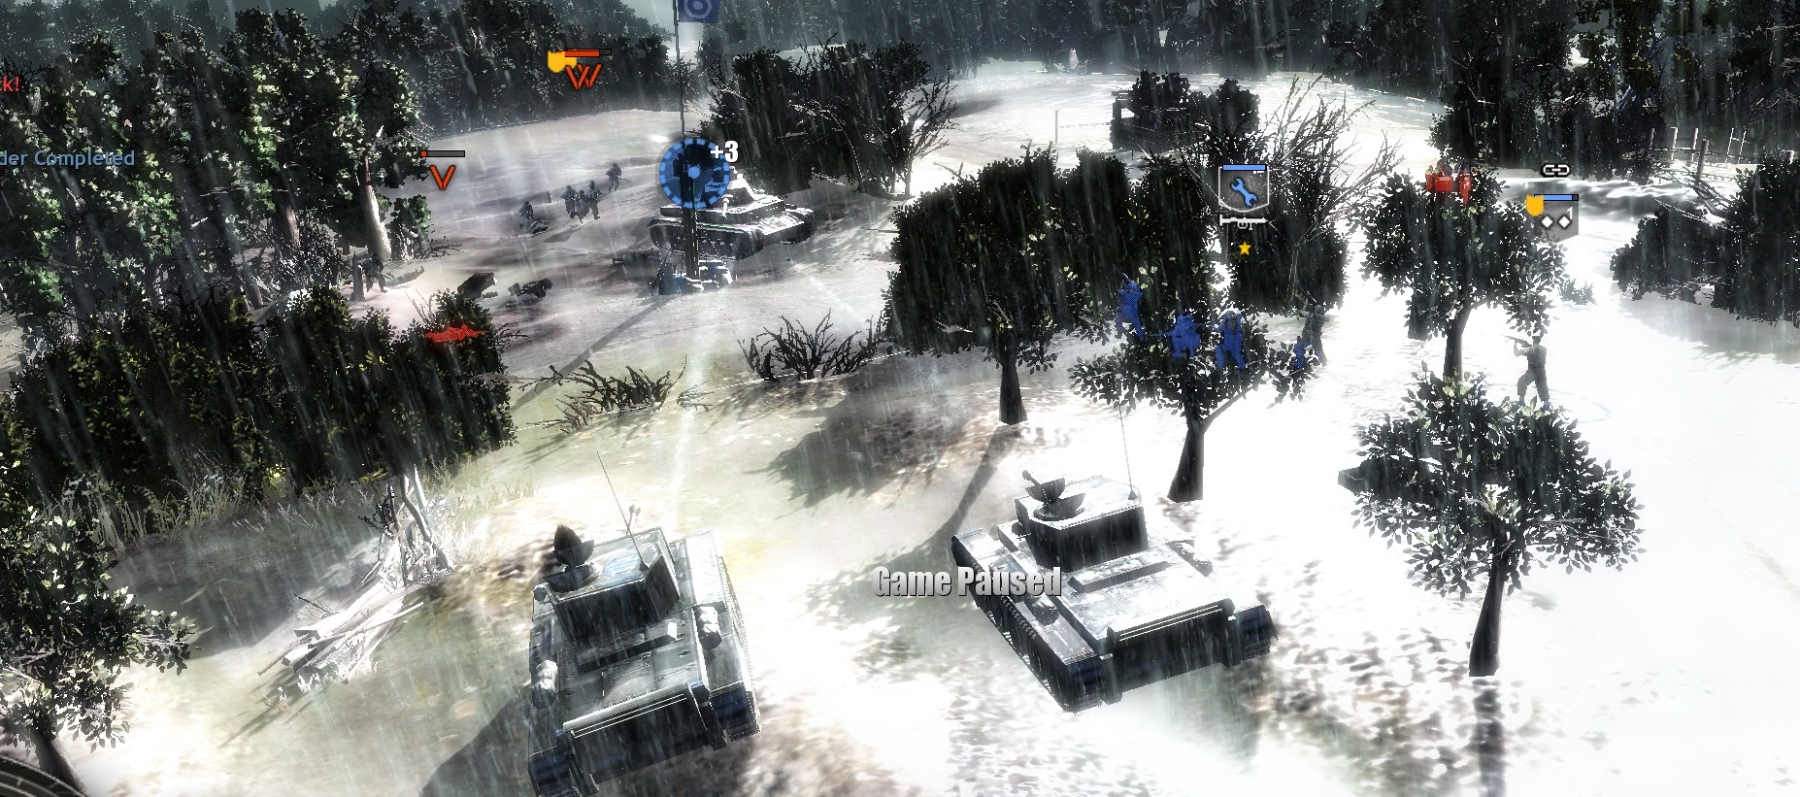
A German Panzer IV with grenadier and stormtrooper support has just attacked towards your hilltop base from the map’s NW corner.
INITIAL ATTACK
Use both of your Cromwells with 25-pdr and mortar tower support to wipe out this initial one-panzer German attack asap.
Important note: The nerfage of British and buffage of German units here is extreme. Early in the mission, your Cromwells will fire many and maybe most of their rounds into the ground or into their targets with pffft sounds and zero effect. A solitary Cromwell facing a fresh Panzer IV will be destroyed quickly, and even two Cromwells can easily lose to a Pz4. Also the German stormtroopers are ludicrously overpowered and will stand up in front of your MG emplacements as if they were immune to bullets. Even your tanks will have great difficulty hitting German infantry. Your Fireflies, moreover, despite being Shermans only with better guns, will move very slowly—literally a walking pace—which can seriously impact your ability to mount a flexible, mobile defense. Even your Cromwells, with the expensive overdrive option activated, will move no faster than a Panzer IV—a blatant cheat by the devs, since the Cromwell was well known for its speed advantage. To me, this all represents incompetent game design. But if you are able to look past all the cheating and scripting—all that fakery that makes this a “simulation of a simulation” as I call it—this could be an exciting mission for you.
AFTER INITIAL ATTACK REPULSED
Send your Stuarts to defend the SE and NW ends of the hill fort.
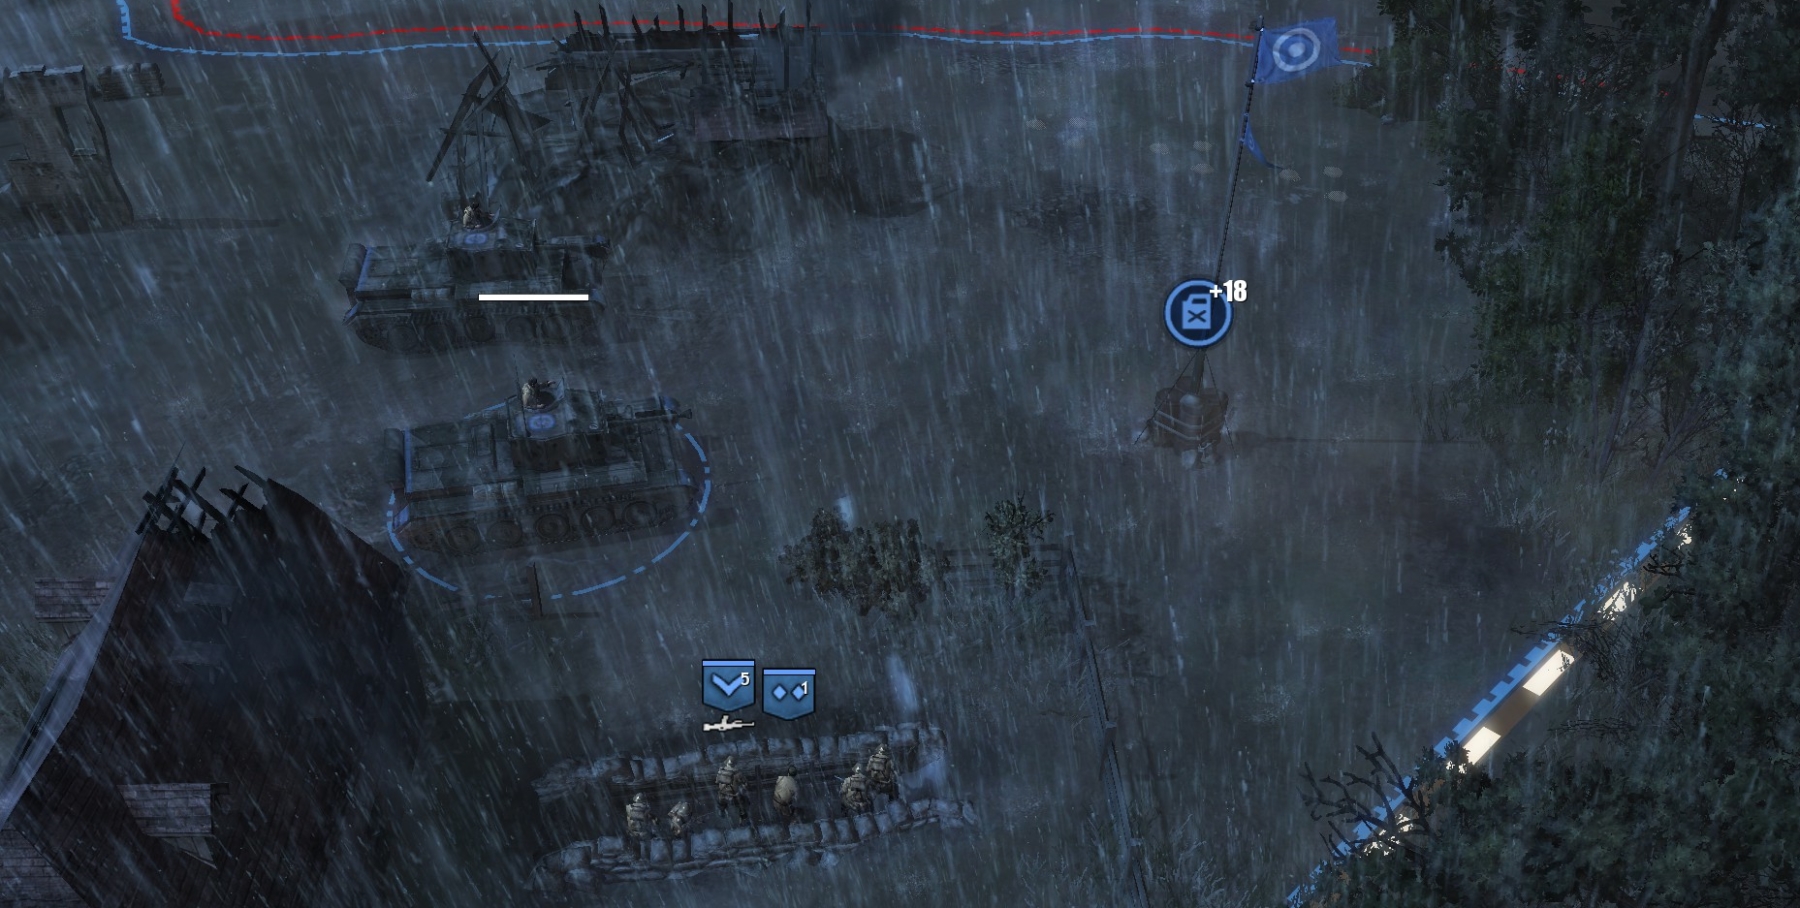
Send your Cromwells to defend the Tourmauville fuel point.
Call in the base truck that allows you to bring in tanks and order it set up on the south side of your hill fort. Bring in a Cromwell and send it to guard the muni point below Tourmauville, then bring in a Firefly and send it to help out at the Tourmauville fuel point.
Upgrade your infantry squads with LMGs, and where applicable attach them to officers (they will move in super-slow-motion otherwise). Also retreat all of your infantry squads to the hill fort, except for one that can build and get into a slit trench near the Tourmauville fuel point.
Have your infantry squads build five slit trenches from NW around to SW then SE, each manned with an infantry squad upgraded with LMG (Bren). This semi-circle of slit trenches close against your fort, anchored at both ends with Stuarts, will provide a strong defense against the infantry and scout car attacks in this early phase. Don’t forget that you have the 25-pdr and the mortar tower. Use one of the sniper-type or non-upgraded infantry squads to crew the HMG near the base; that can go into the mortar tower to defend the area around that fortification. Use a partial-strength infantry squad to crew the AT tower (pantherturm).
Bring in a sapper squad, upgrade for fast repair capability, and keep in cover at Tourmauville (round building) for tank repair as needed.
In case you were wondering, you must concentrate your medium armor at Tourmauville in this first, longest part of the mission because, after the initial Panzer IV attack, the next armor attacks will be aimed at your points just above and just below the bridges, and the Tourmauville bridge points are the ones that really matter.
Soon you will get a Sherman Firefly tank, coming from the bottom of the map. The first one should go to help guard the muni point below Tourmauville.
Usually this appearance of the “free” Fireflies means the German attacks on the bridge points are about to start—if they have not started already.
ATTACKS ON LOWER BRIDGE POINTS
If you want the mission medal, and if you want to keep getting Firefly reinforcements, you cannot allow the Germans to cap and hold any of the four bridge points. This condition is more strict on the side where your base is, in this case the Tourmauville side. In other words, if the Germans cap the fuel point at Tourmauville or the muni point below Tourmauville, you instantly lose the medal; but if they cap either or both of the bridge points on the Baron side, you have until the end of the mission to re-establish full control there and get the medal. So the Tourmauville upper and lower bridge points should be your top priorities in this phase, and you should always maintain some presence there and be ready to reinforce.
Each of the two Tourmauville bridge points usually will face a first attack led by a Panzer IV and a second led by a StuG-IV, and often there will be a third attack led by an MG-motorcycle. Almost always, the first attack comes at Tourmauville village (above the bridge), and is announced with a nebelwerfer bombardment.
Focus on defending the Tourmauville bridge points initially. After you’ve seen off two armor-led attacks at each point, you can send most of your armor, with one infantry unit, to Baron to retake the points there—but be sure to maintain at least some presence at both Tourmauville bridge points throughout this phase.
MAJOR ARMOR ATTACKS ON HILLTOP FORT
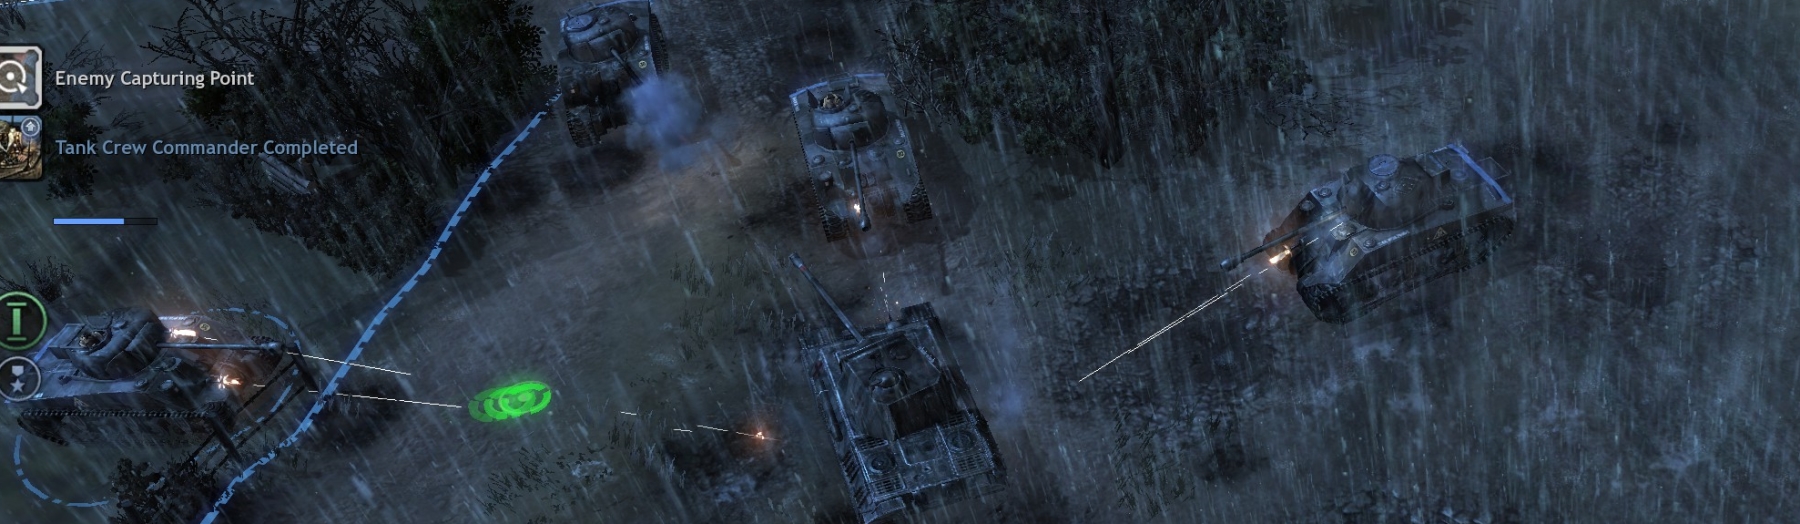
When Panzer IVs and Panthers start coming in from the sides of the upper map, the final phase of the mission is underway. The Germans will no longer go for the bridge points. Now all your armor should go to the hill to defend the fort there.
Try to keep your Cromwells and Fireflies repaired, and mass them with 25-pdr support to meet the German tank attacks, aiming for one tank at a time starting with the Panther, and (of course) waiting for the German tanks to stop moving before targeting with artillery. In a pinch, you can send your PIAT-equipped sappers to attack German tanks. Also don’t forget you have a captain with a significant call-in artillery capability.
***