For this mission you must use a small force to take a strategic hill near Caen. In a cutscene at the beginning, a junior officer looks up at the hill and remarks that taking it is supposed to be easy—so you know it won’t be. But it’s not really different from other COH1 missions in that sense. Virtually all of them would be suicide missions if playing IRL against a thinking opponent.
There are four stages to the mission: clearing the south bank of a river, crossing the easternmost bridge on the map to clear a German strongpoint, clearing another village along the riverbank to the northwest, and then taking the hill.
General caveat: British units are very nerfed, German units are very buffed. The ineffectiveness of some British units—Stuarts firing hundreds of HE and MG rounds and not hitting infantry ten meters away, for example—is so extreme that you may think this is a bug. It is not—it is just the devs’ awkward attempt to create a balance they were not able to achieve using more realistic and immersive means.
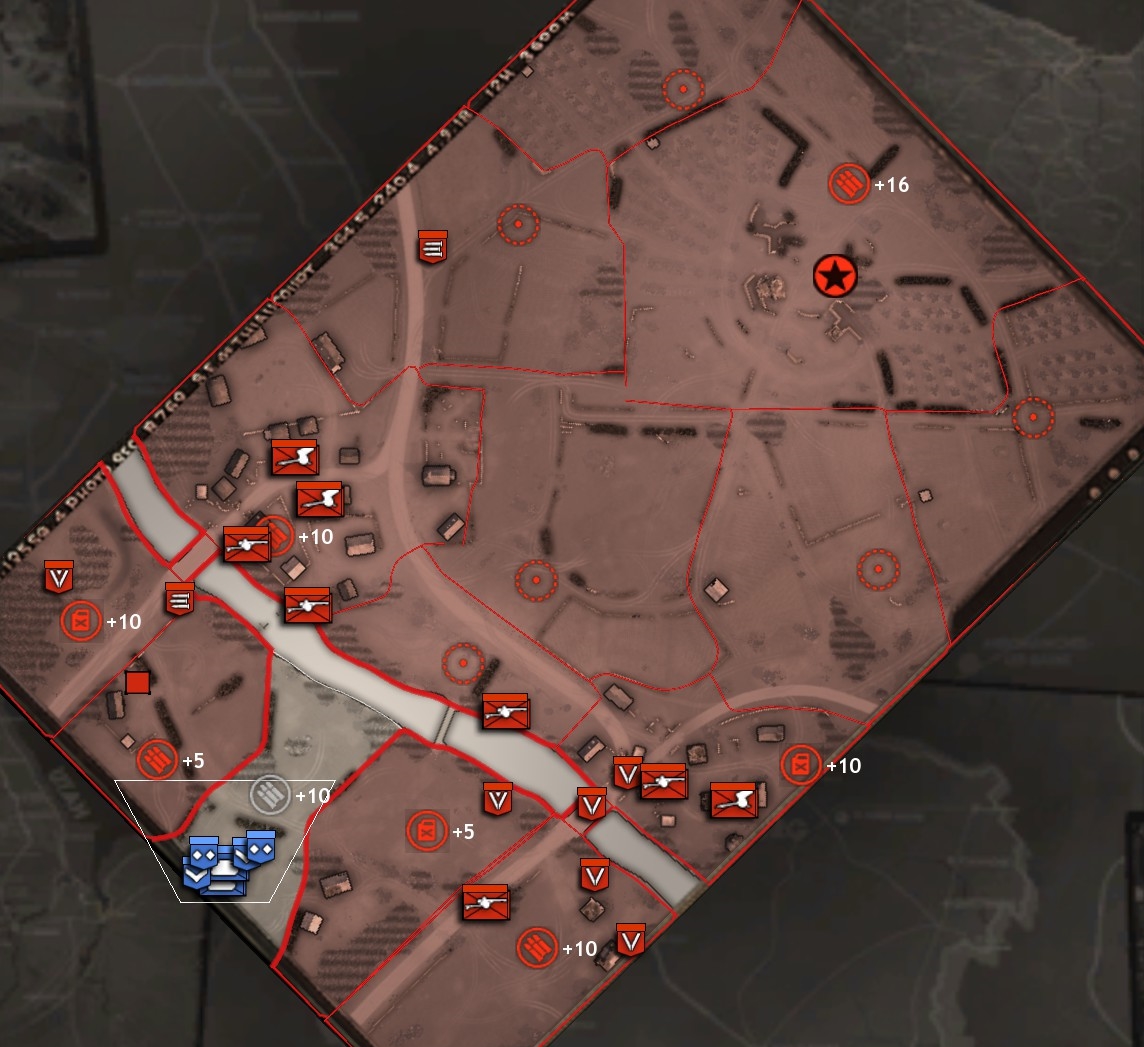
Starting tac map (fog-of-war switched off—but obviously many units, especially on the hill, have not yet materialized):
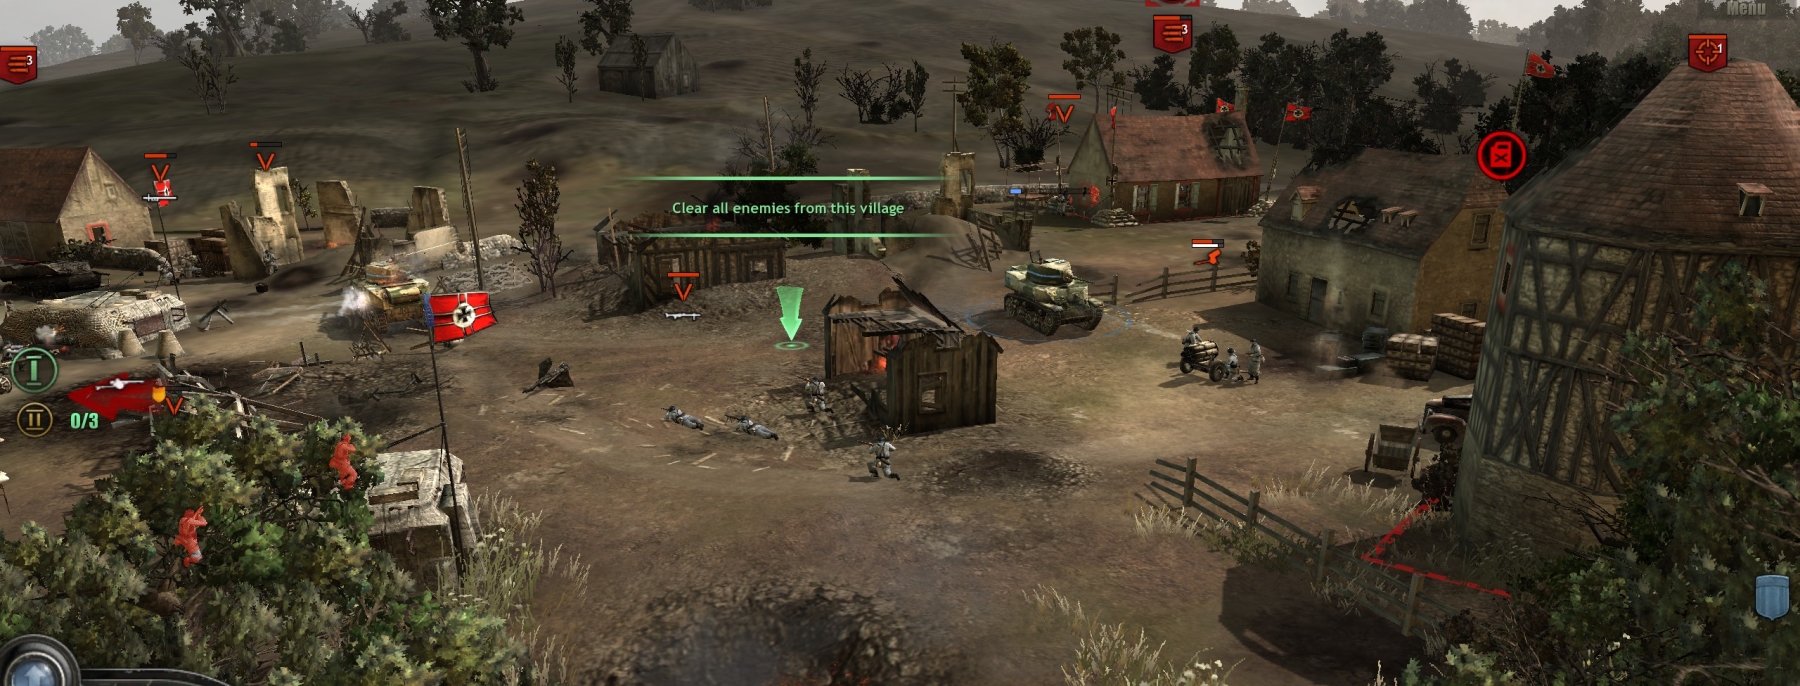
Clearing the south bank
Move your starting units to the nearest (muni) point and cap it. Set up a command post and field support post (and bring in a sapper team).
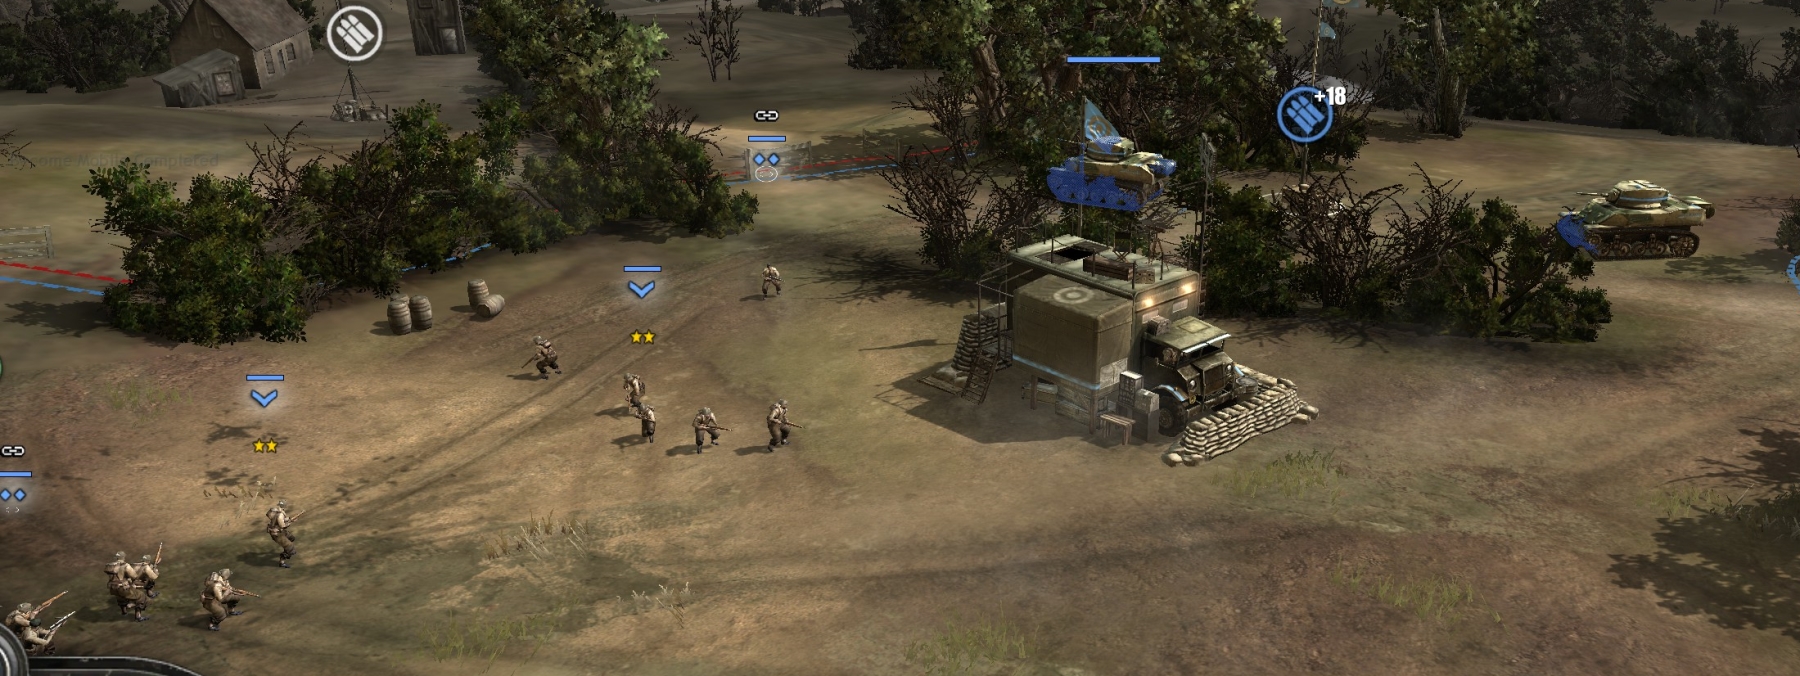
Your Stuarts can now take out the sniper in the building to the northwest and one of your infantry squads can cap the muni point the snipers were guarding.
You can upgrade your infantry squads (Bren guns are probably best) but alternatively you can just wait to let them grab/crew superior German weapons when/if they find some.
Per the UI instructions, bring in a support unit truck and use that to call in a sapper (engineer) team. Upgrade sappers with the repair function—they can use this to make your vehicles’ armor extra tough—or PIAT AT capability.
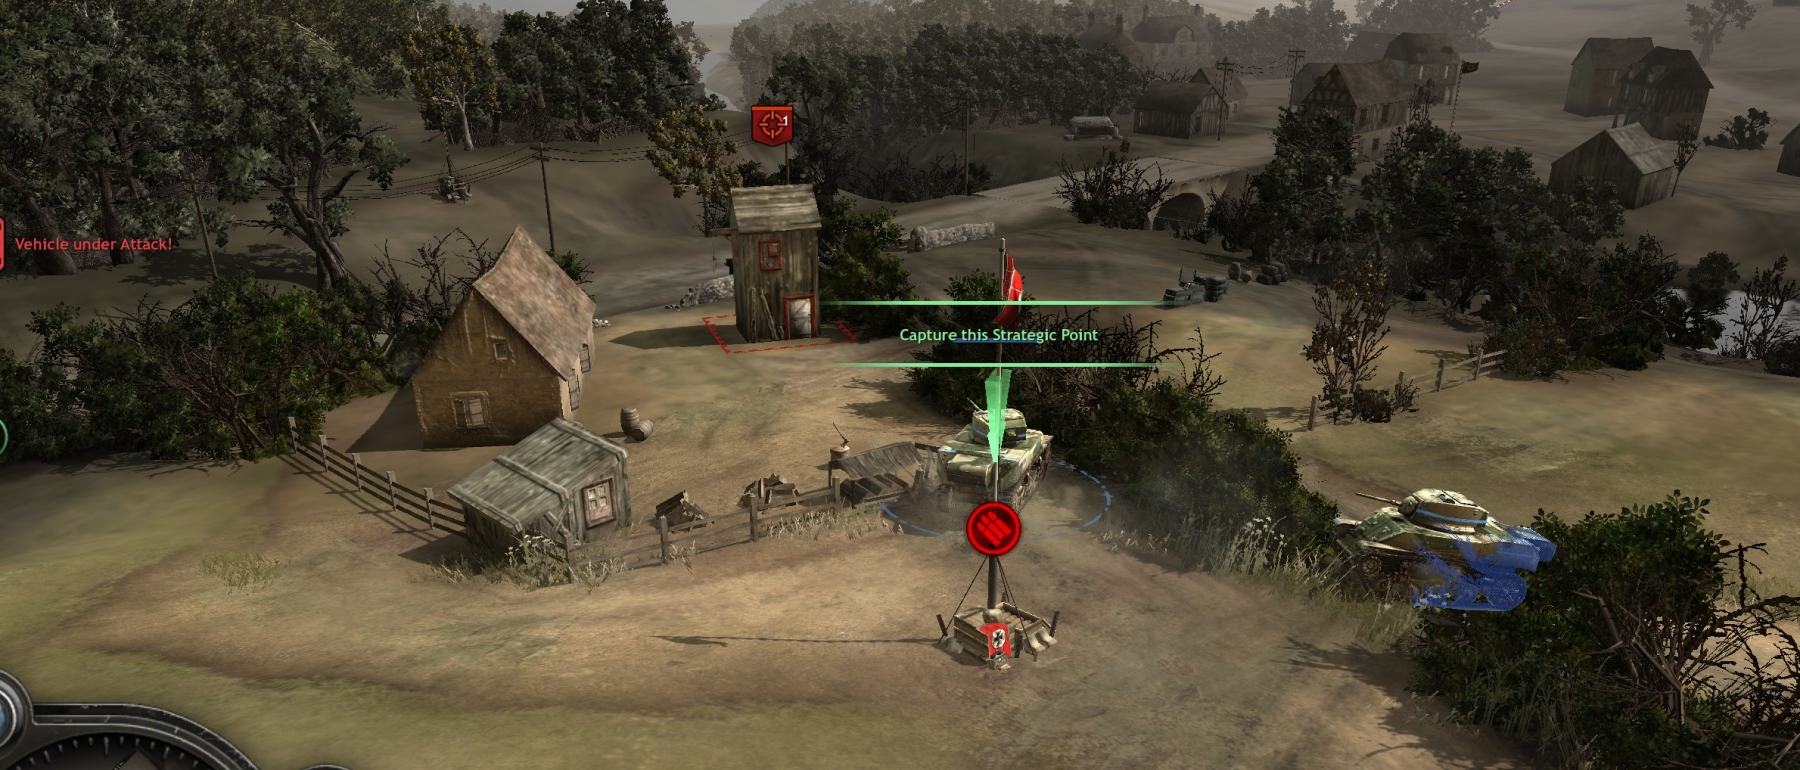
Stuarts next go further northwest to the last point, a fuel point, to wipe the HMG at the bridge (don’t get too close—a Pak sits just across the bridge) and the volksgren squad guarding the point. Infantry to cap the point.
The Germans will now blow that bridge. When that happens and the fuel point is capped, go back to base, heal up as needed.
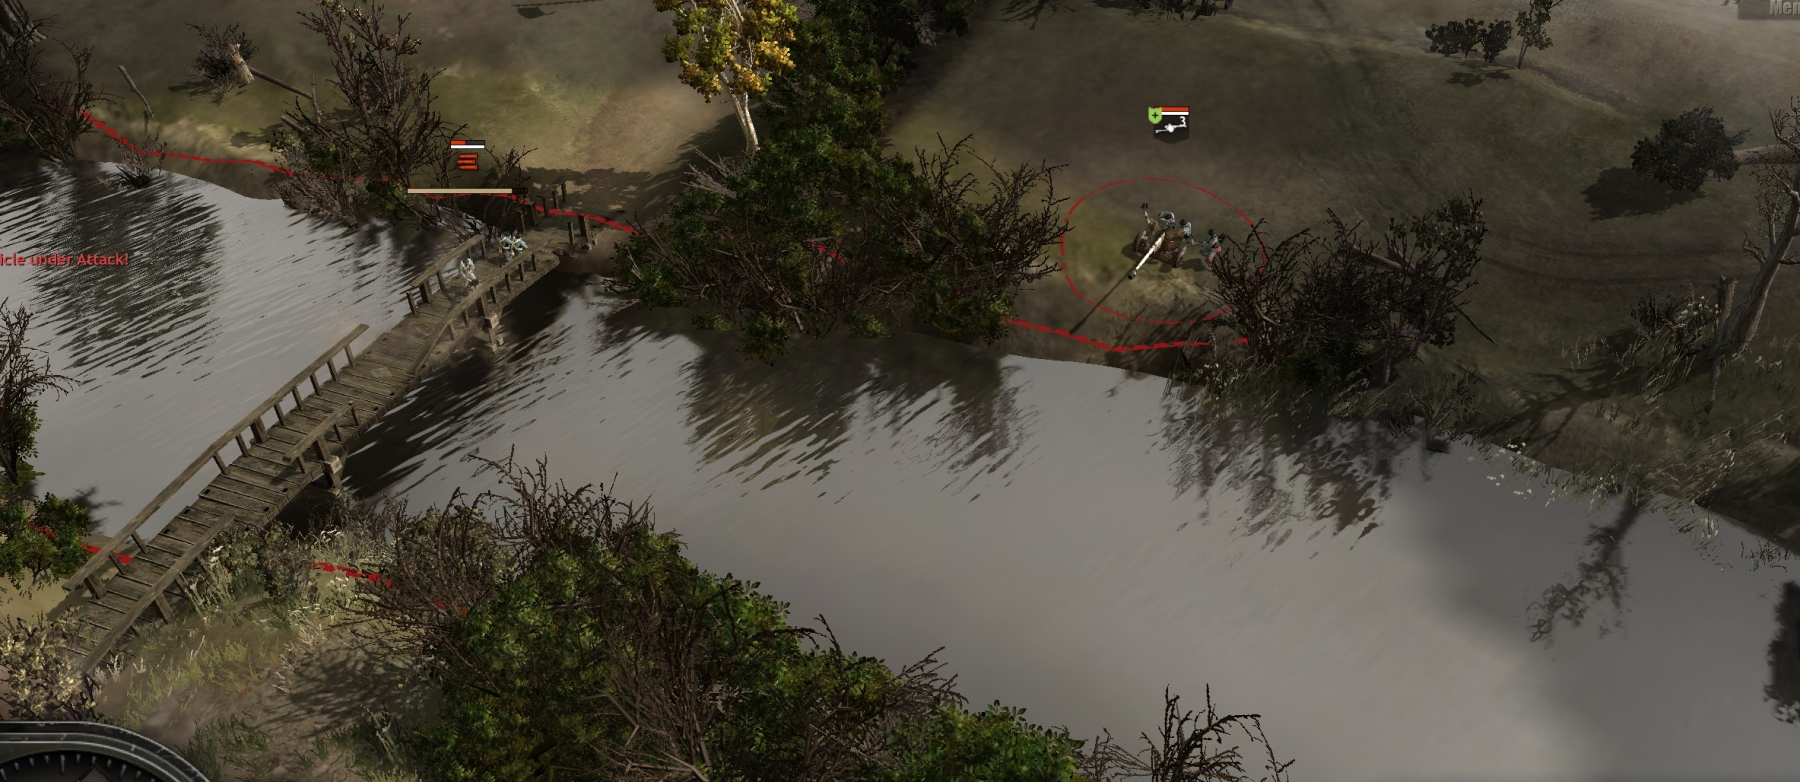
Now move very cautiously, Stuarts in front, to the next uncapped point (fuel point) east of your base. Most likely you will be met there by German grenadier and maybe an MG42 crew which have infiltrated across a small footbridge. Sometimes they will come right to your base to attack, even before you get to the fuel point area.
Defend using Stuarts only, and retreat infantry to base or keep them well back. Remember there are Paks lining the north bank of the river, so don’t get into their range.
There are also nebelwerfers on the north bank, so all your units should change position—heading back to base if possible—if you hear the whooshing of the nebels being werfed.
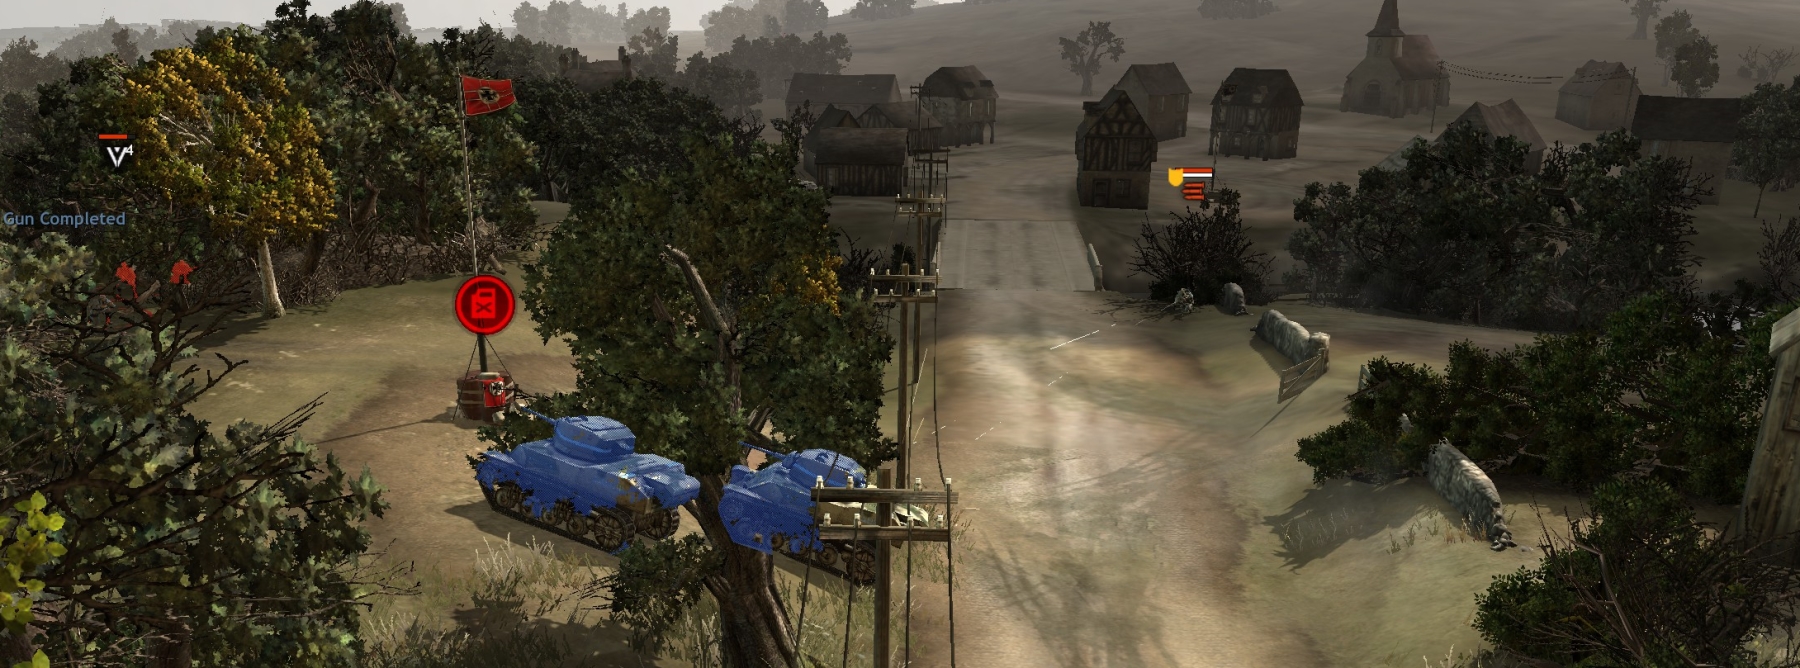
When you have eliminated the German infantry, destroy the footbridge (use attack ground with a Stuart from range—remembering to keep out of Pak sights) and cap that fuel point.
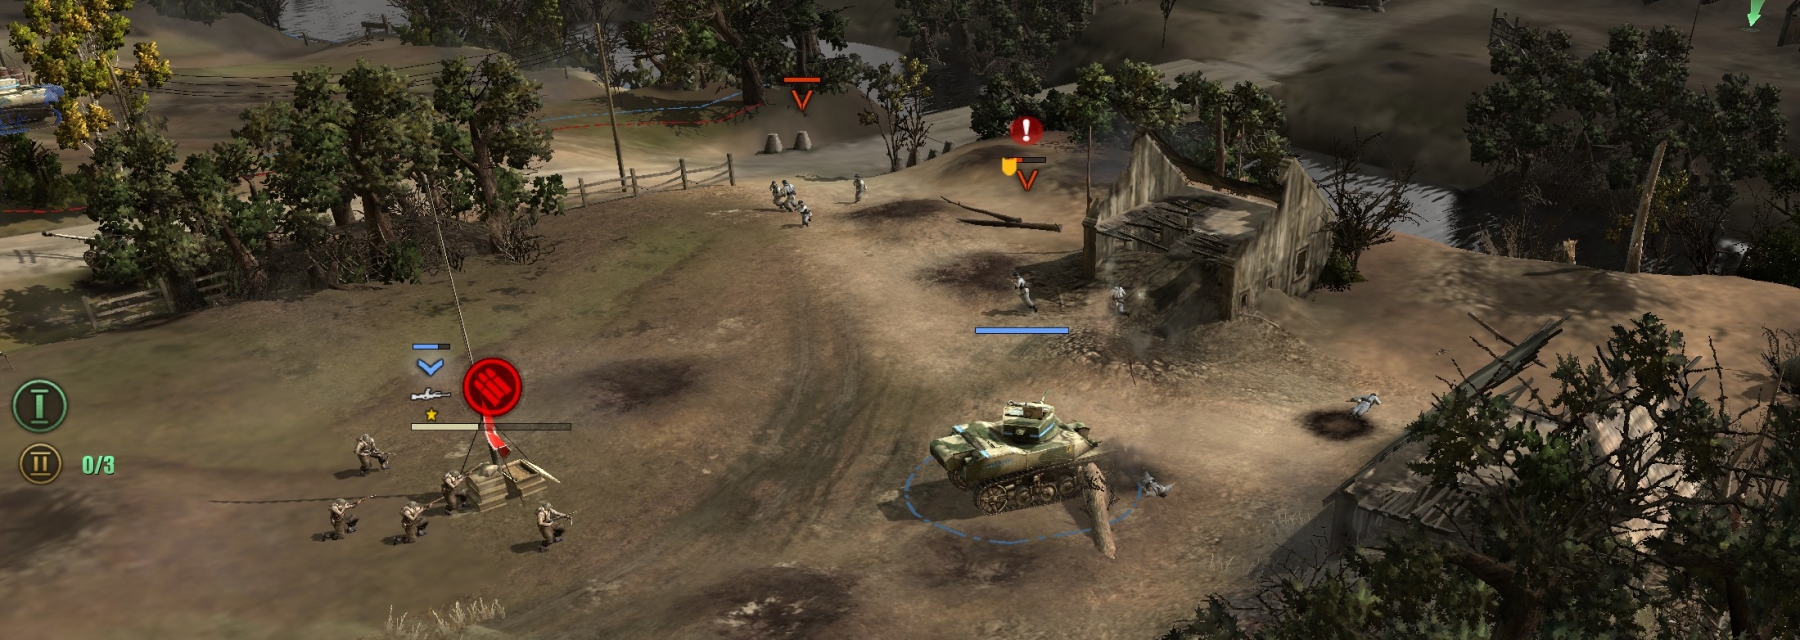
There is another Pak on your side of the river, along the road about 40 meters below the east bridge.

Take it out with your infantry, with Stuart support.
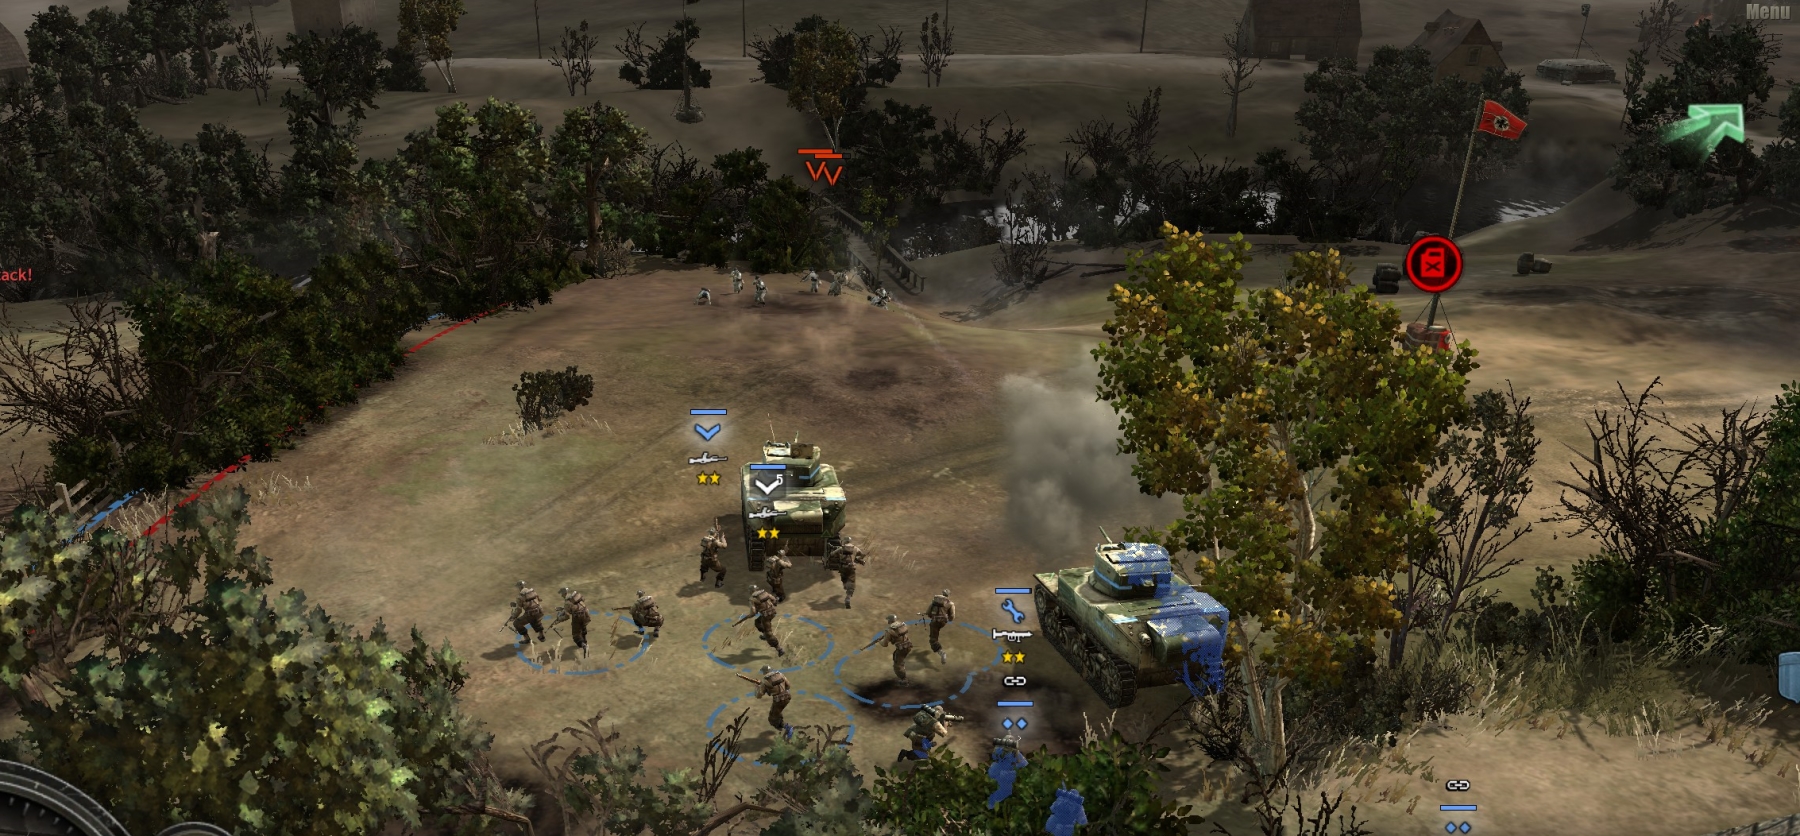
Now carefully use your Stuarts to take on the German infantry squads that are either around the easternmost (muni) point or will attack south across the bridge.
Once you have capped the last point on the south bank, you’ll be given a Churchill AVRE bunker-buster tank for the assault on the German strongpoint across the east bridge. (It makes little sense that the Germans would keep this bridge intact, but they do.)
Use your commander points initially for the right side abilities including ordinary Churchill tanks and Churchill AVREs.
If the Germans left an MG42 on the south bank, crew it and set it up with sandbag protection to cover the south end of the bridge.
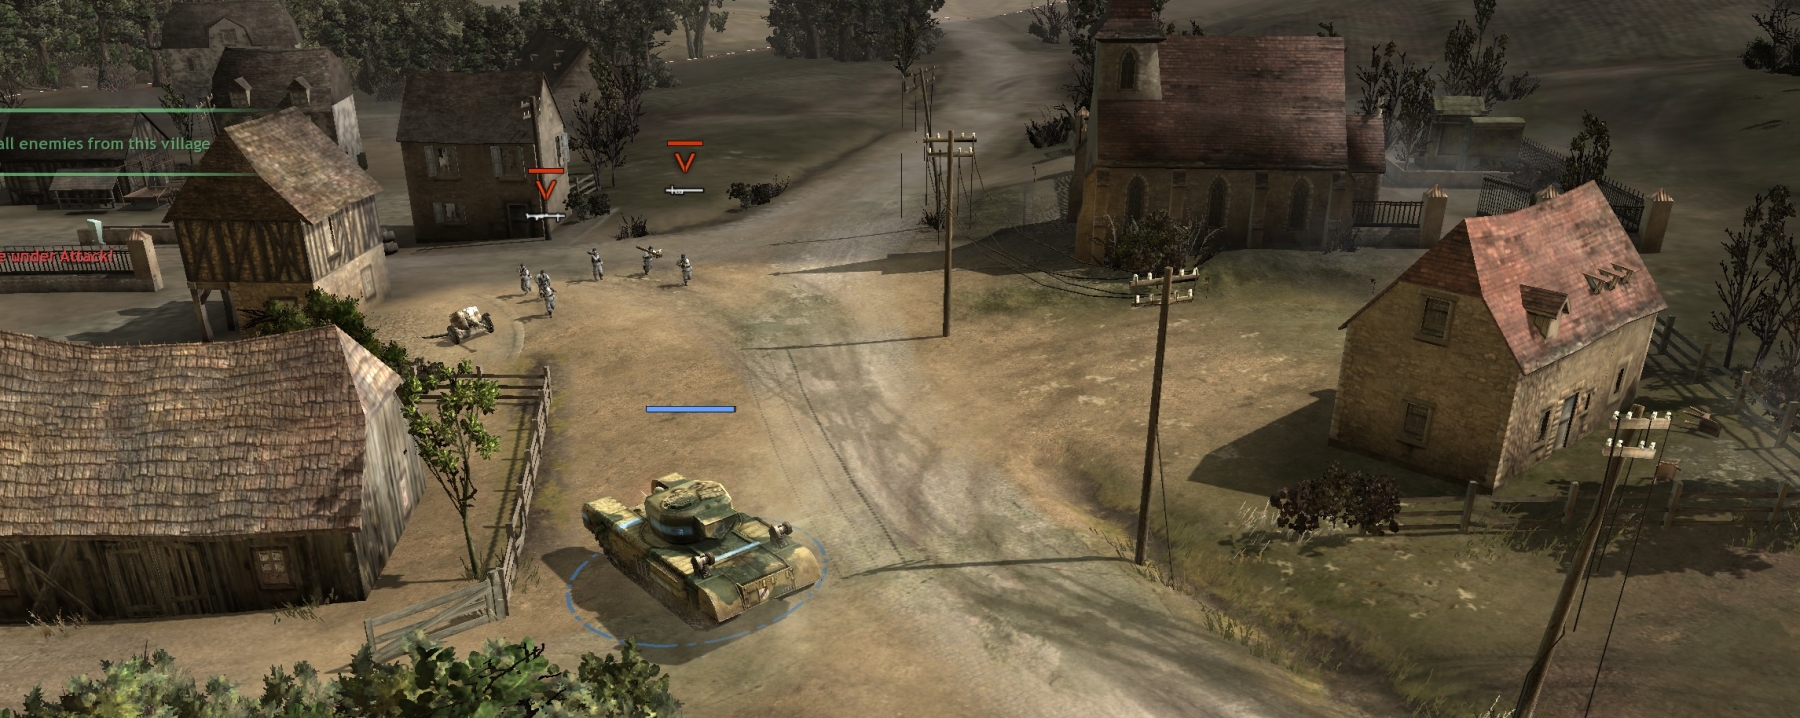
Crossing the east bridge
With your Churchill AVRE, poke, fire, and retreat—rinse and repeat. Top priorities are Paks and schreck infantry; then HMGs; then LMGs, then let the Stuarts loose on whoever is left. There are mines on both sides of the road above the bridge, including on the way to Baron, but they usually won’t kill a vehicle.
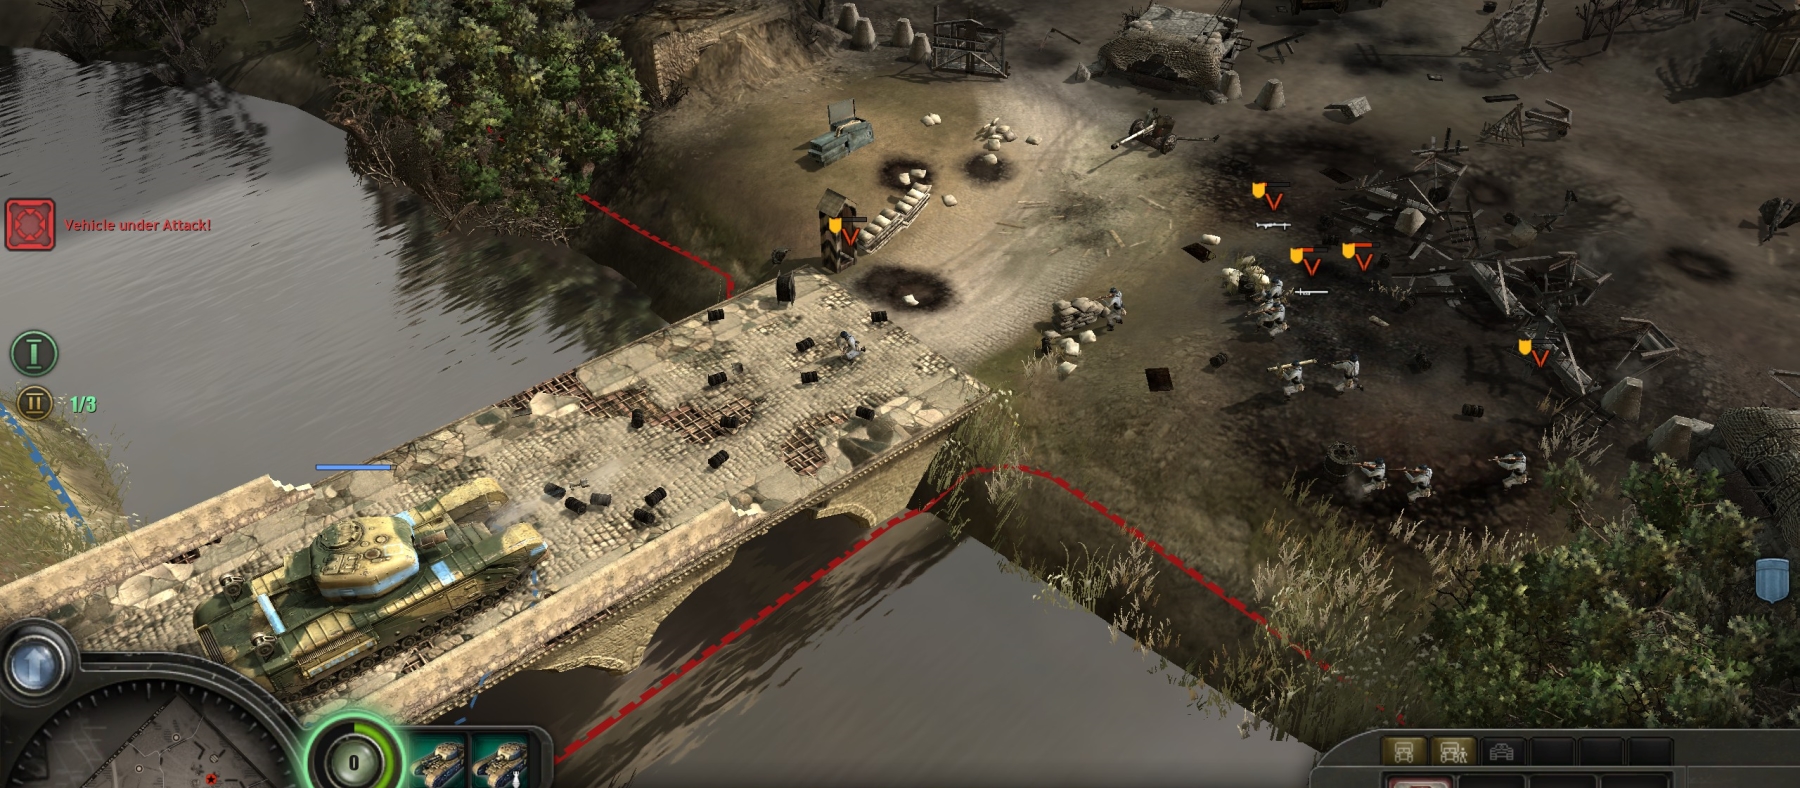
On occasion, the Germans have so much AT power at their strongpoint above the east bridge that they will kill your Churchill-AVRE before it can retreat (the devs made that easier by creating some kind of invisible slow-down region at the south end of the bridge). If that happens, your sappers can build a mortar emplacement on the south bank and keep raining mortars on the strongpoint until you have the commander points to bring in more AVREs (don’t bring in a regular Churchill tank—useless here). If the bridge collapses from damage, your sappers can repair it, though of course you need to destroy all German units that can harass your sappers.
Once you have killed every German unit at the strongpoint on the north side of the bridge, and have crossed the bridge successfully with your force, bring in as many Churchill AVREs as you can (should end up with 4-5 total). Free up pop cap by destroying (with AVRE) any mortar or artillery emplacements you have built on the south bank.
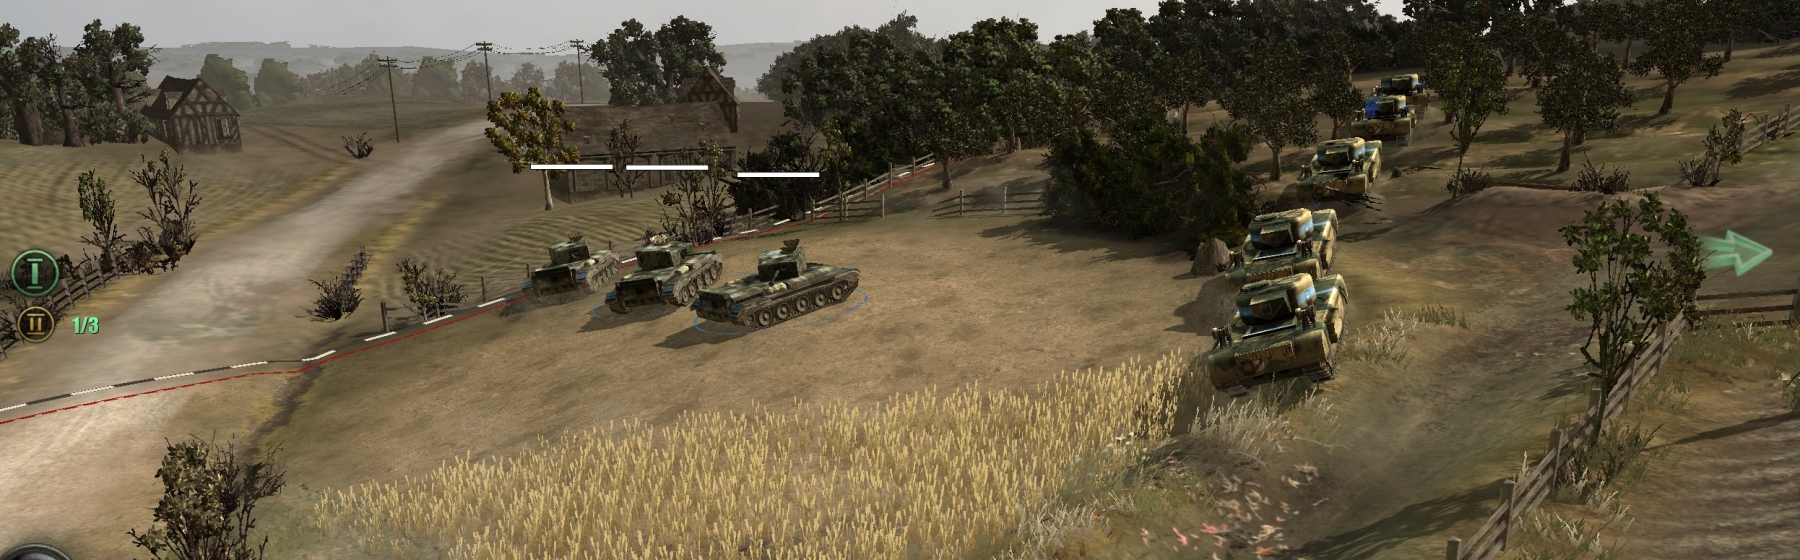
Clearing the German base area by the east bridge (village of Tourmauville) is not difficult, as the Germans there don’t have units stronger than HMGs and snipers, though there is a nebelwerfer (de-crew but don’t re-crew—range is too low to be useful in the hill assault). When you cap the point at Tourmauville, mobilize your base trucks and re-station them there. Also make sure you bring in a Captain unit and order in an Armor base truck. You will now be granted three free Cromwells for the hill assault, but you might need to replace them in that battle, so have the armor truck ready before starting your assault.
Taking Baron
Baron is the village on the north side of the west bridge—the bridge the Germans blew up at the start. You will face a Pak, schreck and LMG infantry, and a Panzer IV, so it will be a fight, but with four or five AVREs and three Cromwells you shouldn’t have much difficulty.
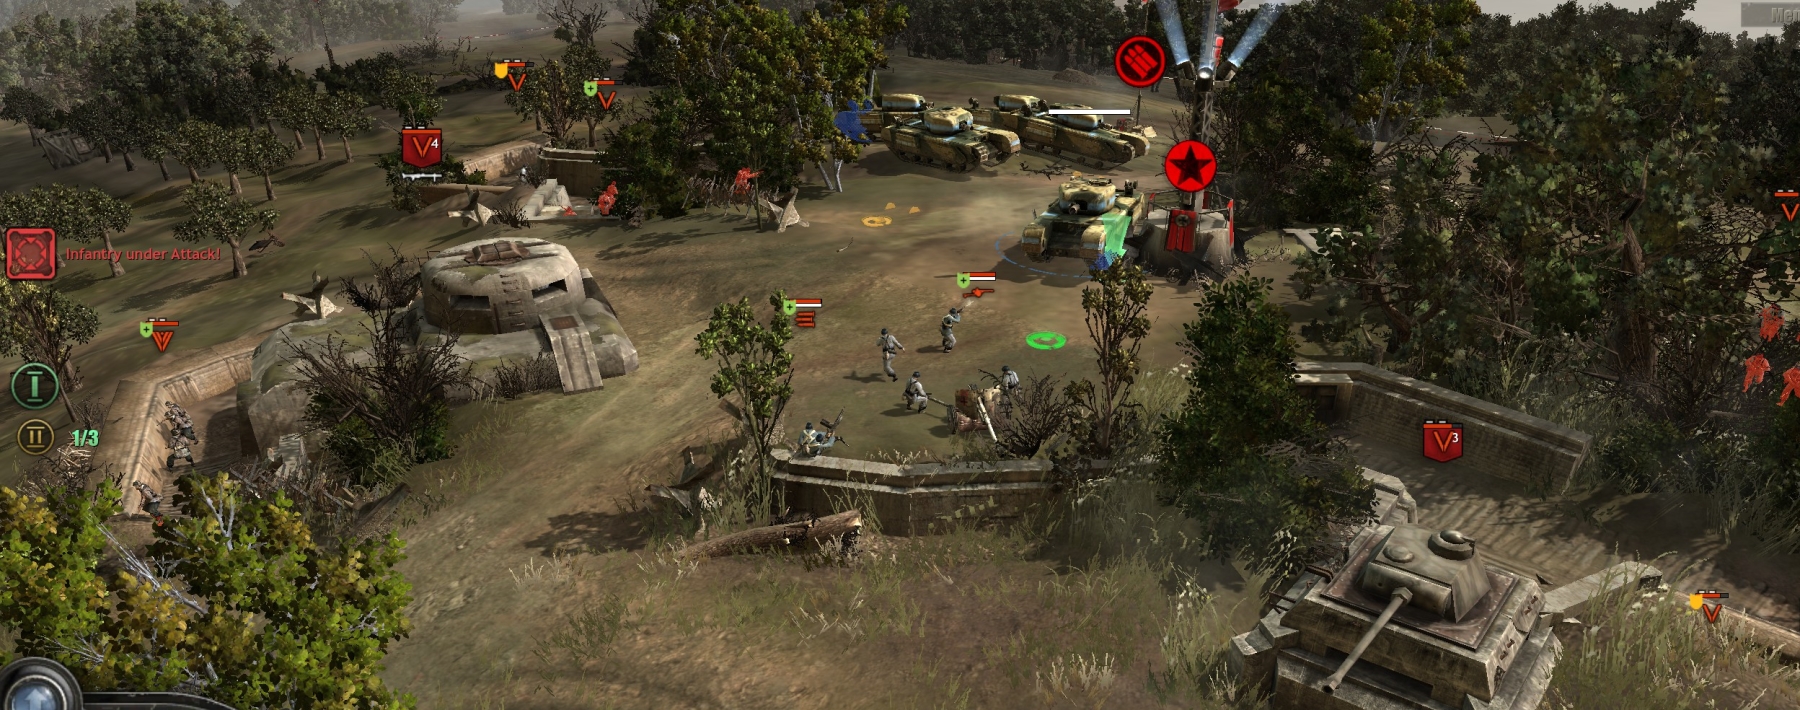
Taking the hill

When you have finished taking Baron, set up your infantry (including captured HMG and troops with LMGs) to defend your Tourmauville base from the German infantry that will come down the hill constantly after your hill assault starts. Your units should not move across the road and up the hill—if they do, they will be blown to bits by your own artillery barrage when it starts.
Heal up your AVREs and Cromwells in Baron and get them ready to move quickly up the left side of the map, AVREs in front.
You will have been hectored by the UI for a while about moving your units to your starting point in Tourmauville and getting ready to march uphill behind the artillery barrage. Ignore, but when your armor (4-5 AVREs, 3 Cromwells) is ready to roll, click to start the barrage.
As the barrage commences, your armor should now move straight up the left edge of the map to the upper left corner.
Your Cromwells should stay at that corner, awaiting one of the three Panthers that will soon enter from a road at the north map edge. (You can bring a sapper team and lay some mines at the Panther’s entrance, if you want to boost your chances.)

Your AVREs should turn east and then south to enter the hill fortress from behind. Priority targets are the Pak and AT tower, the mortar bunker, the two nebelwerfers in front, and any AT-capable infantry.
Proximity to the hill fort will trigger the arrival of the Panthers. Use your three Cromwells to kill the first one at the map’s NW corner—the Cromwells should then join the AVREs at the hilltop.
The second Panther will enter from the NNW map edge, the third from the NE map edge. Try to concentrate fire from your Cromwells/AVREs on one Panther at a time.
You should be able to kill all three Panthers with the armor you brought up the hill. If you can’t, reinforce with new Cromwells from your armor base in Tourmauville.
As an alternative strategy, send five Churchill-AVREs (spread out from Baron to Tourmauville) straight up to the German hill fortifications, before turning on the walking barrage. The AVREs can basically wipe all German units from the hilltop, and when the Panthers arrive and start destroying them, you’ll have pop cap freed up for more Cromwells including a command tank. When the last AVRE is gone, turn on the barrage (which will further damage the Panthers) and when the barrage is done, go in with eight or nine Cromwells and seriously kick ass.
***