This mission proceeds from the end of the Carpiquet mission, and has two distinct parts.
DEFEND AGAINST GERMAN COUNTERATTACK
You are given five minutes to prepare for attacks from the airfield on the defense line (points 1-4 going right to left) you just captured in the last mission.
How you prepare will depend a lot on the resources you had at the close of the last mission, but key points to remember are:
- HMG emplacements and re-crewed 88s will be the anchors of your defenses;
- Your sappers should build, somewhat centrally in your defense line, one Bofors 40mm AA emplacement, which is good for killing light vehicles (including Pumas) and shooting down or deterring German CAS;
- Points 2 and 4 seem to get most of the counterattacks; point 1 is anyway easy to defend with mines, schreck infantry and a single HMG emplacement;
- Schrecks and LMGs, mortars and Paks picked up or re-crewed will also help;
- If you use your commander points wisely (left side of menu) your officers will get the ability to call in 25-pdr artillery for 150 muni points so have at least a couple of officers and save your muni points;
- Even if you built up a lot of manpower points in the previous mission, you will start with a much smaller amount of MP in this mission, and you will always be short of them;
- The Germans attack in three waves, and the toughest targets, including Panzer IV infantry support tanks, an AT halftrack, and a Marder III tank destroyer, appear in the last wave;
- If you don’t destroy it before the assault, your defenses will be blasted by a Hummel SPG (see below);
- When the counterattack is over, you will have to switch to the offensive more or less immediately, so in wave 2 or 3 make sure you bring in the base truck for armor (Cromwells).
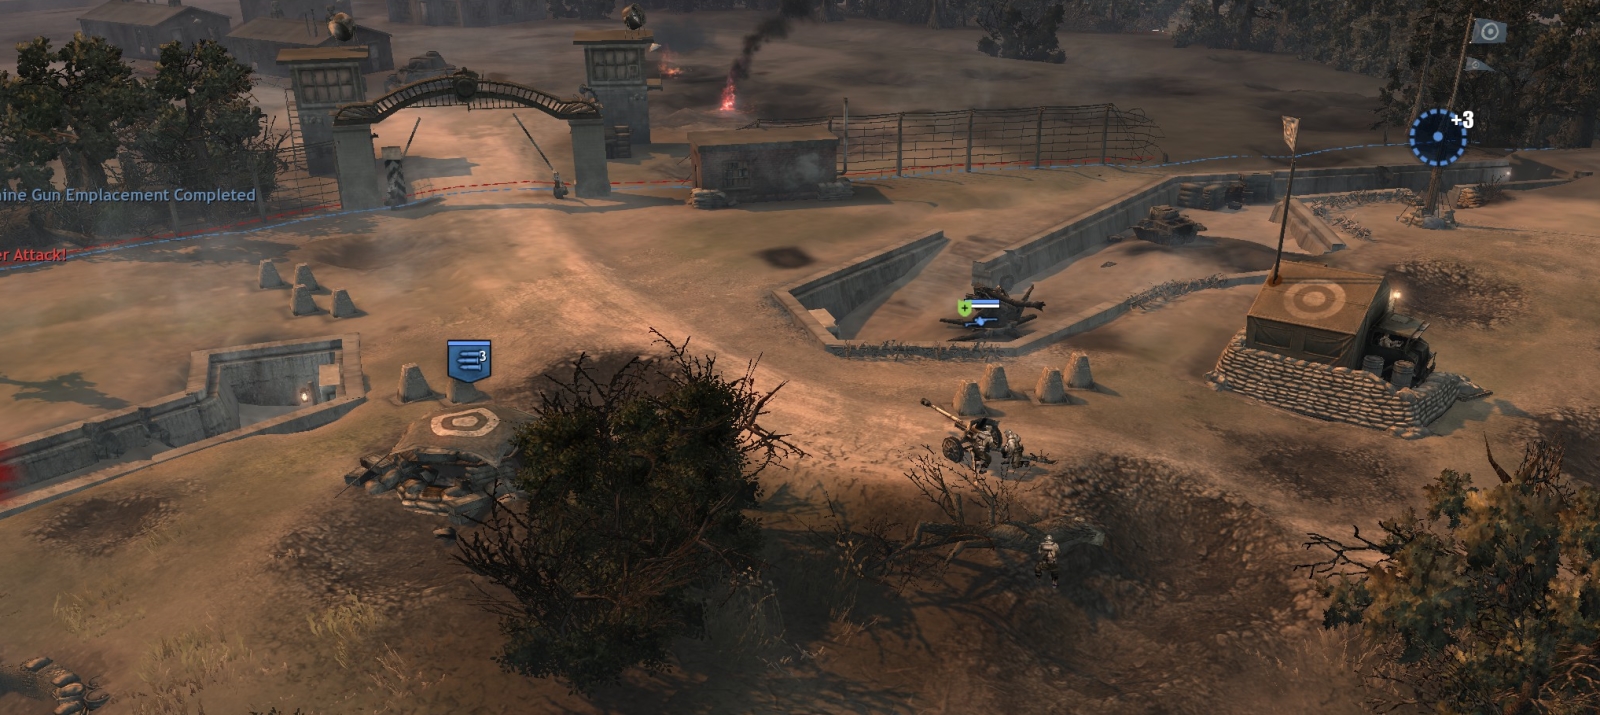
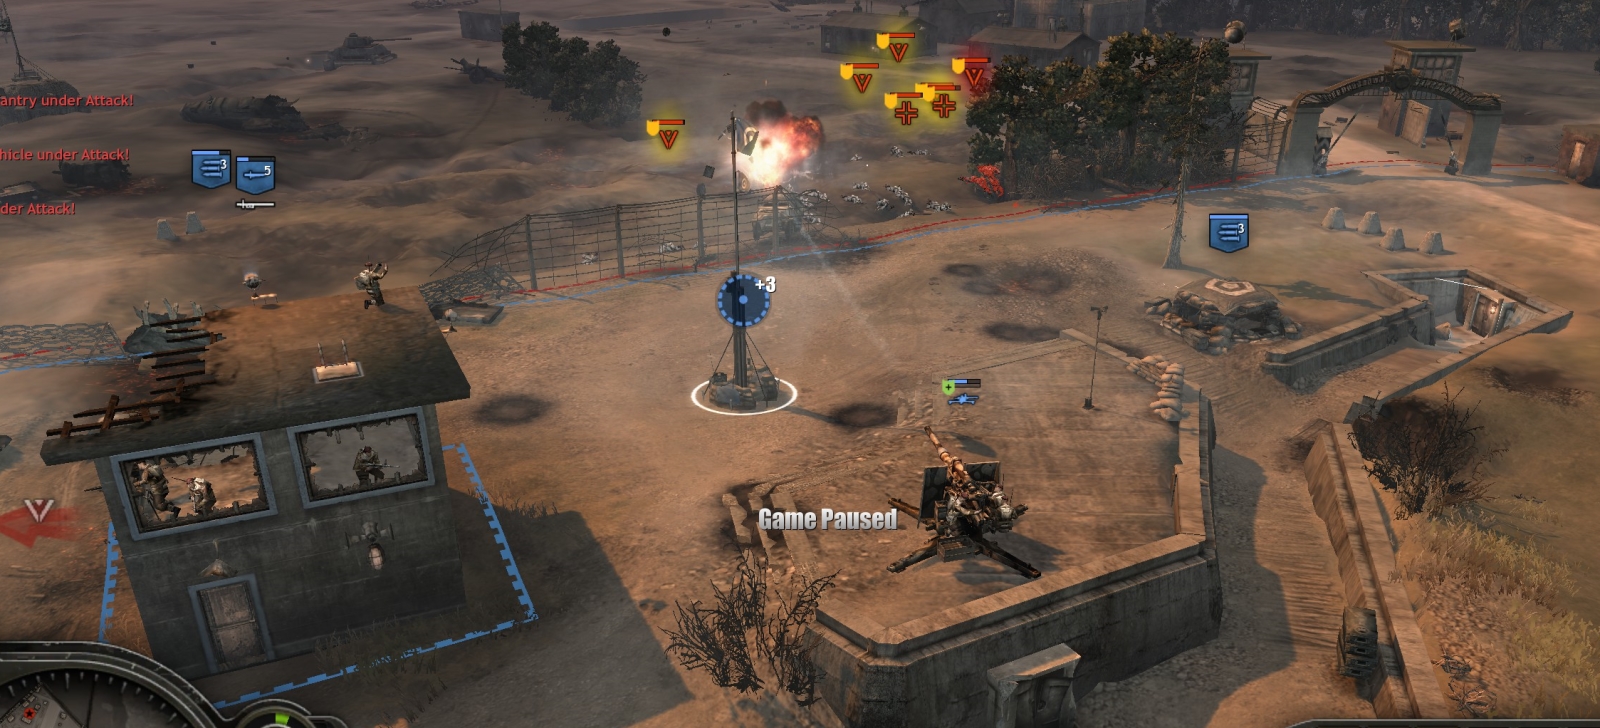
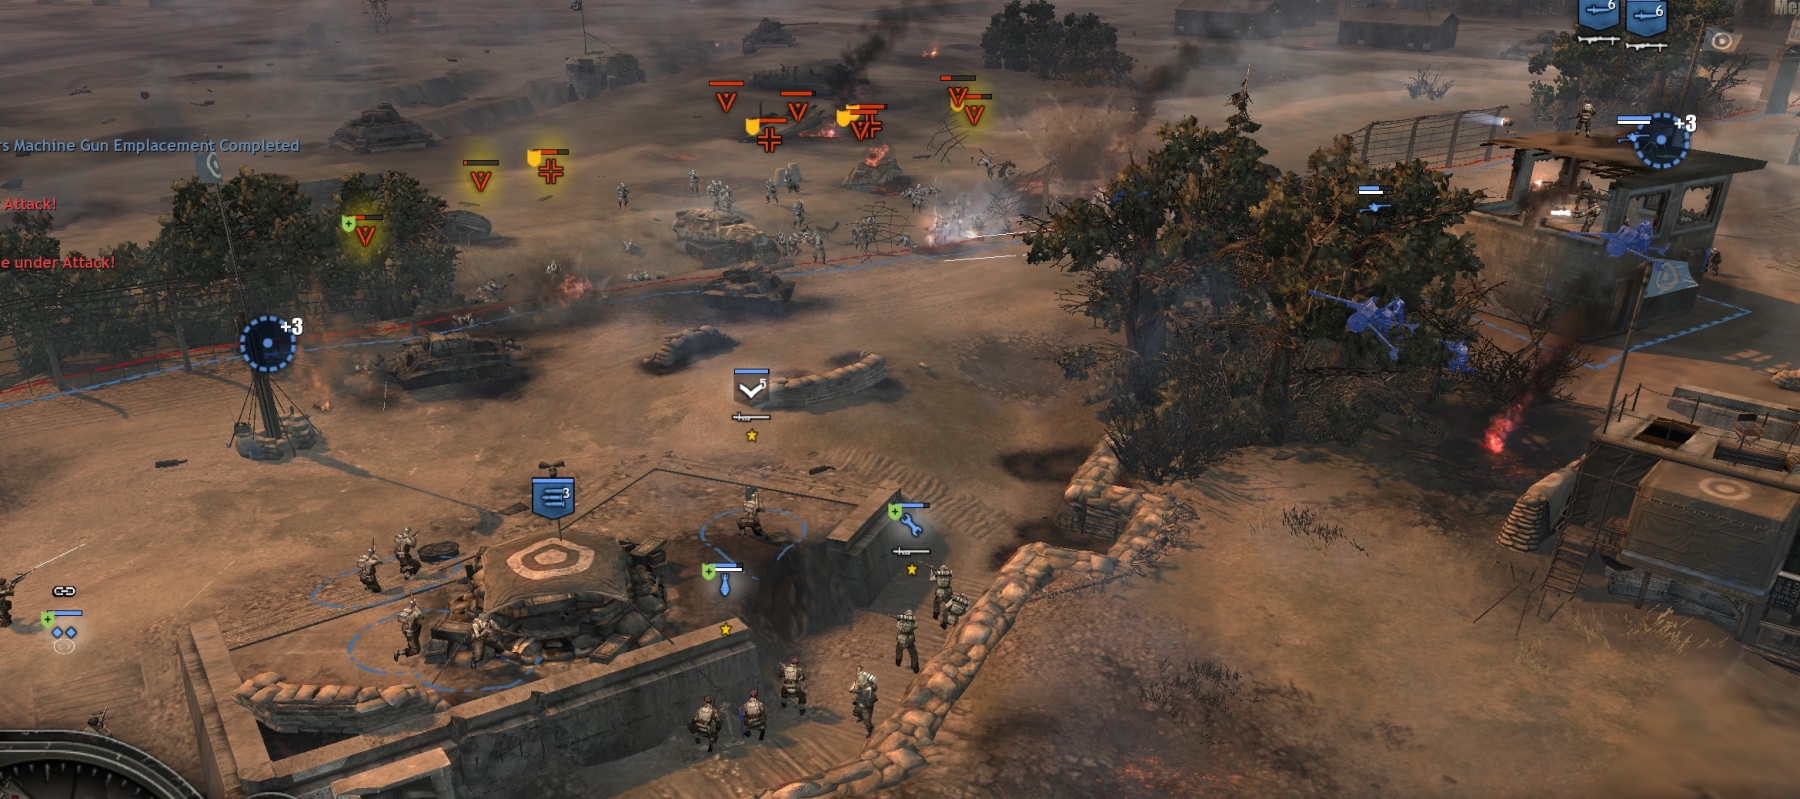
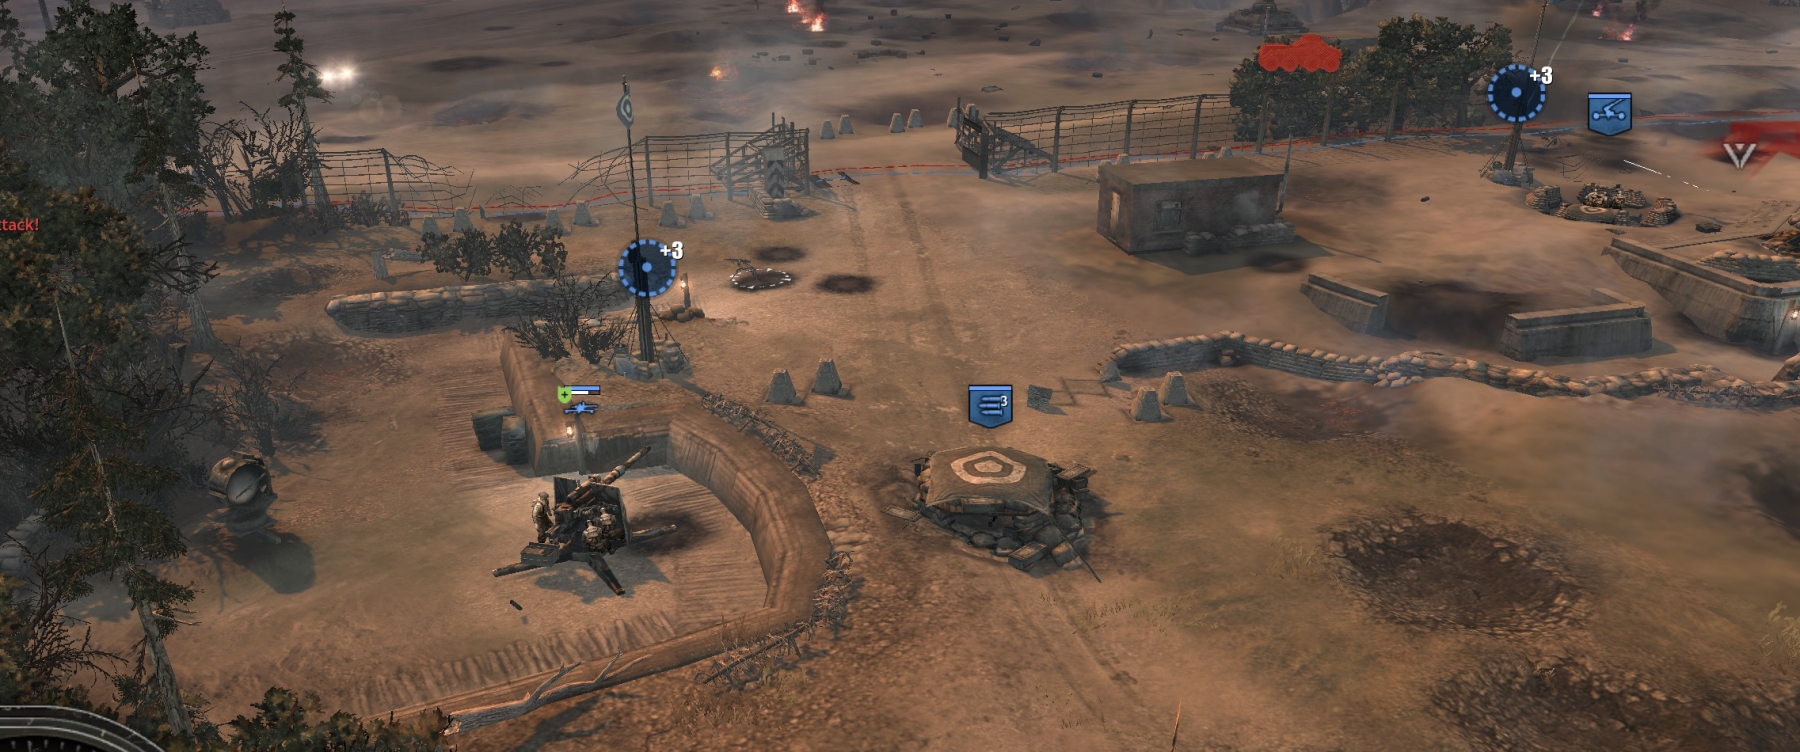
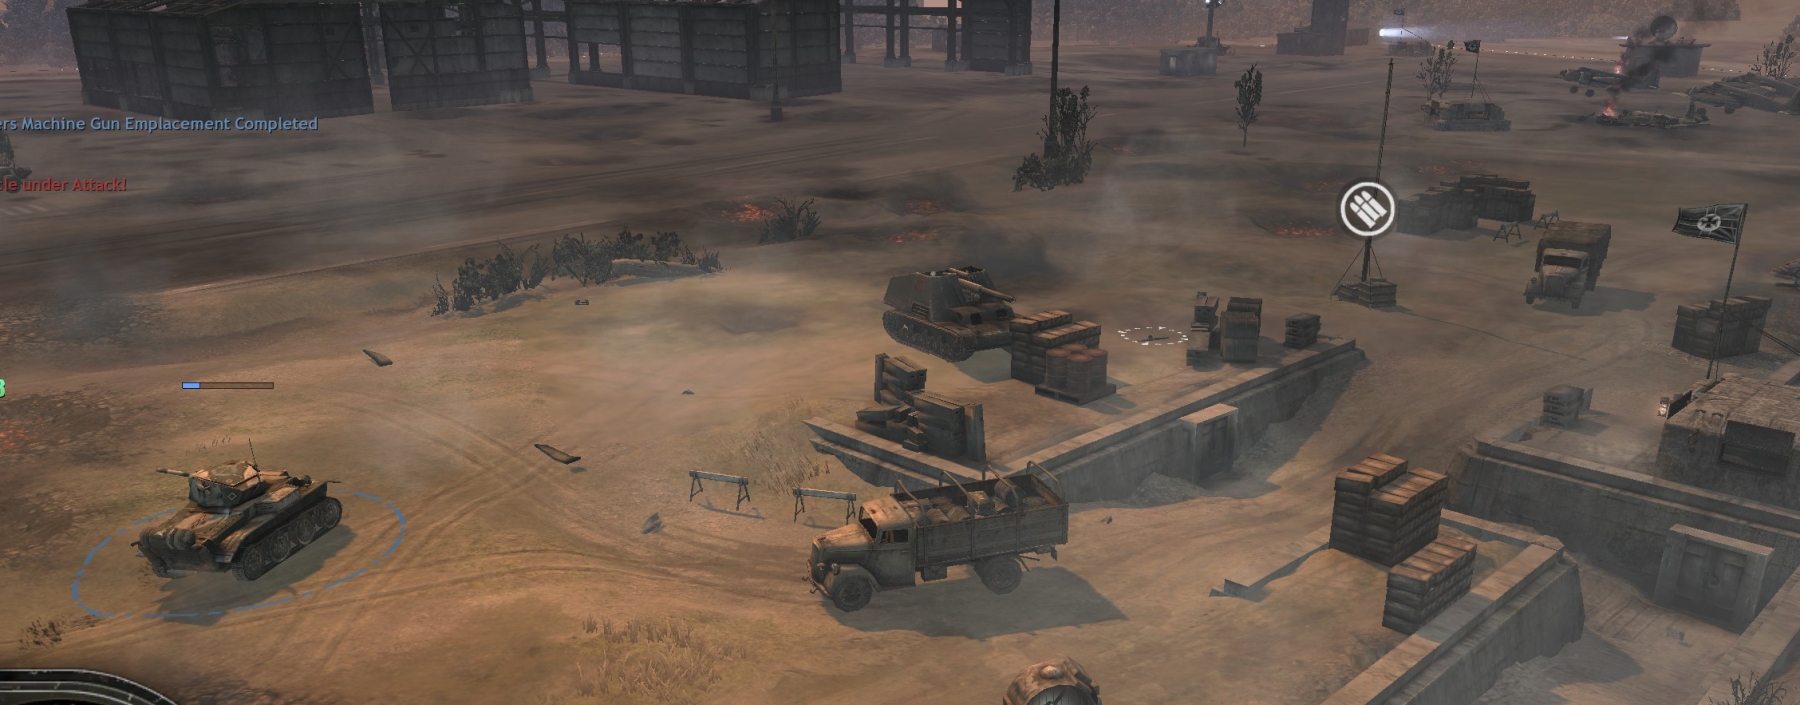
Here are some images showing how point 1-4 defenses can look.
Before the attack starts, use your mortars and your remaining Stuarts and Tetrarchs (those tanks are not going to be very useful in your defense) to destroy the Hummel SPG as well as any remaining “Pantherturm” gun turrets (visible on map despite fog of war). German CAS will kill your tanks pretty quickly when they venture out there, but if you go in with three or four you should be able to kill the Hummel with them alone.
If you have survived and kept control of the four points after three attack waves, the counterattack ends and the next mission phase begins.
TAKE THE AIRFIELD
This phase is a relatively easy mopping-up exercise.
Here is the tac map (fog of war off) at the outset:

First move all of your units to the western edge of the area you control—don’t venture out onto the runway. Start bringing in Cromwells.
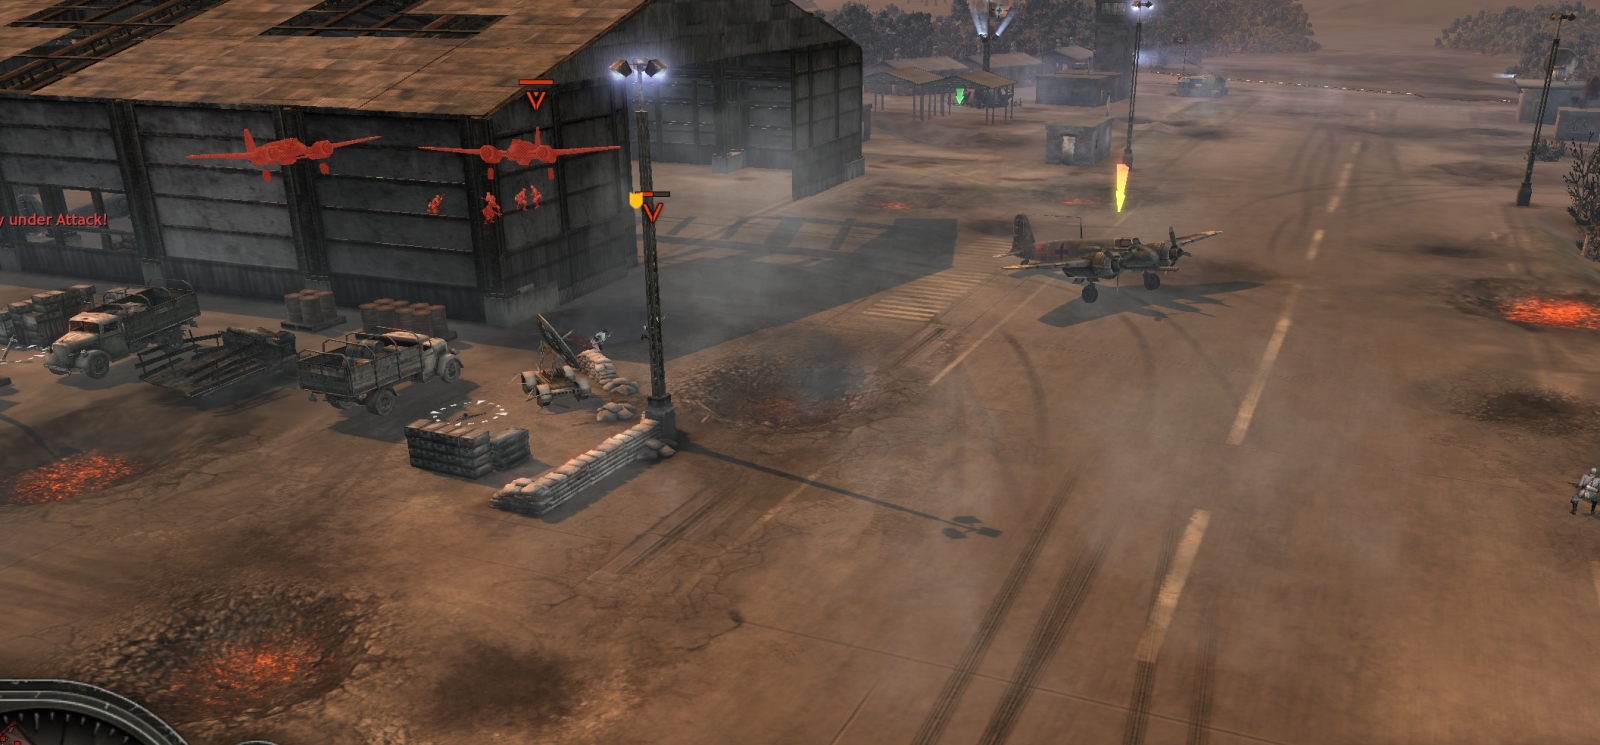
Led by your first two Cromwells, your force can go and cap the muni point in the center of the map near the fallschirmjaeger revetments (where you killed the Hummel SPG) and then position itself on the east side of the runway nearby. This should trigger an event in which three German planes in succession depart from a hangar at the north end of the airfield and try to take off to the south. Blast each one as it goes by—if you have to, put a Cromwell in front of it to block/smash it. (If those planes become airborne, they will constantly harass and damage your vehicles.)
When done with the three planes, send your (growing) force of Cromwells into the hangars that are circled on the UI, starting with the lowest one on the map. When your Cromwells have cleared the infantry guarding each hangar, the circle will disappear (indicating the hangar has been cleared) and the tanks can come back out to the runway and then go to the next hangar. The last stop is the control tower area at the north end. There is some fuel or explosive storage just to the south of the Panzer IV there, so hit that with a tank round and the Pz IV will be toast, and after half a minute more mopping up, the remaining German defenders should flee to end the mission—you won’t have to cap the point there.
To get the mission medal, (this is between the defensive and offensive phases of the mission) send part of your force to rescue some commandos in a building guarded by fallschirmjaegers and a Puma north of your point 1. Easy, though for some reason this side-mission was never triggered on some of my playthroughs.
***