A silly mission for the usual reasons, plus a new one: Despite this being a map on which indirect fire is key, you will have no SPGs and no artillery except for 25-pdr emplacements you build, which are impractical for multiple reasons (as noted in the guide to the previous mission). You won’t even have mortars other than German mortars you scrounge and re-crew. Meanwhile the Germans will have maybe a dozen mortar teams, two Hummel SPGs, and something like eight Walking Stukas. That’s in addition to all their Panthers and Panzer IVs. Moreover, German units on this map routinely become invisible even when they are on pavement in sunshine and within a meter or two of British units. The bottom line is the Germans have gigantic advantages and should win easily—but of course they lose, essentially because they are coded to do so.
This is the tactical map at the start. Although fog-of-war was turned off when I screen-shotted this, most of the German units that are actually present in gameplay remain concealed here. But at least it gives you an idea of Germany’s indirect fire capability in this mission.
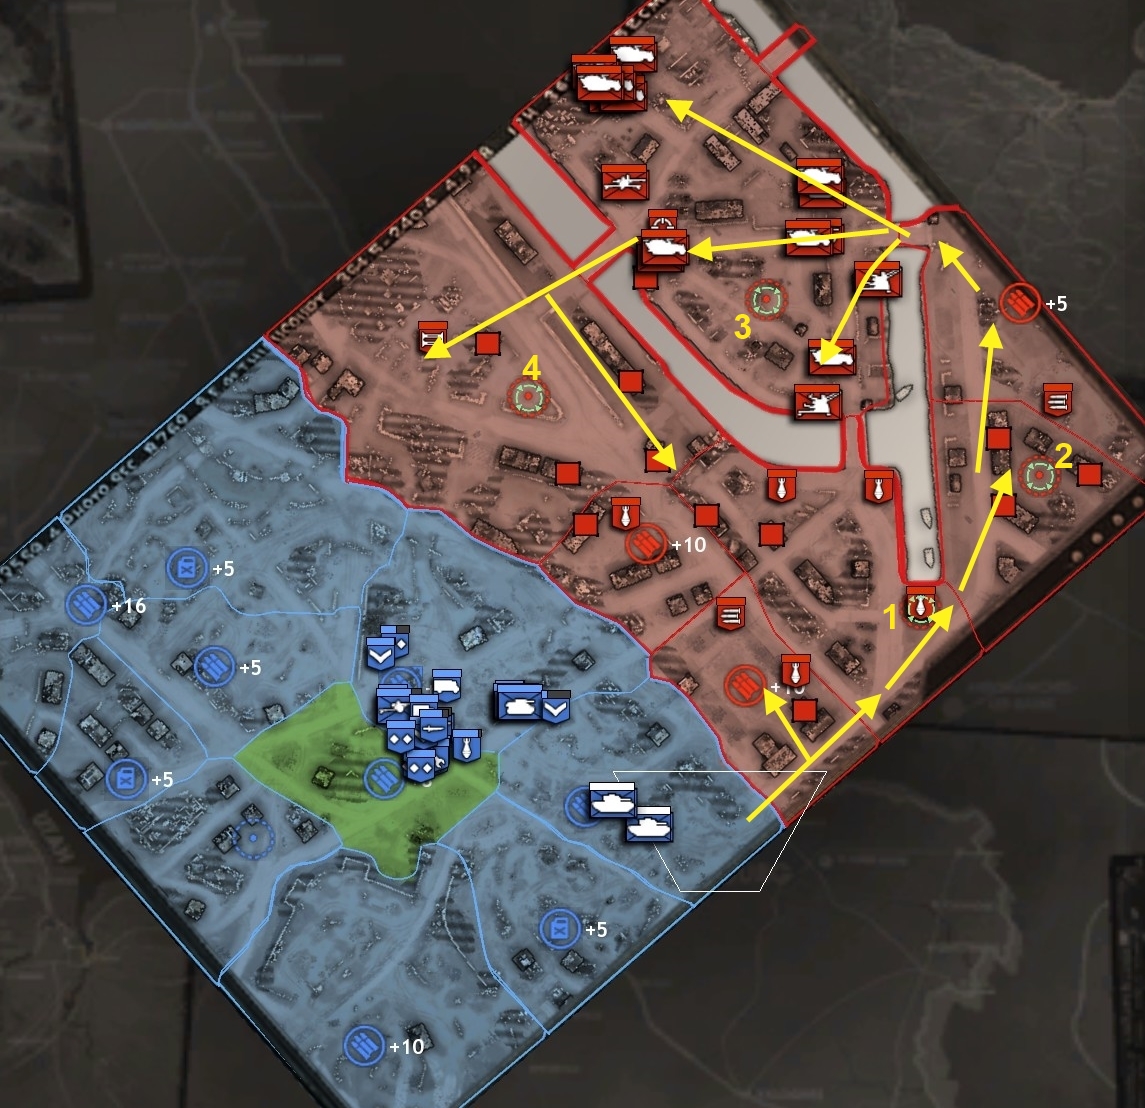
Your non-armored units have very low chances of survival in this mission, so use your reinforcement capacity to bring in heavier, armored units like Churchills.
Apart from that, there isn’t much to say in terms of strategy. You want to take your initial force, which should include Churchill tanks (regular, croc, AVRE) to the bottom right corner of the area you control, and move along the map-edge to outflank the Pak guarding the lowest muni point.
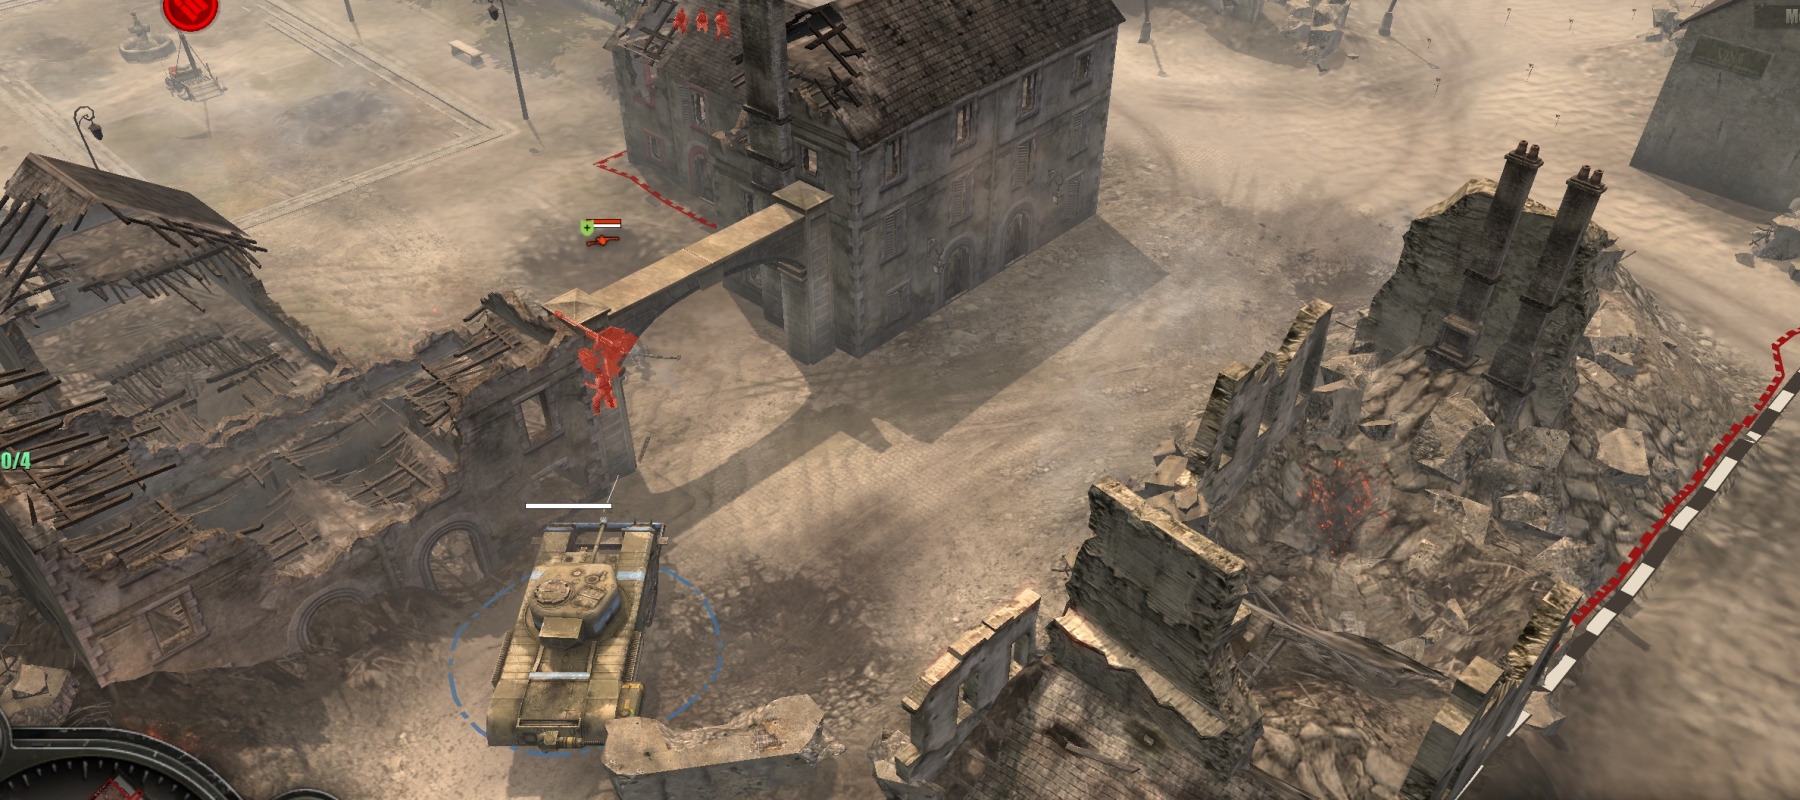
As you move into an area, keep your big tanks in the lead, and follow with small tanks, Bren-equipped infantry squads and PIAT-equipped sappers, crewed Paks and mortar teams. Try also to bring in a sapper team that can see and defuse mines, but if you don’t have the pop cap, just be quick to repair your large vehicles when they hit mines.
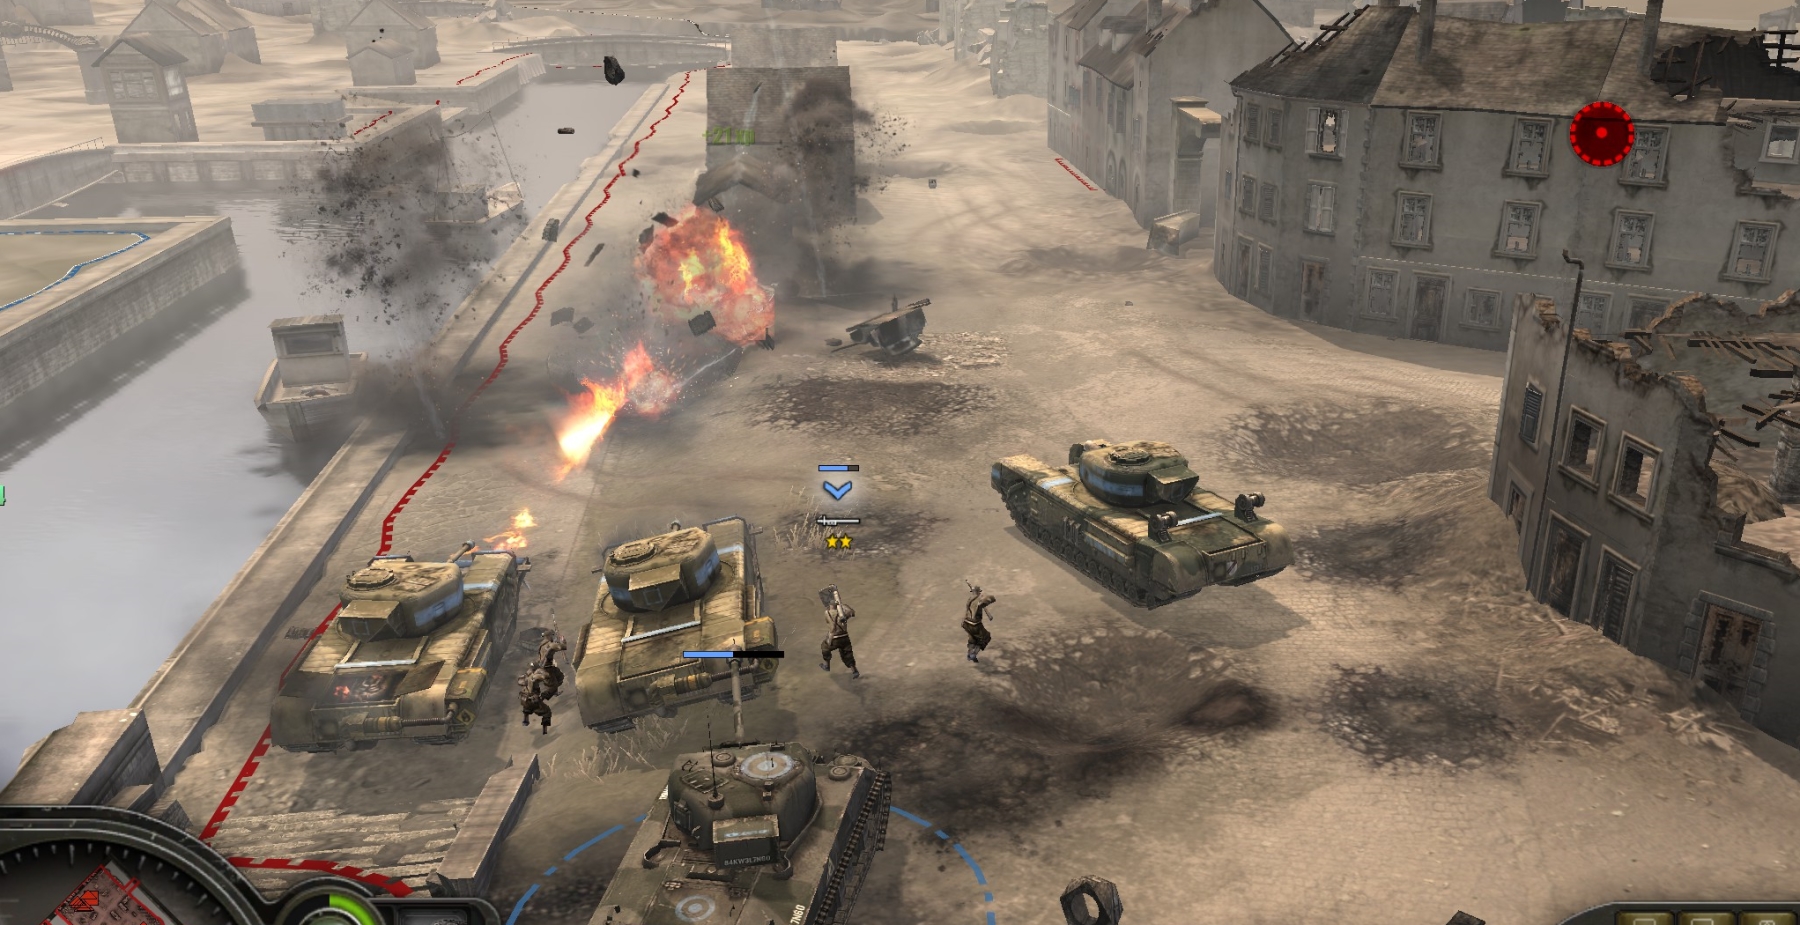
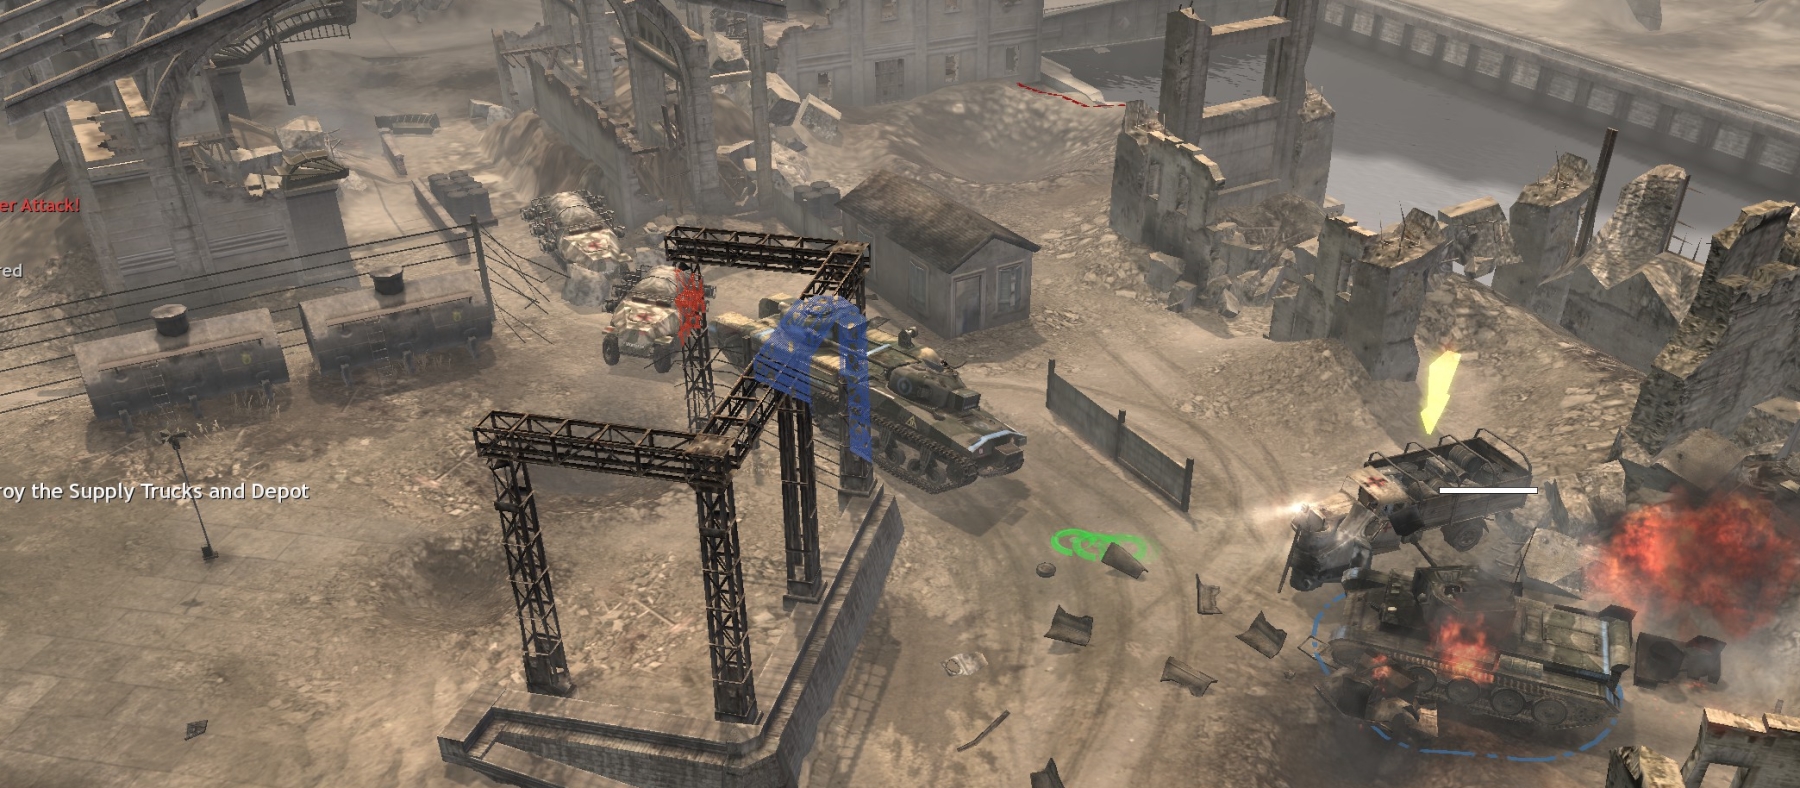
Your overall task in the mission is to cap four VPs and then defend one of them from a counterattack. At VP#1 (“crossroads”) you will be attacked by Panthers, Panzer IV infantry support tanks, and Hummels, but your Churchills, a Pak, an infantry squad with schreck, and some PIAT sappers are really all you need to handle this—plus you will get a Sherman Firefly from off-map
When you cap VP#1, mobilize your base trucks and relocate them there.
VP#2, just to the north, should be straightforward, and you want to send a tank quickly to the muni point north of that VP (take the longer route—the shorter one is mined), because that’s where the Hummels are.
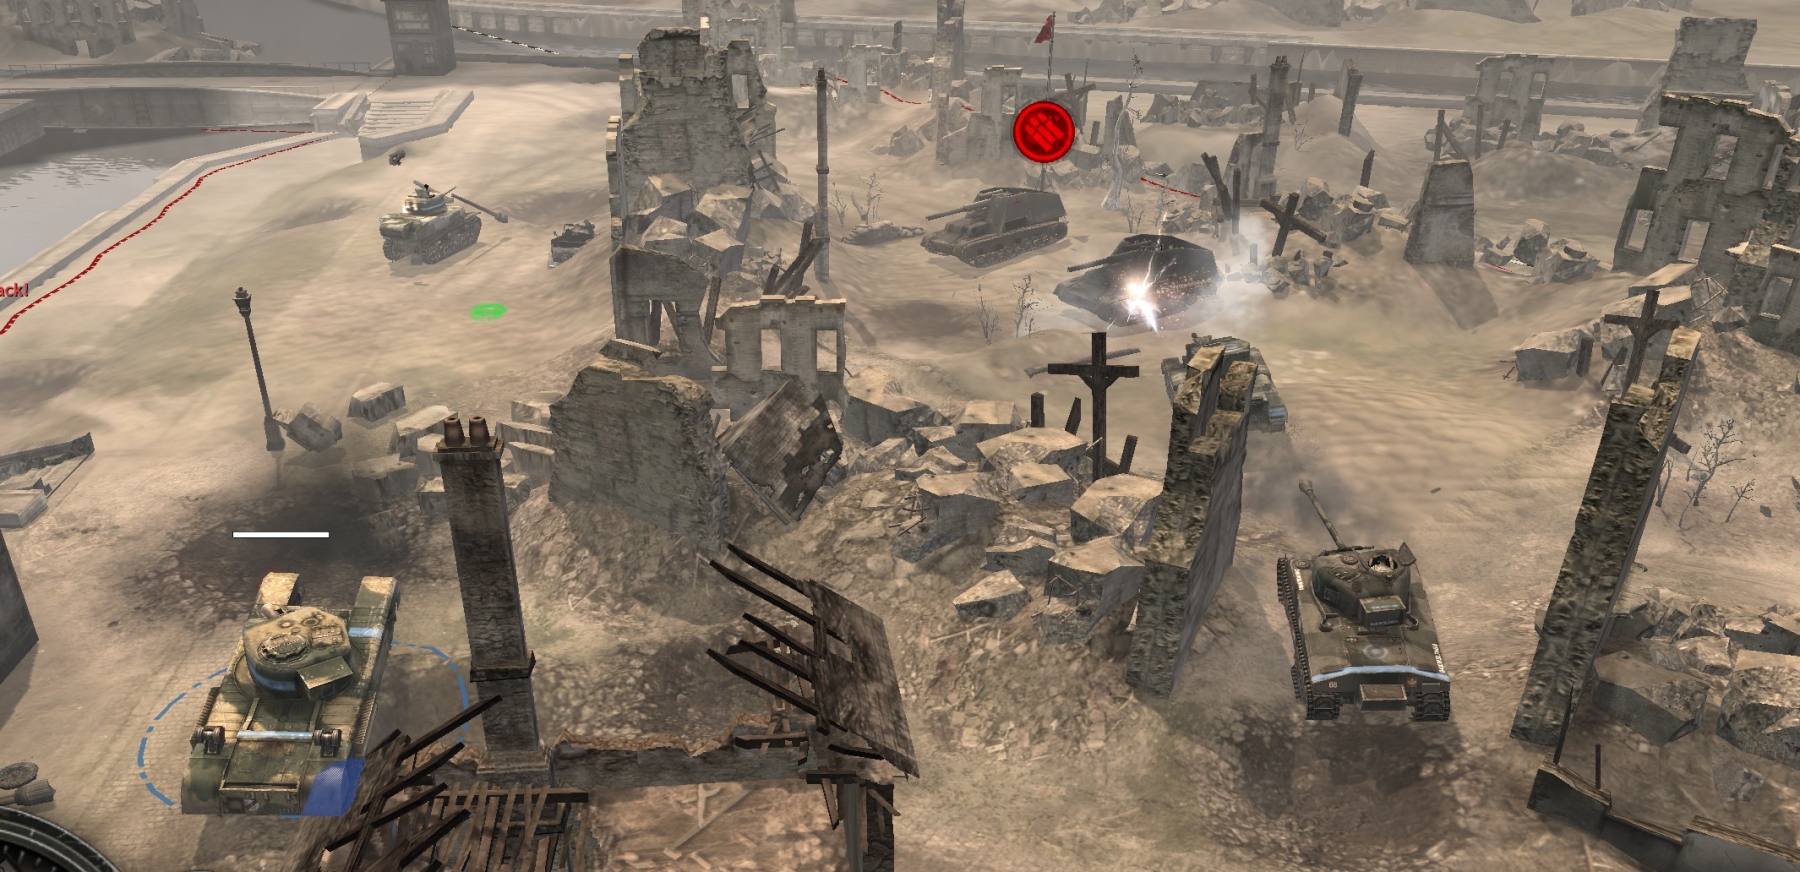
When you’ve cleared the right corner of the map, gather your force to the east of the upper bridge and heal up. Then charge across, cap VP #3, block the NE exit for German trucks, kill every Walking Stuka in sight, and rush the 88 (and its Ostwind guard) beside the west bridge.
Heal up, mobilize your base trucks again, and bring them to the VP#3 area.
Now move across the west bridge to the cathedral area, where your AVREs and crocs will render the ruined interior of the church (Saint-Sauveur Church IRL?) even more ruined as they kill ridiculously overpowered, schreck- and LMG-equipped German infantry.
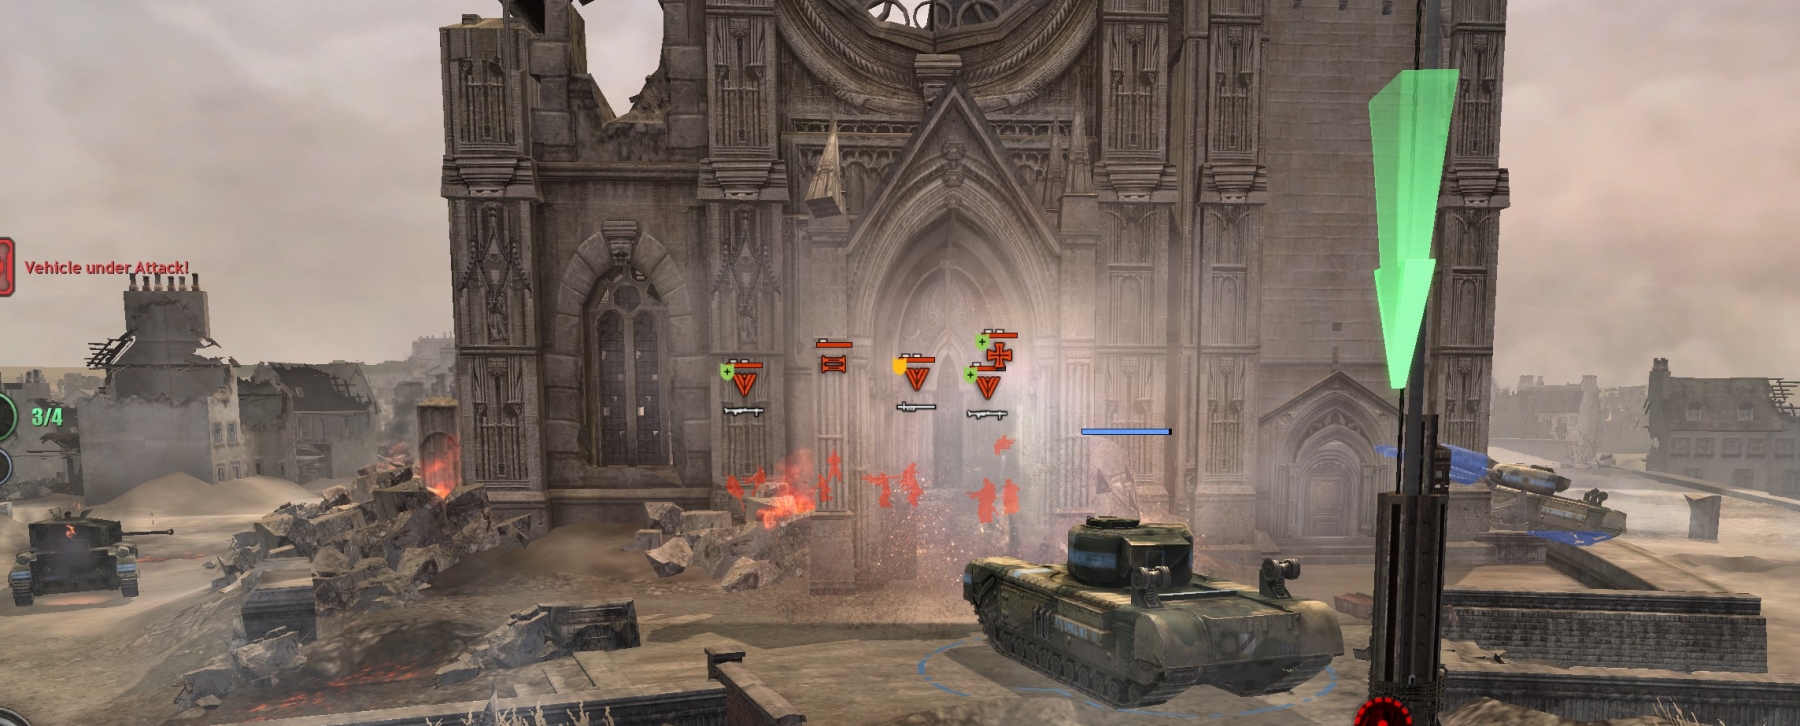
Note that several units within the cathedral, including schreck infantry, will shift in and out of invisibility. There is also a sniper who will be mostly invisible on the cathedral’s flat masonry forecourt, becoming visible only when he snipes someone—a miracle worthy of such a holy place! Fortunately, AVRE petards make no distinction between ordinary and miraculous targets.
The mission medal is awarded for killing a German “propaganda” officer who is loudly shouting slogans from within the cathedral (a subtle anticlerical theme from the devs?).
When taking the VP#4 area, don’t venture down the road to the SE of the cathedral, where there are mines and more German units—hard ones to kill. Also beware of vicious mines all around the SW side of the cathedral ruins.
Cap the point (VP#4) in front of the cathedral, making sure you bring your entire force—and base trucks—to the cathedral before you finish capping.
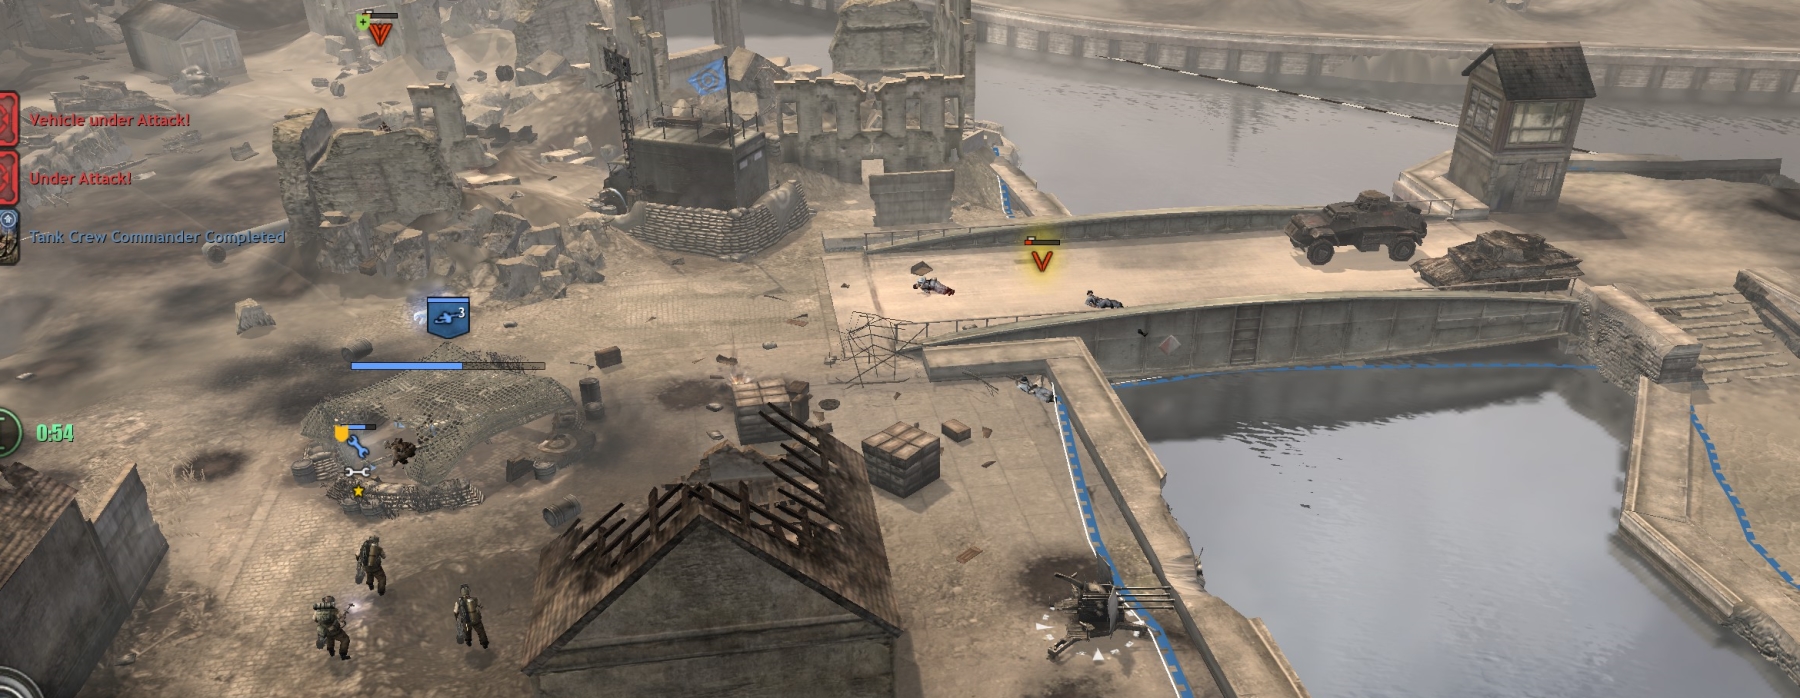
As soon as you cap VP#4, a German counterattack will begin on the “island” section of the city where VP#3 is. The first counterattack wave, including a few stormtrooper squads and snipers, and two Panzer IVs, will come in via the north bridge on the island. If you are not present on the island, and just sit near VP#4, healing up your tanks, etc., the German counterattack force will go in and cap VP#3, and then your task will be to recap VP#3. There will be no time limit, and you will face only that small initial German force—easy to destroy, and easier still if you pre-weakened them by placing a few mines near their map-entry point.
Alternatively, if you want to defend VP#3 from the counterattack, prepare those defenses before capping VP#4 (and plant your base trucks south of VP#3, out of the way of the attack). Mines on all three approach directions (N, E, W), 17-pdr AT and HMG emplacements covering the VP, maybe a mortar emplacement or mortar teams in cover, crewing the AA gun by the east bridge, crewing the 88 by the west bridge—all can help. The Germans in this case will counterattack in three or four waves including Panzer IVs, a StuG-IV, and a Tiger, but you should have plenty of resources with which to meet them.
As an alternative strategy, you can try to move around the map in the opposite direction, VP#4 to VP#1, but the mines to the SW of the cathedral, and the fact that that whole area is in range of a lot of Walking Stukas, makes that strategy significantly more difficult.
***