The setup here should be familiar: overwhelming German advantages in quantity and quality of fighting forces, but you can win anyway with your ridiculously inferior units because the AI sucks and the German units are largely immobile in defensive positions, i.e., you can defeat them in detail.
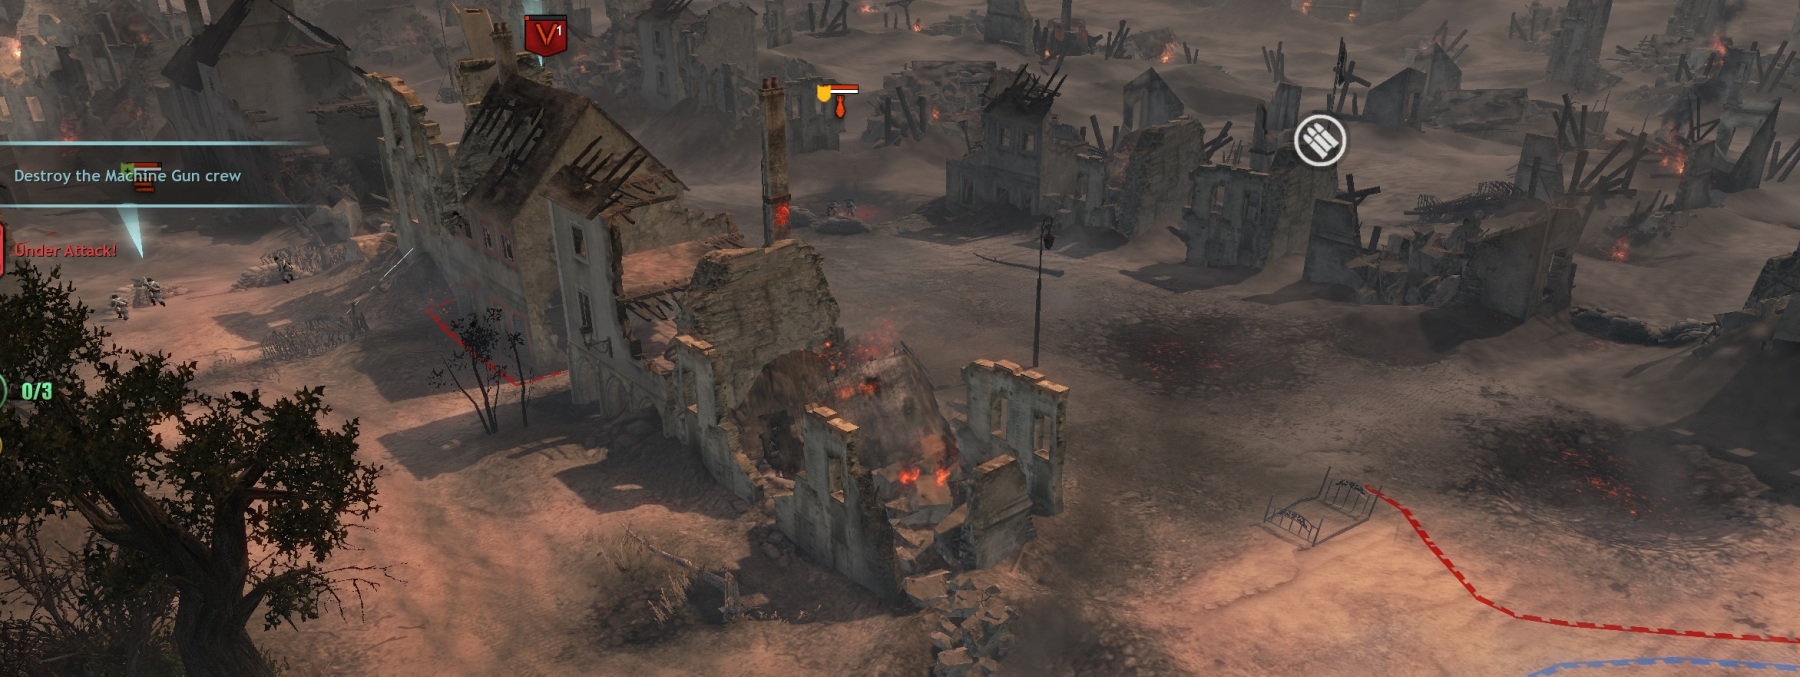
At the start, you have a tiny group of units including a Stuart, and you face several German infantry squads at close range, with two mortar teams just out of sight roughly 50 m to the NE and NW. Send one of your regular infantry units (the one with rifle-grenade upgrade) to de-crew the mortar to the NW while the Stuart gets the NE one and your remaining infantry (including Bren-equipped regular infantry and an SMG-equipped commando squad) delete the German grenadiers in front of them.
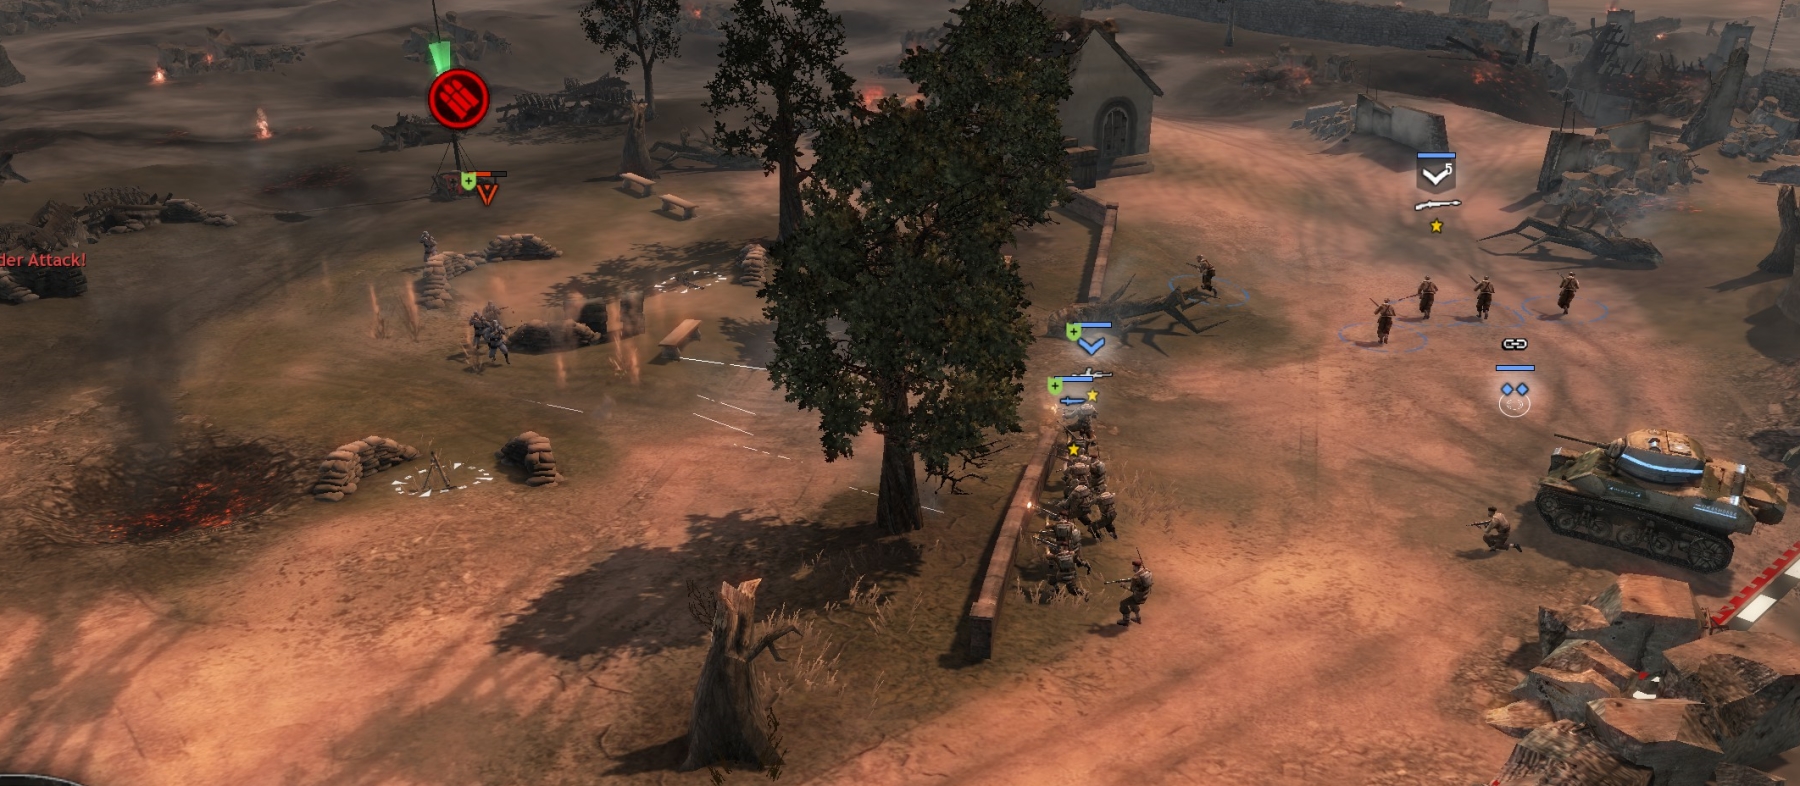
When you have cleared all enemy units from this small flat hilltop area (grounds of a ruined chateau), a command truck will trundle in, and you can use that to call in a support truck. You’ll also get a sapper team upgraded with a PIAT antitank weapon. Crew the two German mortars as well as the third uncrewed mortar lying near your entry point.
You should not bring in an armor command truck. You will get one for free in a few minutes, along with two Churchill Crocodiles, and anyway you won’t need one in this short mission. Also do not build a 25-pdr artillery emplacement. Its low accuracy, long-cool-down period, absurdly short range, and vulnerability to (and triggering of) nebelwerfer fire greatly limit its value (a classic example of how the Relic devs provide players with seemingly cool WW2 weapons but then render them virtually useless in their hamfisted efforts to achieve balance).
Bring in another two regular infantry squads (upgrade with Bren), another lieutenant, and another sapper (PIAT).
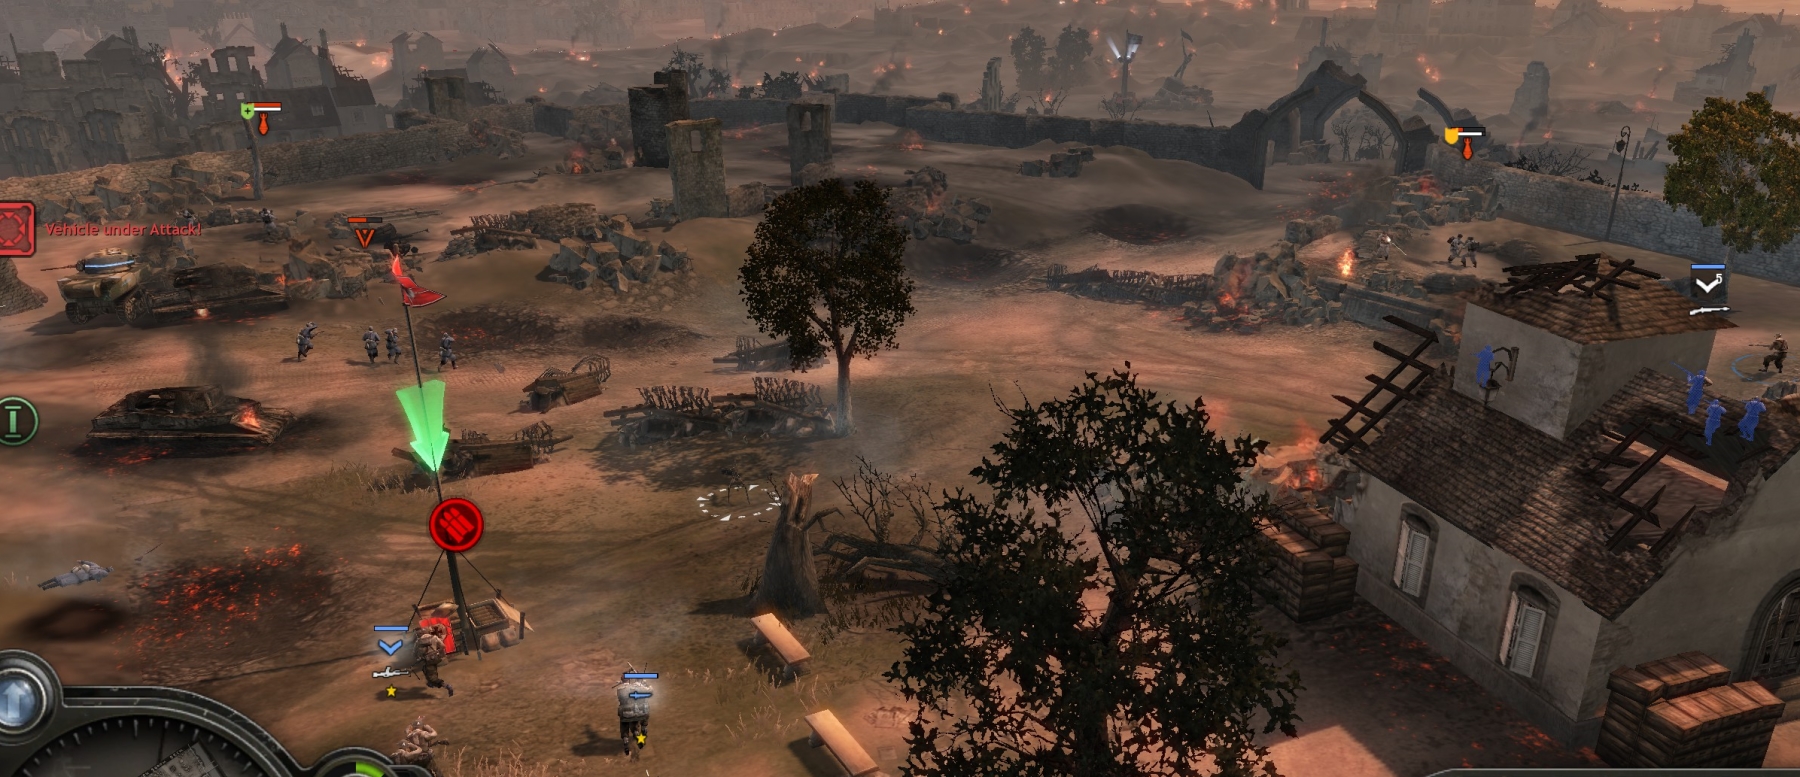
In the first part of the mission, your objective is to clear the area along the SW edge of the map until you link up with your “B-company” ally. To achieve this, move your force to the bottom of the ramp on the left of your base area. Note the MG42 to the north in front of a building and the Pak in the middle of the road just beyond it. Your mortars, placed near the bottom of the ramp or on the chateau ramparts (not too close to the MG42—the game engine will treat you as if you are at the same elevation) can wipe the MG42, then the Pak.
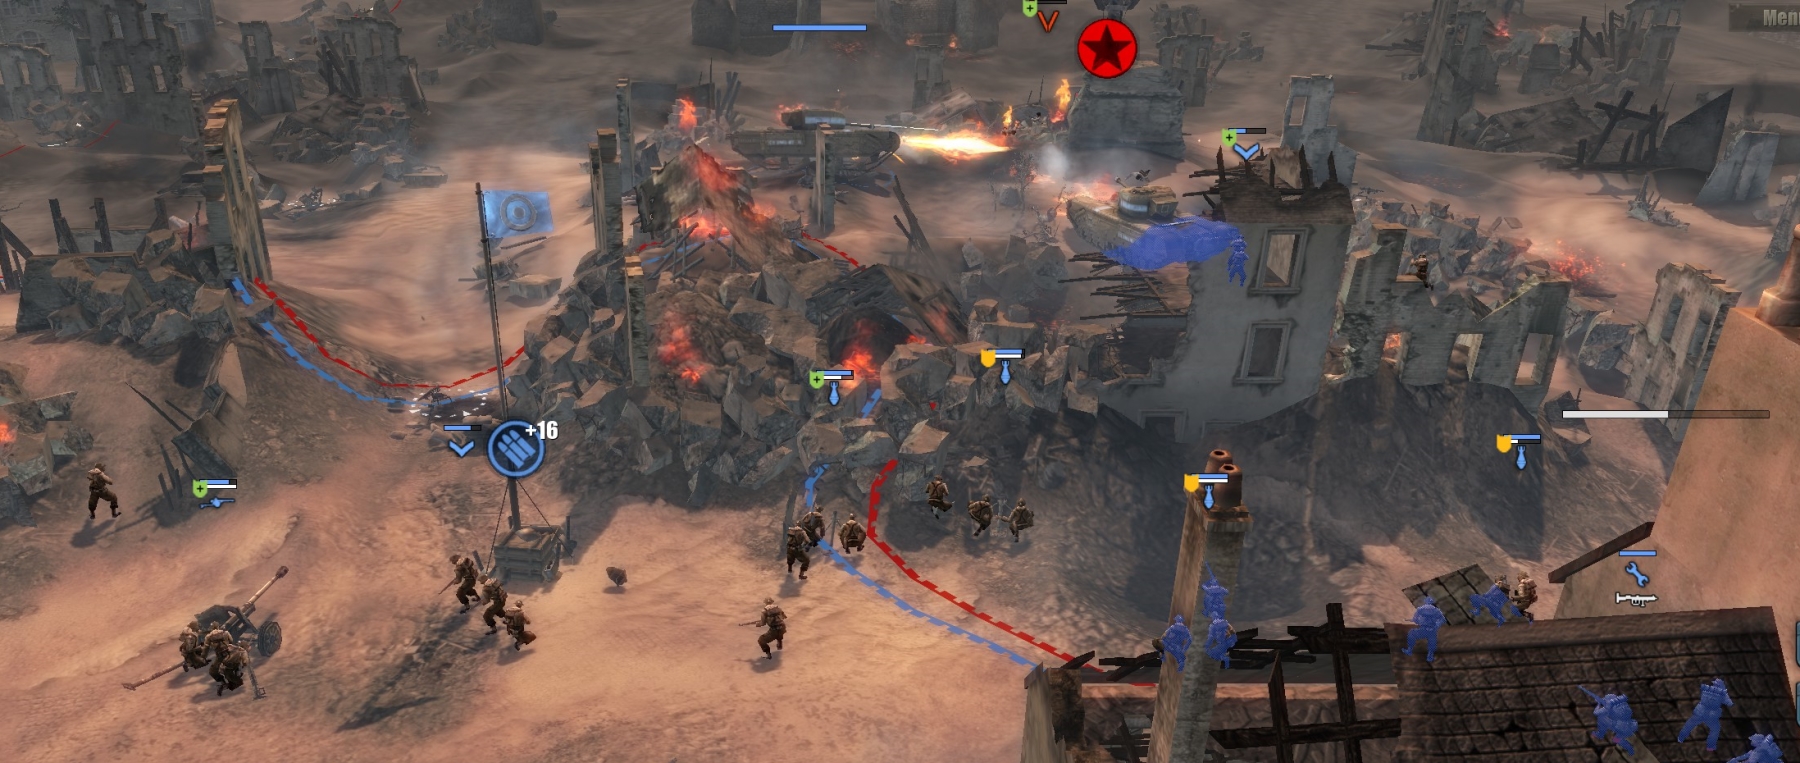
Now, moving forward with your mortars and infantry and Stuart, work your way along the map-edge towards “B-coy.” You will soon encounter a Puma, which you can kill with your Stuart and/or mortar fire and/or PIATs. You will also encounter fire from German mortars—they are your #1 target priority always, and whenever you can do so without coming under fire, re-crew those mortars and add them to your force. It’s slow going but the UI will show where the German targets are in the space you have to clear.
One side note about the UI in this mission: there is a lot of hectoring to do this or that. It’s all designed to create a sense of excitement and drama, but in terms of accomplishing the mission goals, it’s not really helpful, especially if you follow my tactical suggestions here.

When you have linked up with “B-coy” and eliminated all German units between your base and them, the first phase of the mission is complete, and you will now get, from the B-coy corner of the map, two Churchill Crocodile tanks, the armor command truck, and some additional regular infantry squads.
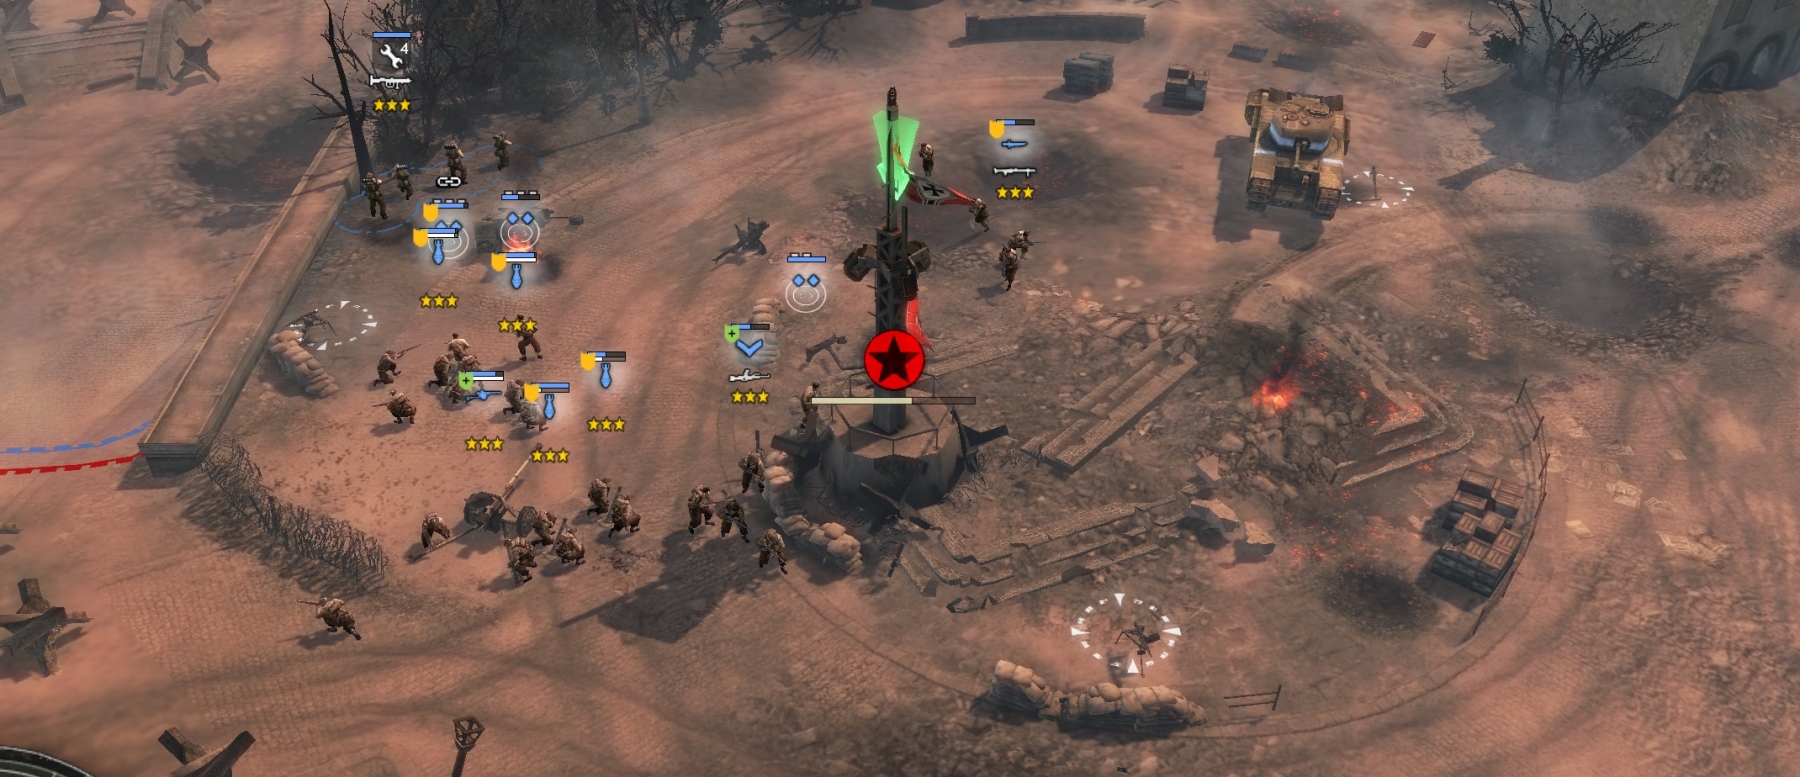
Your goal in the last part of this short mission is to cap the three VPs across the map. For this, use the same basic approach emphasizing indirect fire, with the Churchills as your sturdy scouts. You can also crew at least one abandoned/de-crewed Pak-38 (there is an undamaged one in your base area), to help you handle German Panzer IVs. Bear in mind that the crocs have 75mm guns in addition to their flamethrowers.
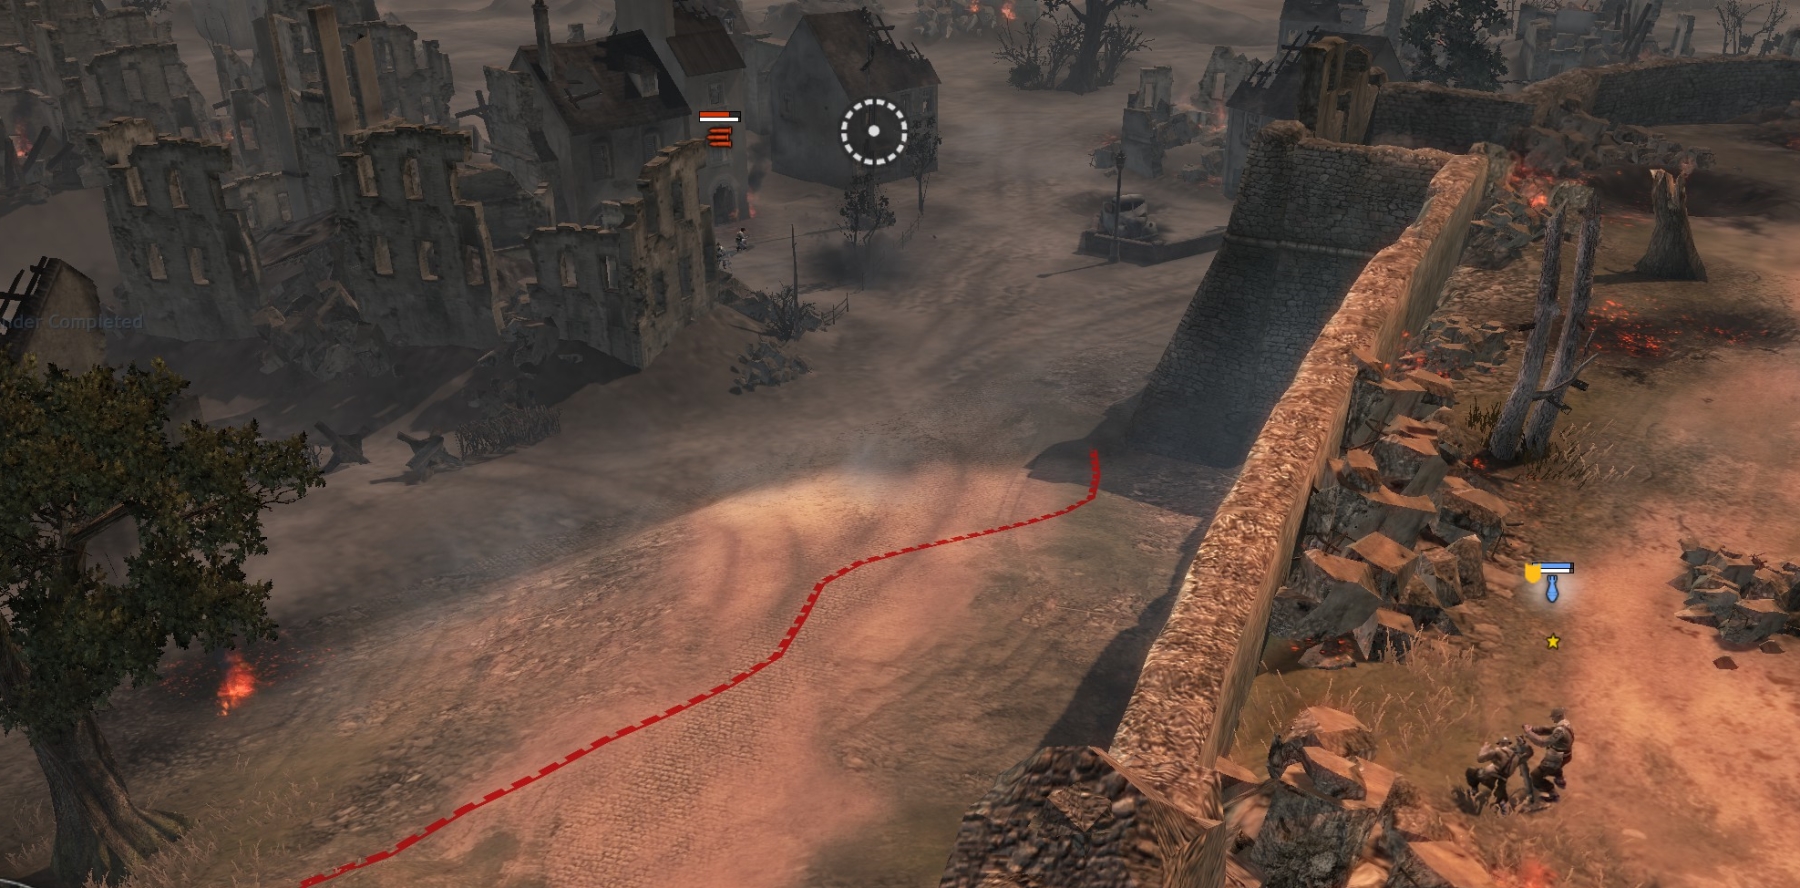
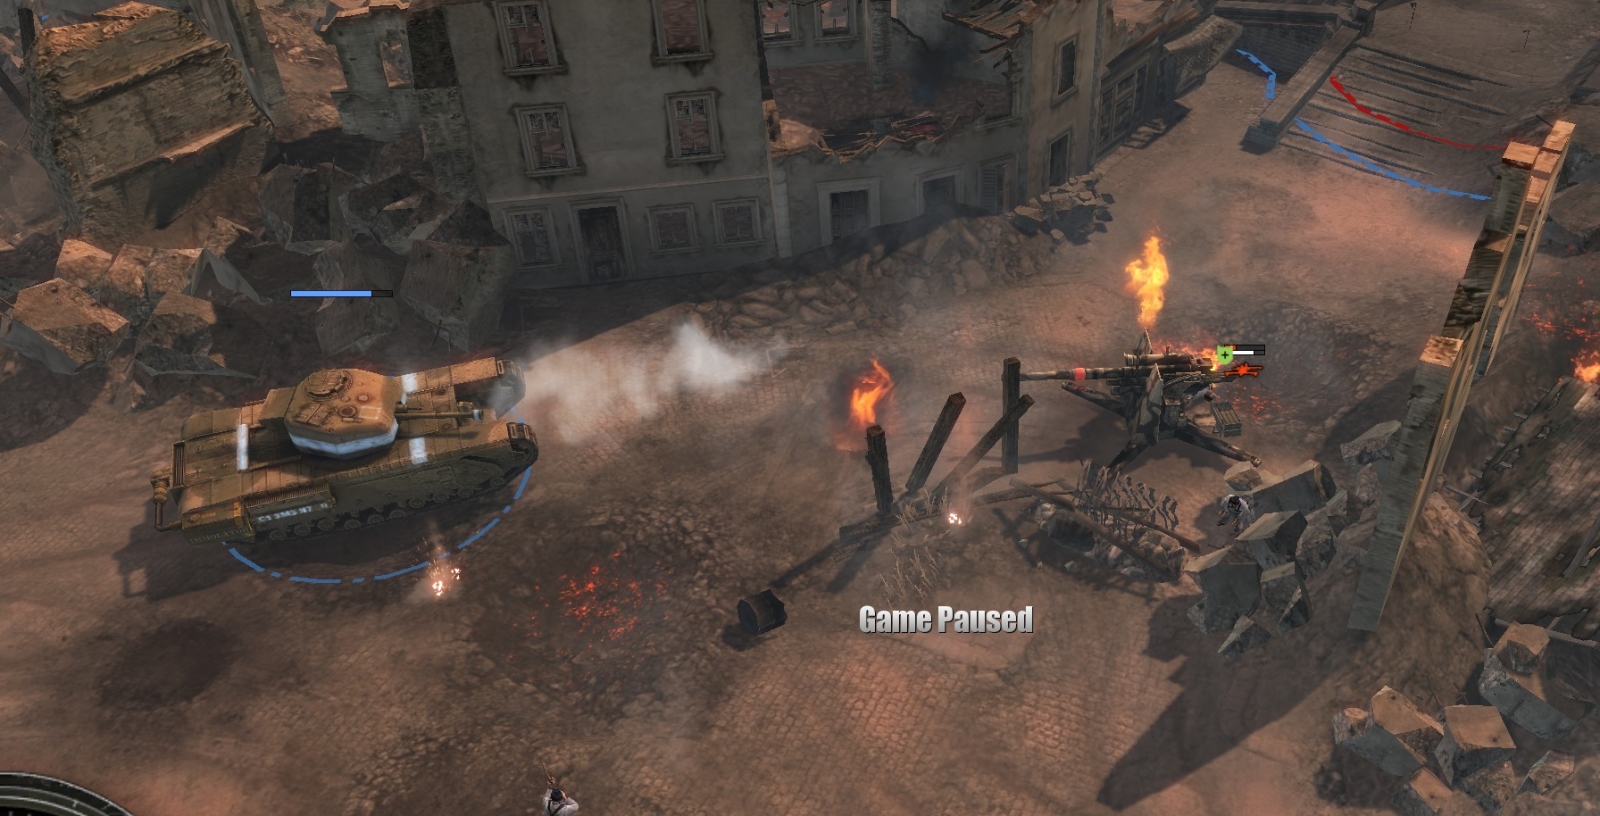
After you cap the left VP, you can push further into Caen at that point, take out the German reinforced-concrete bunkers (using Churchills and mortars mainly) and then move slowly right (ESE), supported by mortars, a sapper-PIAT team, and Bren-equipped infantry squads, all the way along that road, until you have flanked not only the middle-VP defenders but also the defenders at the right VP. Along the way you will destroy three nebelwerfers (achieving the mission medal), de-crew three 88s and kill dozens of German infantry. (Try to de-crew but not destroy the 88s—they can be useful to you in the next two missions.) Your troops should vet up nicely.
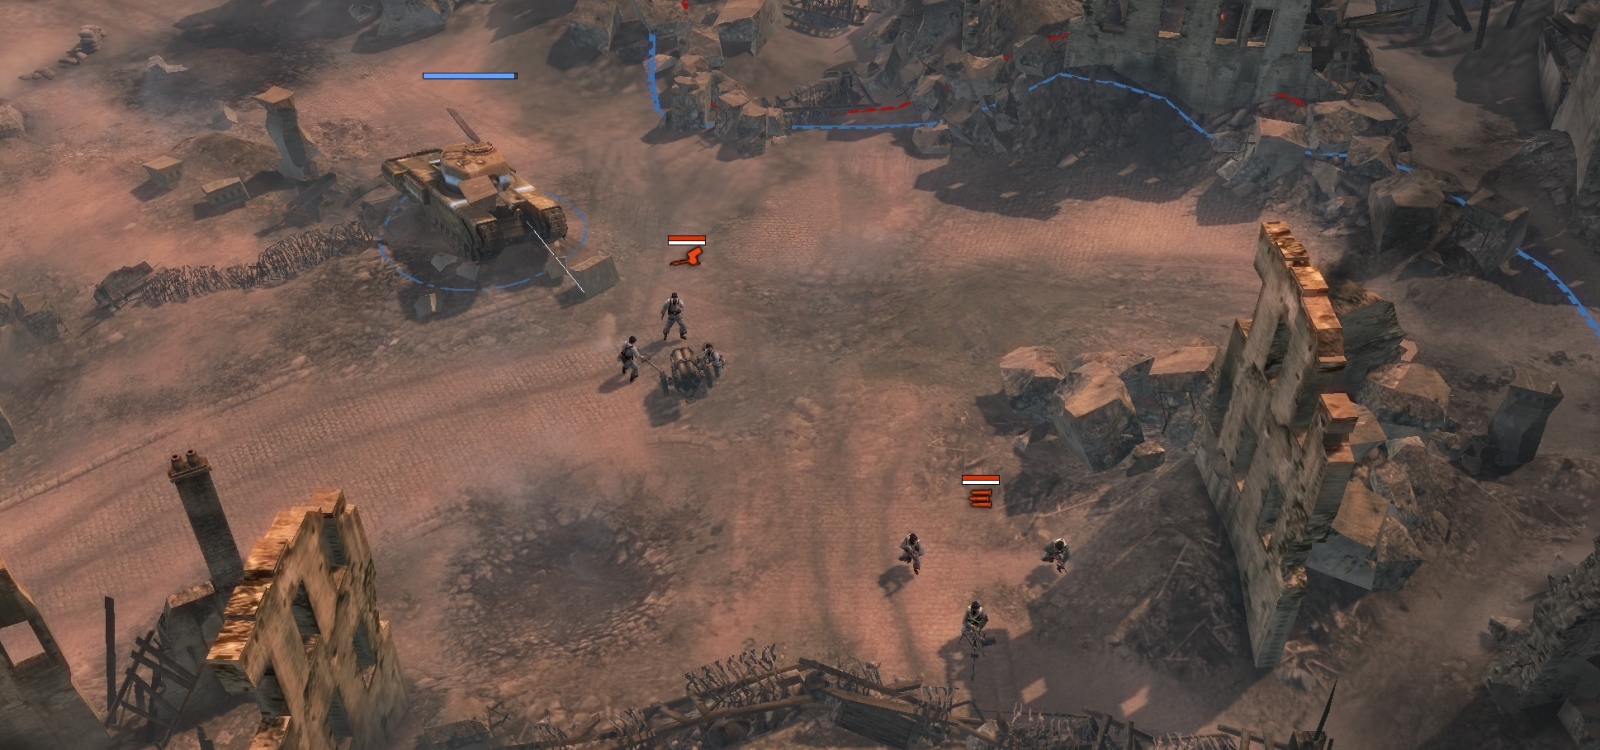
As you proceed along that back road, most of the rest of your force, including your Pak, can move in the same direction but more directly against the middle-VP then right-VP defenders (MG42s, grenadiers, Paks, mortars, one or two Panzer IVs). Your mortars should be close enough to provide some support to this point-capping force.
The Germans will recap the VPs if you don’t guard them, so at least have some Bren-equipped infantry or a crewed MG42 in cover by each point after capping. You also can try to trap or mine German units as they come in from off-map (to recap the left-VP) at the left end of that back road.
Once all three VPs are in your possession, you get the option to activate a bombing run. Weirdly, the bombing run does little damage, German infantry will suddenly appear in large swarms across the map and start recapping VPs, and a Panzer IV will even invade your base. But somehow the mission will end with your victory.
***