This mission in the sunny countryside is a pleasant departure from the rain, dark and rubble of the preceding Caen missions, and it’s not particularly difficult to win with the mission medal (losing fewer than 15 tanks) if you know what to do. But if you don’t know what to do, you’re going to see your units slaughtered.
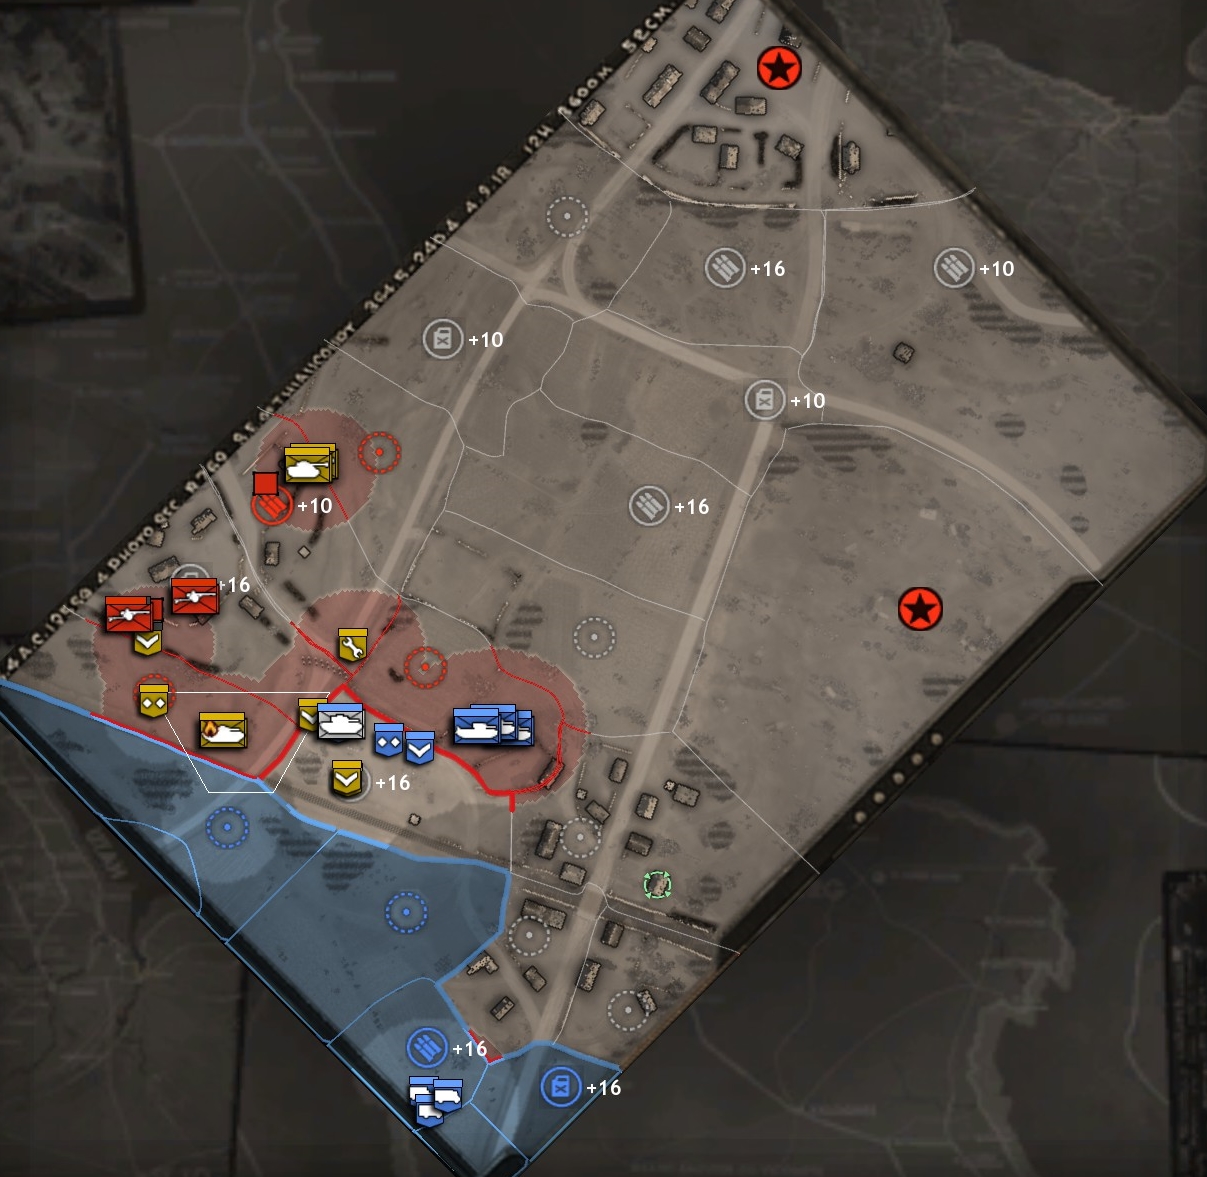
Your force starts in the bottom corner of the map, and a small, AI-controlled allied force starts near the lower left corner. Each of you is on a road that goes up to the top of the map. Your ally has air recon—which occasionally gives you a picture of enemy dispositions, though the flights are mostly on the left side of the map. Between the two up-down roads is flat, open ground. To the right of your road, starting nearly half of the way up the map, is a hill—covered with six 88s, though at the start you’re still far from being in their range. Between your starting point and the hill lies a small village bisected by a sunken railway line. This village is a German strongpoint, filled with Pak-38s and MG42s, though fortunately no armor.
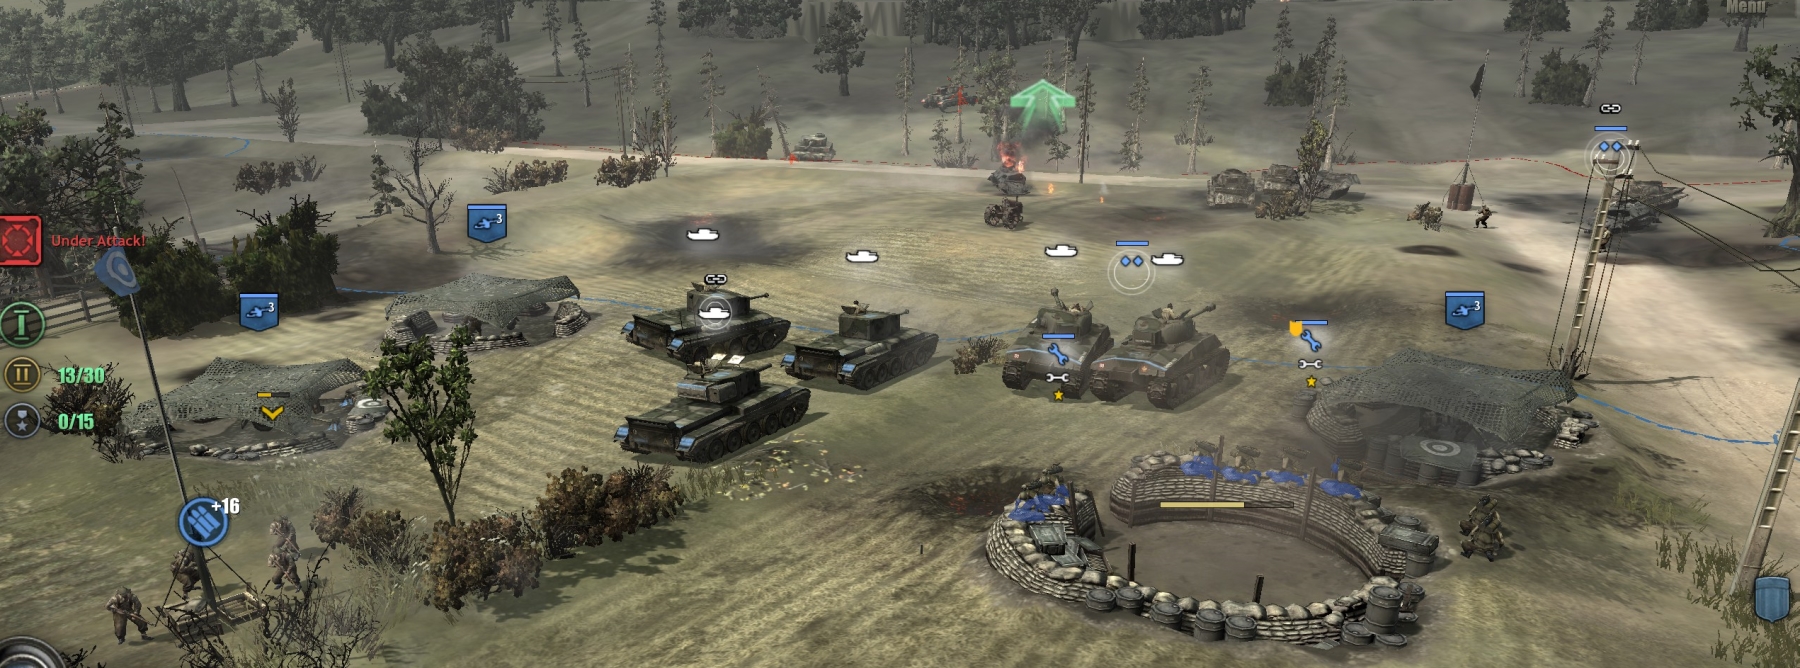
You start with a sapper team, an infantry squad, an officer, and three Cromwells. Your base buildings are with your other units, in mobile mode waiting for setup. You have a call-in capability for Churchill heavy tanks, though for the strategy offered here you don’t really need one.
In the first mission phase, you have to clear the village strongpoint in front of you, and set up your command trucks.
There are at least several ways to do this. One, obviously, is to mount a frontal assault (across a bridge over the sunken railway) into a blizzard of Pak fire. Another is to flank the village closely around the left, though that path is filled with mines and is still exposed to Pak fire. Probably the most sensible and IRL-like solution is to use your Cromwells to flank widely via the road that runs up the left side of the map, coming back across to the right side and then down from above the strongpoint village (don’t get too close to the hill and its 88s).
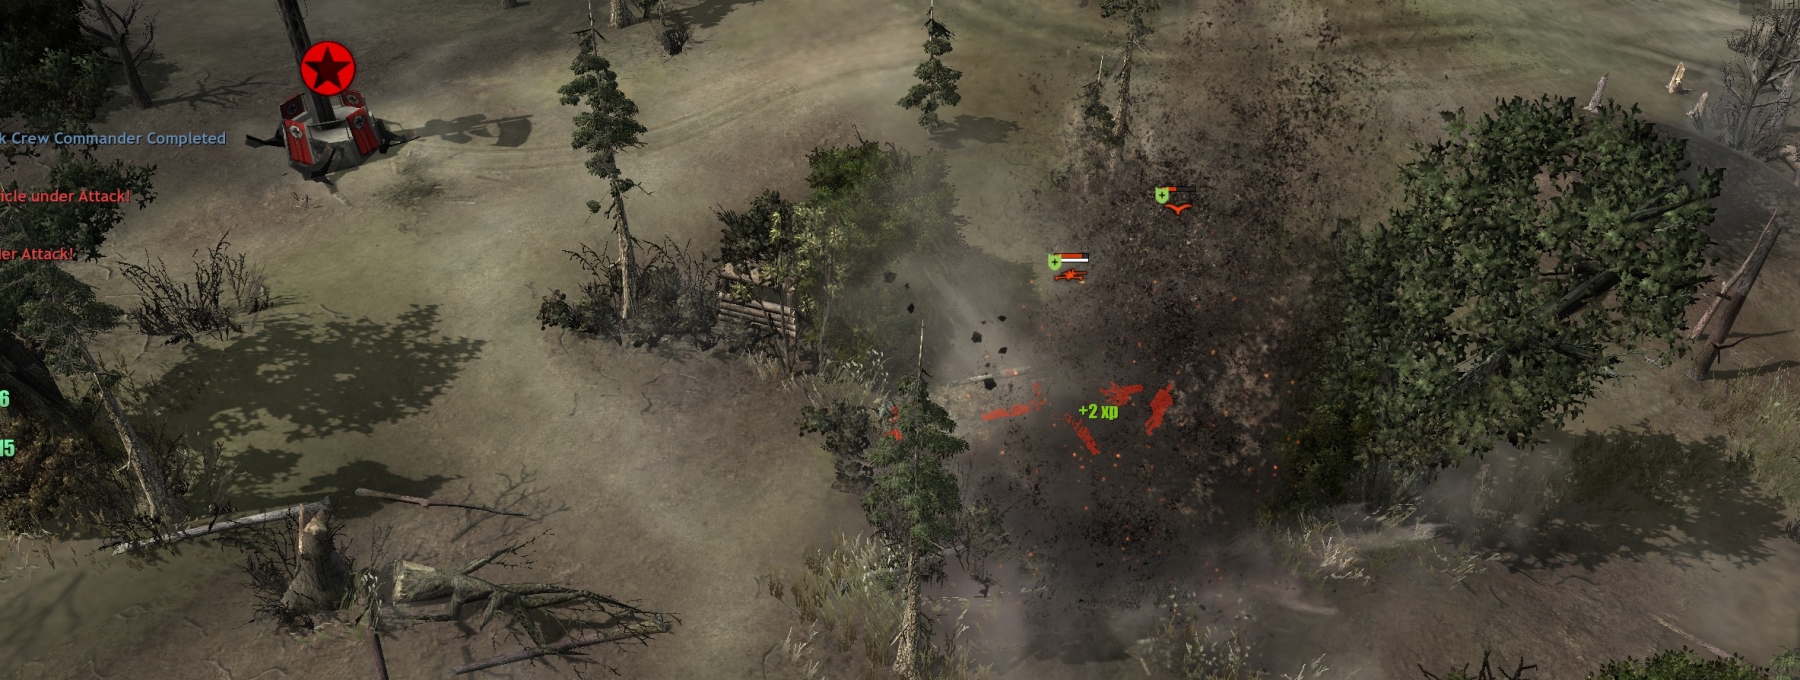
Concentrate your tank fire on one Pak crew after another (Cromwells are so nerfed that they should take on Paks only when grouped), then wipe the German infantry in buildings.
![]()
When the village has been totally cleared, your infantry can come up from the bottom of the map and cap the four village points, and your base trucks should set up near the top of the village. Bring in another sapper team (upgrade both your sapper teams with the repair specialty).
For commander abilities, choose Royal Artillery Support, to get officer call-in artillery, Priest SPGs etc.
Bring your tanks a little north of the village, more or less in the middle of the map, and have your infantry cap the non-muni/non-fuel point. Just below and to the right of the point, next to the road—again, keeping clear of 88 fire—build a 17-pdr emplacement.
Use your tanks to fend off any (weak) attacks from German armor (Panzer IV, Hetzer, Puma) from the left side of the map.
Just behind the 17-pdr, build a 25-pdr emplacement. When the 88s are visible due to air recon, shell them with the 25-pdr, starting with the nearest one.
It will take a while to kill all six. If you’re impatient, you can build another 25-pdr emplacement. You also can rush the 88s with your tanks and infantry—but most likely you’ll face the total destruction of your tank force followed by a heavy armor attack on your base from the German base at the top of the map.
When you have destroyed or de-crewed all the 88s and have capped the hillside VP, re-crew the 88 that is alongside the road if it’s still intact. It is expensive in pop points but effective against even the heaviest German armor, and is at a good position for your final defense line. You get an extra 10 pop cap when you take that hill VP.
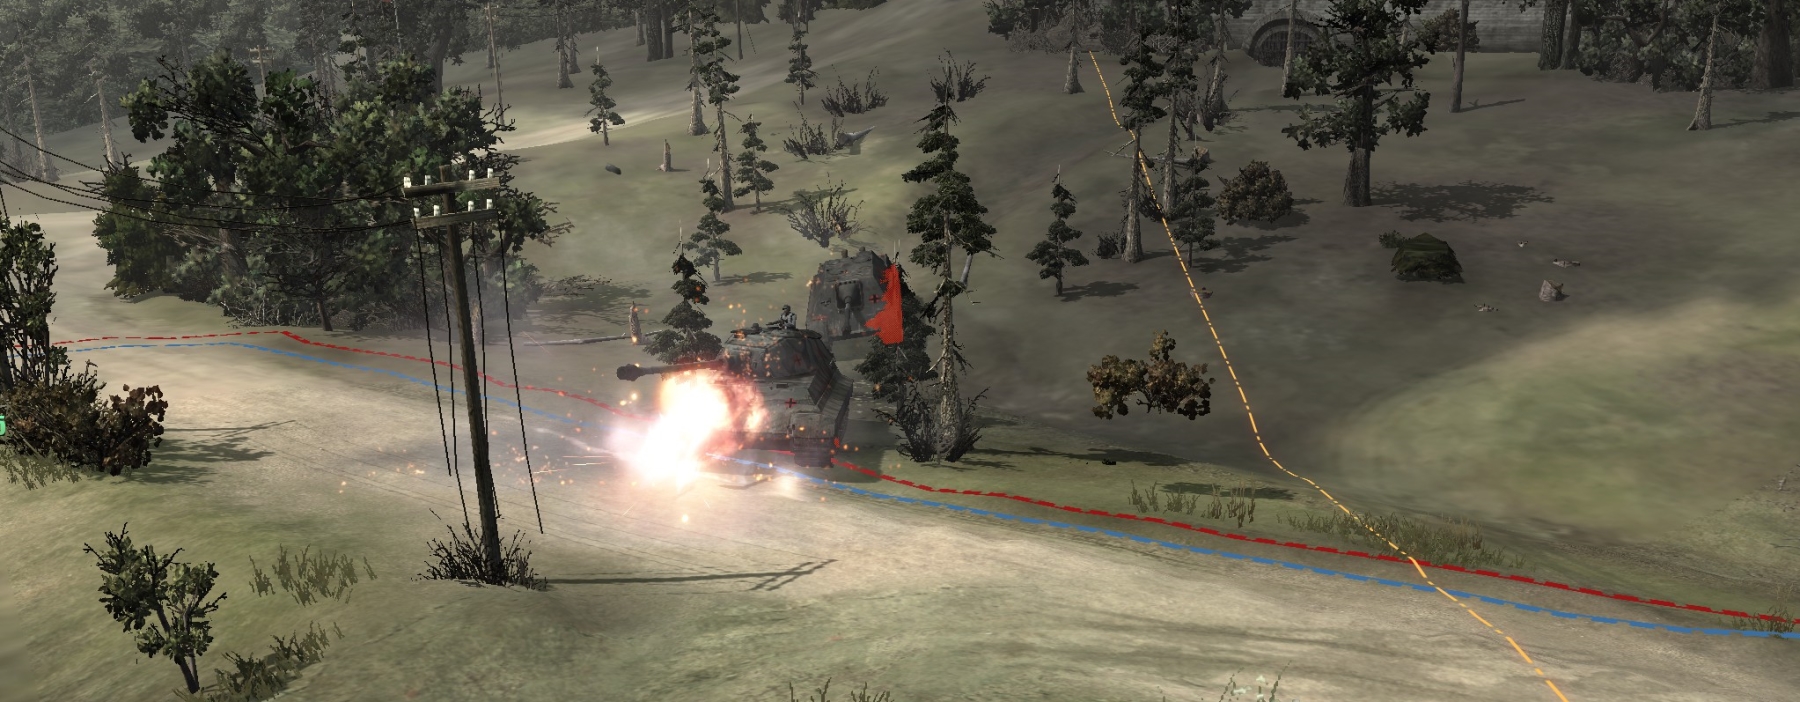
German armor (Panzer IV, Tiger, Hetzer, Panther, armored car) now will come out of the village at the top of the map, heading down to attack you. If you have crewed that roadside 88, they will likely try to avoid it and flank you a bit on your left.
With your tanks, 17-pdr, and 25-pdr, you should easily wipe out this first major German attack force.
When that has been done, use one of your tanks (attack-ground command) to destroy your existing 17-pdr emplacement and 25-pdr emplacement, freeing up pop cap.
Now move up the map and take the muni point just above the center of the map. Set your new defense line at the top of this territory, more or less across the right side of the open ground area.
Build two or three 17-pdrs and at least one 25-pdr. Your tanks should be able to handle any German infantry or light vehicles, but if you are low on tanks you can build HMG and Bofors emplacements for that role. Always replace lost tanks with 17-pdrs, which are much more cost-effective. (Firefly Shermans IRL mounted the 17-pdr gun, but their performance in COH1 seems much worse.)
The Germans will keep attacking your line with the same basic mix of armor units until you have destroyed ~30 of their vehicles.
In the final phase of the mission, the four monster tanks in the German base area, two King Tigers and two Jagdpanthers, will come down in a last-ditch effort to destroy your force. Usually they will make two attacks, each of which pairs a King Tiger with a Jagdpanther. These beasts can one-shot or two-shot your tanks and emplacements, so be prepared for losses.
Sometimes you can shell the King Tiger or Jagdpanther in its base to goad it into attacking sooner, but normally it takes a while for these last attacks to develop. You can make use of the time by destroying, with your 25-pdr, all infantry-containing buildings and marked base buildings in the German-controlled village at the top of the map. But do not attempt a frontal assault on the German base when any of the King Tigers and/or Jagdpanthers are there.
The precise victory conditions have never been clear to me, but it seems that when you have destroyed all or most of the infantry and marked base buildings in the German base, and have killed at least three of the four monster tanks, the remaining tank (if any survives) will trundle sadly off the map, leaving you with a victory that the UI then announces, concluding the mission and the Liberation of Caen campaign.
***