The St. Fromond mission is similar to all the prior ones in this campaign in the sense that it requires the player to defeat a hyperpowered enemy with an absurdly weak American force. It is different in the sense that it is easy to get wrong and can be a beast when you do get it wrong.
But there is one basic way to play it successfully—and I think only that one way, short of console-command cheating.
The mission can be divided into four phases or stages: 1) Soften up the area across the river while building your force; 2) clear the town square and set up strong defenses; 3) defend the square and destroy the German rocket batteries; 4) destroy the German base while continuing to defend the square.
SOFTEN UP THE AREA ACROSS THE RIVER
This phase will be a bit boring, but it is pretty important to be patient and get it right.
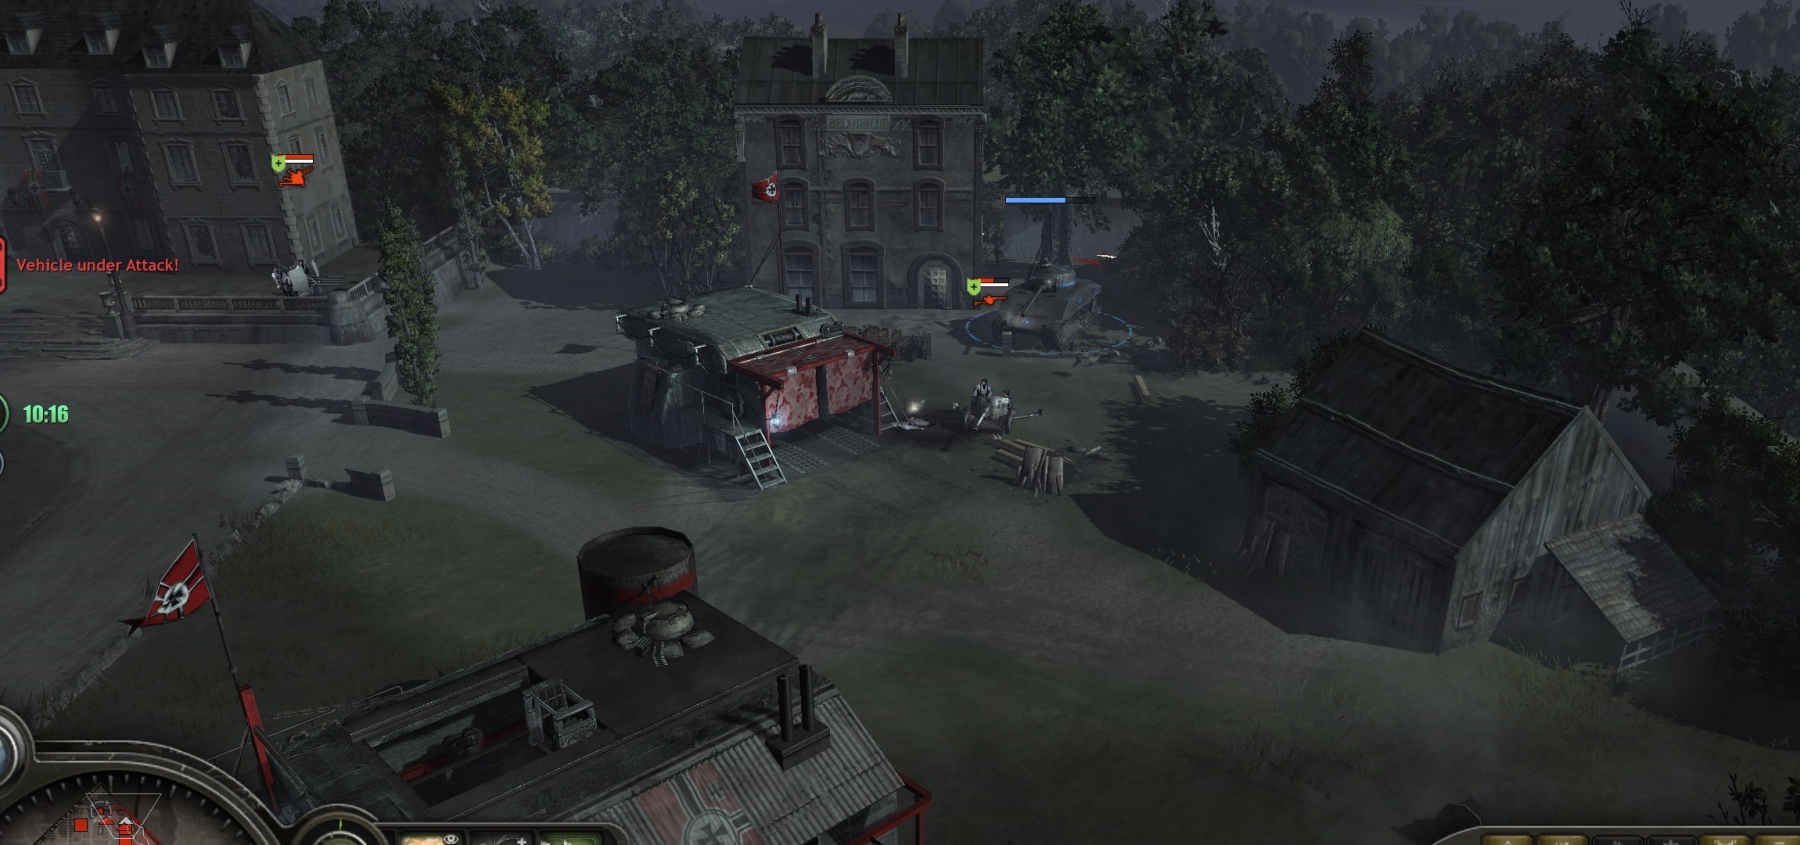
Use your starting Sherman Calliope to wipe all German units defending from the other side of the bridge. Don’t let the Calliope be destroyed by the Pumas that patrol the river bank road. The image below shows the targets your Calliope would see if it could see through the “fog of war.”
Also have your rifleman squad take the available muni point, and set up your mortar to help the Calliope clean out the enemy from their riverside positions.
When there is no more unit activity near the other side of the bridge, move on to other targets you can reach including in and around the town square.
Note that you can use the Commander recon ability to spot targets. (I generally use commander points for the recon, strafing and bombing abilities—and that exhausts my commander points.)
Also take out the Pak-38 which is on the grass of the north riverbank about 100 meters to the West of the bridge. The Calliope is not very accurate and has a long cool-down period, but you have plenty of time here.
While you are softening up the riverbank area of St. Fromond, construct all buildings and assemble a force that includes your starting units plus an extra engineer and at least five Sherman tanks.
Ignore the frequent UI demands that you repair the bridge. You can do that when you have a full pop-cap force ready.
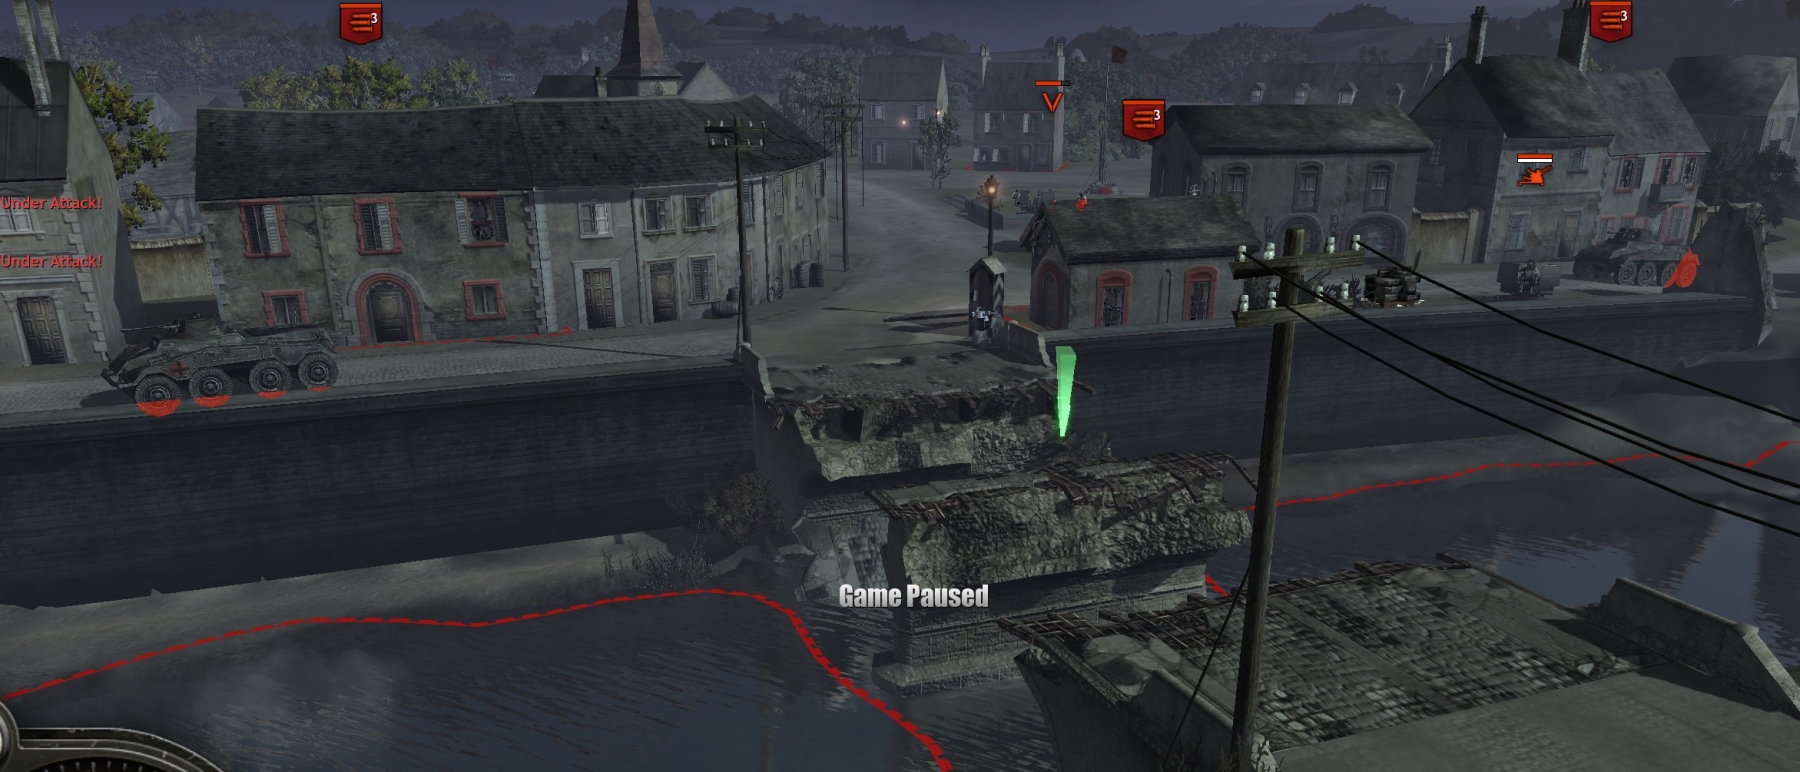
CLEAR THE TOWN SQUARE AND SET UP DEFENSES
A Sherman, the Calliope and (set well back) your mortar team in the town square should be enough to clear the square initially.
Do NOT cap the point in the square, as that would trigger the next mission phase (heavy German counter-attacks) before you are ready. For the same reason, do not venture north of the top entrance to the square during this critical preparation phase.
Your engineers, guarded closely by Shermans, should place double-rows of tank traps and wire on the riverbank road where it is narrowed by buildings east and west of the square, and should place mines outside and inside those barriers (not so close that the mines destroy your tank traps when they are tripped). They can then do the same for the other western and eastern approaches to the square.
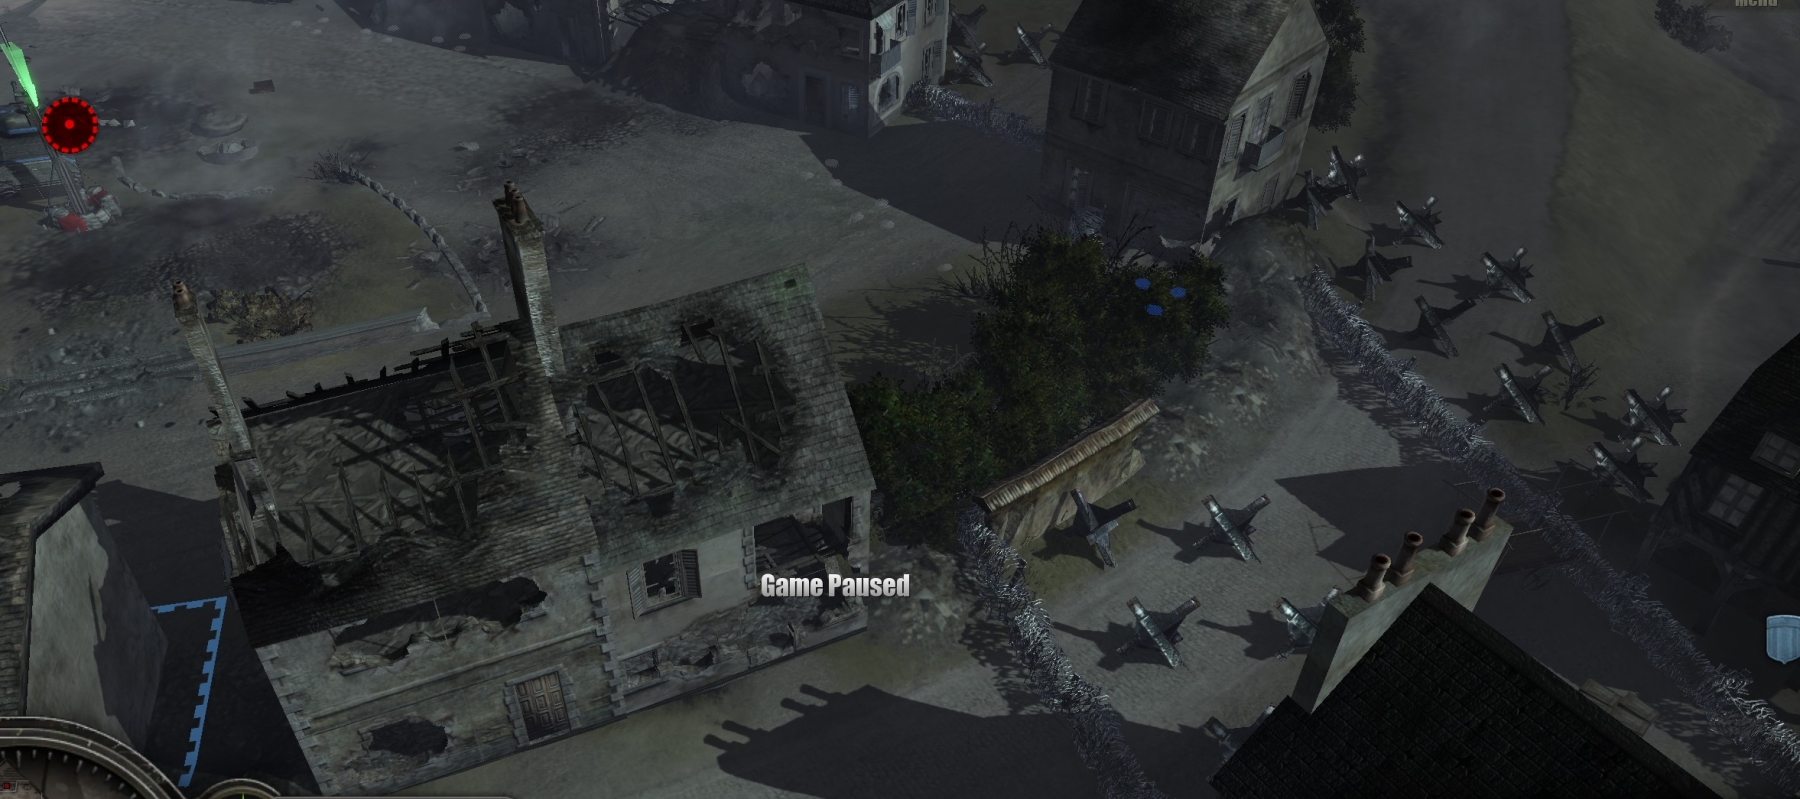

This will be tricky. The devs have designed the map to make it hard for you to lay continuous tank trap lines, have coded German units to harass your engineers frequently, and even blatantly cheat by allowing some German vehicles to pass through solid lines of tank traps. Still, you’re better off having lots of TTs/wire/mines than not having them.
You should leave the entrance at the top of the square as the only one the counter-attacking Germans can get to easily, i.e., this is your kill-zone.
When you are finished setting up your main defenses, send three tanks and the calliope to the eastern entrance of the German base at the top of the map. This will trigger the automatic capping of the square point and the next mission phase. As soon as this happens, your engineers should start building HMG bunkers in the square and on the river-bank road. (Don’t set the bunkers so close to the TTs that German armor on the other side can fire at them.)
DEFEND THE SQUARE AND TAKE OUT THE GERMAN ROCKET BATTERIES
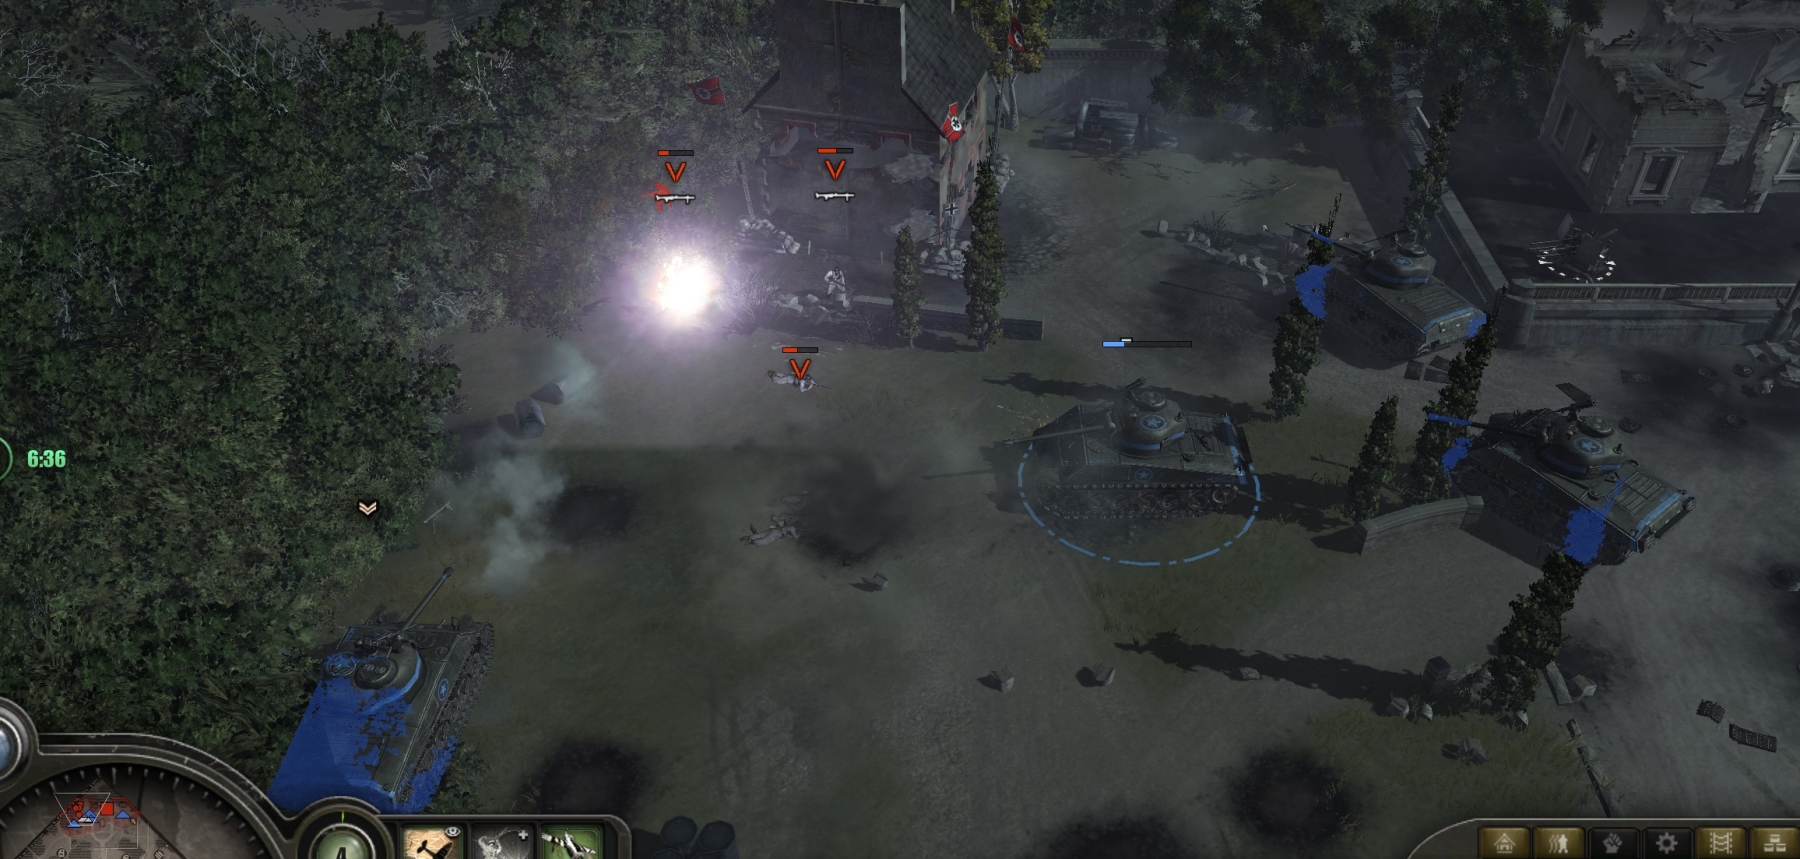
For your square defense, 2-4 tanks positioned just below the center, facing the northern entrance, should be OK. (This would not be OK if Germans were not confined to a small kill zone and instead were coming at you from all sides.) Keep engineers safe but nearby for making repairs. Put your rifleman unit (with LMG/schreck if possible) in the church. Keep your mortar unit in cover but in range of that northern entrance. The big threats are German armor (Panzer IVs and StuG-IVs) and schreck-wielding infantry. German infantry are hardly suppressed at all by HMGs even at close range, but some HMG presence is better than none.
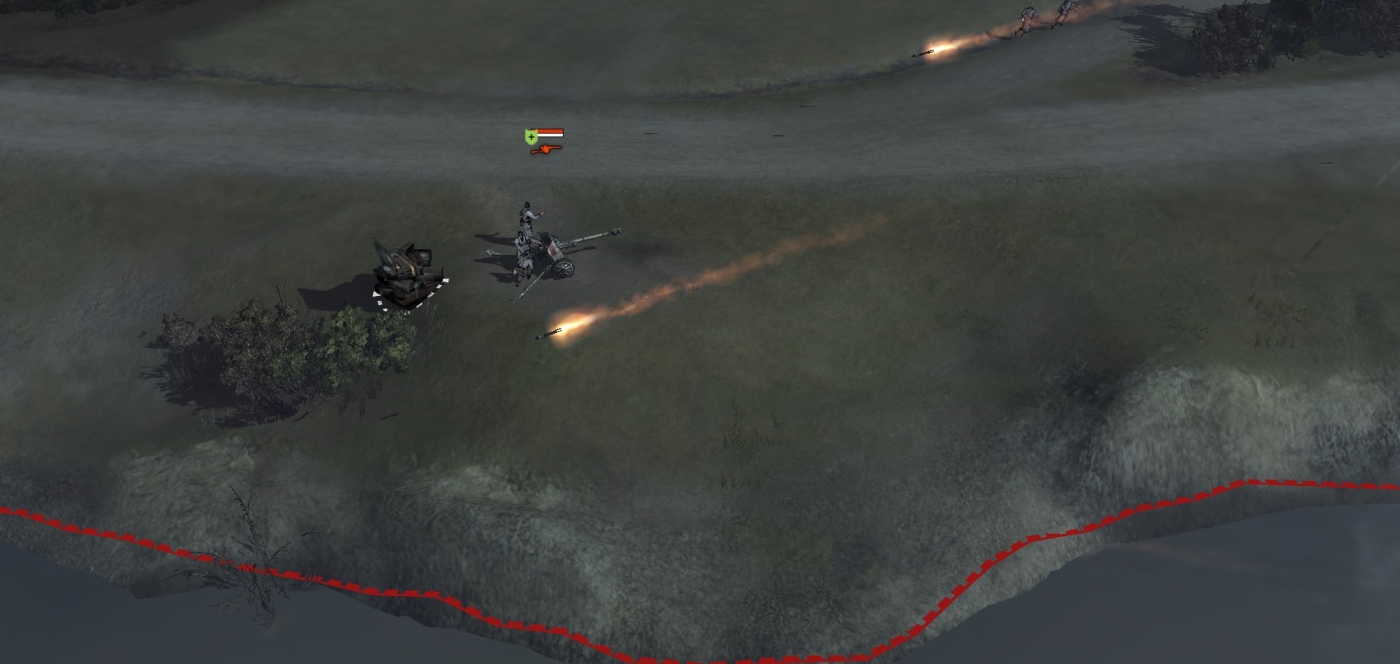
As soon as this mission phase starts, the Germans will begin moving—one after the other—three rocket batteries from their base into separate positions around the map. The first one materializes near the east edge of the German base, so you can use the Shermans and Calliope you sent to the base, and even your call-in strafing ability, to wipe that battery before it can get out of the base.
The next battery (which initially materializes in the center of the German base) will move to the graveyard area (the UI shows you their locations on the map when they are setting up), and the last one (left side of the base) is at the muni point at the far lower left of the map. These batteries are protected with strong units that can include LMG/schreck infantry, HMGs, Pak-38s, snipers and an Ostwind. However, once you have wiped those batteries—which can do a lot of damage to your units and defenses in the square—the rest of the mission is fairly easy.
DESTROY THE GERMAN BASE
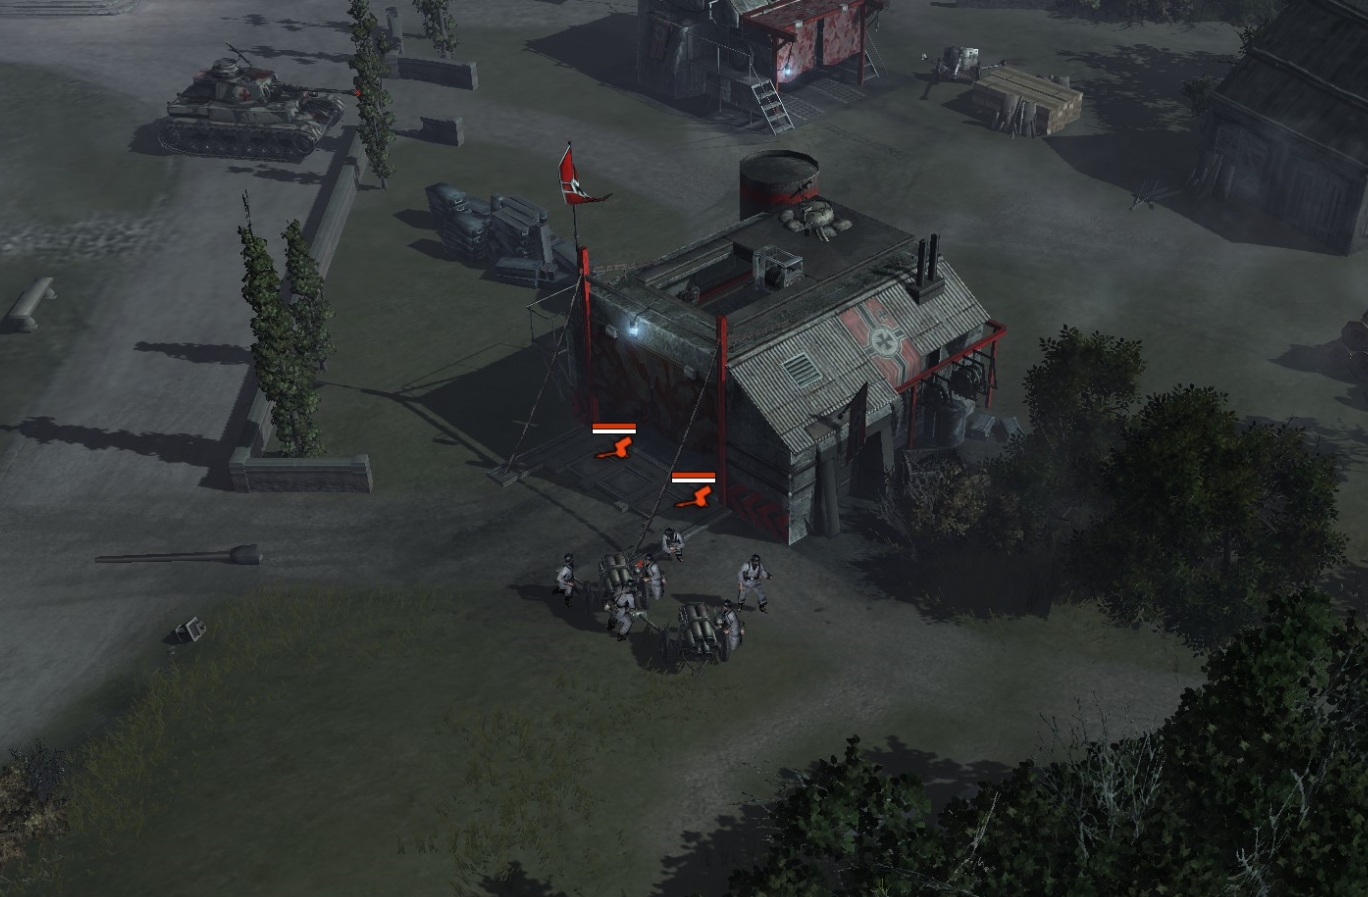
When the countdown clock shows 10:00 to 15:00 minutes left, and you are in an interval between German armor attacks, bring three or four Shermans again to the east side of the German base. (Concentrate their fire on any German unit that encounters them along the way.) Bring the Calliope too if it’s still intact. Use recon and strafing, or a Calliope salvo, to de-crew the Pak-38 at the upper right side of the base, near the Sturm Armoury building. If neither of those options is available, send in a tank or two and have them get behind the Pak to de-crew it. (The Shermans on this map are painfully slow.) Bring the rest of your expeditionary tank force in to the right of the Sturm Armoury and Panzer Command buildings, and destroy those buildings. If German armor or infantry attacks, concentrate your fire on them. When the buildings are down, move to the right of the main base building (“chateau”) and fire away at it until it collapses. Also take out the flak guns on either side of it. If you have the muni points, add a bombing run to shorten the job. Again, concentrate tank fire on any German unit that tries to interrupt you.
Knocking down that main base building wins you the mission medal.
When done there, move on to the left side of the base and destroy the remaining buildings. The wooden house (with Nazi symbols) at the far upper left of the map is the one that pumps out the verminous LMG/schreck-equipped infantry, so terminate it with extreme prejudice.
Keep a tank in the base area, but move the rest back to the town square for repairs.
At this point, you can easily run out the clock, since the Germans have no way to bring in new units. Or you can hunt down all the remaining German units on the map, to end the mission early.
Note that this mission introduces the Goliath suicide drone vehicle. Almost every time a truck or 251 appears, it will deploy one of these drones, and if you destroy the truck/251 you can select the stopped Goliath to control it. You can’t control it very well though. In fact, when you steer a Goliath successfully to a German tank, it will suddenly reverse to move away from the tank, preventing you from getting a direct hit. Classic Relic.
***