The Sottevast mission is a silly, non-historical suicide mission aimed at destroying a secret V2 site near Cherbourg, which in real life was not even completed by the time American forces overran it. Certainly if it had ever been operational, it would have been levelled by bombers or artillery, not attacked by a handful of paratroopers.
The basic setup (Germans fantastically outnumber the US force but sit patiently and wait to be slaughtered one by one) will be familiar to COH1 players by now. The fact that there is really only one way to play it will also be familiar.
The overall strategy is simply to follow the UI instructions and capture/destroy various targets one by one. The tactics—since this is essentially a paratroop mission—are based largely on the paratroop ability to (suicidally) charge HMGs and flak guns and throw satchel charges at them.
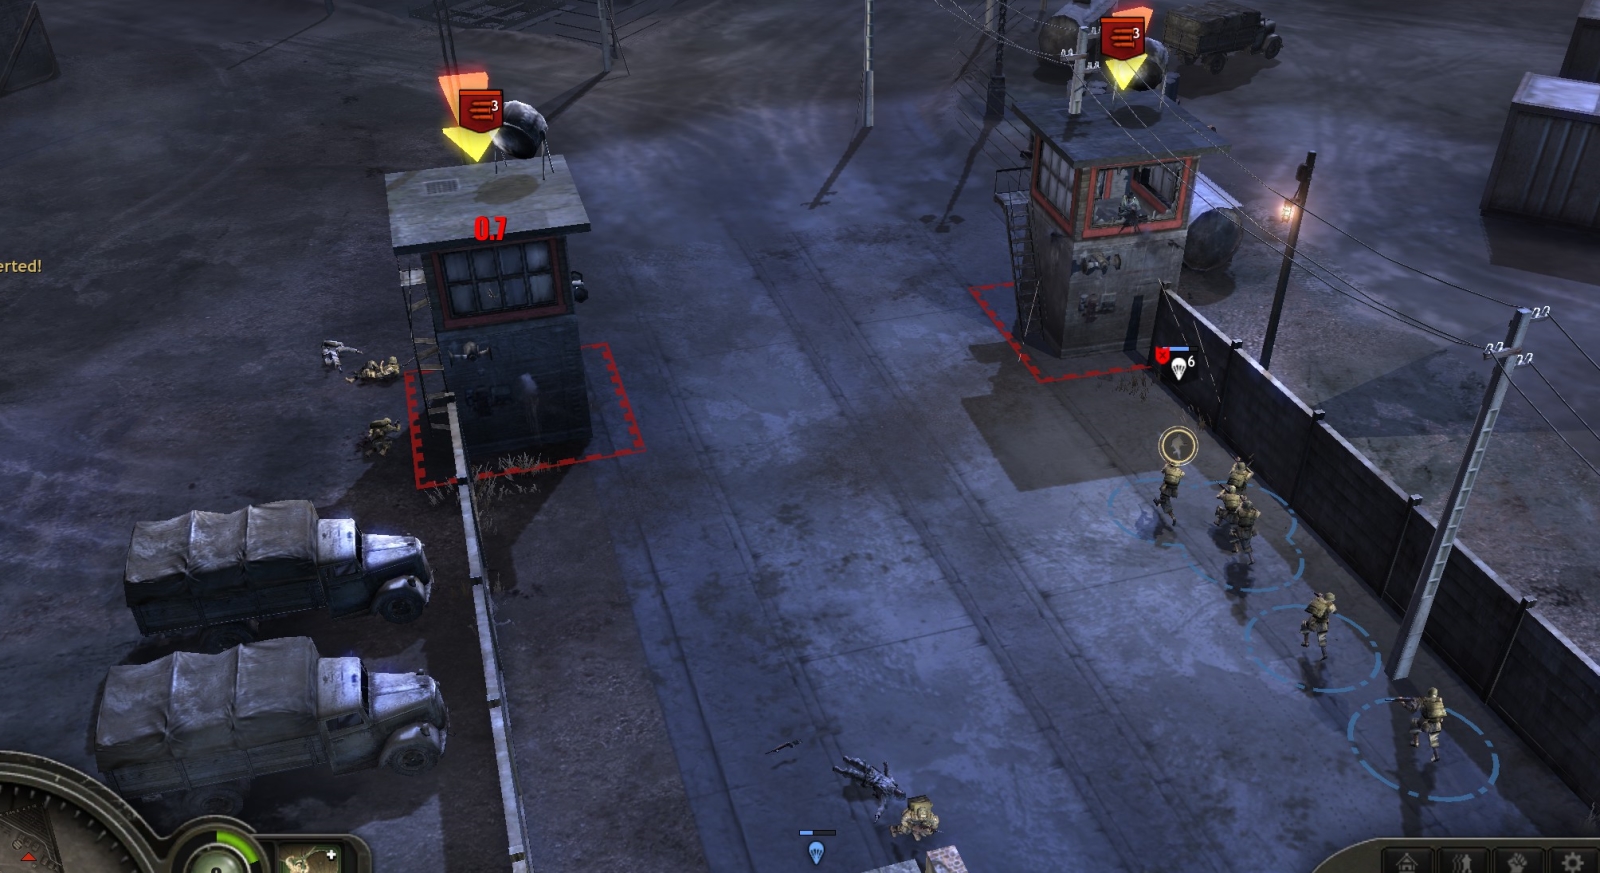
The initial tactical map (with my markings in yellow and orange) is as shown below.
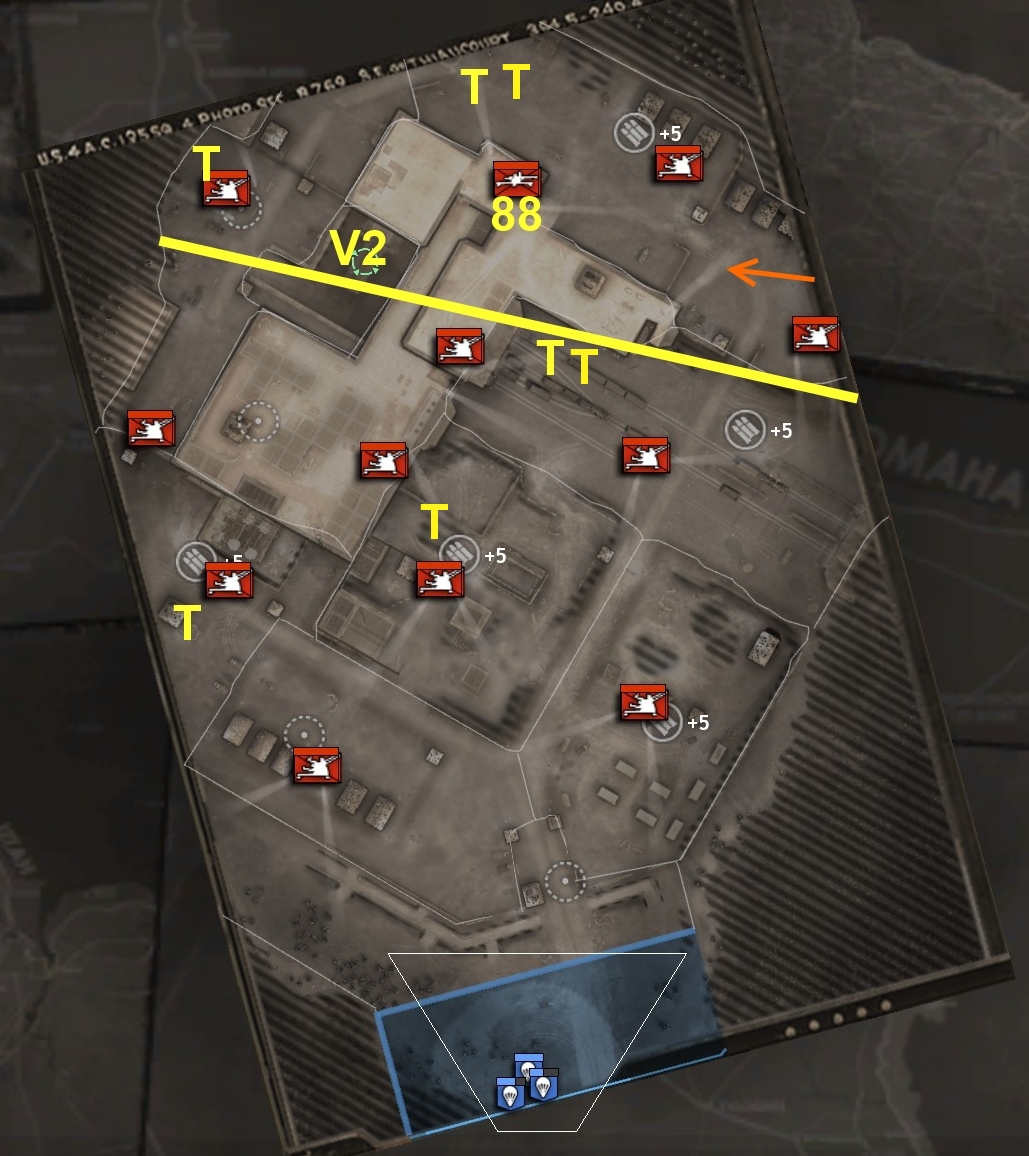
There are basically three stages to the mission: 1) assault the base entrance and make that entrance area your base, 2) clear the middle map area (below the yellow line above), 3) clear the upper map area, block German reinforcements, and blow up the V2 launch platform to end the mission.
ASSAULT THE BASE ENTRANCE
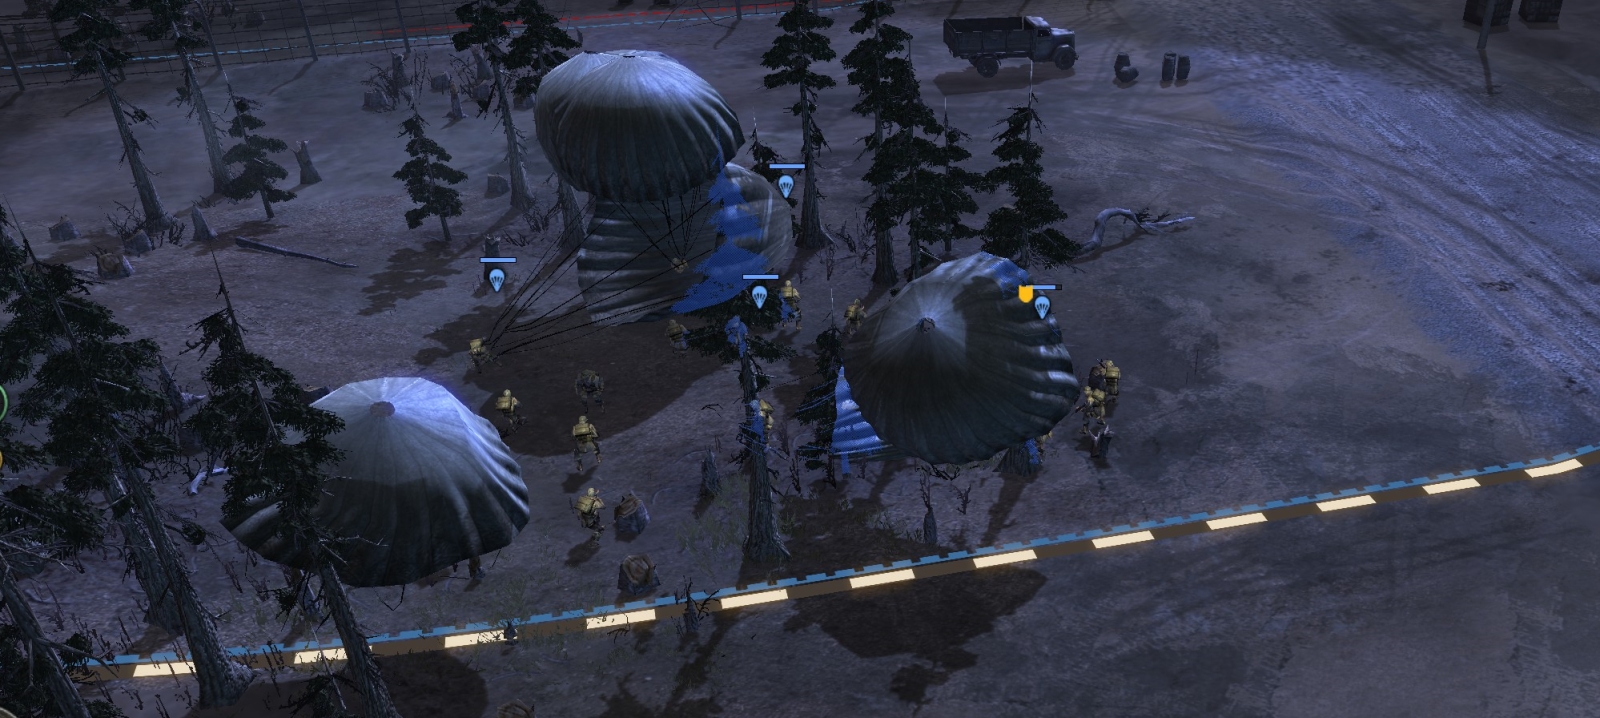
You start with three paratroop squads, of which two are not full strength. You can reinforce them to full strength and call in additional squads. I’ll assume four full-strength squads to start.
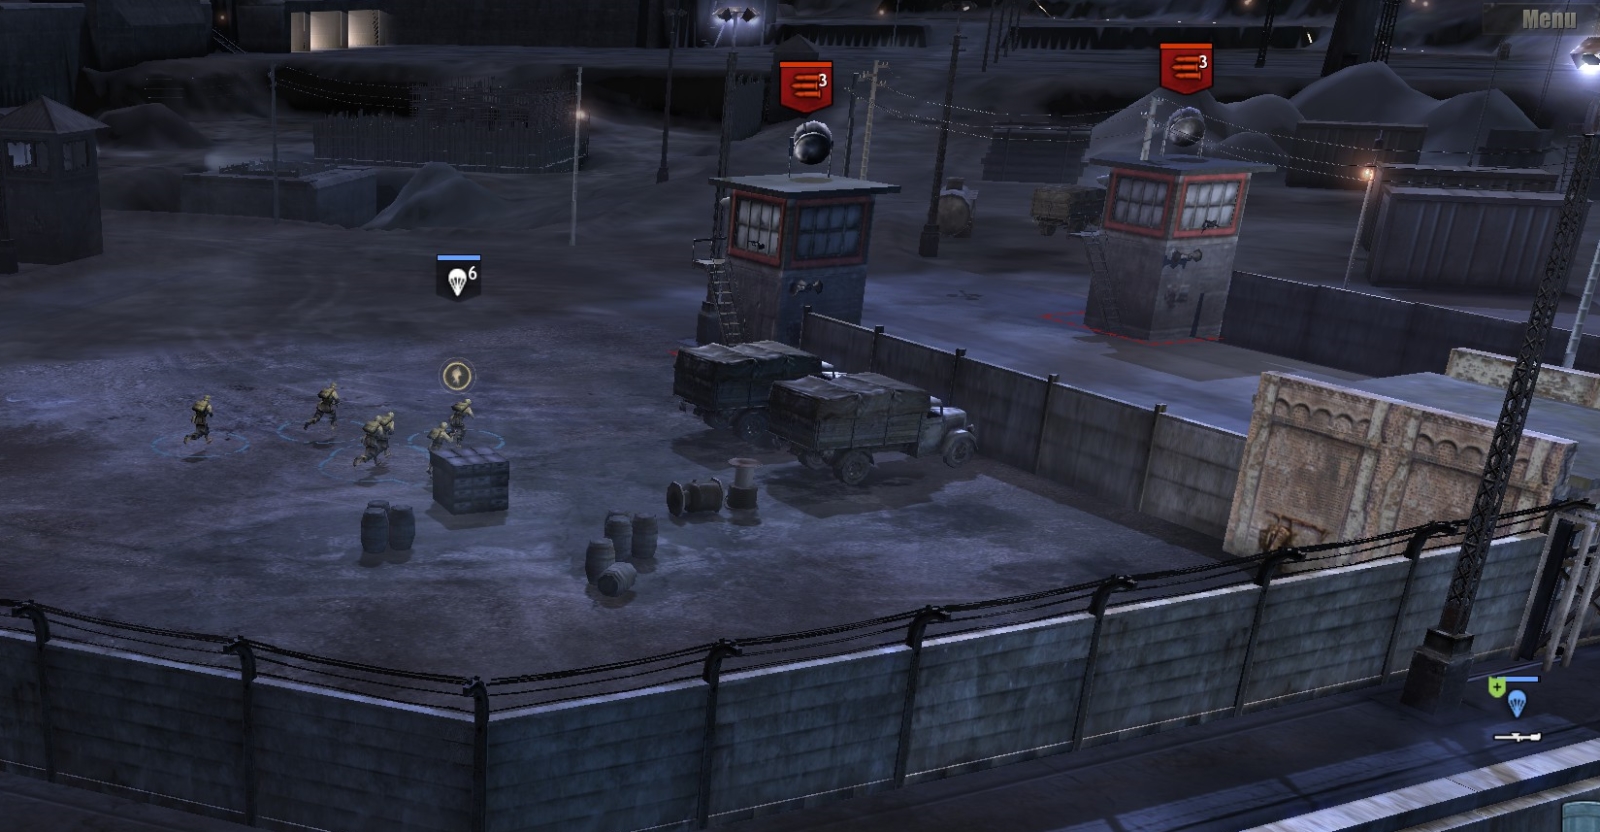
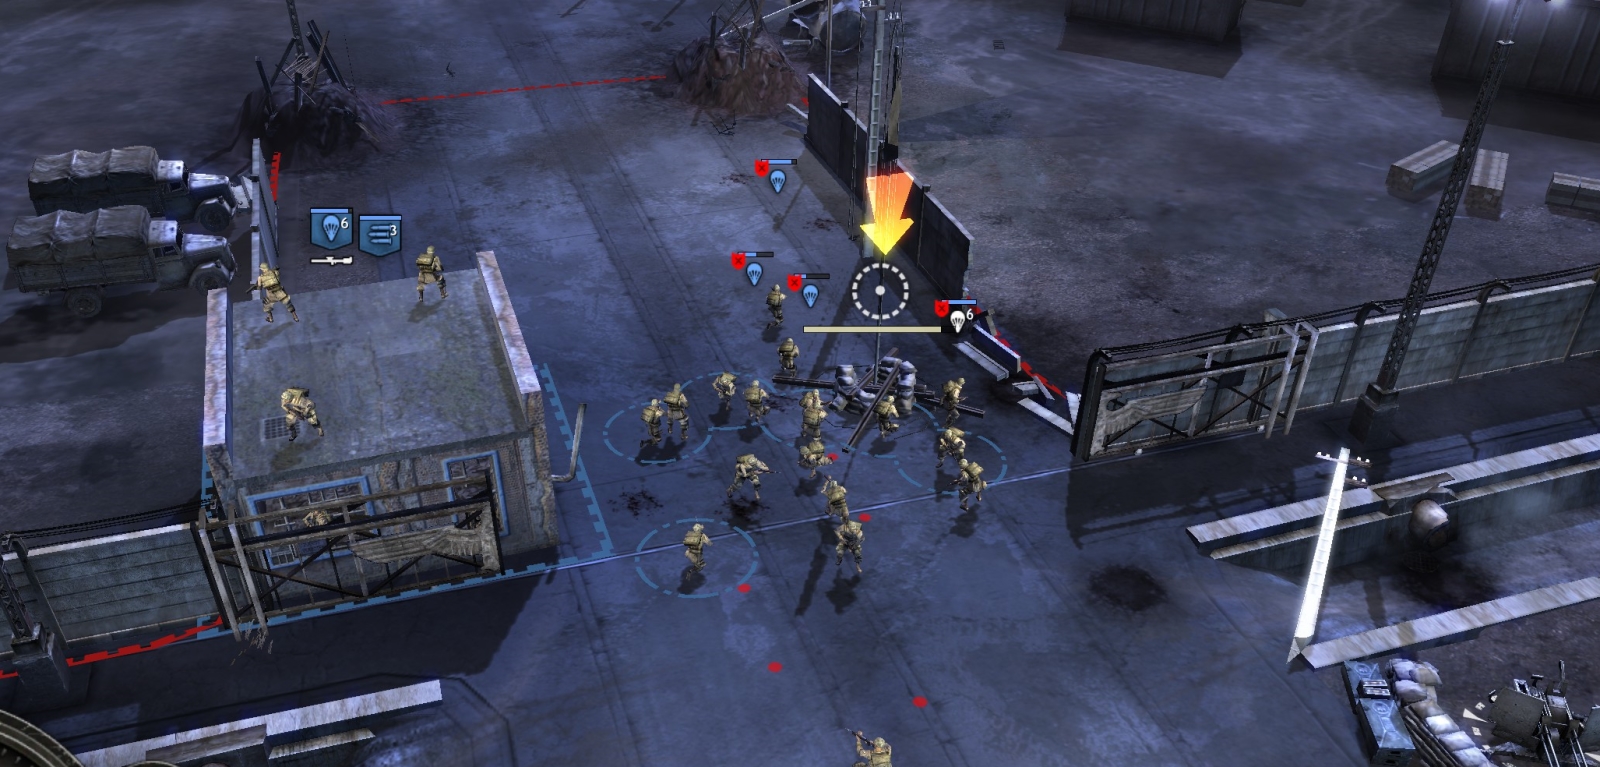
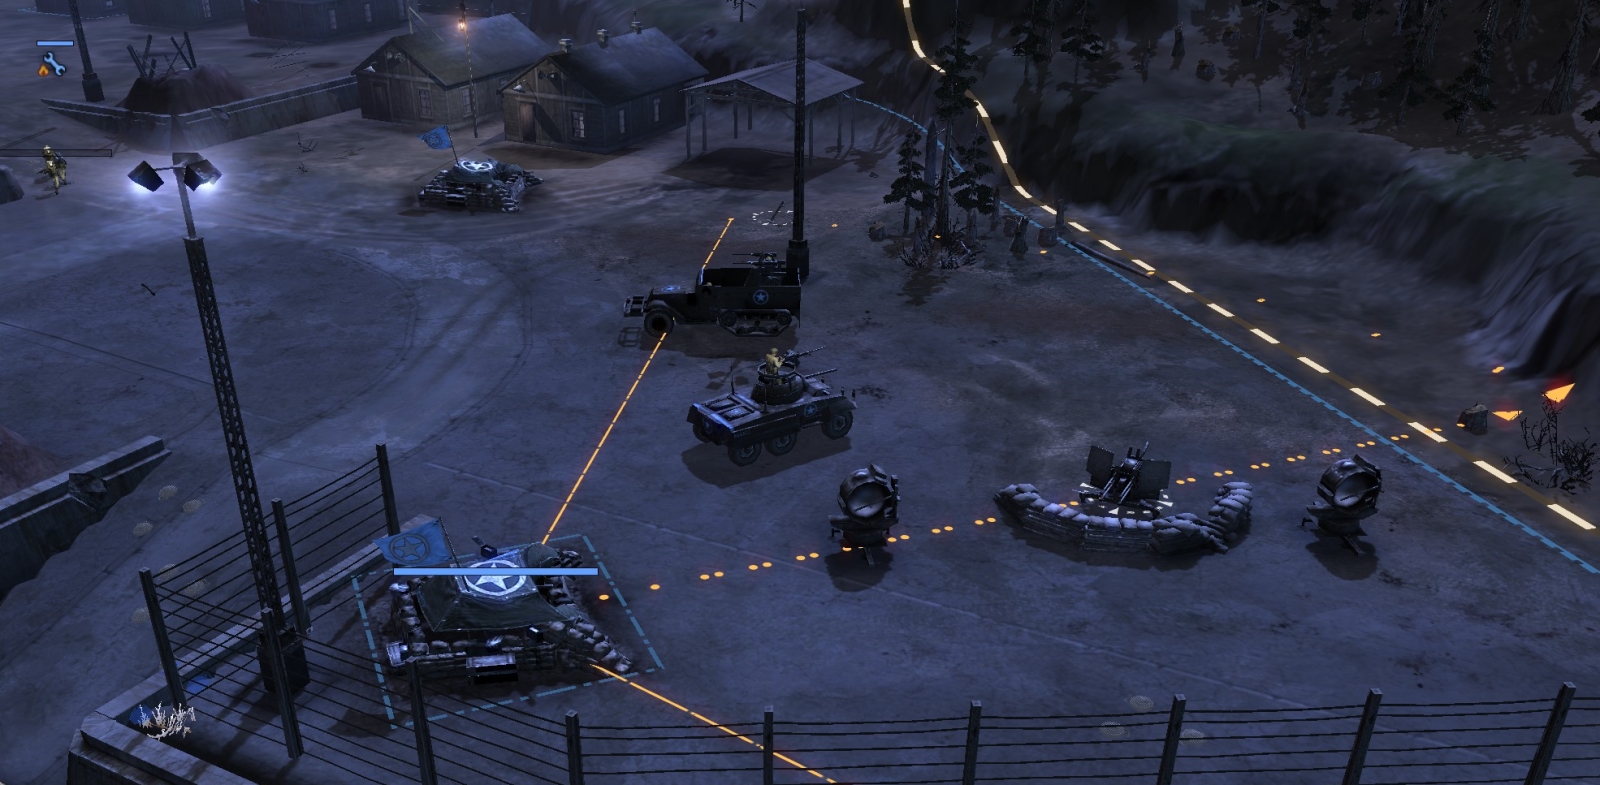
To take the entrance, send two squads (using Fire-Up) to grenade or just shoot the German troops at the two forward sandbag HMG emplacements. Watch out for the two HMG towers a short way inside the entrance. Another squad can move along the base wall to the west of the entrance, and blow a hole in it with a satchel charge. The fourth squad can move near the uncrewed flak gun, close enough to prevent German troops from crewing it.
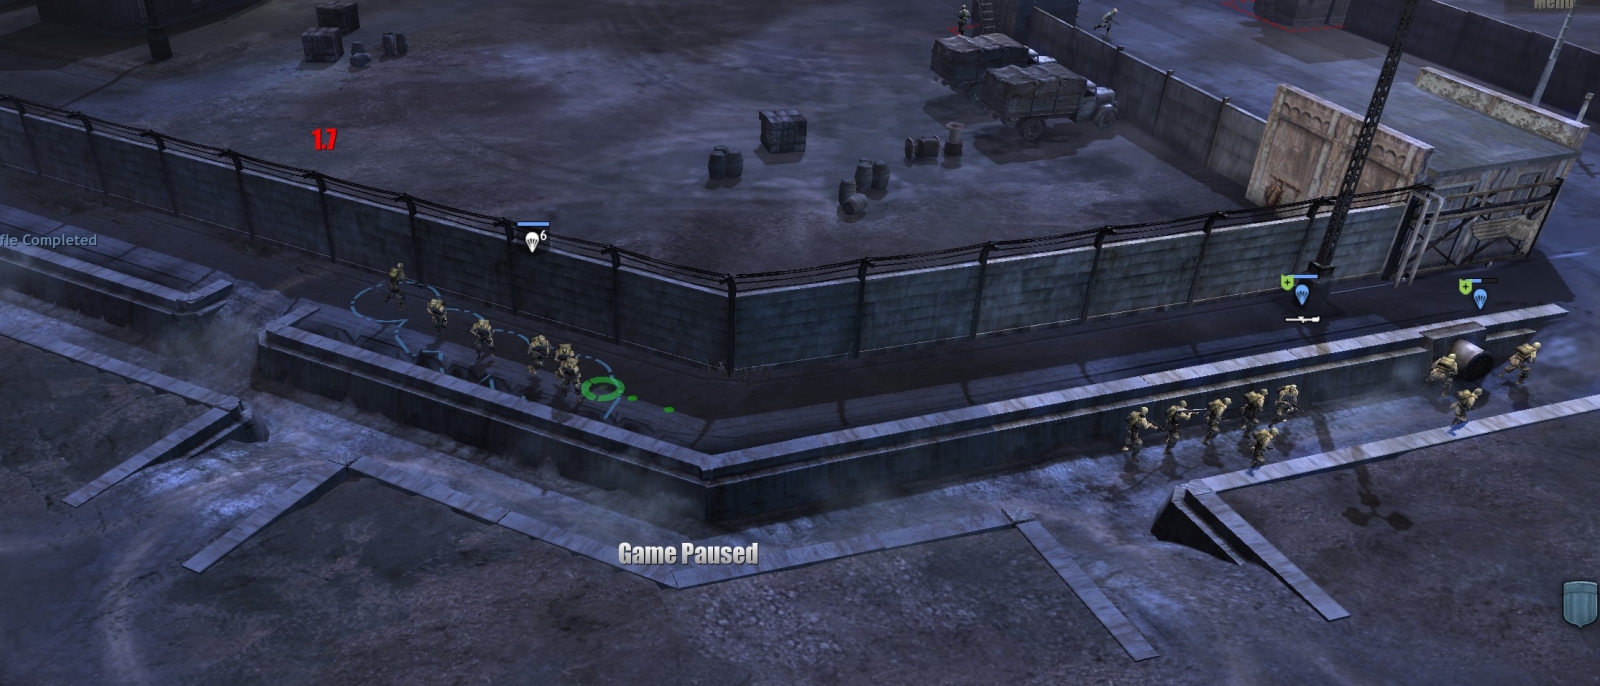
To destroy the two HMG towers, use one squad coming from the hole it recently blew in the wall, the other straight along the entrance road.
Even using Fire-Up and retreating immediately after throwing satchel charges, these squads will take casualties. When they retreat, they will run back to the hillside outside the entrance, where they began the mission.
There are abandoned MG42s in front of the entrance. Crew one and put it in the guard building at the entrance. Upgrade one of your paratroop squads with a recoilless rifle and place it in that same building. Cap the entrance point.
Use sandbags to create a protected space for your other units in front of that building, but leave room for the vehicles (M3s, M8, Shermans) that will arrive later.
Despite UI exhortations to crew the flak gun, you don’t need to waste pop points doing that; you should always have enough firepower to fend off the Germans’ piecemeal counterattacks, which anyway come from inside the base.
You do not need to upgrade other paratroop squads with recoilless rifles. There are a lot of superior German weapons scattered about, including schrecks and LMGs. To protect the entrance area from German tanks and 251s, you can lay mines along the approach from the north—but do that later, after you have cleared away all the HMGs and mortars in that area.
When you use Command points, use them only on the right side (recon, strafing, bombing)—once you have lots of muni-points late-game, the strafings and bombings will come in handy.
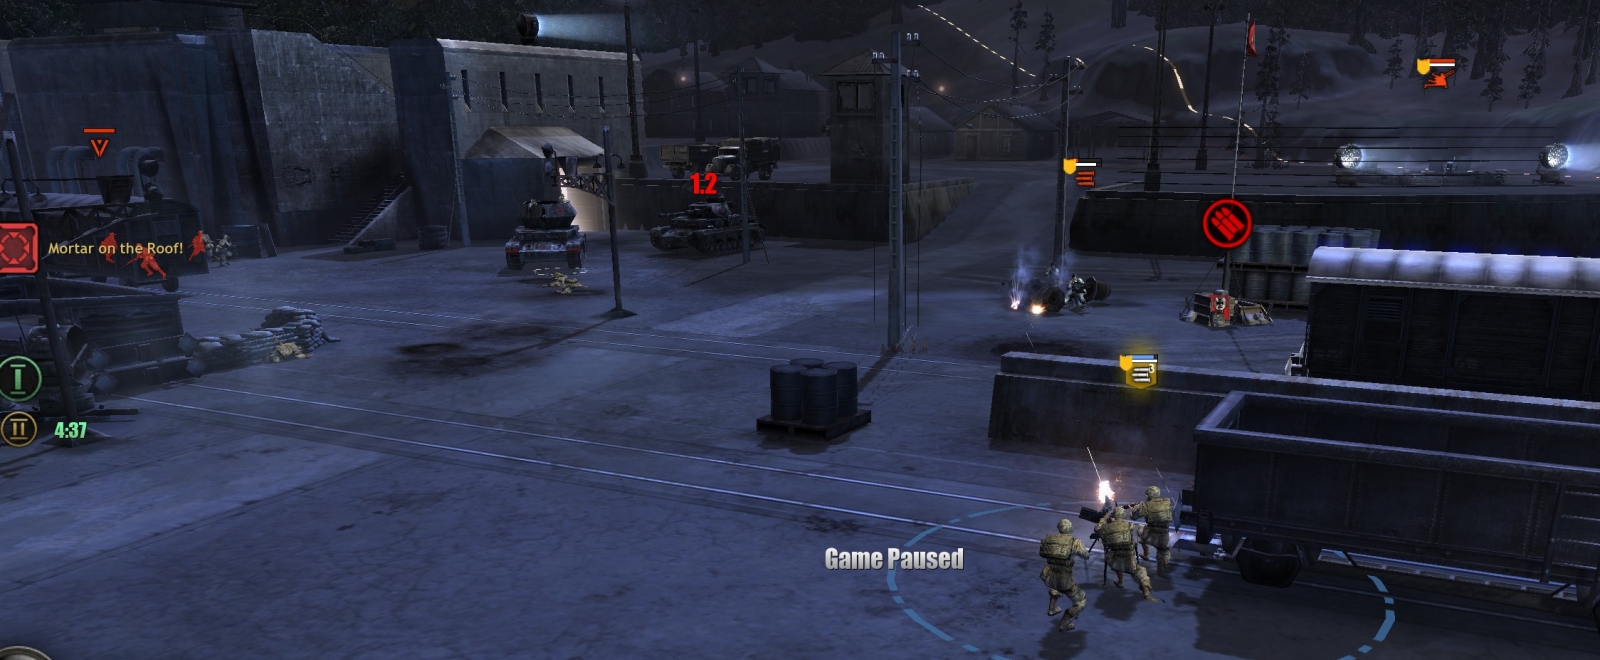
CLEAR THE MIDDLE MAP AREA
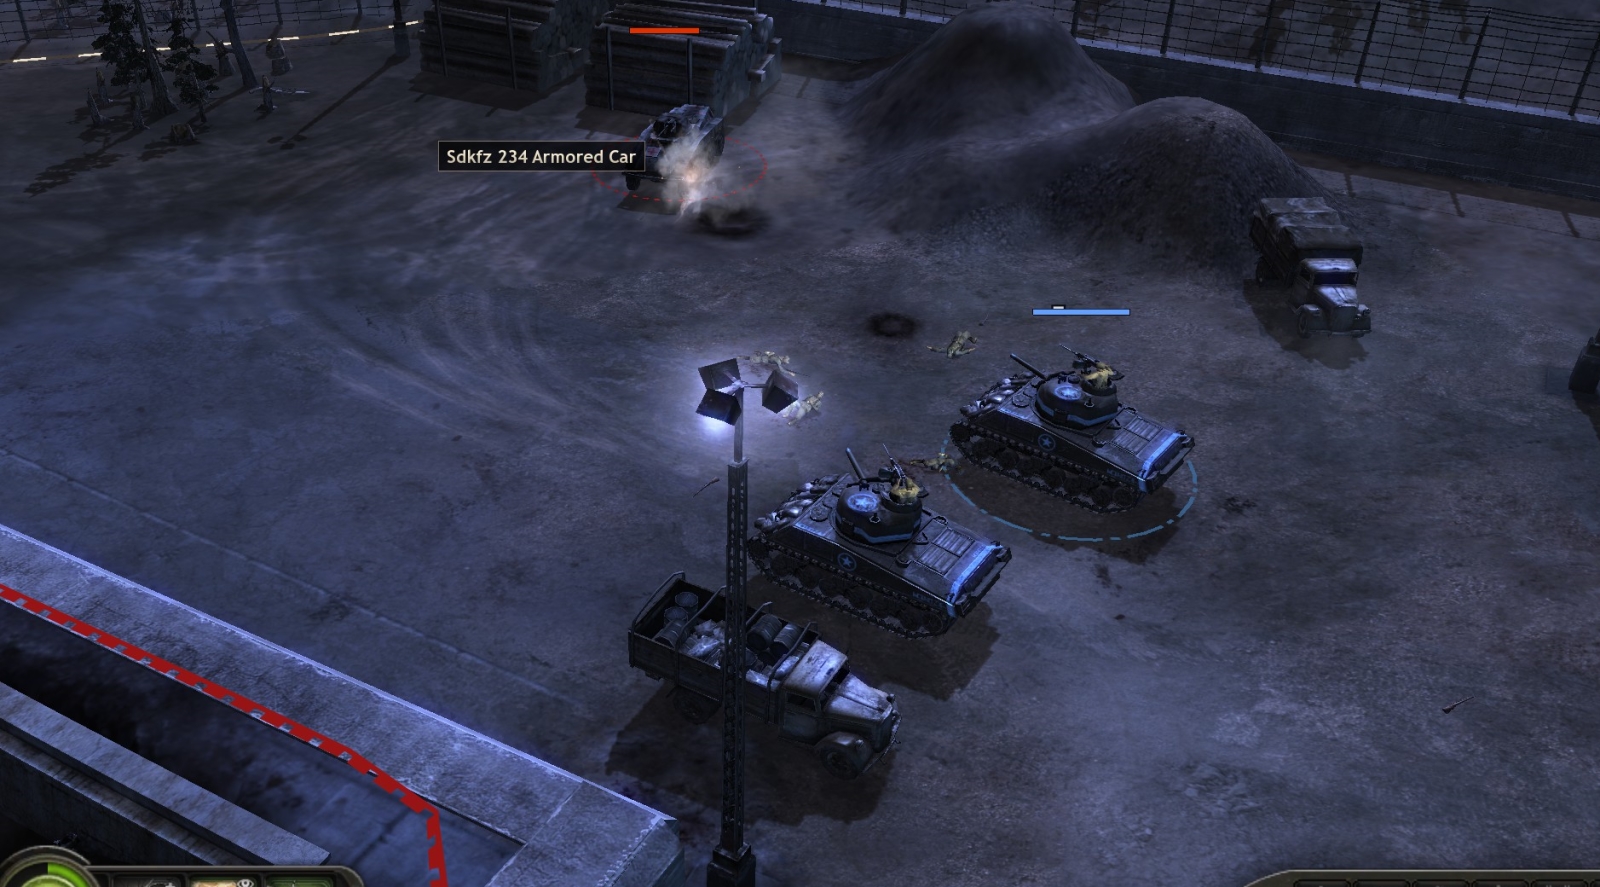
You can use the standard paratroop Fire-Up-and-throw-satchel-charge-then-retreat tactic to take out most of the flak guns below the yellow line on the tac map above. Each of these emplacements has at least one HMG near it, plus other units—depending on the site, these may include a Panzer IV, Ostwind, flamethrower-251, and mortar team. Probably it will take multiple charges/retreats by your entire team to clear each of these sites.
In the course of these attacks, your force can acquire LMGs, assault rifles, schrecks, and HMGs—though I find the latter not very useful in an assault role.

You can use a paratroop squad equipped with a recoilless rifle or captured schreck to attack German vehicles, but some vehicles are so stationary that a satchel-charge will work even better. Mines laid on the roads near the base entrance also work well.
Eventually in your first reinforcement you will get a quad-.50-equipped M3 plus an engineer team. The M3 sometimes is very helpful though it is obvious bugged/nerfed and much of the time will do unrealistically little–even no—damage to targets. The engineer team can add protection to your base by laying mines, wire, and tank traps, and can make HMG emplacements, though the attacks on the base will stop once you have cleared all the German units below the yellow line on the tactical map shown above. Keep the engineers away from firefights and out of German mortar range—you need them above all for vehicle repairs.
Usually at the western and/or central flak gun sites near the base entrance you will be able to obtain a mortar. Crew this—two if you can—and use it/them to take out flak guns and HMGs atop the base building (plus the one to the NW of the oxygen tanks), which are harder to access for your satchel-charge-throwers.
On the western side of the base, just past the flak gun site that is near and to the left of the base entrance, there are oxygen tanks presumably for fueling the V2s. When you get close to them, the UI lets you know about them and assigns the destruction of the tanks as a sub-mission. To do this, make sure you terminate all German units within range, then have any paratroop squad wire the tanks with demo charges—which can be blown when your units are at a safe distance. Some German infantry squads might come down from the roof of the base building to interfere with your effort, so keep some anti-infantry firepower including an HMG handy.
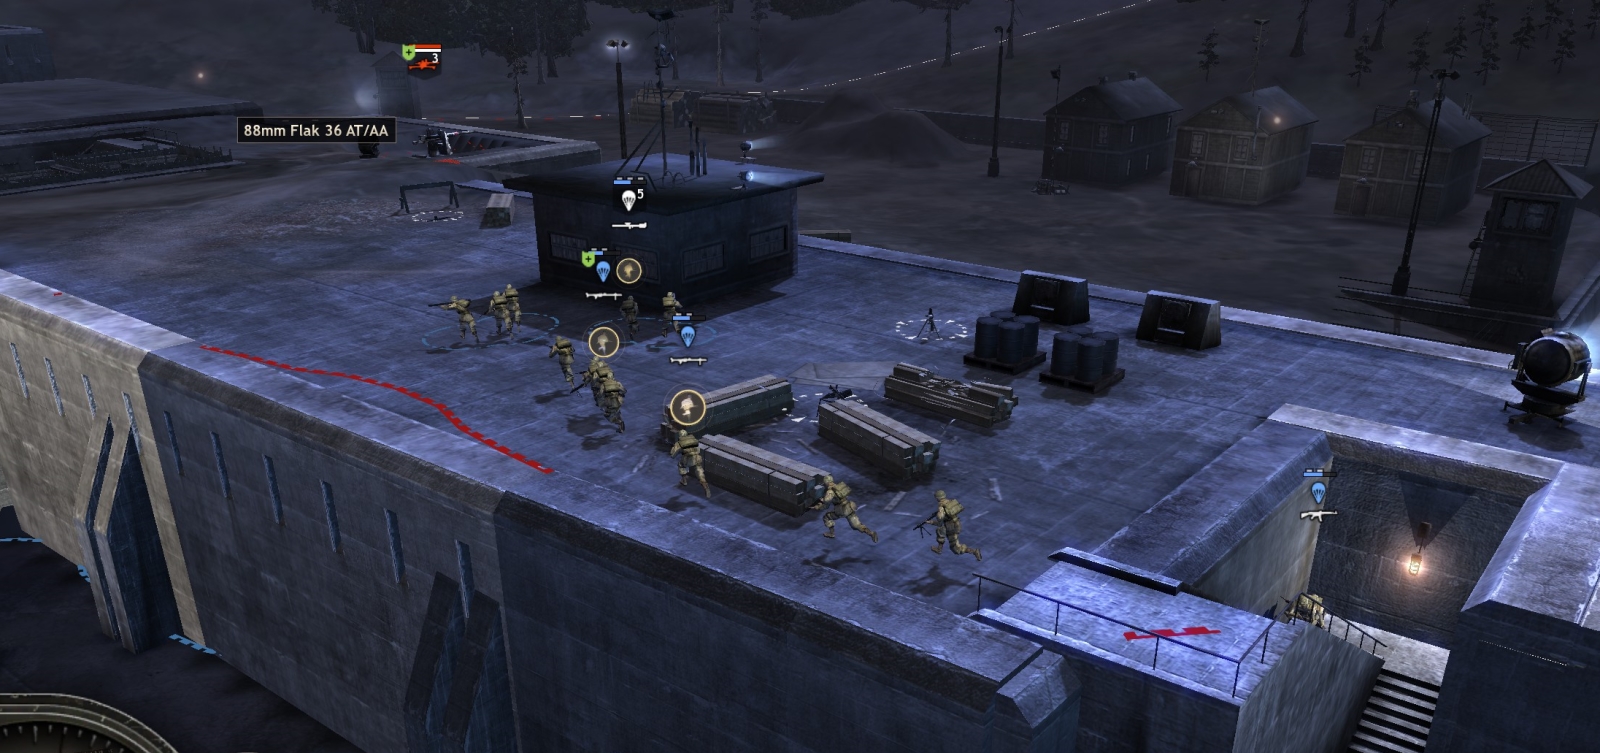
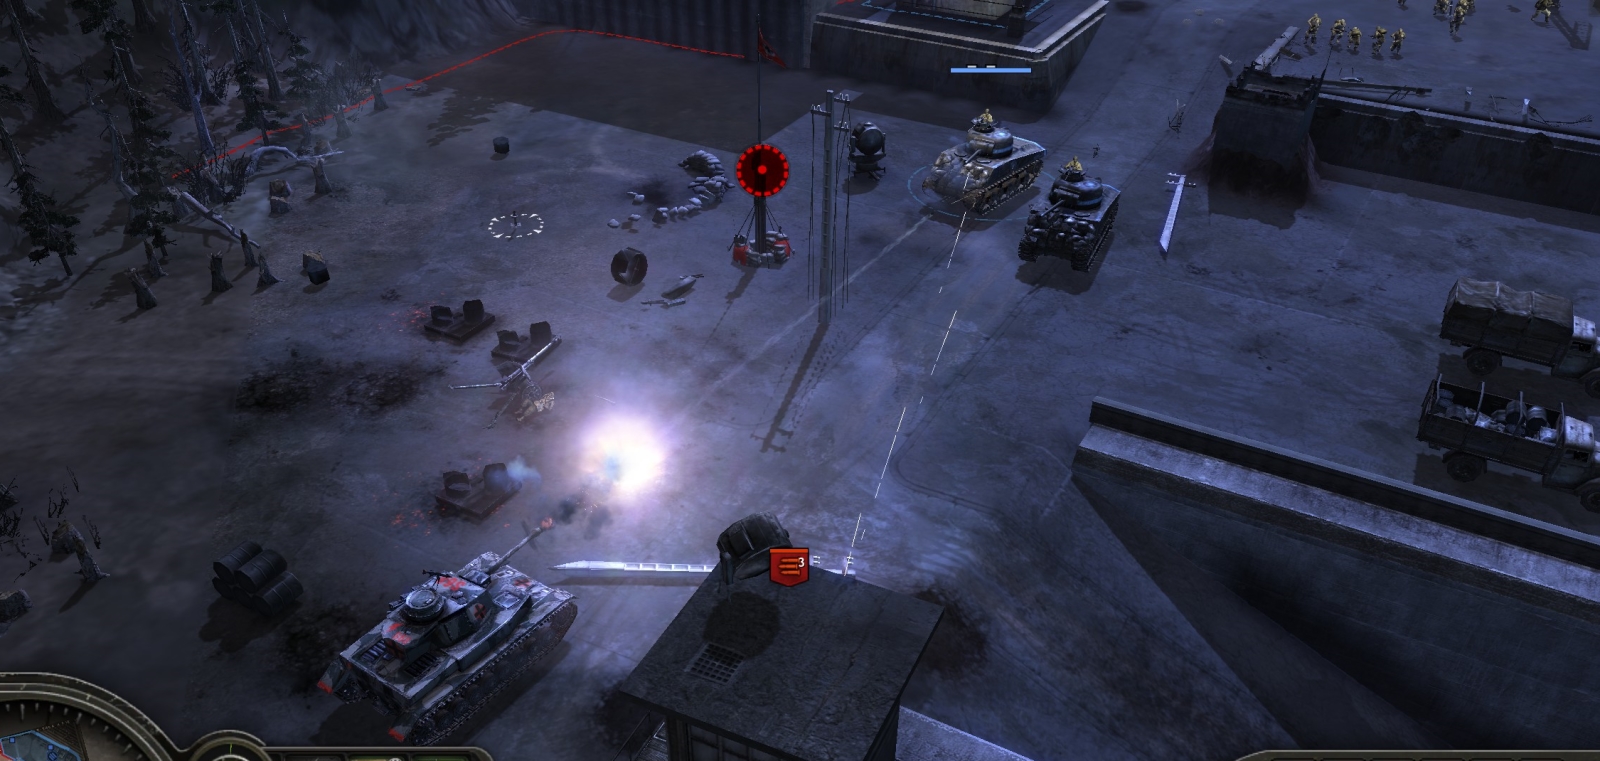
Eventually with your second reinforcement you will get a Sherman tank, and I think another M3 if you lost the first one. With the tank and the rest of your force, you can take the most difficult strongpoint (flak gun, Panzer IV, Ostwind, mortars, 251, HMGs) on the east side of the map about halfway up. Here again, use your mortar(s) to kill the enemy from range, including a German mortar unit on the base roof nearby.
You should send some paratroop squads up the nearby stairs to the base building roof to clear out German units including the 88 that guards the back area of the base. When you get the 88, try also to get the Pak-38 just below it, which will otherwise (like the 88) poke holes in your Shermans once they venture into its range.
CLEAR THE UPPER MAP AREA AND BLOW THE LAUNCH PLATFORM
For this part of the mission, make sure that you have your final reinforcement (Sherman, M8 scout car) and that you have neutralized the 88 and the nearby Pak-38 near the center-top of the map. When that has been done, use mortar/Shermans to eliminate the flak emplacement at the NE corner of the map and wipe all German units in that area including the HMG in the tower at the ramp leading to the central section.
In that central section, use your armor to terminate the flak crew and other German units. Take out the Panzer IV and Puma that will attack from the west.
Repair armor with engineers. Cap the muni point there. Use your engineers to build two or three HMG emplacements covering the NE edge of the map, where German reinforcements will trickle in if this area is not covered. Also lay some mines there.
Send your scout car onto the roof of the base building as close as possible to the launch site. It should be able to wipe one or two squads and at least one sniper.
Now move your force, leading with your armor, to the area at the NW corner of the map. Destroy all the nearby HMGs in towers.
Keep your M3 and LMG-equipped infantry in position to wipe quickly any Germans coming through the bright doorway at the NW corner of the active area of the map. Often (if you have destroyed his other hideouts) this will include the base commandant, for whose termination you can get the mission medal.

Repair your Shermans. Your mortar unit(s), either from here or from the top of the base building, can hit most remaining units, so position accordingly.
Now heading south again to the final strongpoint above the launch site, you will find a Panzer IV, Pak-38, flak gun, HMGs, etc. Try to destroy as many as possible with mortar or bombing attacks. Then bring in your Shermans to finish the job.
Once you attempt to cap the point here, a sniper probably will open up from the roof of the base building—your Shermans or mortar can get it.
When all German units have been cleared from this area, send a paratroop squad or engineer squad down to the launch site to wire it with charges.
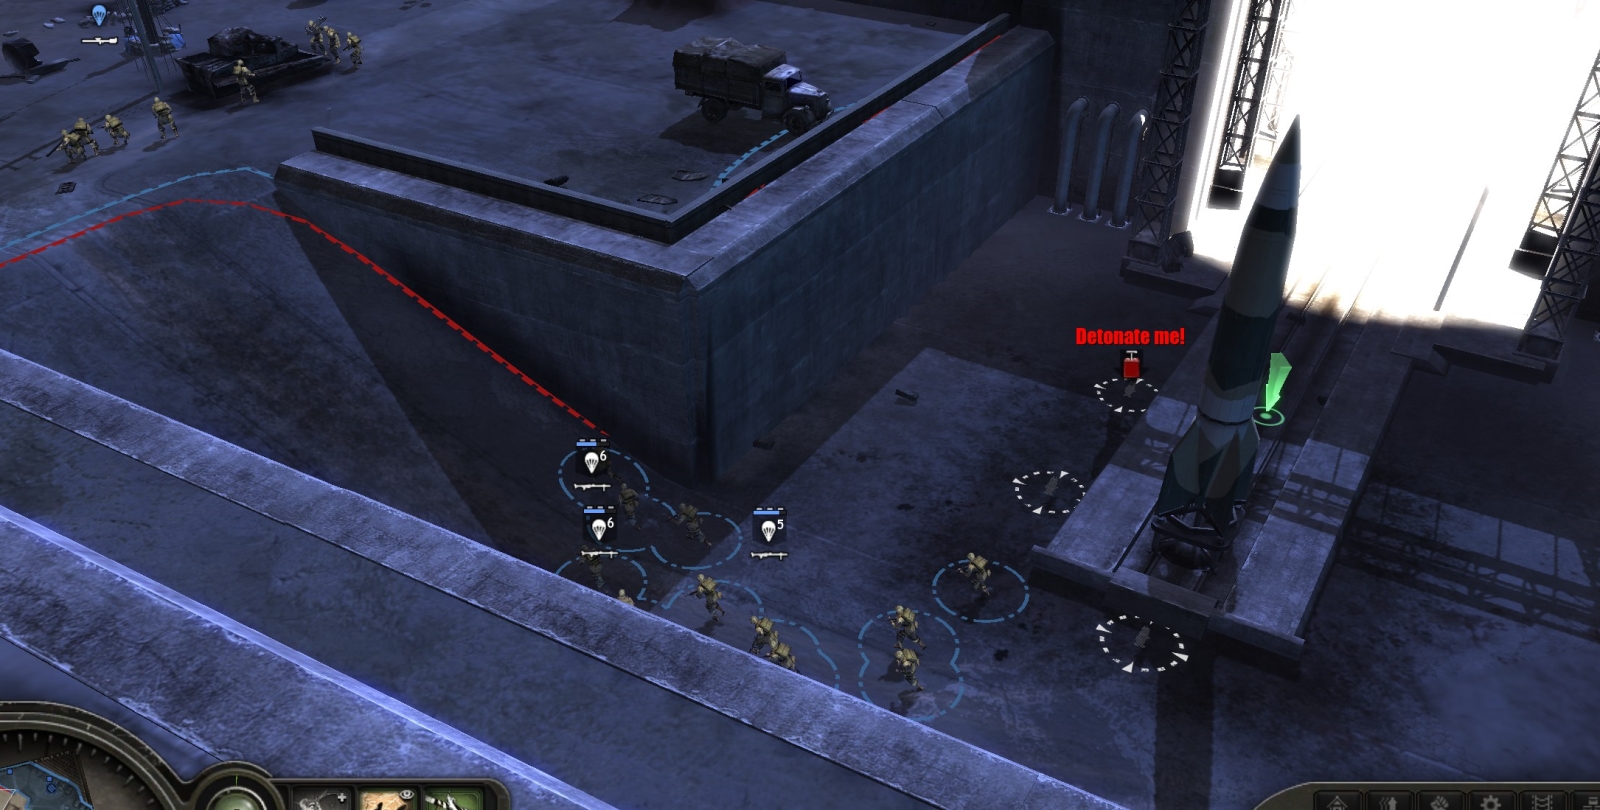
Once you click to detonate, a cutscene shows the V2 toppling and, in a “chain reaction” like those seen at the ends of the early Bond films, the whole base will blow up, presumably taking your force with it.
***