Able Co. has been assigned the “easy” task of relieving another company and defending the village of Mortain and its weakly fortified hill. The troops, having no armor or nor the capability of getting armor, settle in for a peaceful night. Then a few minutes later . . . the Germans start attacking in force. Somehow, Able Co., outnumbered and outgunned, has to hold the hill against the Hun onslaught all night until reinforcements can arrive at dawn.
It’s not totally un-historical. In the real WW2, there was a German counter-attack that trapped American troops on a hill near Mortain for several days. The scale of that counter-attack—and the hill—was much greater than in this crude COH1 scenario, but also the besieged troops had plenty of artillery and close air support, which you won’t have here. Anyway, it’s not really hard to win, though it helps to have some sense (provided here) of what to expect and how to deal with it.
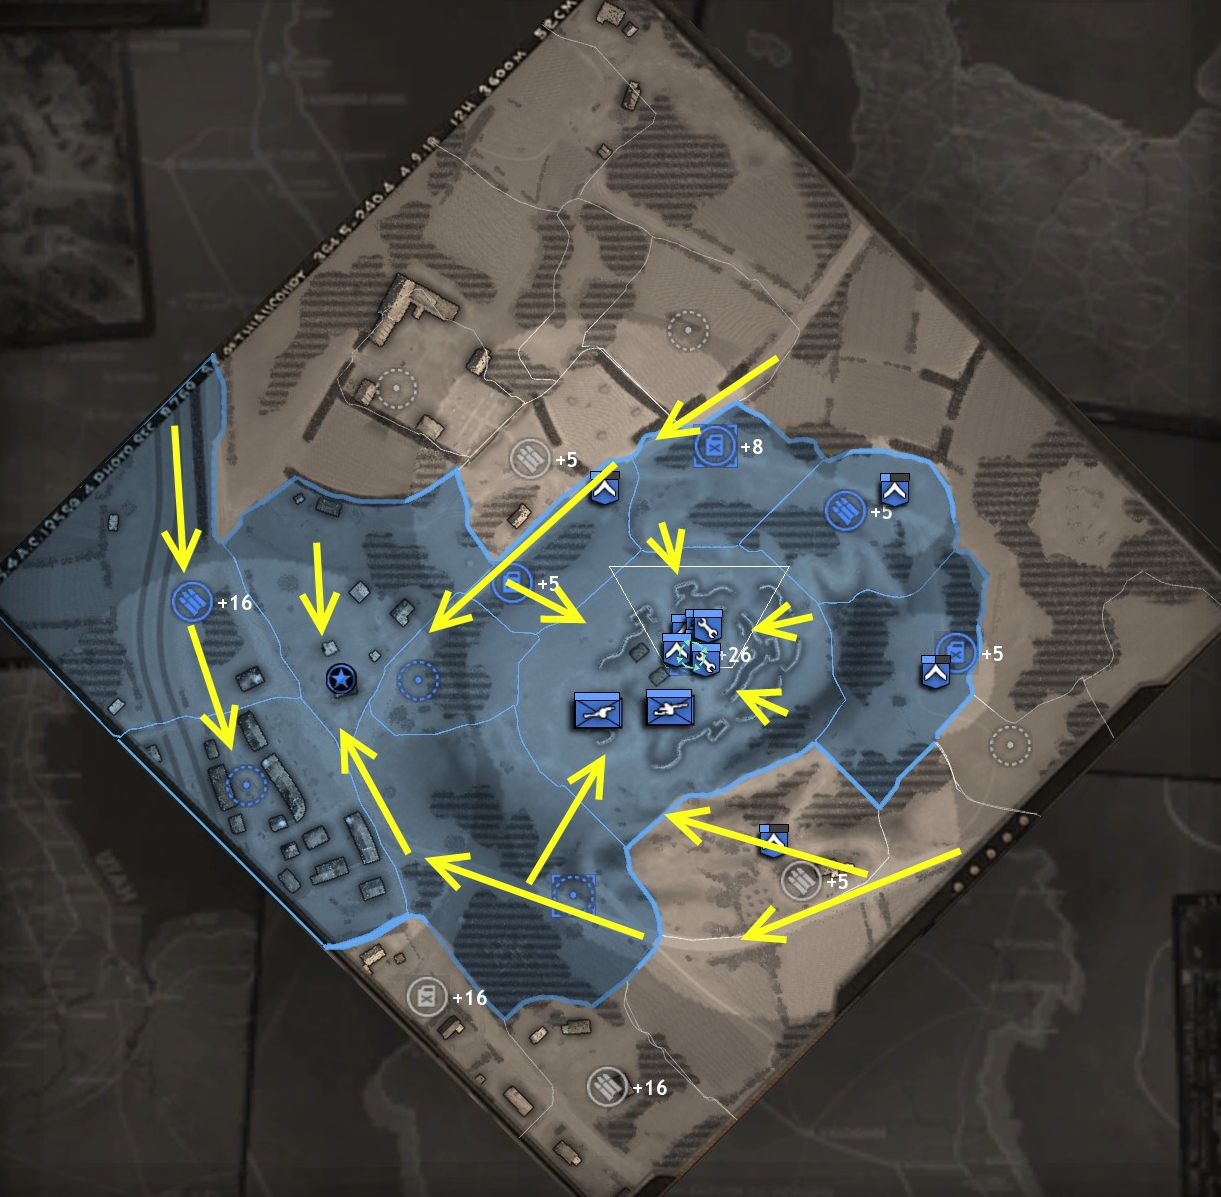
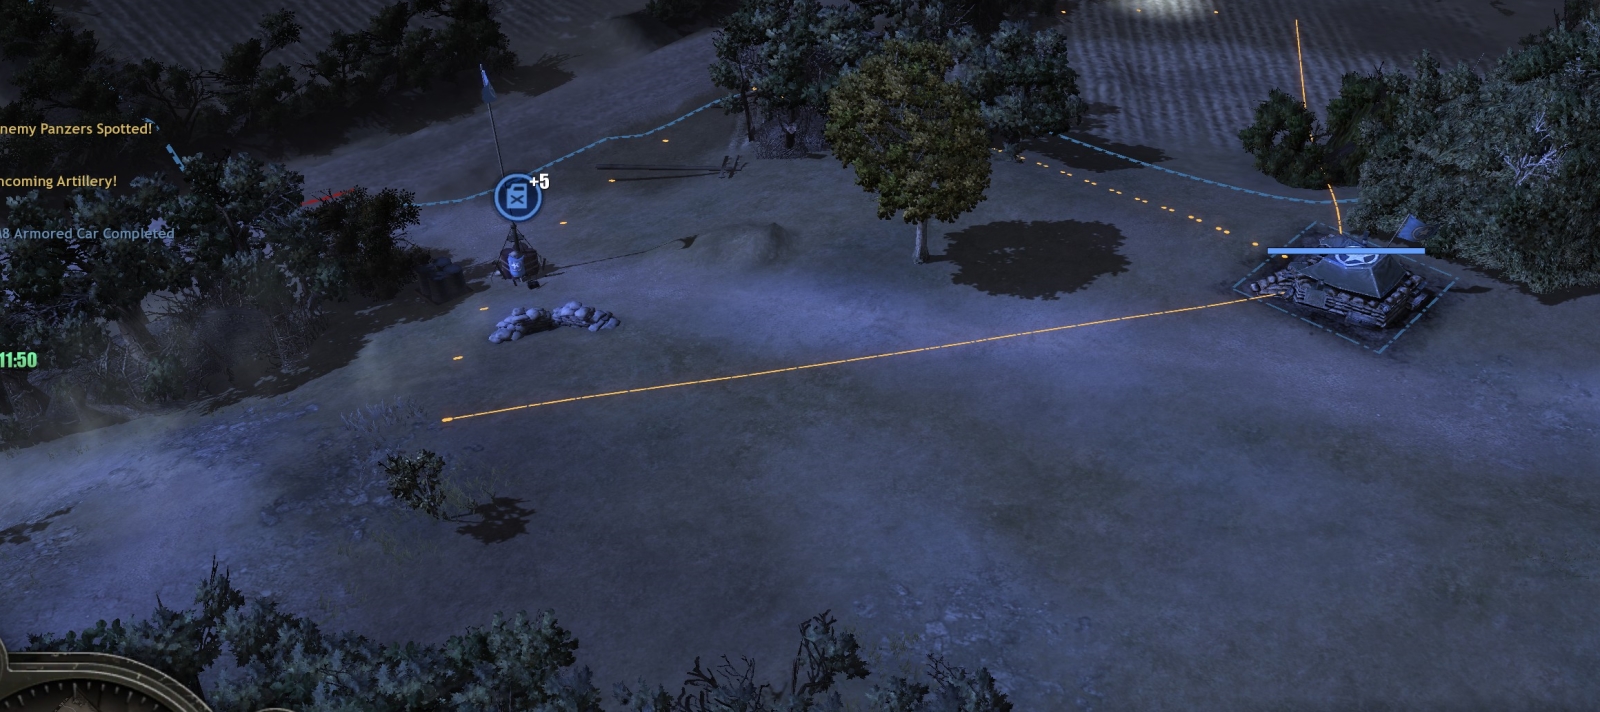
There are two areas you will need to defend: the hill itself, which has a barracks and support unit building; and the “town” which consists of a few civilian buildings plus a motor pool building and garrison house.
You will have only five minutes (until 25:00 on the mission clock) to prepare for the attack, and then you will have to defend against it for 20 minutes. Fortunately, even on Hard level the German “onslaught” is very slow and piecemeal—standard COH1—so you will be able to continue to build defenses throughout the attack.
The yellow arrows on the tac map show the main directions of German attack—where mines, TTs, wire, HMG emplacements can best pay off.
ENGINEERS
A.B.F. – Always Be Fortifying.
Bring in an extra 3-4 engineers at the outset.
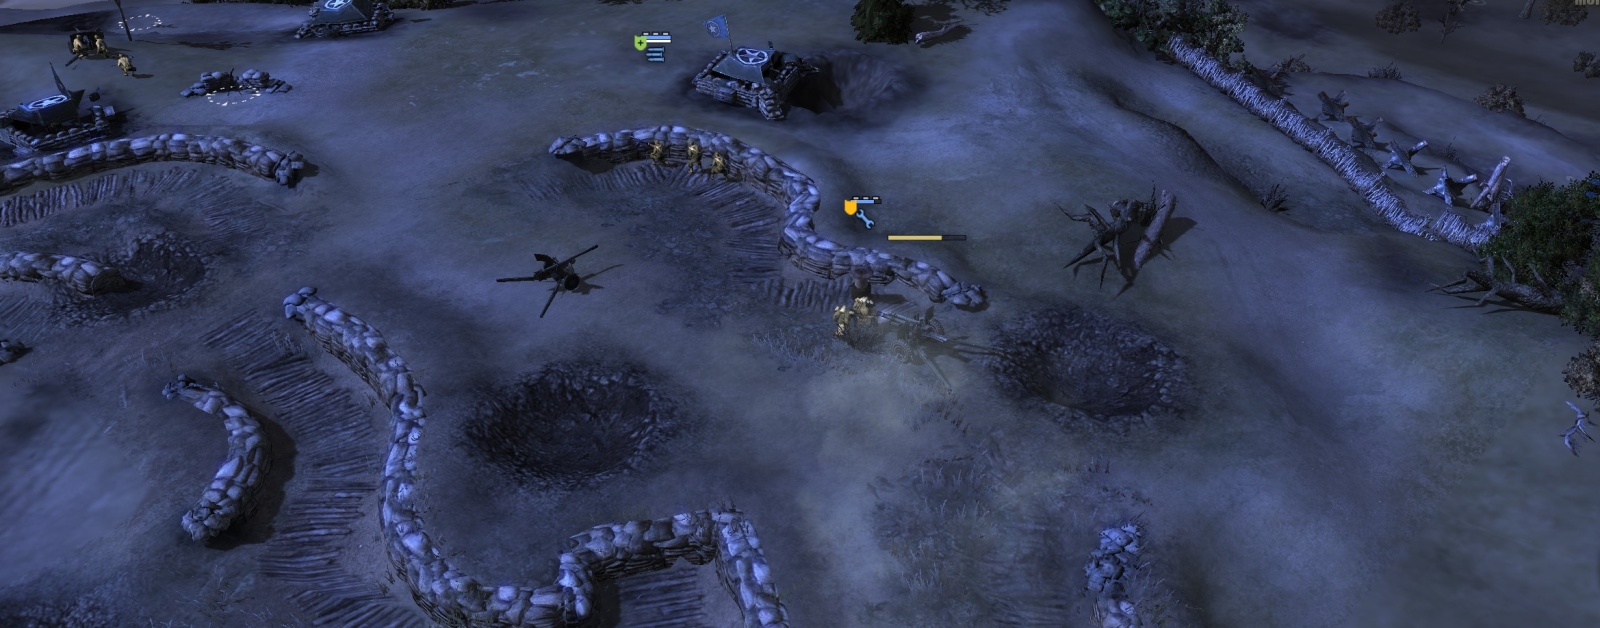
Build HMG emplacements around the rim of the hill, beginning with the north side (11 to 12 o’clock position) and moving clockwise.
Also build HMG emplacements close to and covering all approaches to the garrison building in “Mortain” below the hill.
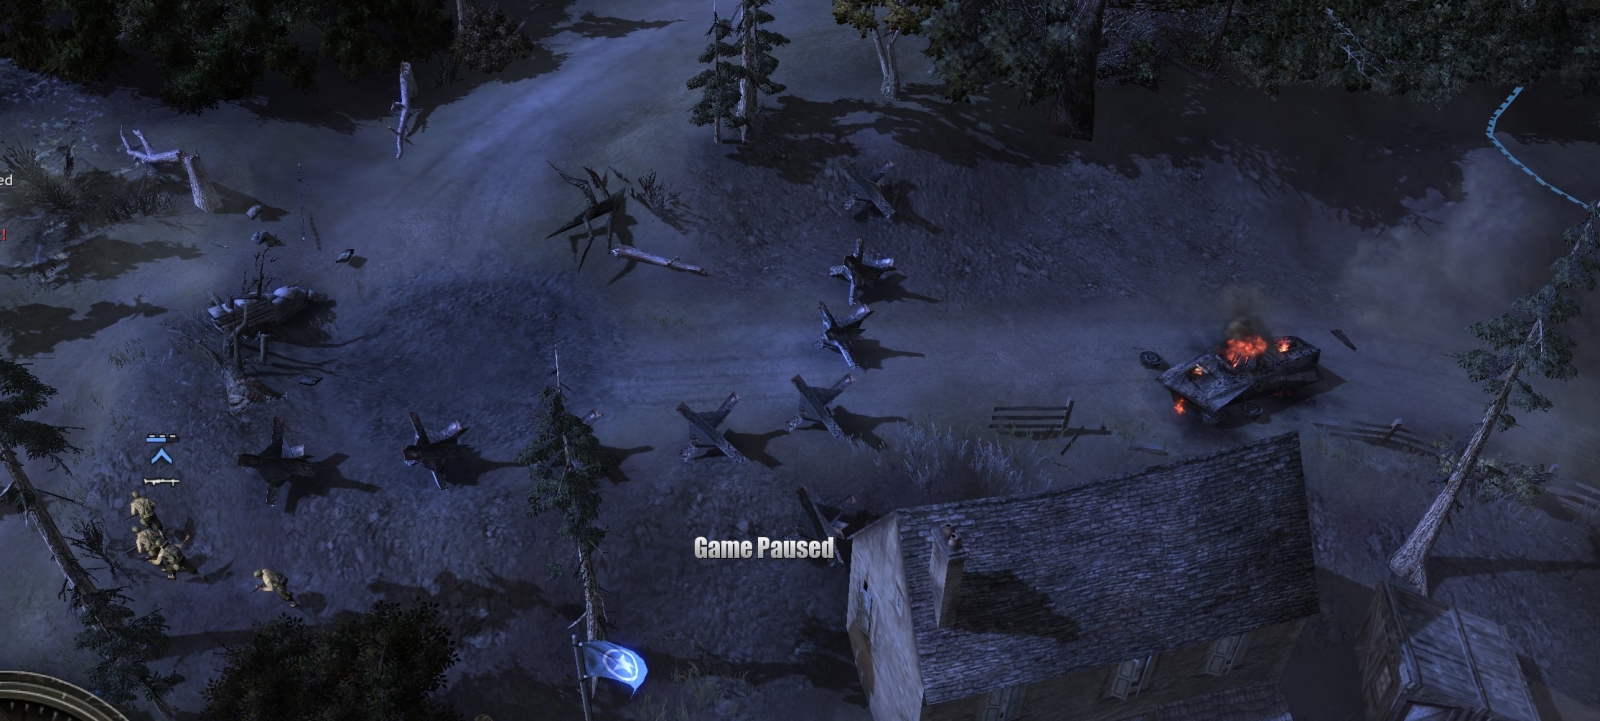
Lay tank traps and wire to block vehicles and infantry from coming up the hill via the gaps at the 2 and 4 o’clock positions.
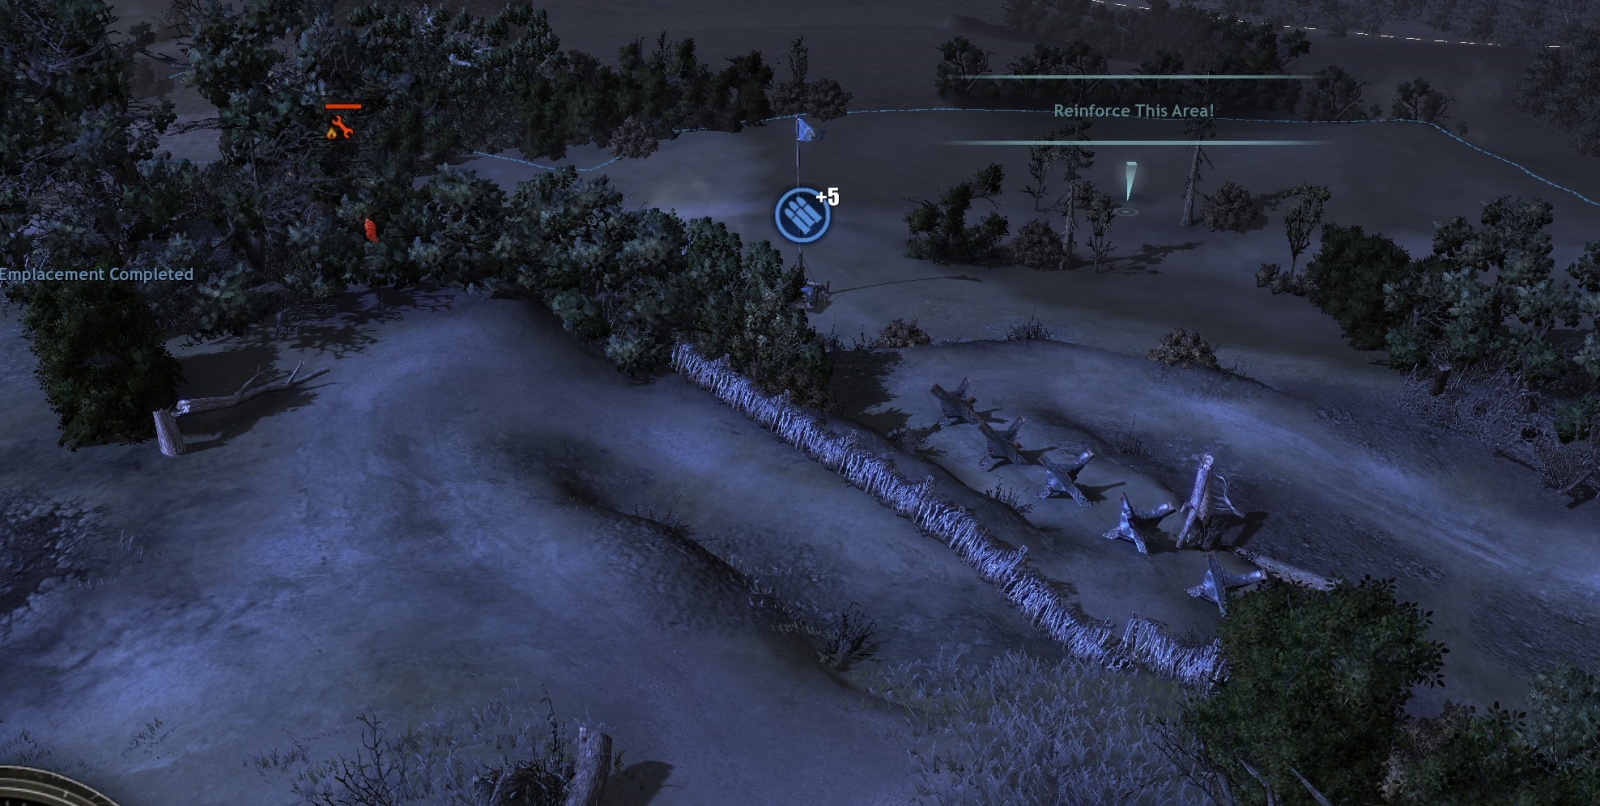
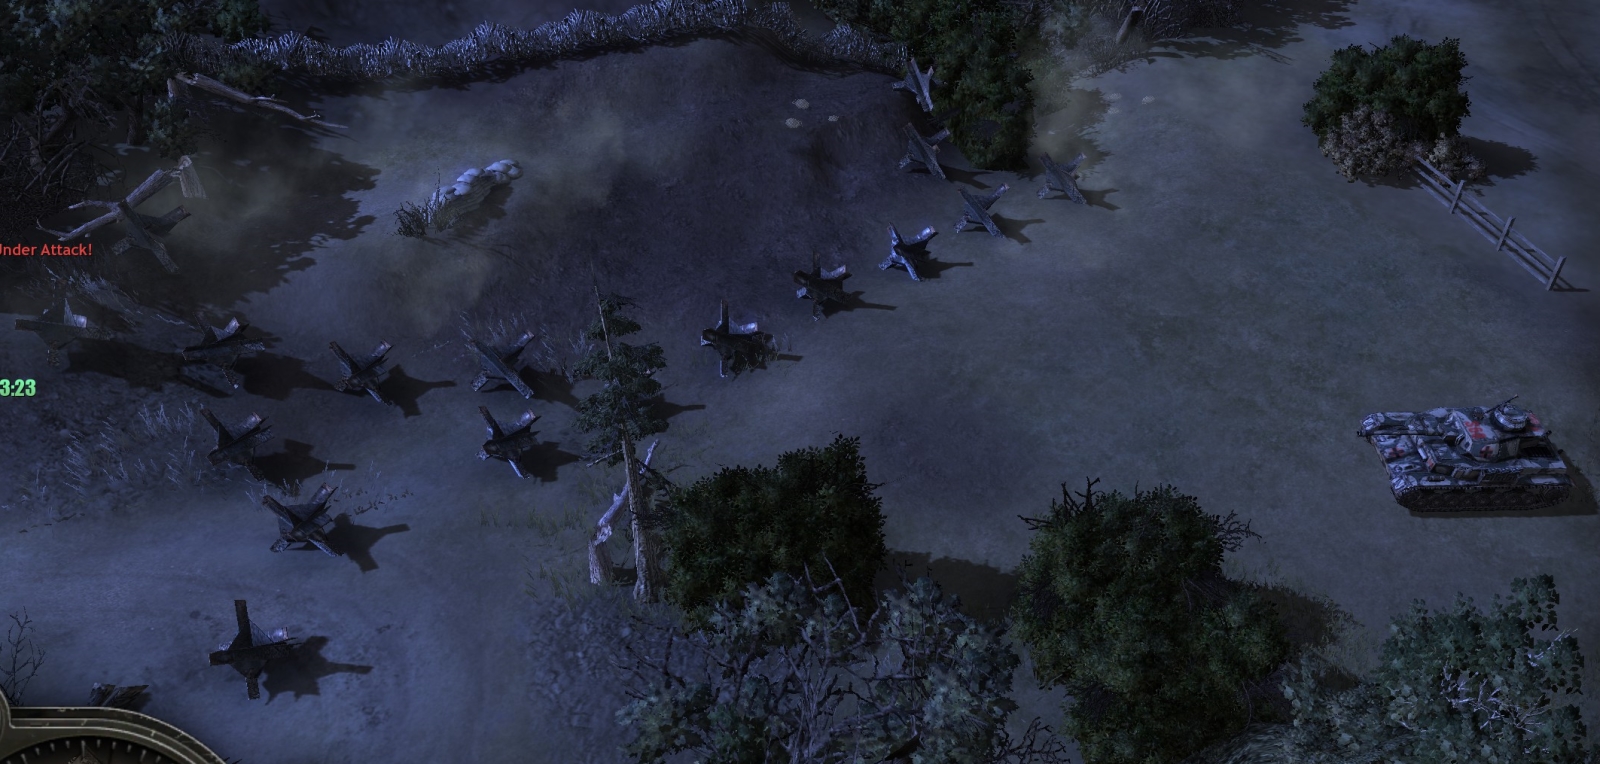
Lay mines along the main routes of German attack shown on tac map above, especially along the roads and to catch vehicles that get through tank traps. On roads, space the mines 10-15 m apart.
Lay tank traps to block the key routes by which the Germans will try to flank the hilltop positions.
RIFLEMEN SQUADS
Cap initial uncapped points around the map at the outset (except for the one near the church–see below), then crew some of the uncrewed HMGs lying around the map and set up around the rim of the hill (not in the center, which is routinely shelled).
One or two rifleman squads of 5-6 strength can provide support against infantry/armor attacks (grenades/sticky bombs) and can grab German LMGs and schrecks when available.
Once 1 commander point is available, select Defensive Operations so riflemen can join with engineers in laying mines/wire/TTs/sandbags.
HMGs
Set up HMGs in the outer revetments around the hill, especially covering the 11-12, 2, 4, and 6-o’clock positions. One or two HMGs can set up behind only sandbags but they will not survive for long in that position—use HMG emplacements for your most forward defenses.

AT GUNS
Need only one or two at the outset, since a significant flow of German armor does not come until late in the mission. You shouldn’t need to bring in new units since uncrewed AT guns are all over the hilltop. By the end, when there will be a German tank rush, you should have 4-5 AT guns firing away.
M3 WITH QUAD .50s
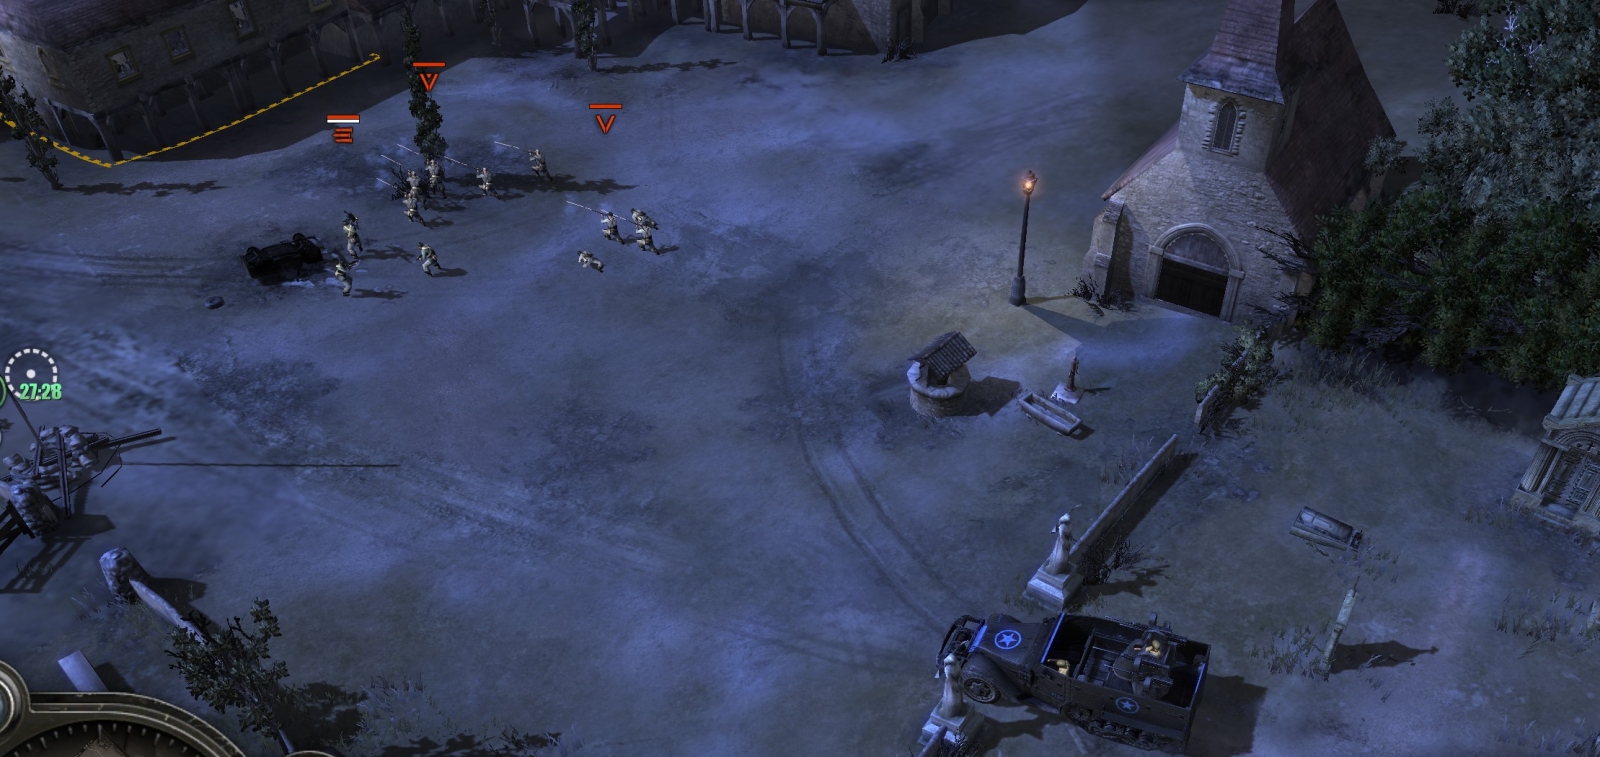
Bring one in after you bring in extra engineers, then send it to the church point at the northwest part of the map—it will encounter a German HMG and a couple of infantry squads firing at Rangers trapped in a house. Leave the M3 there to kill the German units and free the Rangers—which wins you the mission medal. The M3 with its blind gunners (a special program USA had in WW2) will take a long time to hit anything, unfortunately.
After that, the M3, now vetted up presumably (though it is always ludicrously nerfed), can help out against infantry assaults on the hilltop.
RANGERS
After being freed near the church, they should cap the church point, then serve near the Mortain garrison/base buildings as the main protection (other than mines) against armor attacks there.
HOWITZER
After the attack starts, you can use this on pinned German infantry or non-moving vehicles, as long as they are not close to tank traps, wire or minefields (the shelling will destroy TTs/wire/mines).
OTHER NOTES/SUGGESTIONS
The German attack breaks off not at 00:00 on the mission clock but at 00:45.
When there are 3-5 minutes left before the end of the mission, build a new howitzer (using commander abilities) on the hilltop rim at the 2 o’clock position. Having this howitzer here will be very valuable to you at the start of the continuation mission (“Mortain Counterattack”)—it will allow you to shell some German 88 positions—and your commander points and abilities will go to zero at the start of that mission, so you won’t be able to build a howitzer then. Be sure you have a spare 11 pop points for this as the mission winds down.
Use TTs and/or mines to block vehicle access to the Mortain/garrison area from the north along the main road.
TTs are helpful but you shouldn’t put complete faith in them. German vehicles sometimes will cheat blatantly by going right through them. Try to lay mines to catch those cheaters, if you have the muni points.
Also remember that German units are hugely overpowered, and are not suppressed by HMGs nearly as much as they should be.
Use commander points to get call-in artillery, which is expensive (150 muni points) but also probably the most effective weapon you have in this mission.
***