Your mission, once again, is to assume command of a puny, weak American force and use it to defeat in detail a hyperpowered and well dug-in but largely static German force defending a fortified hilltop and surrounding areas.
On the “hard” level, you get the mission medal if you cap the hill-fortress point in less than 40 minutes.
It’s generally a doable mission. However, bear in mind that your units as they move around can trigger different enemy behaviors—for example a tank attack on one of your positions, triggered instantly by your sending a new tank in that direction from your base—and some of these can put you in rage-quit mode (your units individually are weak against most attacks) even if it’s probably hard to lose the mission outright.
The method I recommend can be described in four phases or parts:
1) map/point control to the NE of your base.
2) map/point control to the NW of your base.
3) take the critical strongpoint near the NE extremity of the main road.
4) cross the road and fight your way to the German hill-fortress, killing all German units there and capping the point.
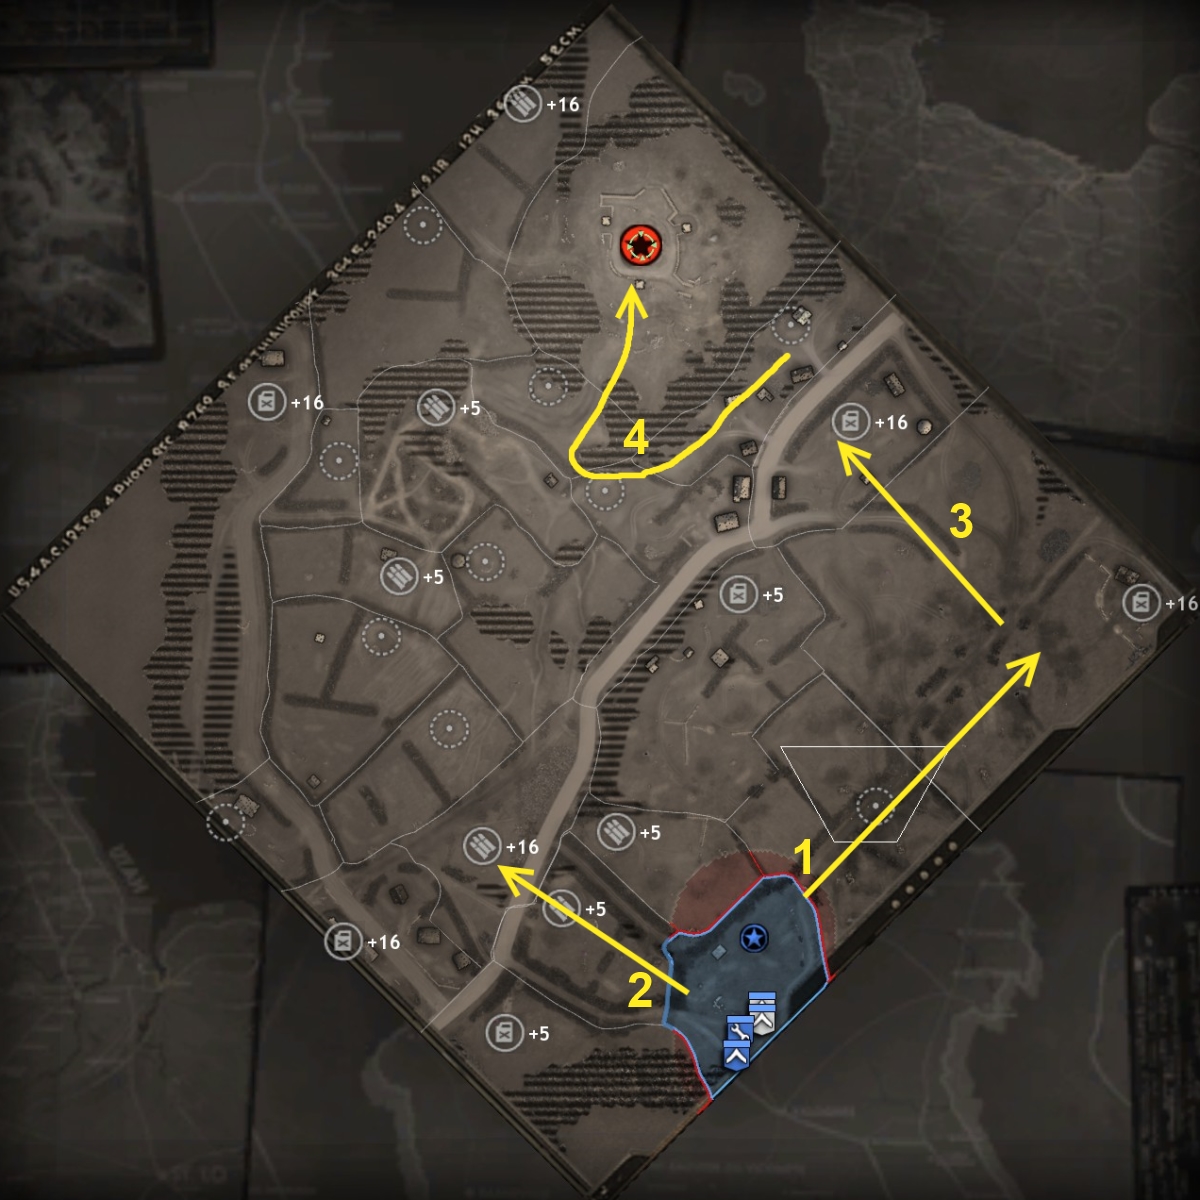
Note that the first two phases should be accomplished more or less simultaneously. At all times, conserve muni points and use your command points to get the call-in artillery capability, which will be very important when you assault the hill-fort.
1. NE MAP CONTROL
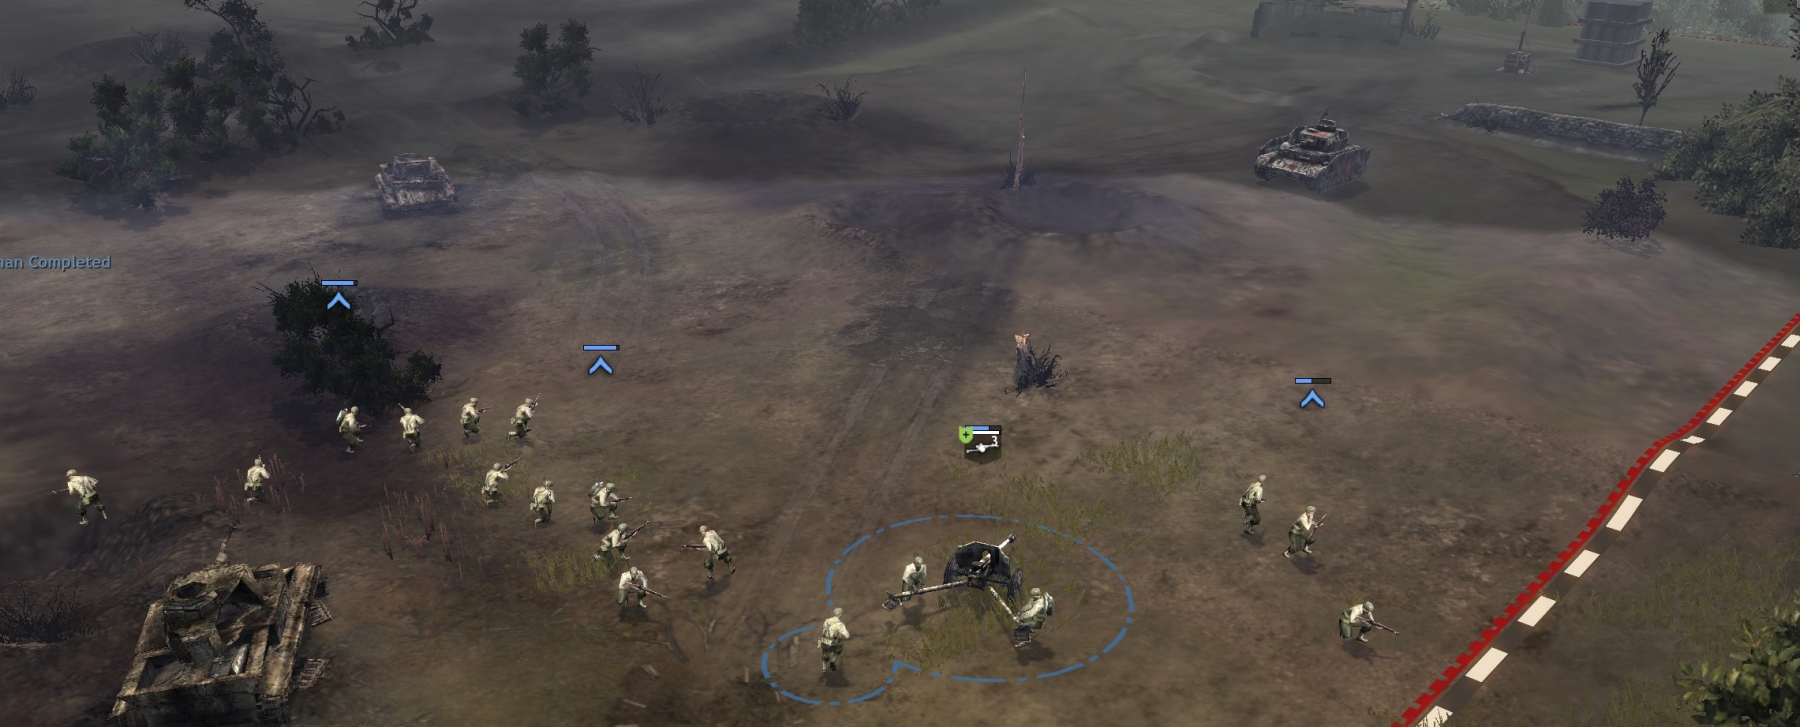
Your starting three rifleman squads should move immediately to the first point to the NE. They might have an easier time of it (fewer German units encountered) if their path stays close to the map-edge. Between the point and the map-edge they will come across a crewed Pak-38.

They should decrew it and re-crew it—rifle fire should be enough to de-crew (your rifleman squads have grenades, but grenades cost muni points which should be conserved in this mission). Take the point. Fight off any German infantry squads that attack. Move with the Pak further NE about 50 meters, infantry in front, until you see the Panzer IV just SW of the fuel point in the map corner. Use the Pak at max range to kill the Panzer—often the tank will just sit motionless until it’s killed. If that tank tries to close the range, your rifleman squads can use their sticky bombs to complement the Pak fire.
Reinforce your force with a Sherman as soon as the first one is built. You should expect one or two more Panzers to attack from the north. When you’ve killed them, move your force to the fuel point (de-crew the second Pak you will find there), cap it, and put an observation post on it. Defend against further German armor attacks, which will come from the north every few minutes.
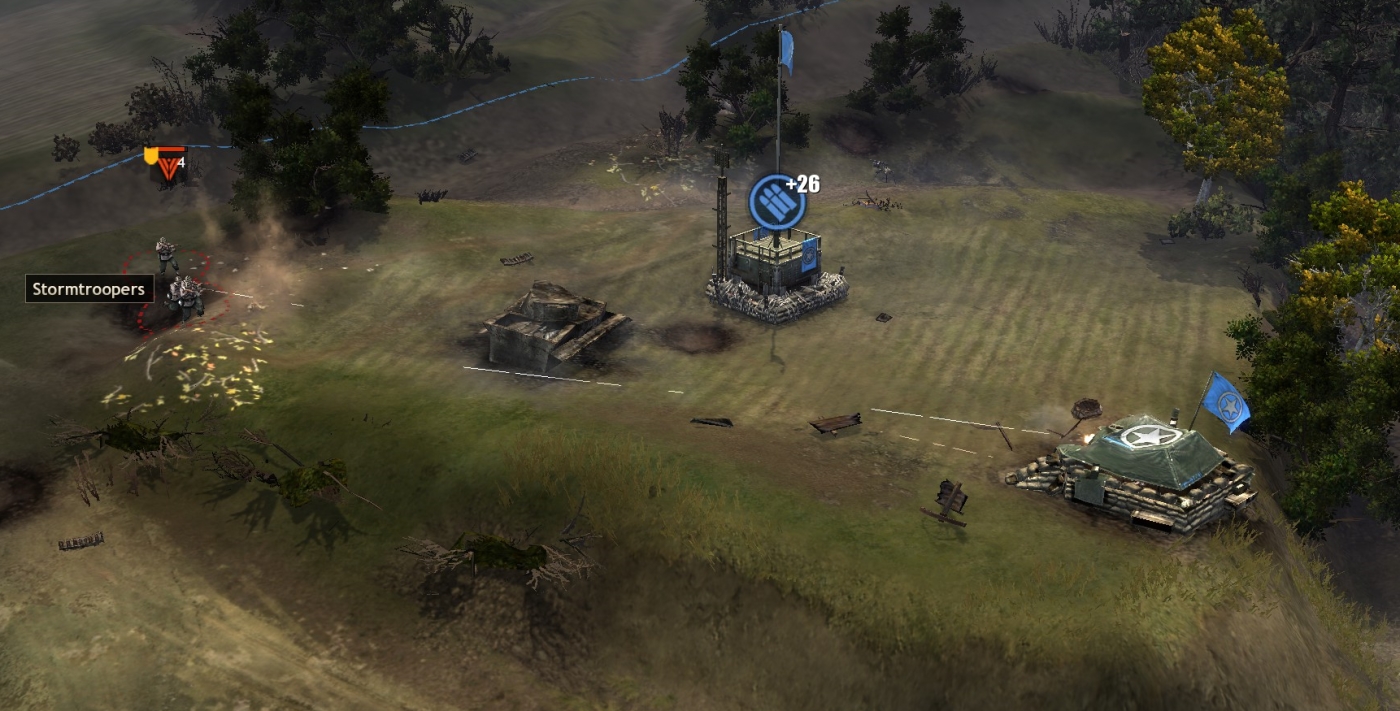
2. NW MAP CONTROL
At the start of the mission, your engineer team, with help from another one you bring in, should build a supply yard, then a tank depot. You should bring in a Sherman and get it over to your other force without delay. As soon as the tank depot is constructed, a Sherman Calliope and Crocodile will arrive from the bottom of the map. Use them, and your engineers, and the second regular Sherman you bring in, to take the two muni and one fuel point nearby to the NW of your base, below the main road. These points usually don’t have much more than HMGs and bunkers. (Those across the road are another story.) You will get shelled by a mortar team situated near the muni point across the road. Kill it from range with your Calliope, or burn it from up close with your croc, but in the latter case, beat a hasty retreat to avoid the Panzer IV, schreck infantry, snipers and other bad stuff up there. Also look out for Goliath drones—your vehicles have an odd tendency to become very slow and sluggish when one of those is near. When you have capped these three points, build observation posts to boost point flow, and HMG bunkers to guard against re-caps—this will at least delay the inevitable (and inevitably successful) German counter-attacks on these positions. Remember that your bulldozer croc should be knocking down hedges wherever possible.
3. TAKE THE STRONGPOINT
In addition to the usual nasties, this place has a Walking Stuka rocket launcher. Also, schreck infantry and an 88 emplacement are positioned along the road nearby to the SW, so stick close to the fuel point. You will need your entire force for the assault on this strongpoint, and by this time you should have three or four Shermans plus the croc and Calliope. The assault should come up from the fuel point you took earlier, at the east corner of the map. Heal up your armor before moving onto the next phase. Turn one of the buildings at this point into a garrison for new units.
4. ASSAULT THE HILLTOP FORTRESS
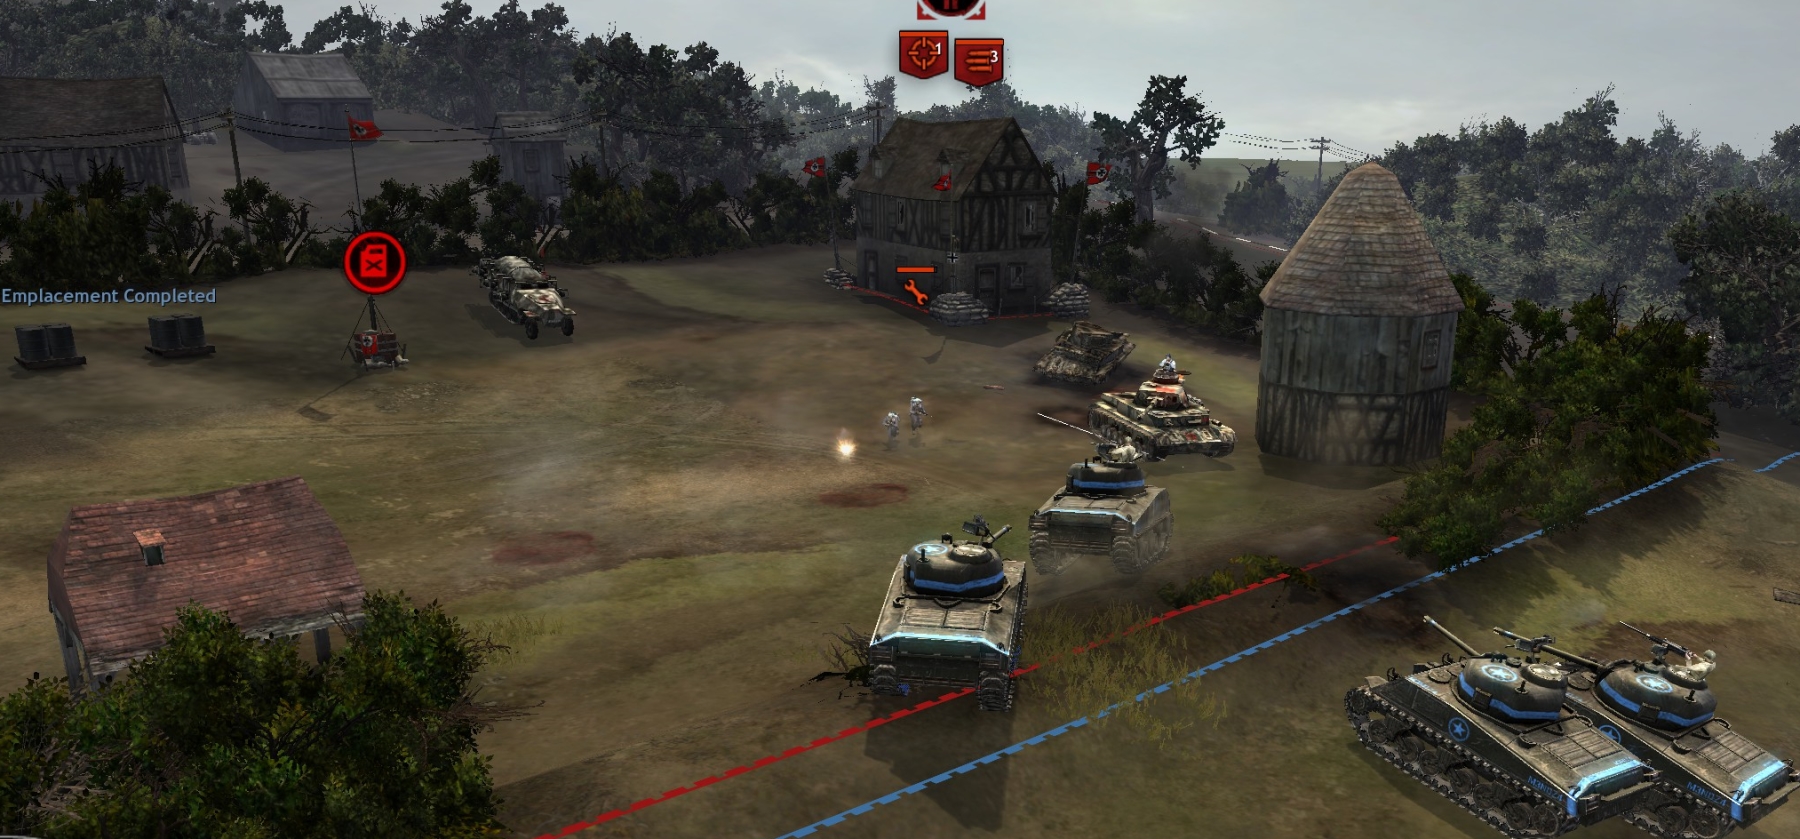
From the strongpoint/fuel-point you just took, led by your hedge-sweeping dozer, move across the road and cap the point there. Immediately form a line of your tanks near the point and facing southwest—the direction from which German attacks will come. You will probably have to kill two or three Panzers now, and you might lose one or two of your own.
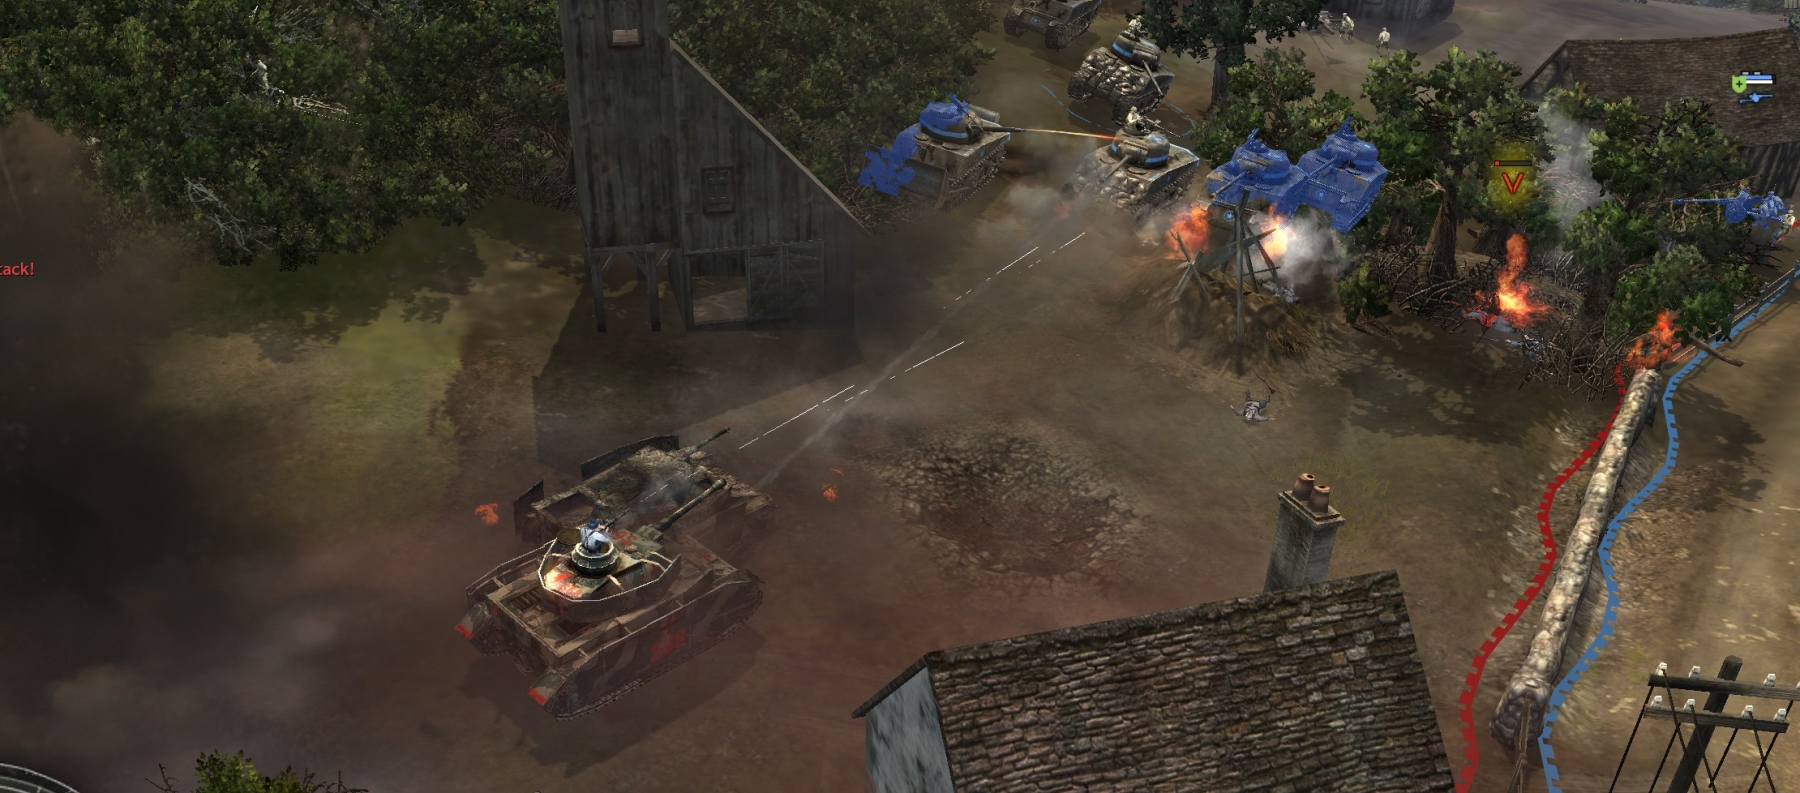
When those armor attacks have ceased, and you have healed up and reinforced, move your armor, leading with your bulldozer croc, further southwest/west and around the edge of the trees and through the hedge (see image below) to create access up to the hill fortress.
You will be battling German infantry here including schreck-shooters and a Pak-38, and as you get close to an HMG bunker the Germans have on the north side of the hedge, rocket artillery will start raining down from off-map. Your croc should have moved right past the bunker to clear tank traps blocking the way to the hill fortress. (At this point, use your call-in artillery to wipe the Paks facing south from the fort.) Your Shermans should hang back until the German rocket barrage near the bunker is over, then quickly destroy the bunker and move up to the hill fort.
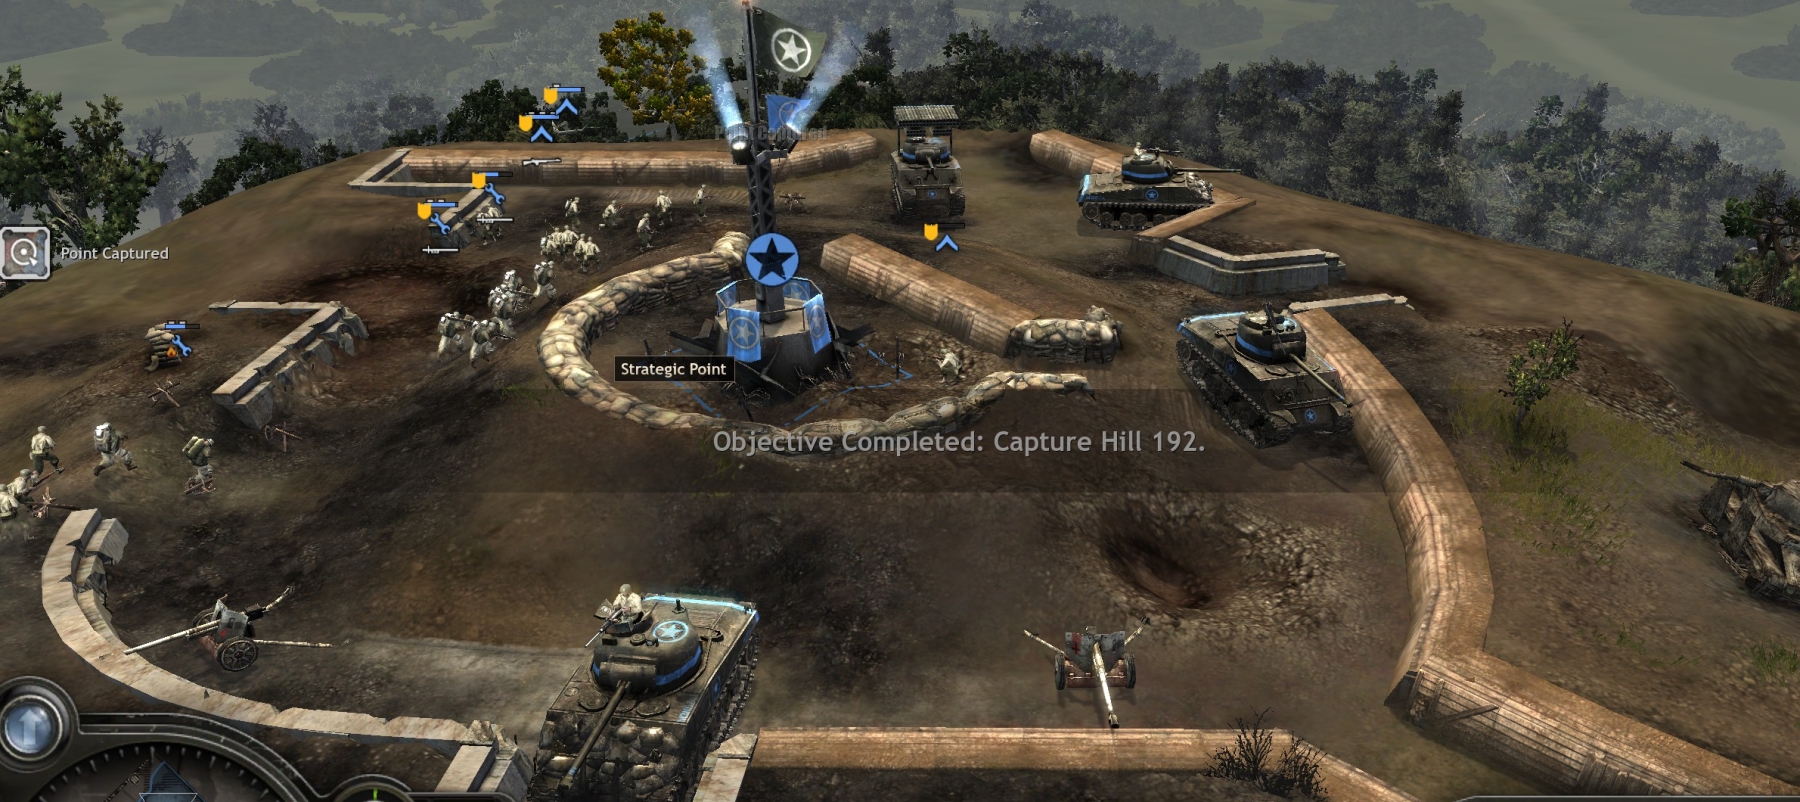
Your armor should move quickly past the Paks at the southern end of the fort, should stay outside the west edge of the fort, and should find favorable positions at the north end of the fort. The Panzers and schreck infantry defending the fort are your top priorities. Your infantry can follow once you thin out fort defenses including HMGs, and they can then cap the point in the center of the fort for the victory.
The other way to play this mission is to ignore the east side of the map and come at the hill fort by circling around the western side. Unfortunately, the defenses on the west side seem a lot stronger. They include an observation post from which absurdly accurate rocket fire will instawipe your squads and vehicles as they make their plodding way to the top of the hill.
***