The conceit in the “Hebecrevon” mission is that seven Panthers have escaped the Allied advance, so you must gather an armored force to track them down and wipe them out amid the bombed-out ruins of a town called Hebecrevon.
A few key points up front:
It’s not historical, but in this mission the bombed-out ruins serve not as a refuge for a few tanks, but as an organized and well defended base for a large mass of German vehicles (the Panthers plus many Panzer IVs, StuG IVs, Ostwinds, Pumas and flamer-251s). As always, this German force collectively outnumbers and outguns anything you can field, but is mostly in defensive positions—so it mostly can be destroyed one piece at a time.
The German AI here often materializes tanks at various places on the map—they go suddenly from being absent on the map to being present—to create “ambushes” of your units.
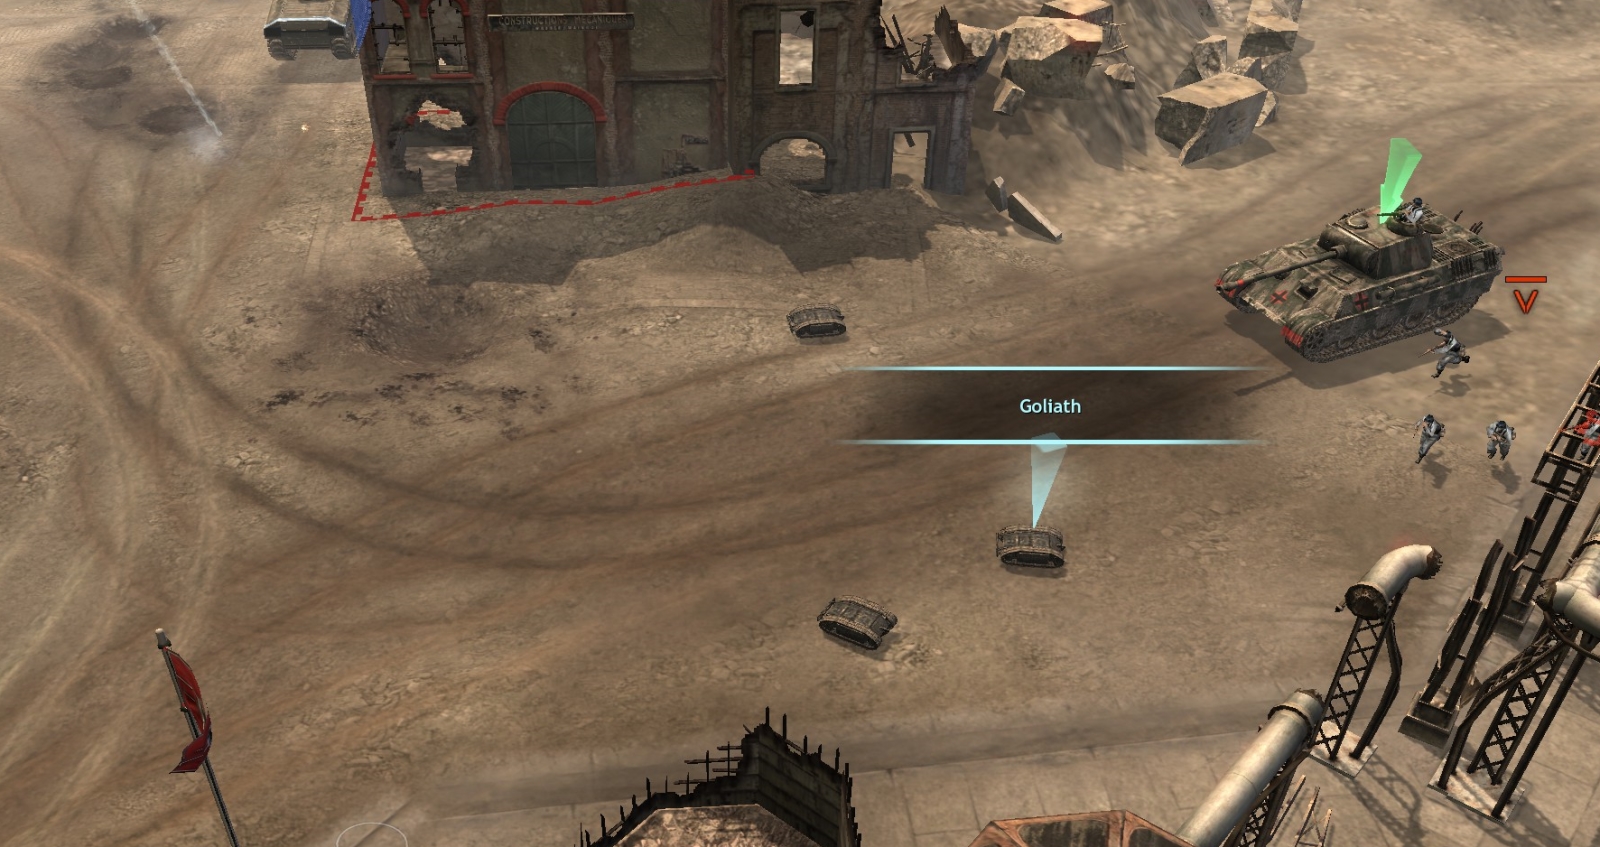
The Germans also will throw at least several Goliath drones at you during the mission, and unlike the actual ones used in WW2 these drones are untethered, long-range and basically autonomous (anticipating 21st-century tech).
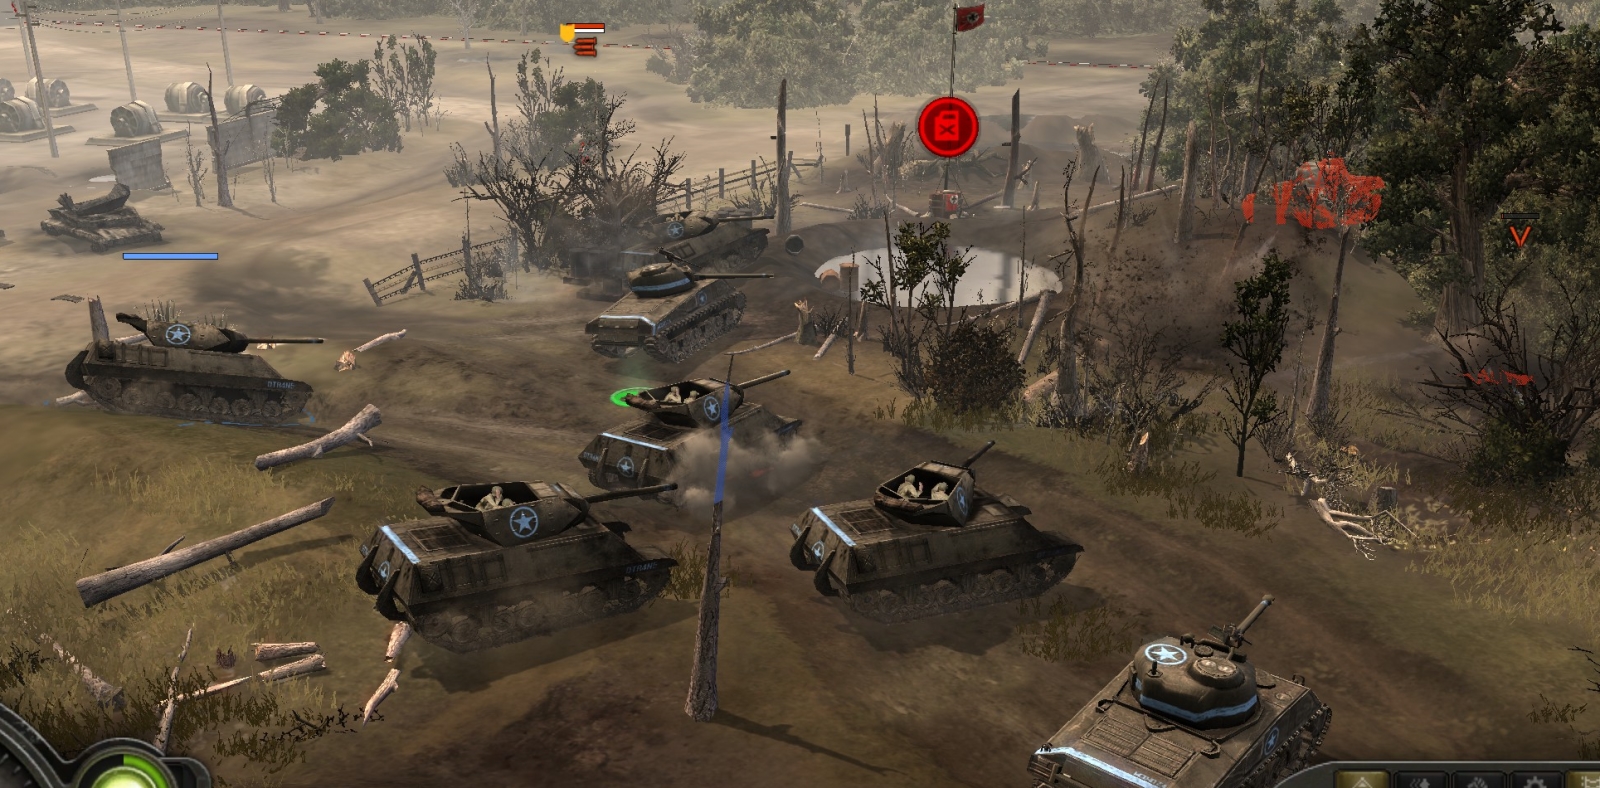
Your Shermans and Wolverines are fragile, offensively weak, and ungainly in maneuvering, with no easy way to back away from danger.
If you want the mission medal, you can’t lose more than five tanks.
It’s a bit of a grind, therefore, especially if you want the medal.
The strategy is simple, though: Build up a mix of Shermans and Wolverines, send them out on short expeditions to clear muni and fuel point areas and tangle with armor, keep your engineers in base to handle repairs as well as extensive minelaying to protect the base, and be ready to send tanks back to defend your base when the Germans decide to mess with it, which they will.
Here is the starting tac-map, with some numbered sites that are explained below.
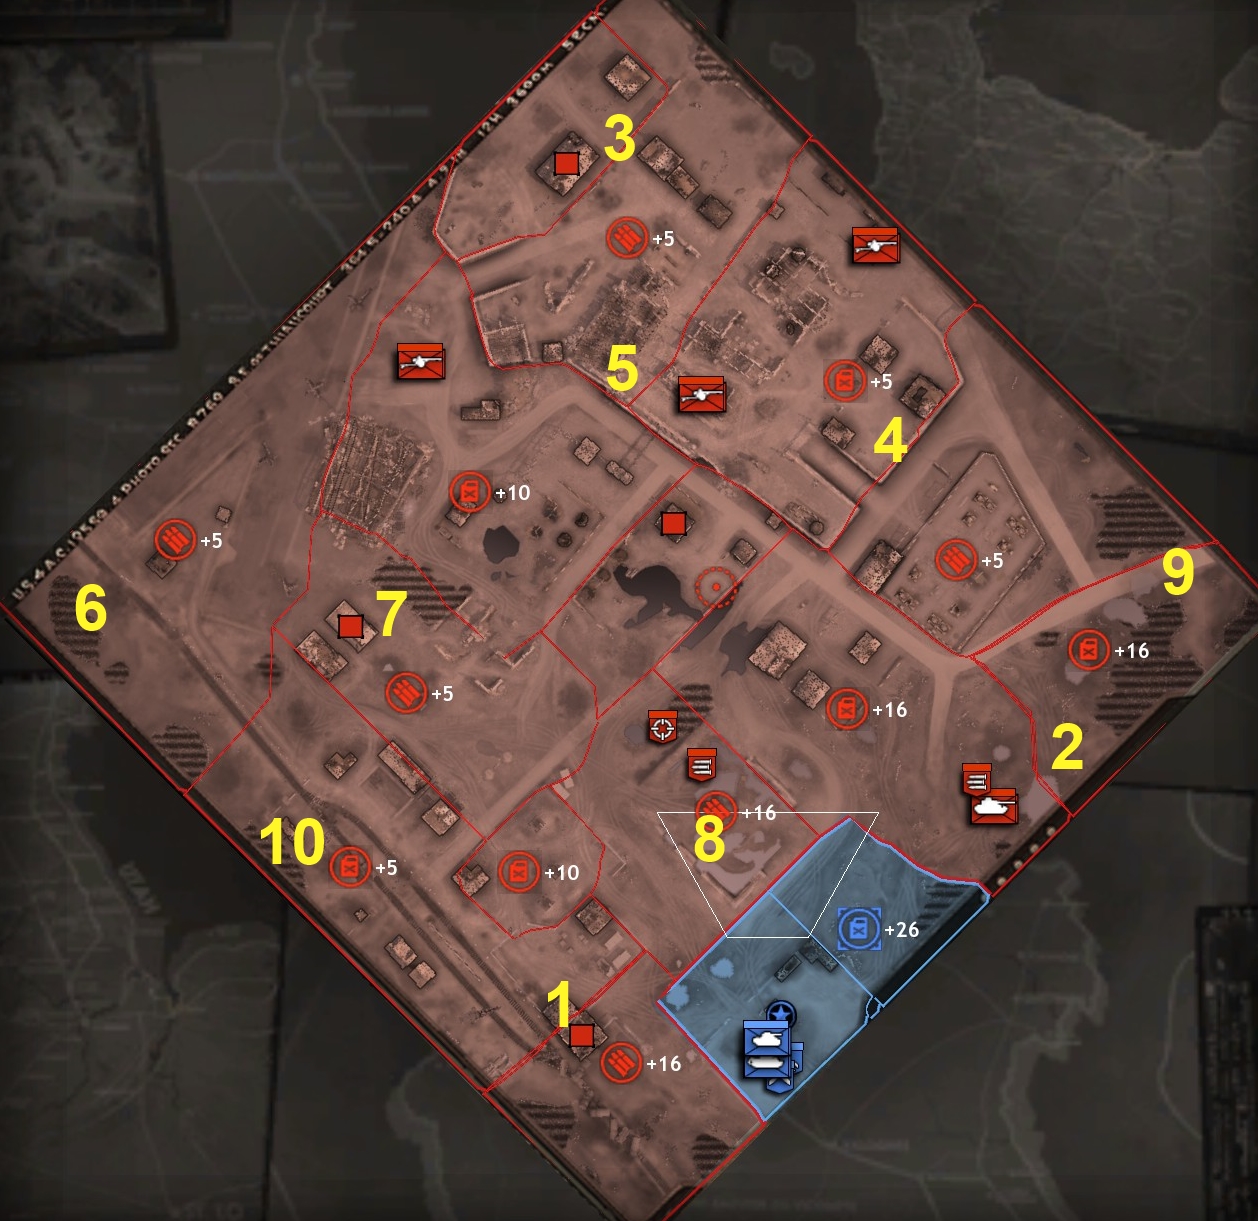
1. If you kill the HMG squad in the building next to the muni point and continue to the NW, you will encounter a Panther—and at that moment a StuG will pop out of that red-marked building to cut off your retreat. You can fire at that building from the NW side to flush it out early.

2. When you approach this area, you’ll see a Panzer IV and an HMG. But a Panther also lurks in the woods behind and will materialize if you get close or if you try to pass it on the road. So don’t venture into this area without a large force.
3. This is the main German base. You can get into it from the south fairly easily, but once you are inside it, you can expect attacks from a variety of German armored units plus Goliaths. Unfortunately, destroying all base buildings doesn’t end the mission.
4. This is a “trap” area with strong AT defenses—do not venture into it from the south or east.
5. A Panther and its babies (Goliaths) lurk here.
6. German armor and infantry reinforcements often enter here from off-map.
7. Sniper in building
8. Earth berms create bottlenecks for you at the entrances to this area, which German armored units will exploit.
9. German armor and infantry reinforcements often enter here from off-map.
10. German infantry reinforcements often enter here from off-map.
Especially toward the end of the mission, as the number of Panthers dwindles, one or more of those remaining Panthers, with other armor in support, will attack your base. Mines laid earlier can help thwart this attack.
In this mission, I never seem to earn a lot of commander points, but if I did, I’d want to use them to bring in a Sherman Calliope. Indirect fire is something that the US side could really use here, and US mortars are very weak.
***