The Cherbourg mission is a slow, city-clearing grind requiring patience and suspension of disbelief (Germans outnumber and out-gun Americans on this map by >20:1) but not a great deal of skill—there is really only one way to play it.
The mission has six parts or sub-missions, beginning with the establishment of an initial US base at the southwest corner of the map and culminating with the destruction of the city’s main German base within a port complex at the northeast corner of the map.
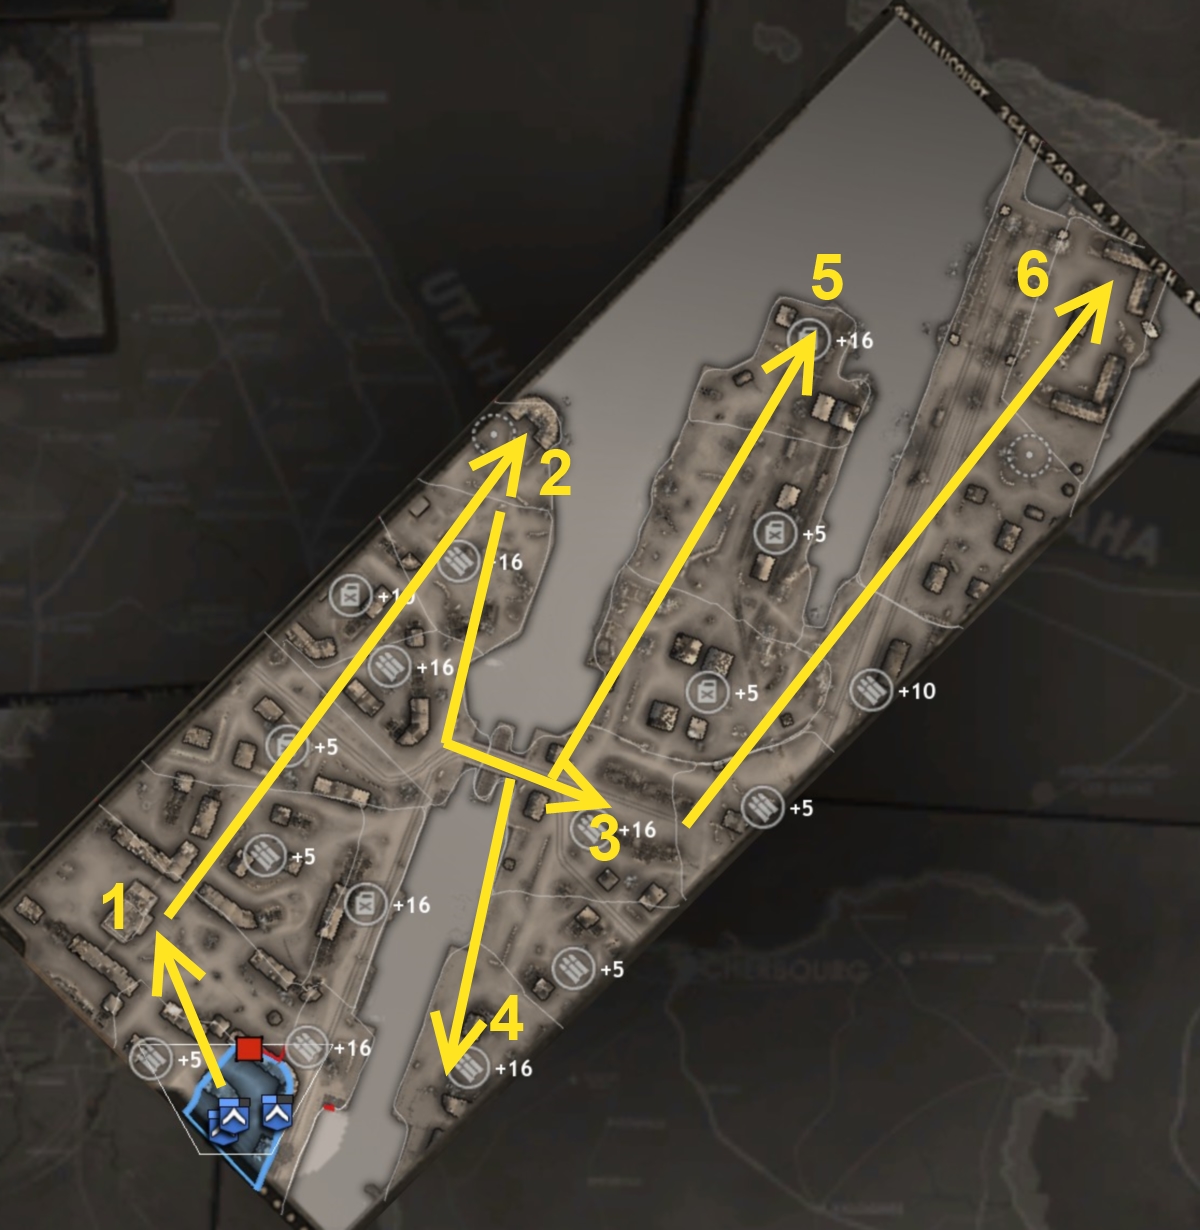
1. ESTABLISH YOUR BASE AT CITY HALL
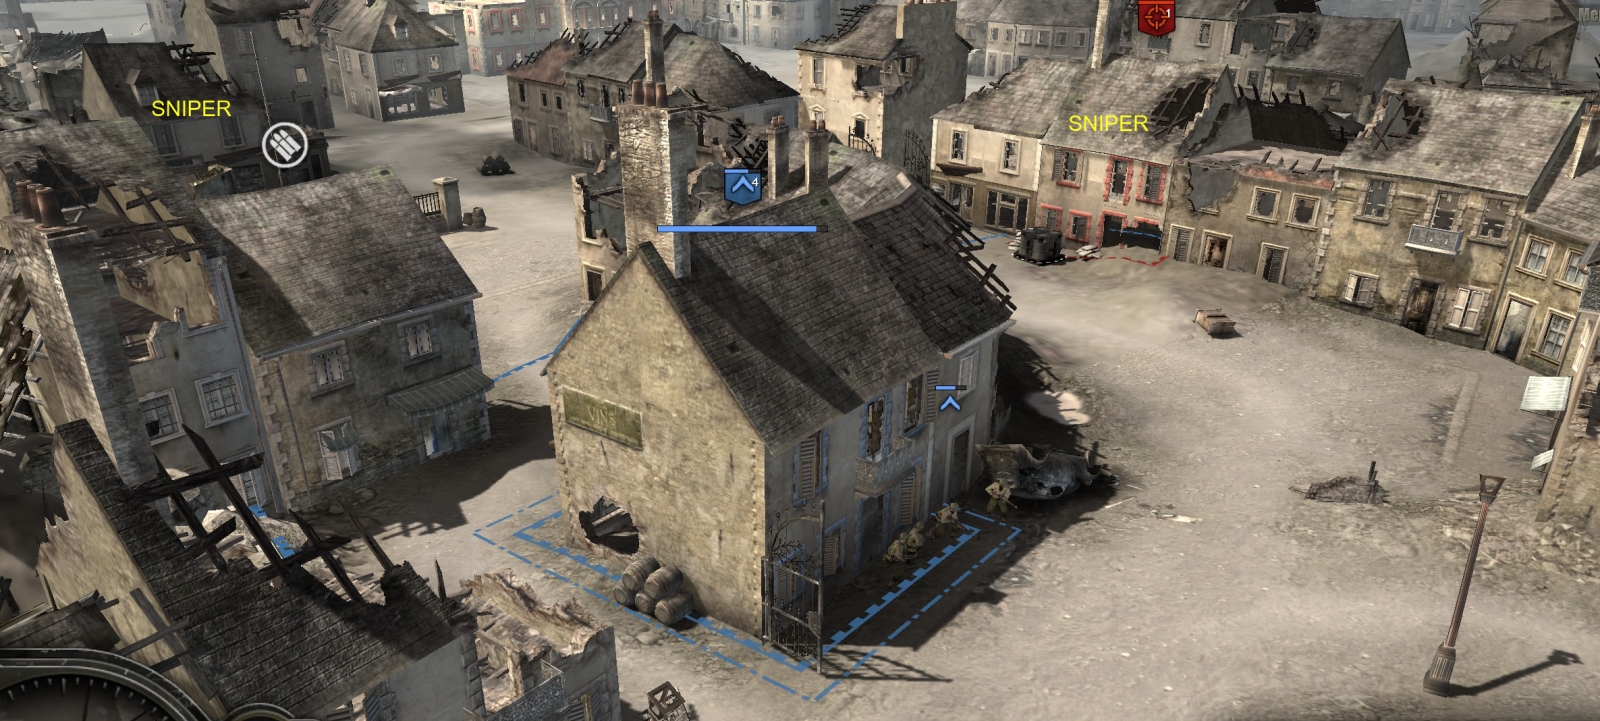
You start with a few partial-strength rifleman squads. There are German snipers in two buildings nearby, so your units should move with caution. First, occupy a safe building and upgrade it to a garrison.
Reinforce your three units. Rush and grenade the sniper to the north of your initial position, then grab the fuel stores in front of that building. Gather abandoned panzerschrecks that are visible nearby, when you can do so without being vulnerable to sniper fire. Cap the muni point to the left (abandoned schreck lies next to the point). Watch out for the sniper in a building past the muni point, and for mortar shells incoming from the city hall area nearby.
When you cap the muni point, some US armor (a standard Sherman and a Sherman-crocodile) and infantry reinforcements will arrive from off-map. Use the armor to kill the remaining sniper near the muni point and then to wipe out all German units in the city hall area (including Ostwind, mortar teams, MG42, and infantry with panzerschrecks).
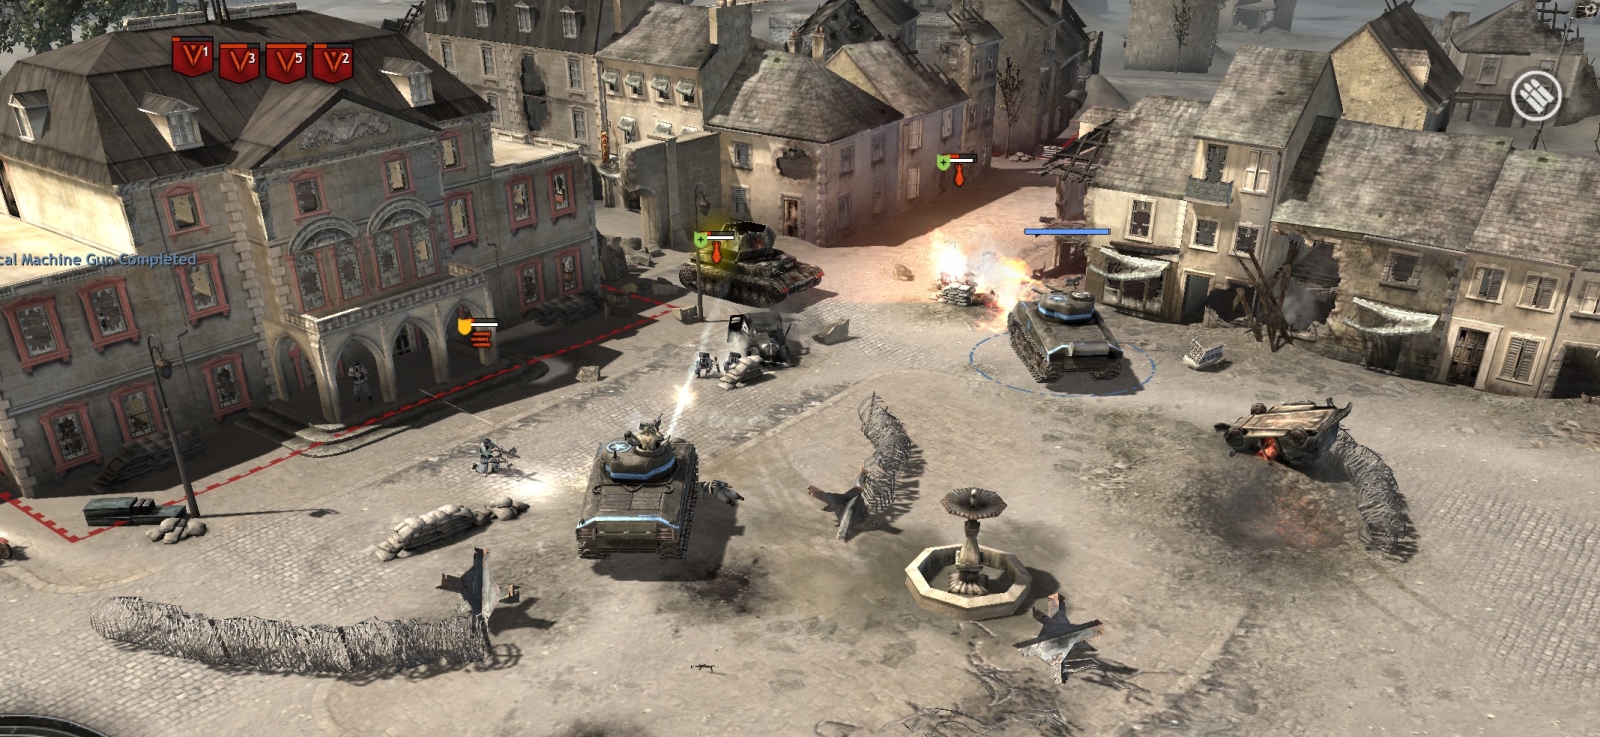
When this is done, the city hall will become your base. Send your armor to start clearing the area to the immediate north, while your engineers start constructing base buildings to the east and west of city hall. Plan on having five or six Shermans, two engineer teams, two mortar teams, and a few rifleman squads (which can load up on abandoned LMGs and schrecks as they work their way across the map).
Grab fuel and munitions caches wherever you see them. Build observation posts on all the points you cap.
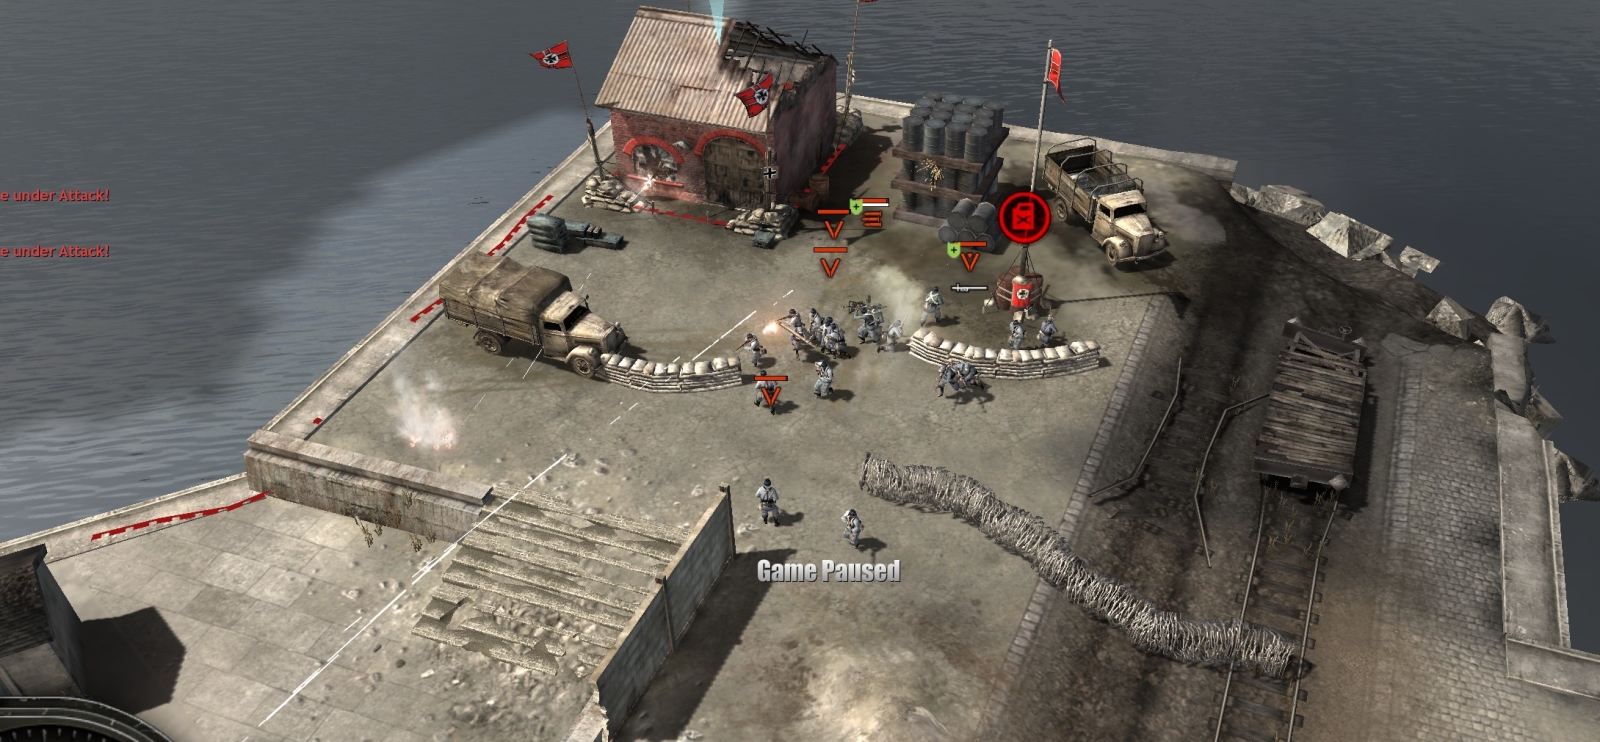
2. DESTROY THE COASTAL GUN BATTERY
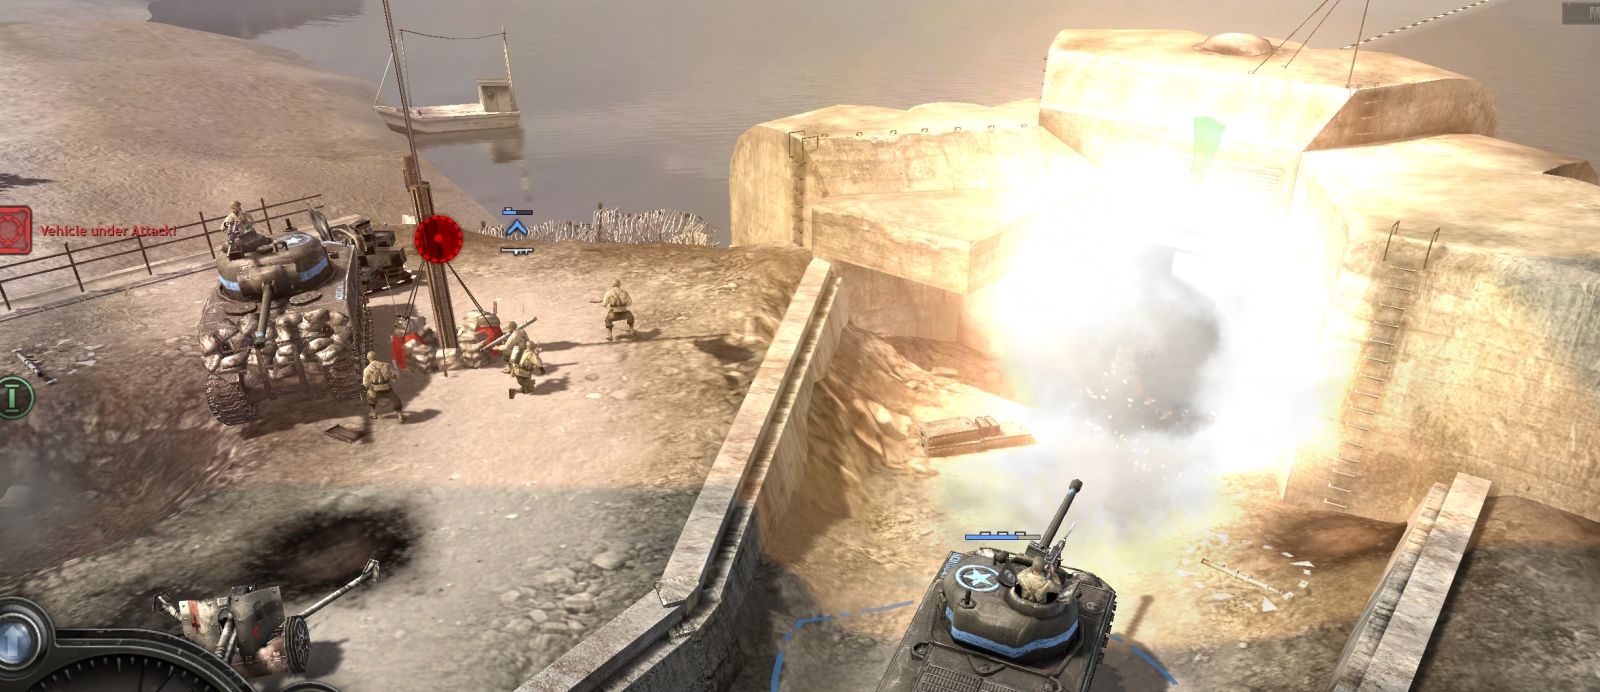
Move your force slowly north toward the top of the western spur of the port area, capping points as you go. Keep your armor in the lead, and make sure your tanks are not bunched up. The concentration of schreck-wielding German infantry and Pak-38s increases as you get closer to the concrete coastal artillery bunker at the water’s edge, and your tanks can easily get into very dangerous situations.
There is a small German base along the western edge of the map. From here to the coastal artillery bunker, you’ll face multiple Paks, a 20-mm flak gun, schreck-wielding infantry, mortars, and so on. Use your mortars (possibly with a jeep scouting ahead) to thin out the most dangerous German units. Then charge the coastal artillery bunker with your tanks (even though they are coded to be sluggish) which should get behind the Pak and flak gun to de-crew them. Once you have killed all German units visible in this area, use a round from one of your tanks to blow off the landward door of the bunker and another to blow up the munitions inside. When you have done this (there are plenty of UI prompts), US naval artillery will become available for the rest of the mission.
This US naval artillery is very useful and you want to max muni cache captures and muni-points flow (>150 pts/min is doable) so that you can use it almost continuously.
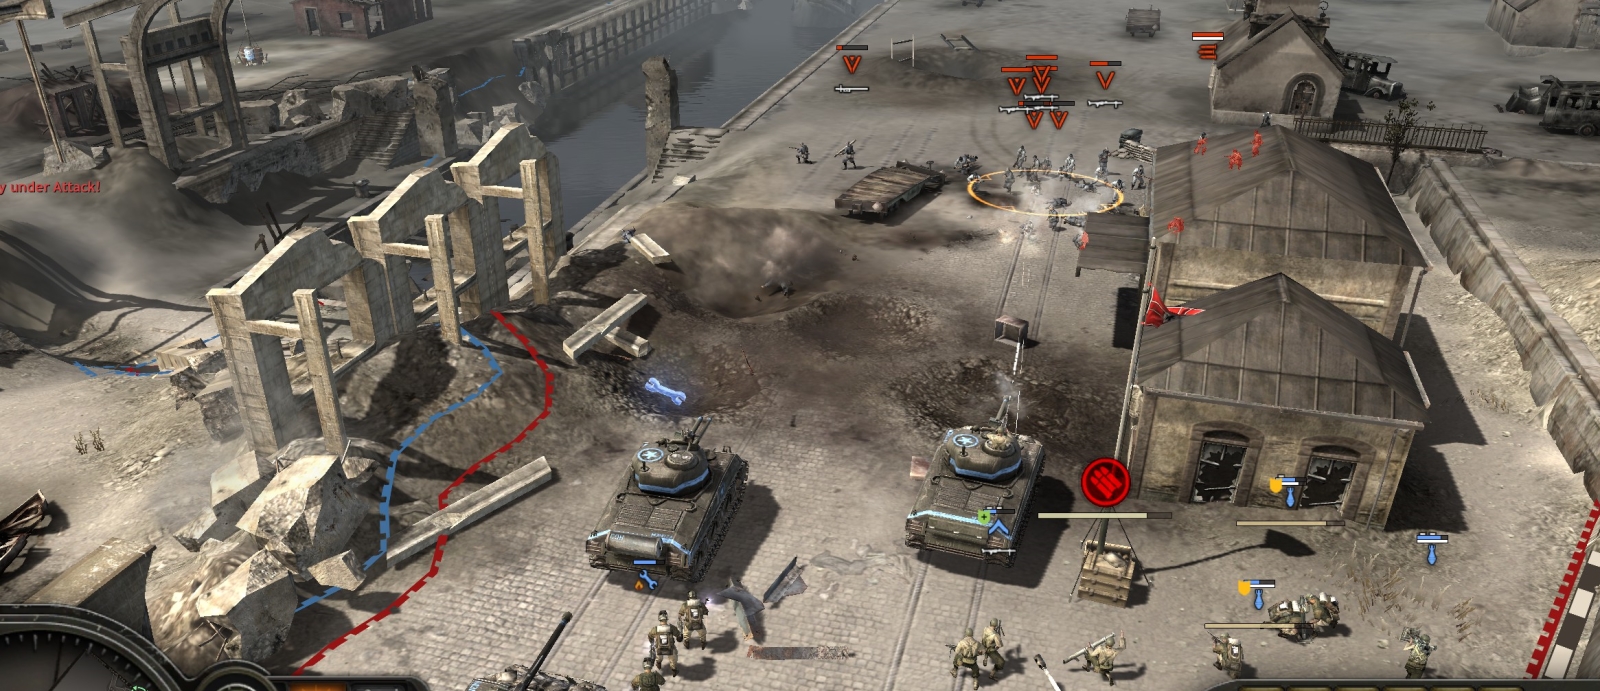
3. CLEARING THE MAJOR STRONGPOINT
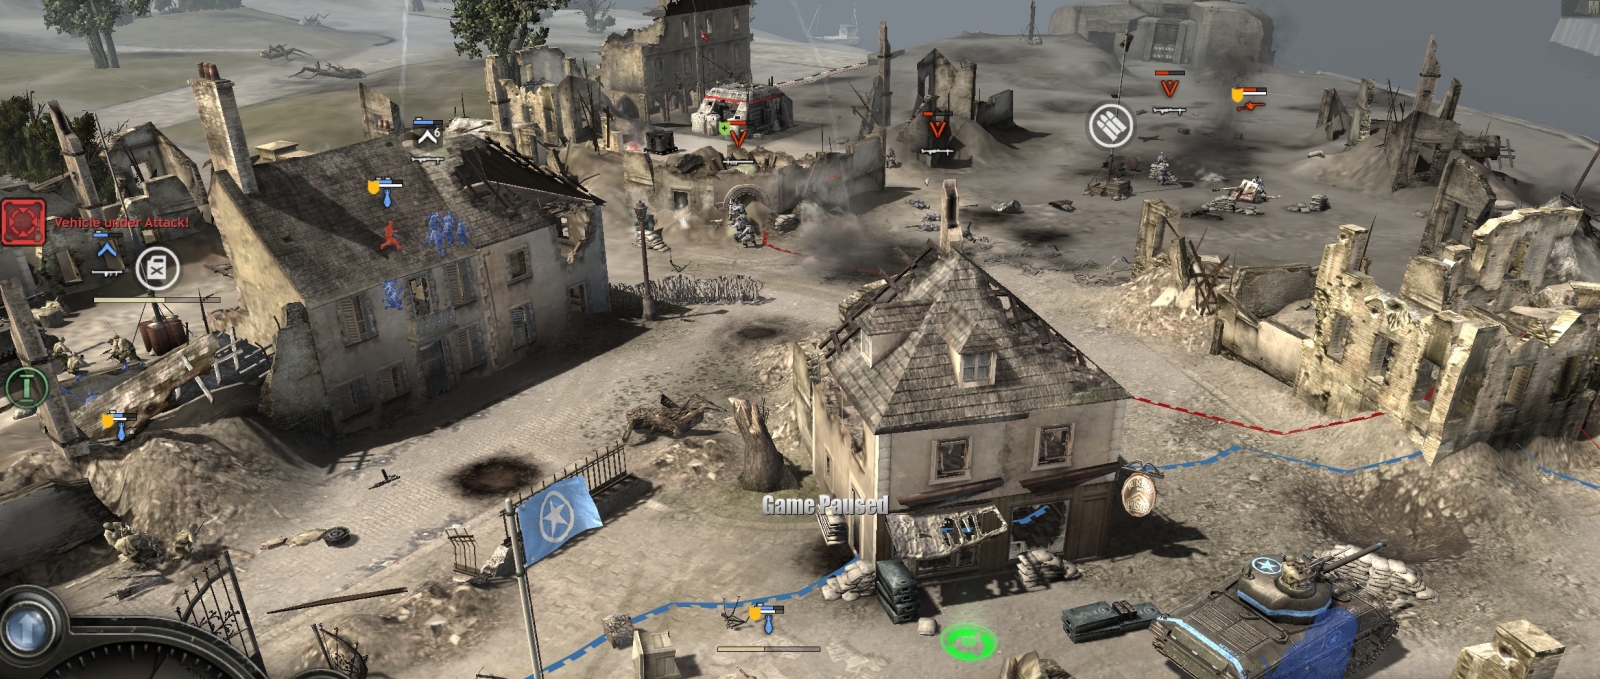
As your force is healed up and maxed out, and you cap and observation-post every point on the western section of the map, move your armor (two standard Shermans and two Sherman-crocs is fine) down to guard the bridge that connects to the eastern section of the port area. There should be a StuG IV on the bridge. Nuke it with your naval artillery, and just keep using your naval artillery and mortars (2-4 teams) to wipe the area immediately across the bridge, which starts out full of StuGs, Paks, mortar teams, HMG teams, and schreck- and LMG-wielding volksgrens and stormtroopers. Keep sending in sacrificial jeeps or infantry squads to spot for all this indirect fire. Take your time—there is no rush. Also make sure you clear all German units from the western pier area (left side of the bridge).
When there appear to be no German units left from the bridge directly eastward to the water, cross the bridge with your full force and form a defense line near the muni point. More German units may materialize, so deal with them.
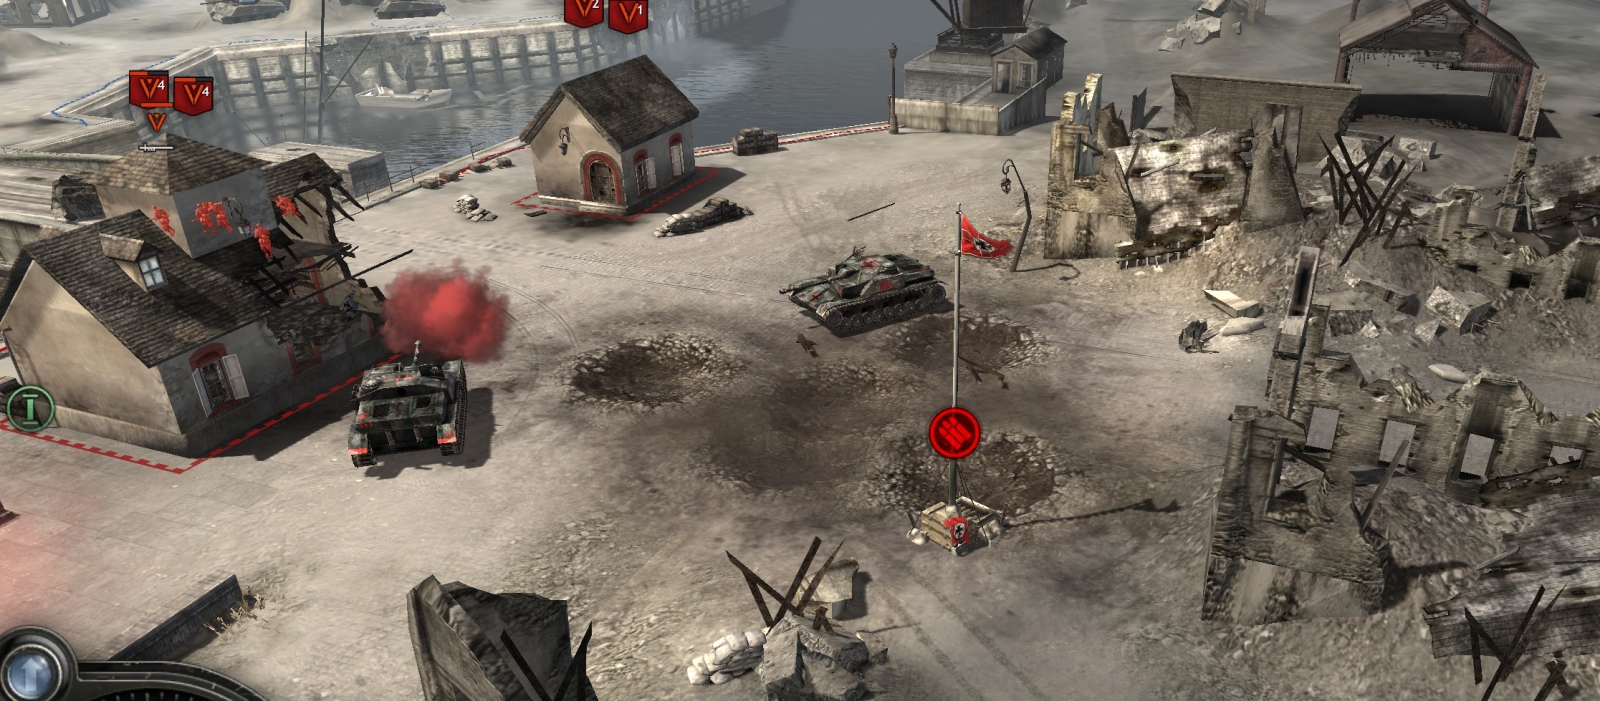
4. CLEAR THE GERMAN STURM ARMOURY AREA
What you did with artillery to the area around the muni point you can now do to the area to the south, where there is a small German base and a constant flow of StuGs and Pumas.
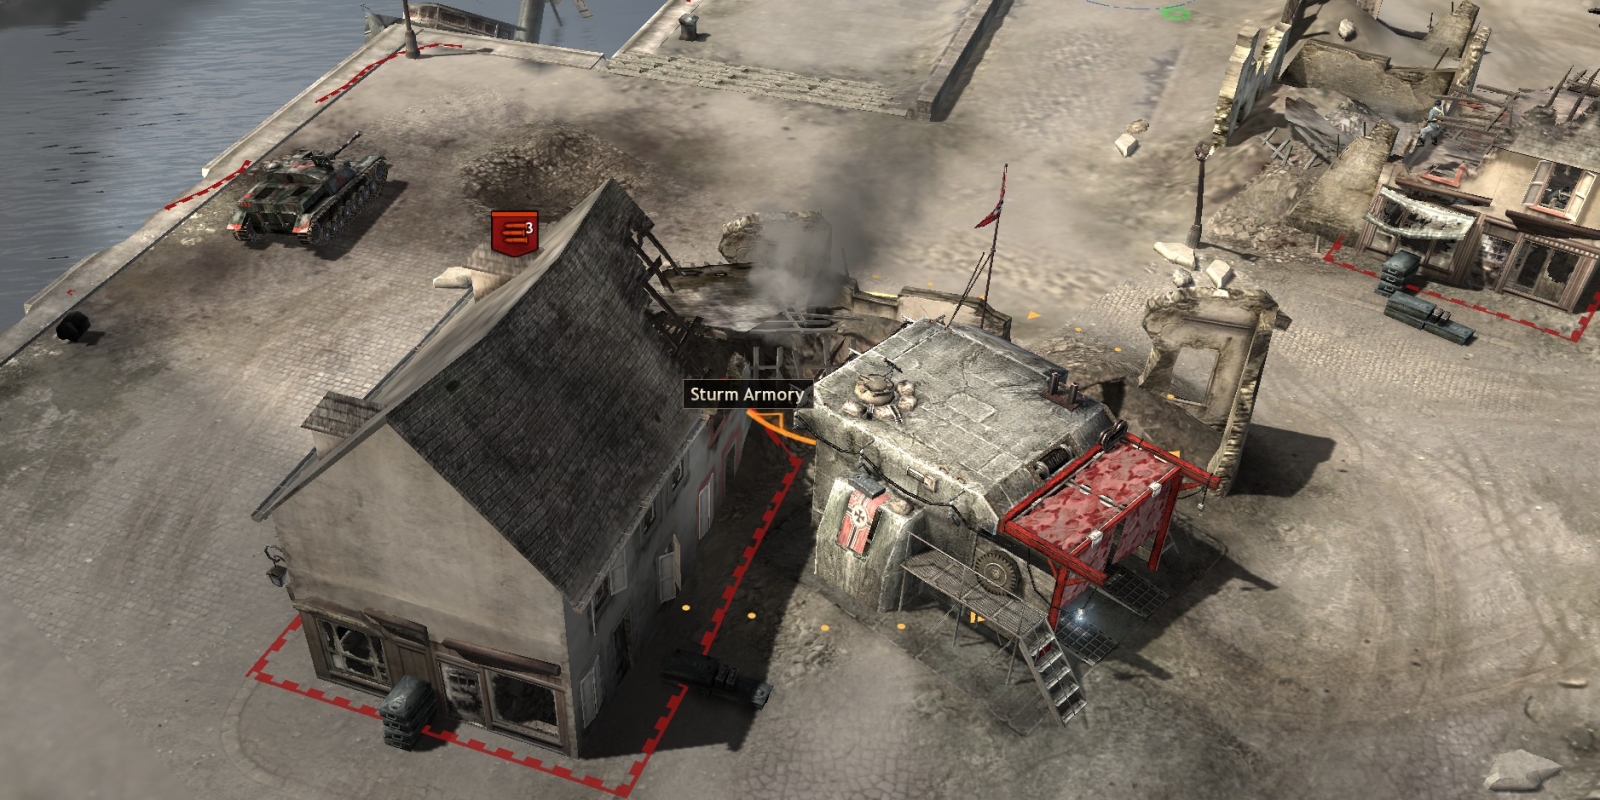
You also can send a couple of Shermans to speed up the work. When there are no German buildings or units left down there, be sure to cap the two muni points in that area.
5. DESTROY THE DEMOLITIONS BUILDING
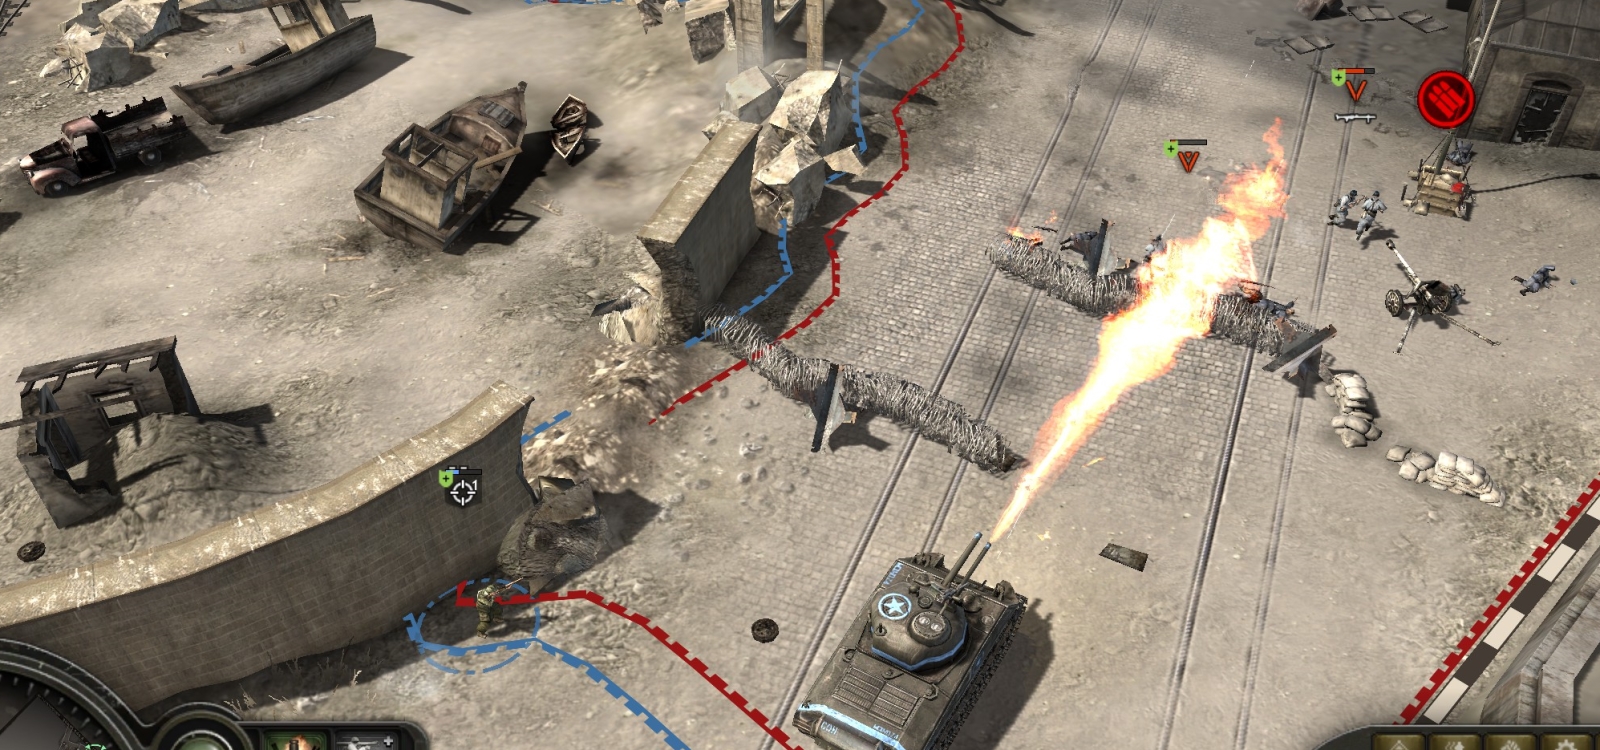
The area to the north and northeast of your force is now dense with German defenders, so proceed very carefully, using a jeep or other scout unit and being ready to use your mortars and call-in naval artillery.
Just north of the strongpoint area lies a “motor pool” building, defended by a mortar unit, Pak, etc. Clear that area and cap the fuel point there. You should be able to bring in new tanks from the motor pool building.
Set up protection for your eastern flank (from units on the eastern pier) by parking a croc, a sniper, and maybe a mortar at the intersection (with muni point) to the east of that fuel point.
Now move carefully north, scouting ahead and letting “Jerry” come to you and be slaughtered as much as possible. When you are about halfway up that central pier, the UI will inform you that the Germans are preparing to blow up the docks area, and you need to stop them (if you want to win the mission medal) by destroying the building at the top of this pier. You will have only 90 seconds to do this, and the building is well guarded. Therefore send a sacrificial jeep or M3 quickly up there to spot for the naval artillery—if you hurry, and have a spare scouting vehicle you can use after the first one is destroyed, you can get two naval gun salvoes in within the 90-second window, which should be enough.
Cap the points on that central pier and clear out remaining German units there. When done, move your healed-up and reinforced force down to where your croc is guarding your flank.
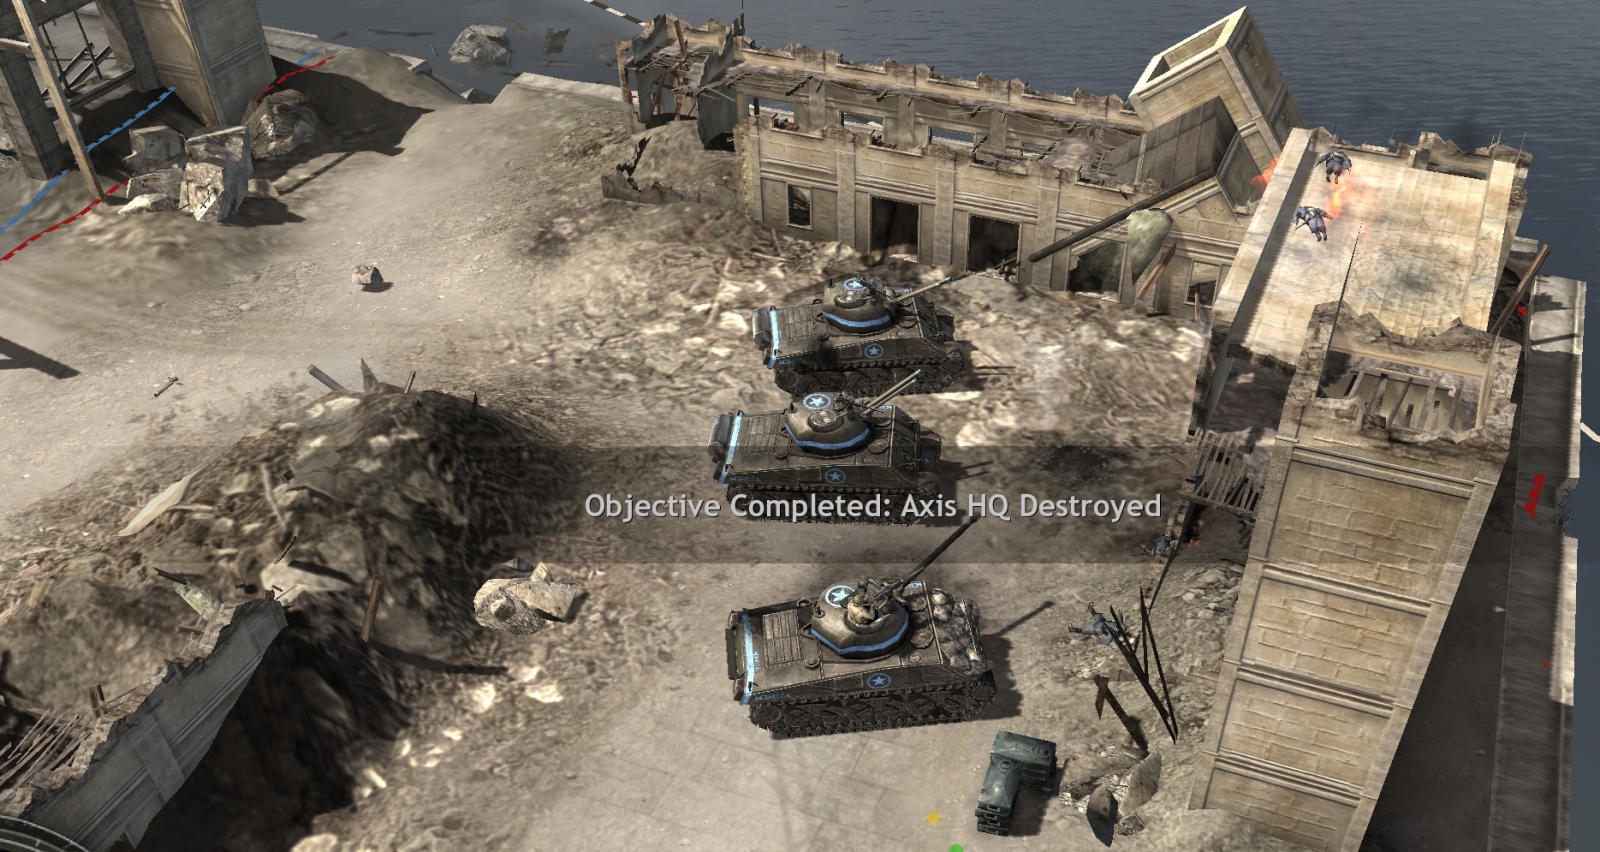
6. DESTROY THE MAIN GERMAN BASE
You should now control the entire map except for the eastern pier.
Move your force slowly up the eastern pier, scouting with a jeep and using call-in artillery and mortars. Just on this pier alone the Germans have a force that is utterly superior to the American force, though as always in COH1 the Wehrmacht attacks in piecemeal fashion.
Eventually you will get into the open area just below the base building complex. This is a good place to hold your force for a while, pounding the base complex with artillery and fending off German attacks.
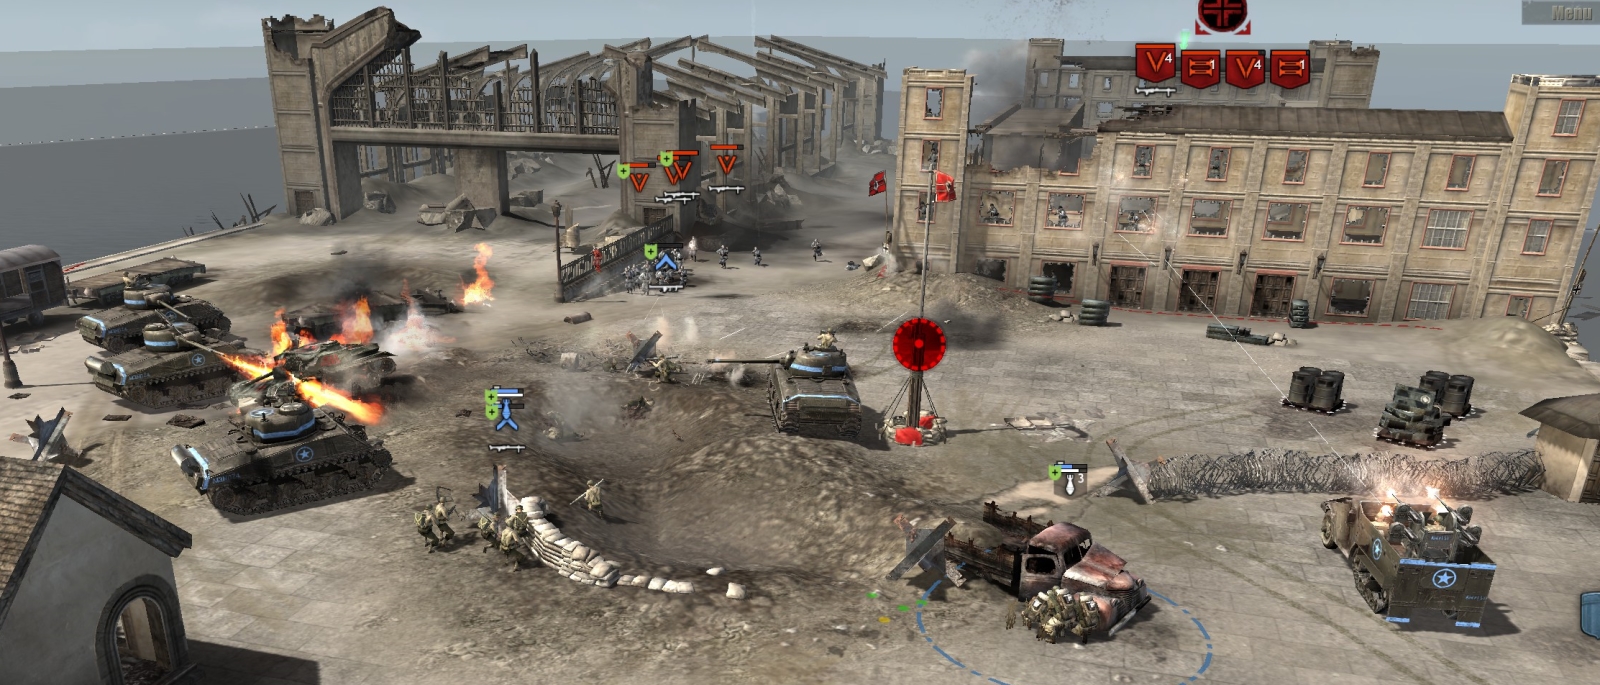
Once you have killed the remaining German StuGs, Paks, mortar teams, and schreck infantry, you can go in with your tanks and finish the job of destroying the base buildings—which will end the mission.
***