“Carentan Counterattack” could have been a nice “prepare/defend-against-the-swarm” setup. Unfortunately, it is quite scripted and fake-feeling, with some extreme AI cheats, so I never found it very interesting or replayable.
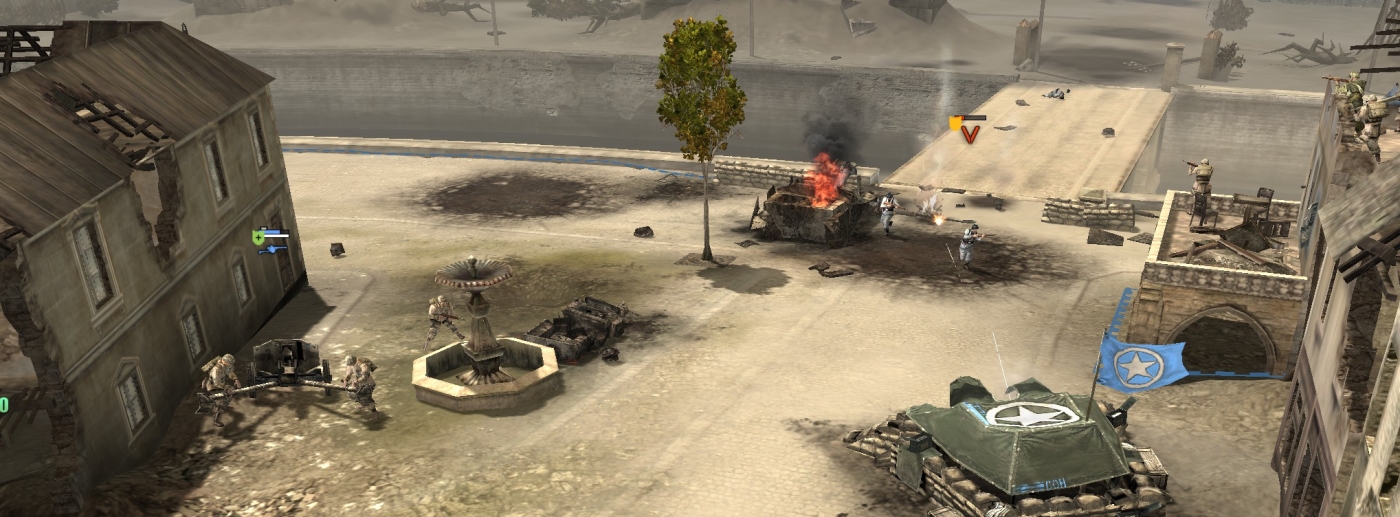
You start the mission more or less where you left off after the first Carentan mission: in the town square, now using the town hall (along with the church) as a base for your forces.
You have 10 minutes to prepare for a large German counterattack coming from the very top of the map. Winning the mission means keeping control of the church—you can’t keep control of the town hall. The medal (“Bronze Star”) on Hard level is for killing 300 German soldiers, which is not easily doable; I have done it only when playing for fun with infinite resources using console commands.
PREPARATION
Your engineers can’t build new base buildings or even tank traps, but they can build HMG bunkers, and both they and airborne units can lay wire and mines and sandbags. Aim for two or three engineer units, three AT guns, three airborne squads with recoilless rifles and/or schrecks, 4-6 snipers, and three mortar units. (The jeep you start with is mostly useless—leave it near the top of the map so it dies quickly.) Wherever you set up defenses, your engineers also can build HMG bunkers and lay wire/mines.
Send your sniper across the river to take out the two German snipers at the positions indicated with arrows on the tactical map below. There are also two German infantry squads on that side of the river, but they will usually flee when a sniper starts sniping them.
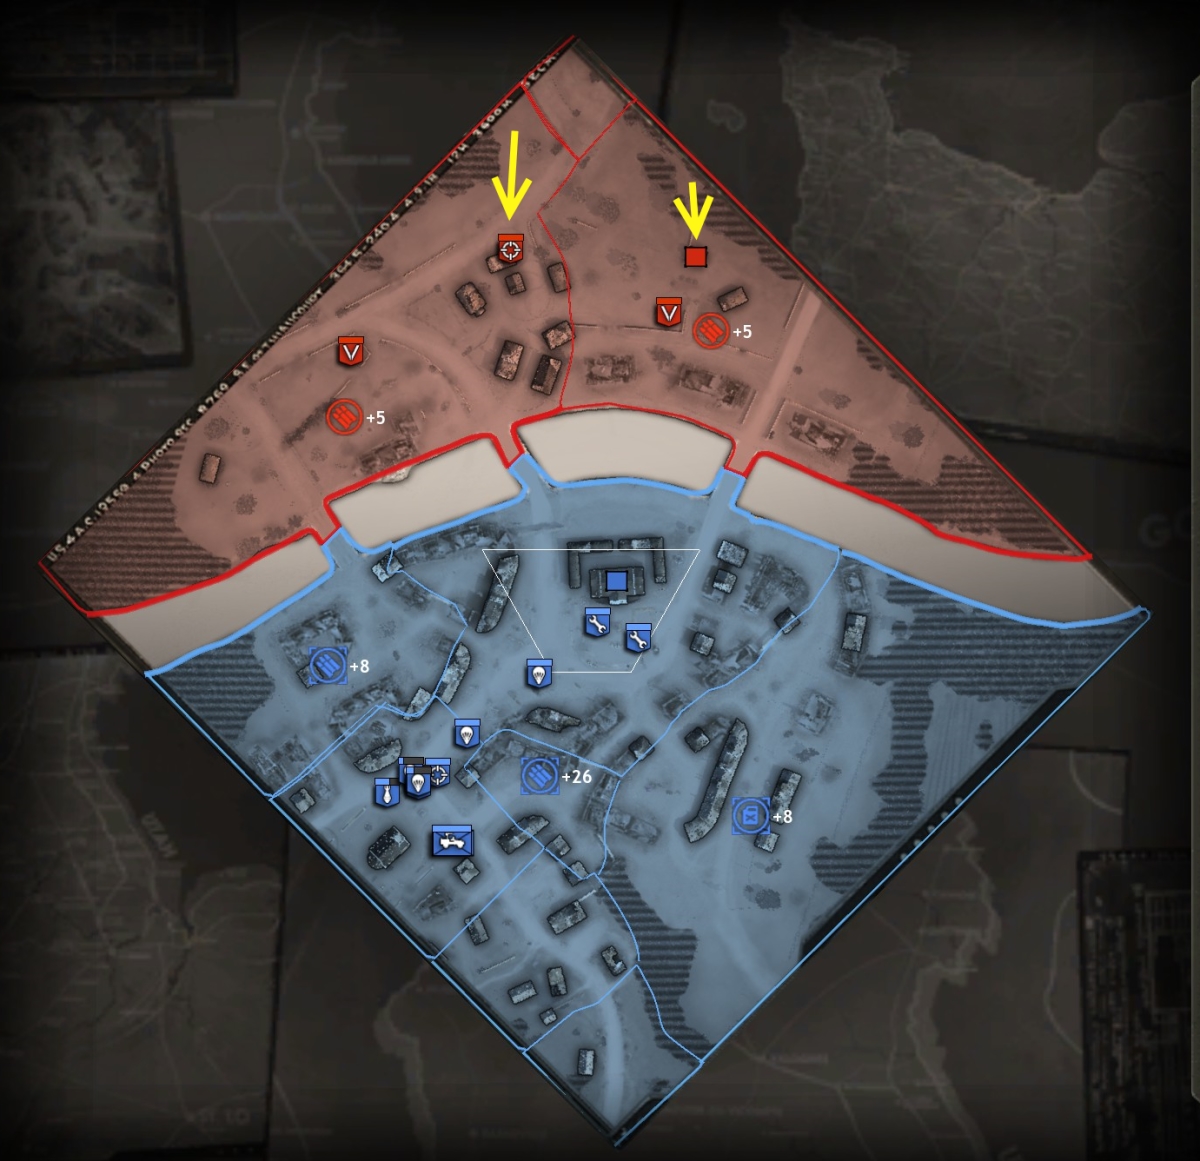
Next cap the two muni points on the upper part of the map.
Lay some mines on the approaches (from the north) to the bridges. Don’t aim to carpet the roads because the German assault will clear them relatively quickly. Your call-in artillery, though expensive, is often a better use of muni points.
Set up defenses on the lower portion of the map, just below the three bridges. Each position should have an AT gun, an airborne squad with AT weapon, one to two snipers (on camouflage mode) and a mortar unit. The forward defensive position should be able to nail anything that gets onto the bridge in front of it. But also prepare sandbagged positions behind the initial position.

Don’t get too close to the town hall. If you stall the German attack for long enough, that building and everything else within ~30 meters will be bombed to pieces.
Engineers also should lay mines in all the approaches to the church from the bridges. (German StuG IVs, late in the mission, will break down walls to attack the church through the town from the E and SE directions.) If you have the spare manpower points, your engineers also can build some HMG-bunkers around the church.
DEFENDING AGAINST THE ATTACK
The Germans will attack with swarms of infantry, including mortar units, and lots and lots of StuG IVs. The German flamethrower-engineers and mortar units in particular are very hard to kill—upgraded snipers are usually your best bet against them, but are still weak. German infantry in general are not much suppressed by HMG fire even at close range. (This is why trying to corral the German attack at the top of the map doesn’t work very well even when you have infinite pop cap and manpower/muni points.)
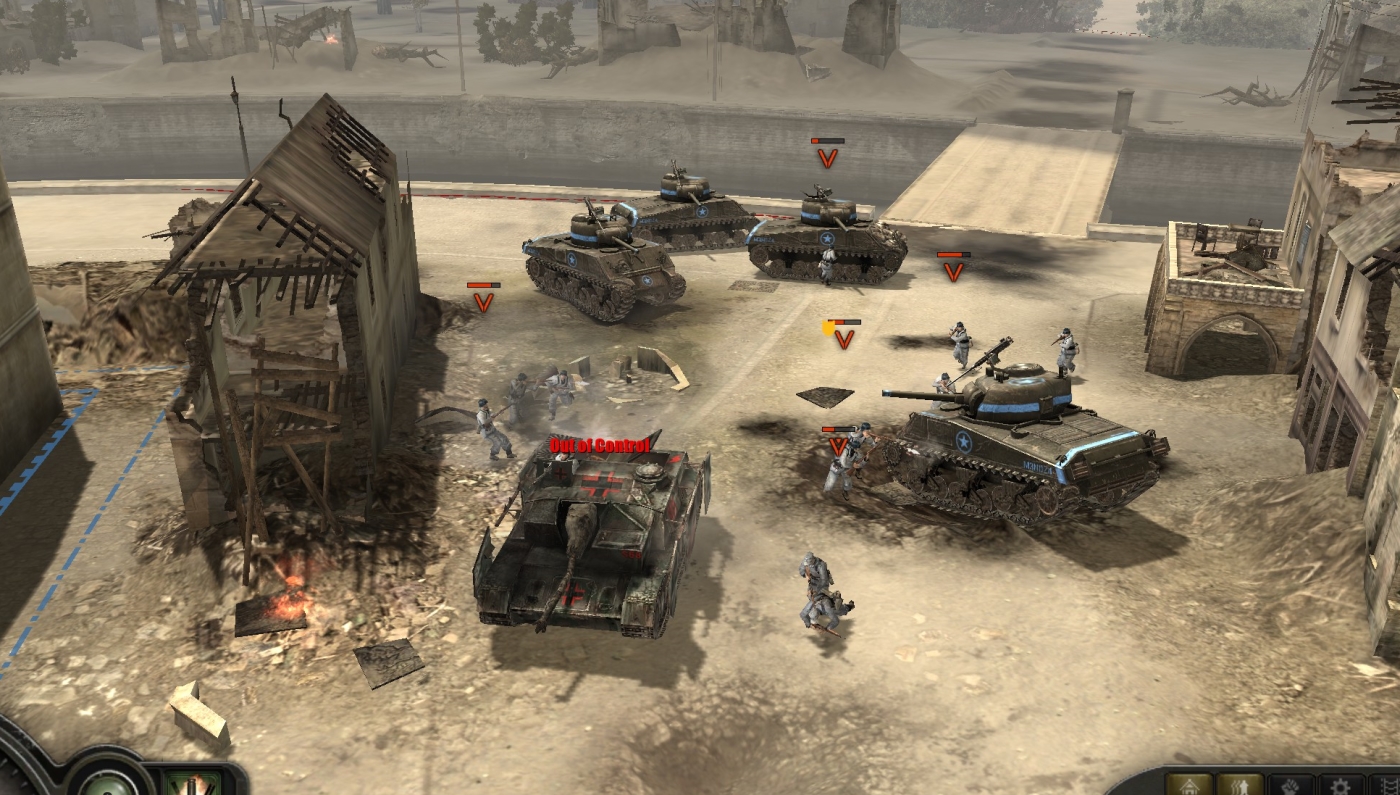
Your expensively laid minefields or mine-trails often will be quickly blown up by “out of control” StuGs or sidecar-motorcycles, or by suicidal German infantry units. So at your strongpoints you will need to protect your AT guns and AT-rifle squads. Most StuGs will take many hits before succumbing.
Jams of immobile German vehicles behind mined StuGs are a good target for call-in artillery. Unfortunately, the Germans are not limited in terms of troop and vehicle numbers—whatever they lose will be replaced immediately at the top of the map.
After a while, the AI will start shelling your forward positions (and the entire town hall area) with magical potency and accuracy, and if you haven’t already retreated to the church, some UI American soldier voice will order you to do so. Again, be sure to watch out for StuGs coming through walls and even buildings to attack the church from the lower-right part of the map.
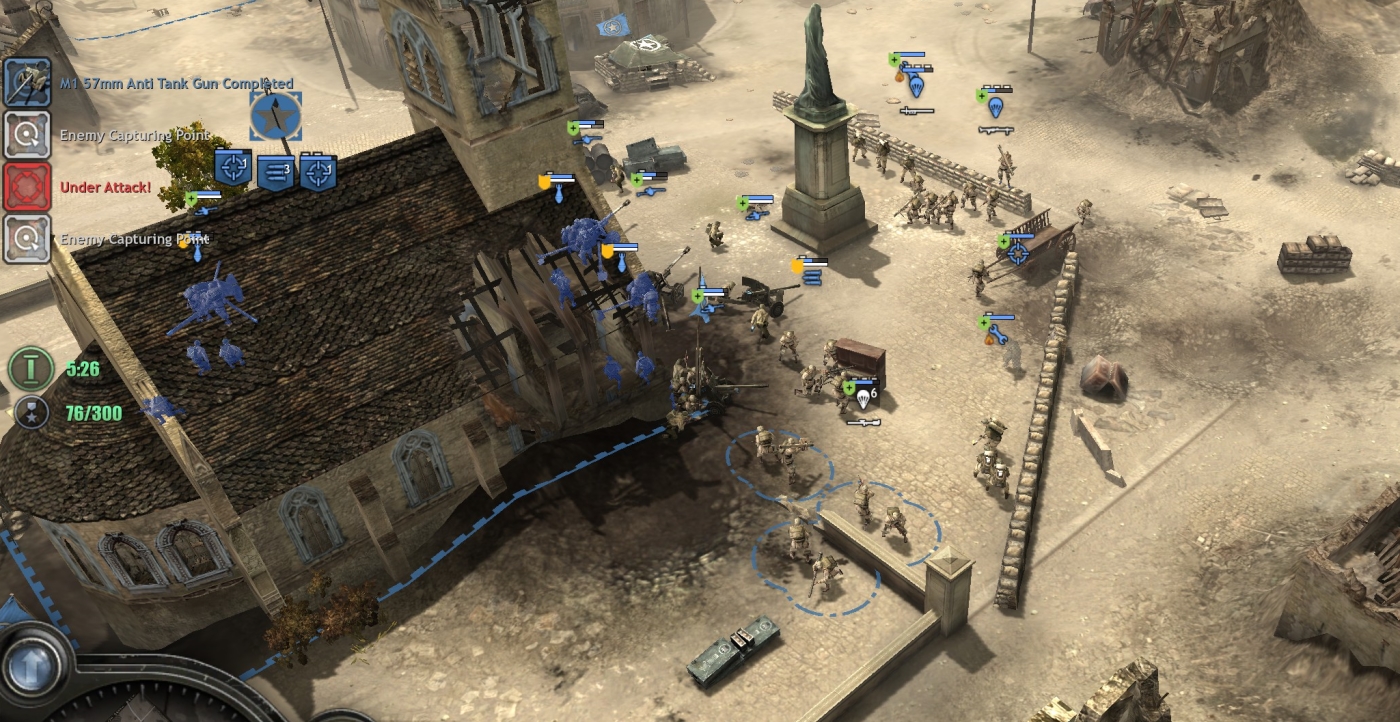
While the German swarm isn’t limited in terms of numbers, and its unit buffs are ridiculous, it is limited in terms of aggressiveness, so don’t worry too much. If the German AI wanted to win the battle, it could do so easily using the same all-powerful artillery that levels the town hall area, or even its perfect-accuracy mortars. The most it does, though, is to bring its mortars into range of the church only at the end of the mission, when they can’t make much of a difference.
When the phase counter counts down from 15:00 at the start of the attack all the way to 0:00, you will get reinforcements of four Sherman tanks from your buddies at “Able Company.” If you haven’t lost the church by then, you basically can’t lose, because the German force will suddenly dwindle or flee and all you’ll have to do is go around with your tanks and kill the four remaining StuGs—always exactly four; presumably the rest suddenly vanish.
With the death of the last StuG, the show will be over.
As an alternative strategy for this mission, you can begin with a more concentrated defense against the German attack where it flows from the top of the map.
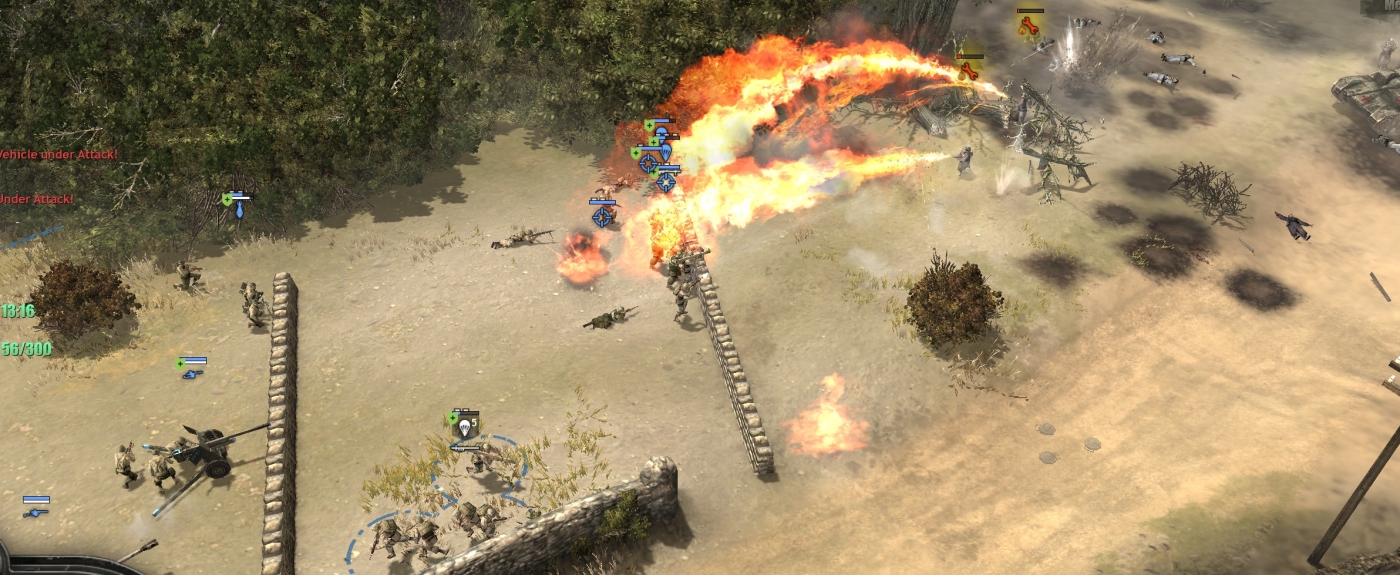
However (as you can see in the image) the extreme buffs to German infantry and your own forces’ nerfs and manpower/resource limitations usually will mean that you are likely to take heavy losses—forcing you soon to retreat to the church anyway. You have only a trickle of manpower points for reinforcements, so you don’t ever want your force to be seriously depleted in this mission. Probably the best alternative to the defend-bridges-then-fall-back strategy is simply to defend at the church at the outset.
***